Sorry, just found this forum so here is a project mid stream.
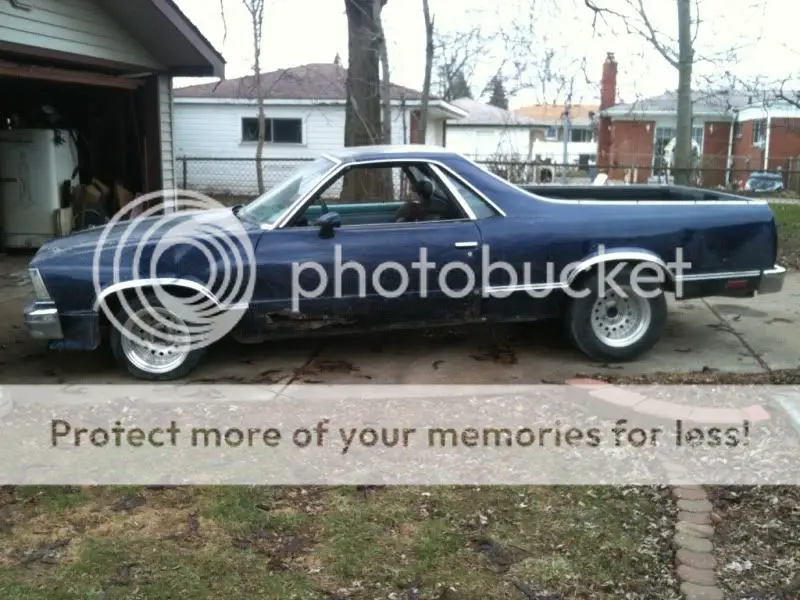
I traded off my 59 edsel for one of my dream cars this 78 caballero.
Never see some one say that eh?
Basically the deal is all growing up my dad had an 80 elcamino (v6 bench black exterior tan interior)
When I was 14 I was given it to start wrenching on with the intent that it was to be my first car. 2 years later my mom thought it was a death trap sold it and bought an 85 cutlass for me... naturally I wasn't happy and never got these cars out of my system.
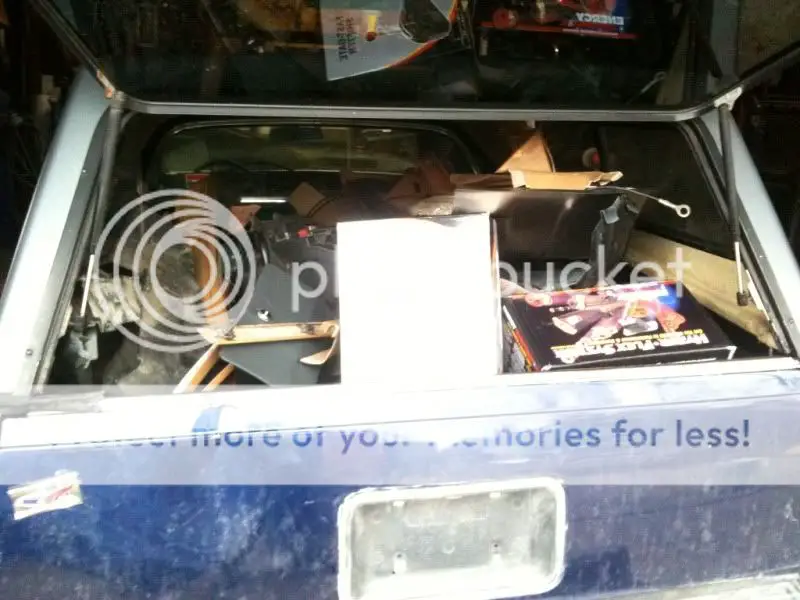
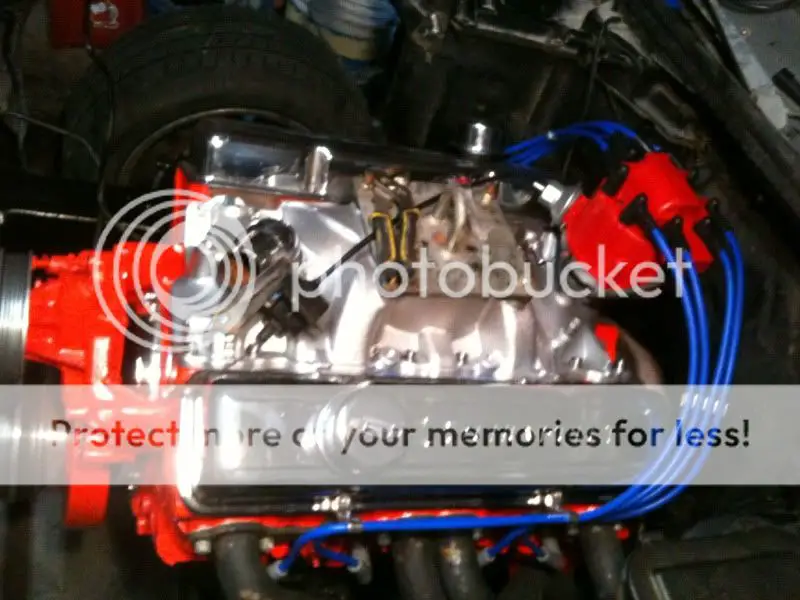
So this is how she came to me, 4 bolt main 350, 650 cfm carb, long tube headers, roller rockers, metric trans, real nasty intirror, seemingly good looking exterior. The sticker on the rear bumper is a Hawaii rode registration, and from the lack of lower quarter rot and the abundance of door jamb rot/ rear upper box rot (around where a bed cover would be) I believe it spent a good deal of its life there.

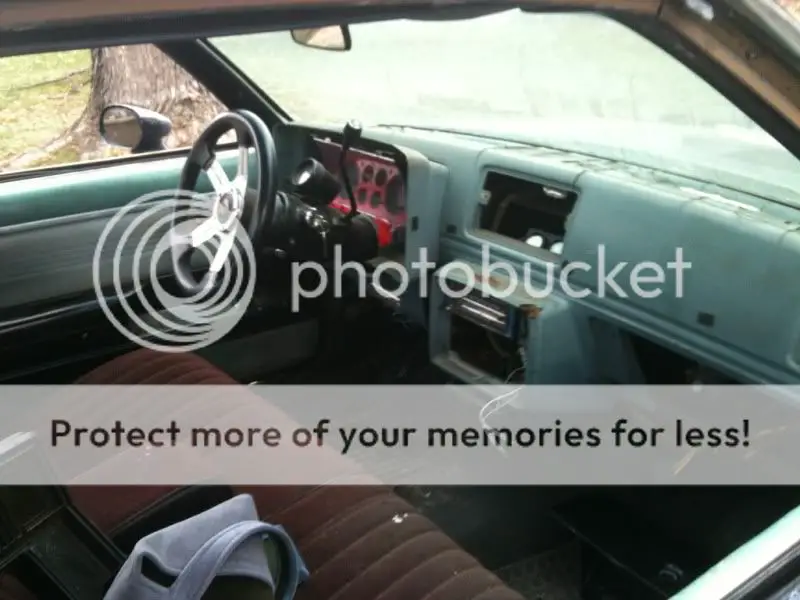
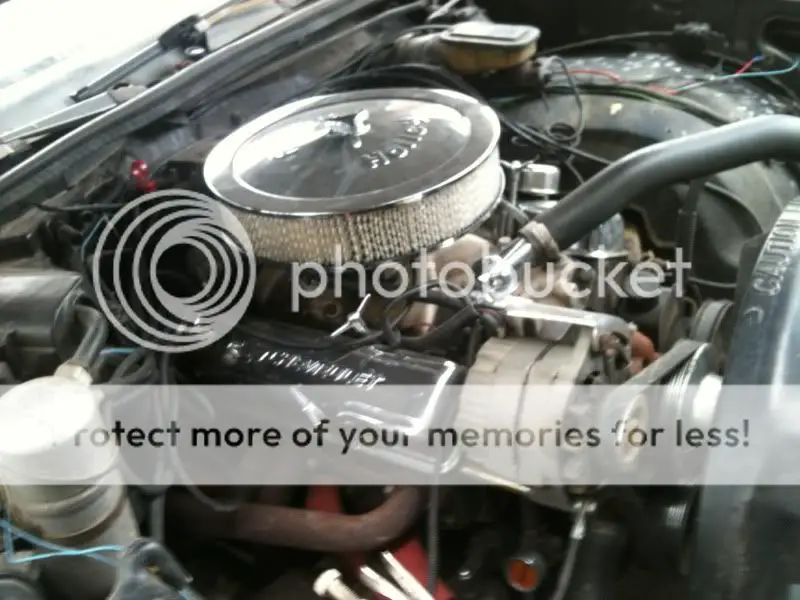
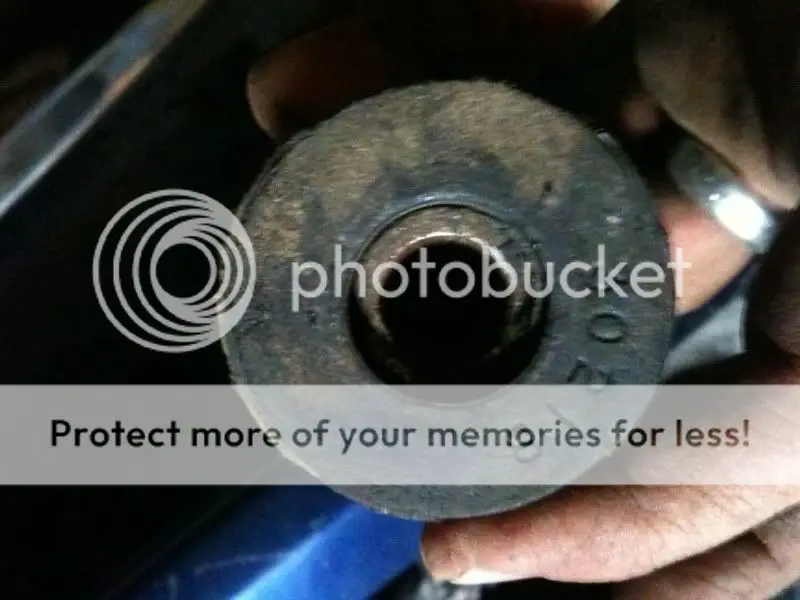
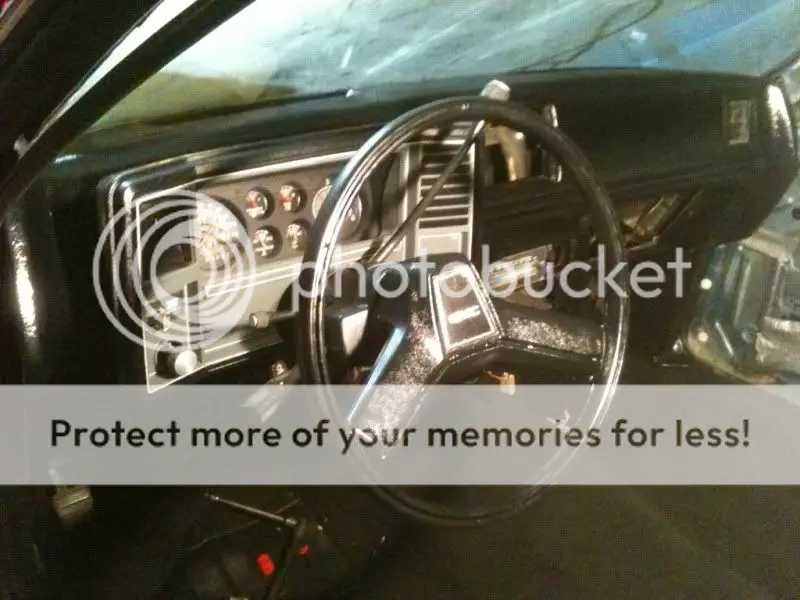
I have since swapped out the drivers door for a solid one, replaced the window seals, door hinge bushings, installed a dash cap, stripped and repainted the interior plastics, painted the carpet (not ideal but will work for now), pulled the engine and went thru it with new bearings gaskets arp rod bolts and just generally cleaning and painting everything, relocated the battery to the smugglers cubby, swapped out the cluster for a 120mph monte unit, converted it all to LED, swapped to a quick ratio 2ed gen F body steering box with a jeep steering shaft.
after doing all this and getting her back into running and rolling condition I decided if I am to do this I will do it right.
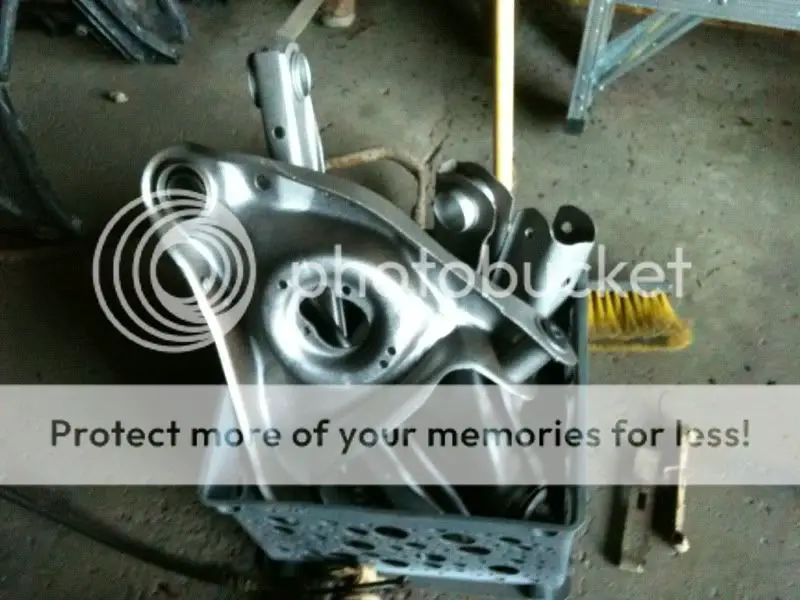
I just put in an order for energysuspension poly bushing set as well as poly body mounts, floor shifter, upper and lower balljoints, new passengers front floor pan (last owner cut it out and riveted in flat metal), sourced out some stock patch panels (passengers door hinge mount area, passengers and drivers rear door jamb striker areas, and upper bed (under rear window)), and just today I snagged from the local junk yard a monte SS floor shift column, and 2001 blazer 2wd front knuckles/hubs/calipers/rotors.
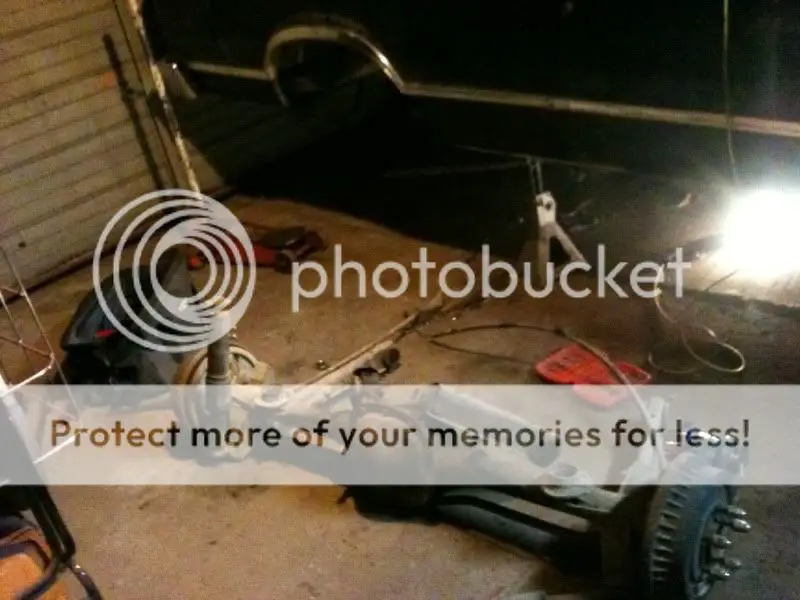
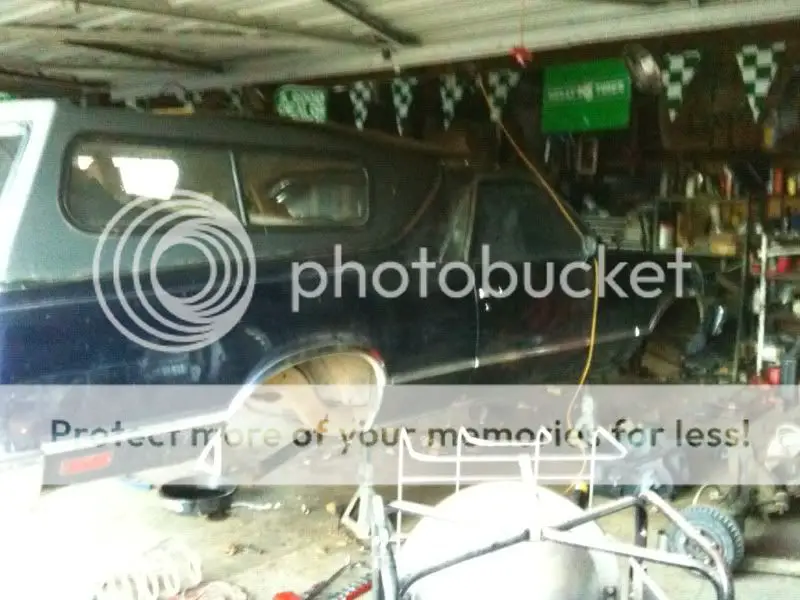
The game plan is to pull the body off the frame
box the frame
cut and Z the frame (going to bag it down the road)
narrow rear rails
naturally install all the poly bits and rebuilt blazer larger front brakes
repair the body rust
tub the bed and fab rear end tunnel
basic body prep and paint
also clean up all the wire harness mess and tuck as much as possible for a clean engine bay
so basically a lot of everything!!
I traded off my 59 edsel for one of my dream cars this 78 caballero.
Never see some one say that eh?
Basically the deal is all growing up my dad had an 80 elcamino (v6 bench black exterior tan interior)
When I was 14 I was given it to start wrenching on with the intent that it was to be my first car. 2 years later my mom thought it was a death trap sold it and bought an 85 cutlass for me... naturally I wasn't happy and never got these cars out of my system.
So this is how she came to me, 4 bolt main 350, 650 cfm carb, long tube headers, roller rockers, metric trans, real nasty intirror, seemingly good looking exterior. The sticker on the rear bumper is a Hawaii rode registration, and from the lack of lower quarter rot and the abundance of door jamb rot/ rear upper box rot (around where a bed cover would be) I believe it spent a good deal of its life there.


I have since swapped out the drivers door for a solid one, replaced the window seals, door hinge bushings, installed a dash cap, stripped and repainted the interior plastics, painted the carpet (not ideal but will work for now), pulled the engine and went thru it with new bearings gaskets arp rod bolts and just generally cleaning and painting everything, relocated the battery to the smugglers cubby, swapped out the cluster for a 120mph monte unit, converted it all to LED, swapped to a quick ratio 2ed gen F body steering box with a jeep steering shaft.


after doing all this and getting her back into running and rolling condition I decided if I am to do this I will do it right.
I just put in an order for energysuspension poly bushing set as well as poly body mounts, floor shifter, upper and lower balljoints, new passengers front floor pan (last owner cut it out and riveted in flat metal), sourced out some stock patch panels (passengers door hinge mount area, passengers and drivers rear door jamb striker areas, and upper bed (under rear window)), and just today I snagged from the local junk yard a monte SS floor shift column, and 2001 blazer 2wd front knuckles/hubs/calipers/rotors.
The game plan is to pull the body off the frame
box the frame
cut and Z the frame (going to bag it down the road)
narrow rear rails
naturally install all the poly bits and rebuilt blazer larger front brakes
repair the body rust
tub the bed and fab rear end tunnel
basic body prep and paint
also clean up all the wire harness mess and tuck as much as possible for a clean engine bay
so basically a lot of everything!!