Went and picked up my new "Spectra" oil pan today. Then headed of to Michael's to swap it out.
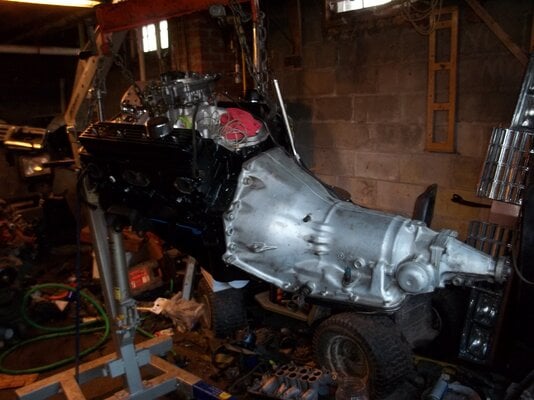 Got it pulled all by myself, after forgetting to take the shift linkage off again. Might have to stick that in a vise later.
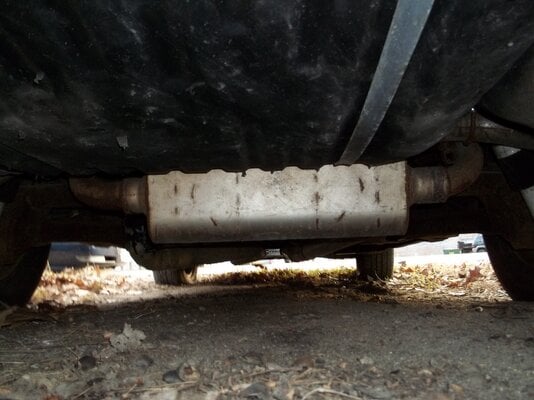
Gratuitous transmission pics incoming.
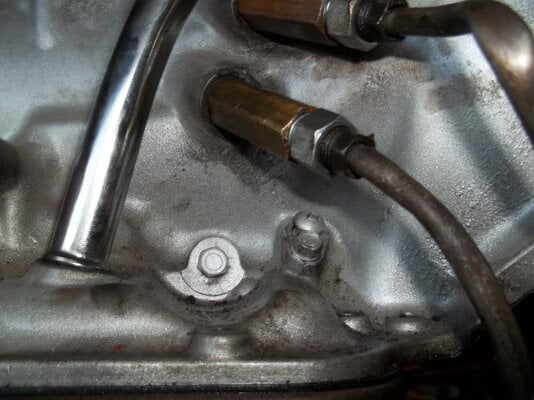
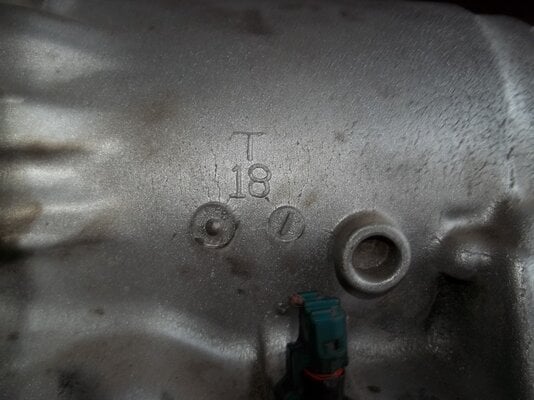
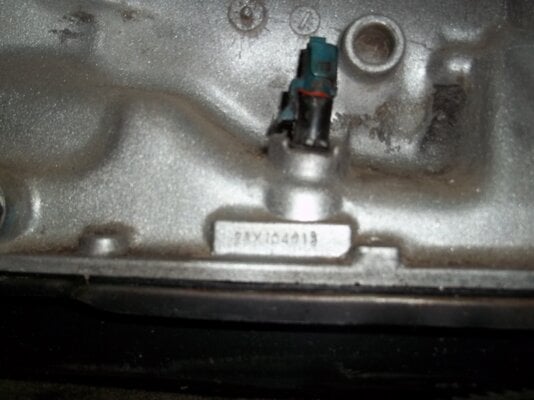
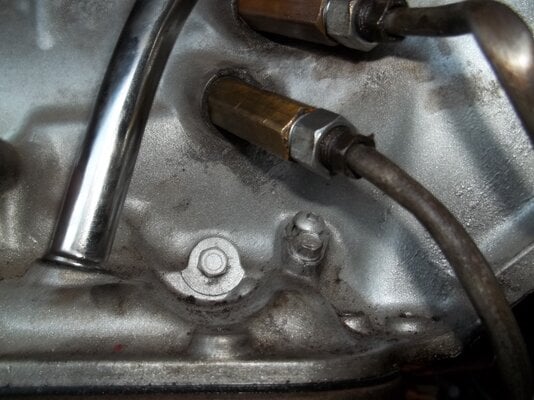
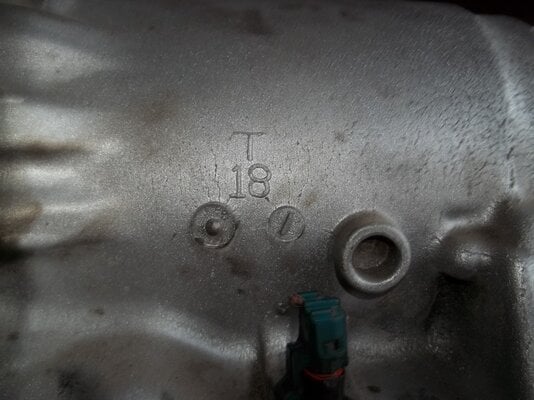
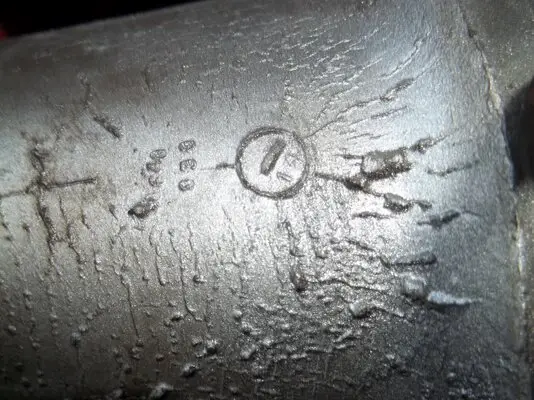 The lines need to be redone, and not sure what's up with where the kickdown should have been. Should have tried to take the screw out of it while I had it out, but too late. It's back in. The other two pics are just about the only markings I can find on the transmission other than the stamped number found further up in the post just bellow that single wire sensor in the middle pic. All I got from searching google for T18 was a Ford manual transmission, which this is not. Most Uni-case transmissions I've seen also have a different bellhousing shape, so I have no clue how old this thing is or what it really is.
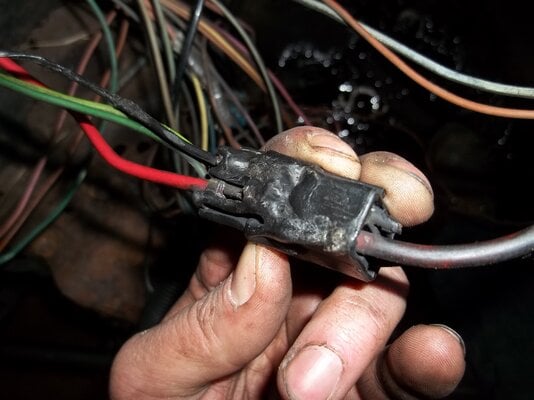 Black wire goes
 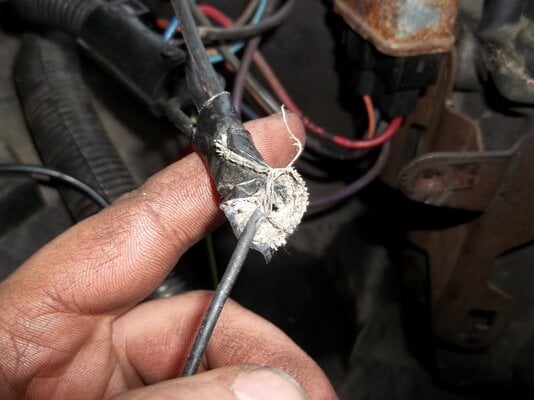 which leads to
 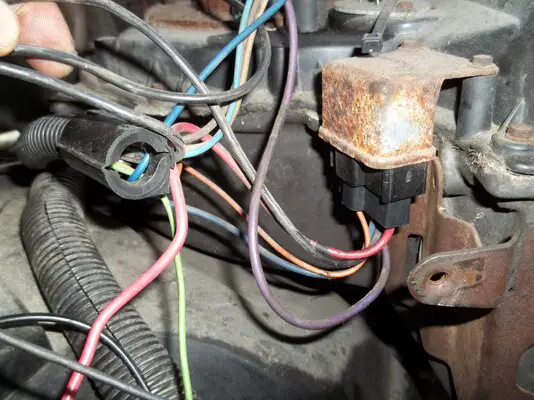 the three black wires I'm holding. One to ECM (i think, it does feed back into the conduit that vanishes into the passengers side firewall), one to the nice plug on the right and one just off screen at the top. Red wire that has melted the whole damn plug goes to the plug with the orange blue and purple wires. For the time being I wrapped the melted black wire in some good old electrical tape... and the melted plug... and the random wire that was already taped up and caught under my valve cover. Wish I took a pic of that one. Covered in oil, under the tape. It was a thing of beauty.
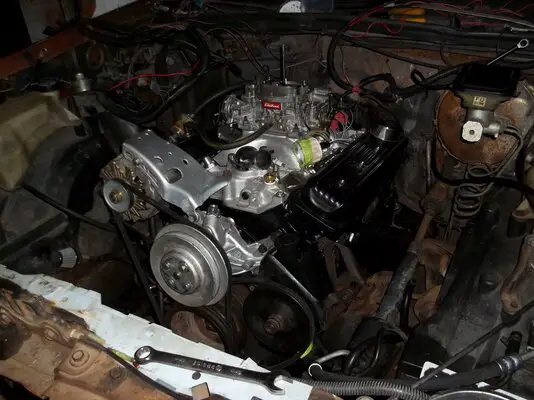
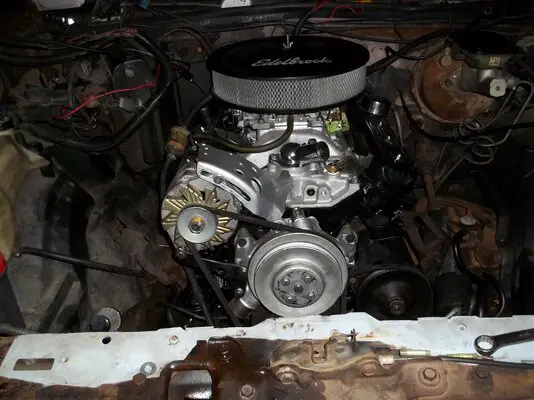
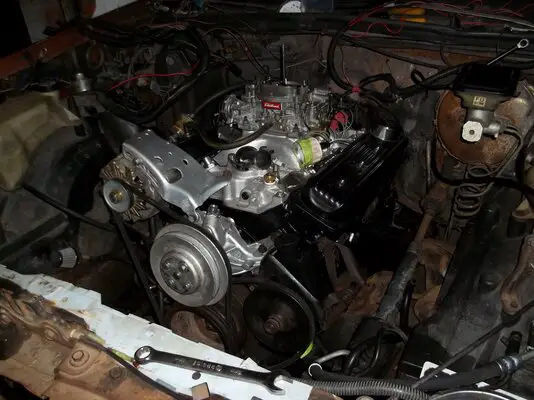
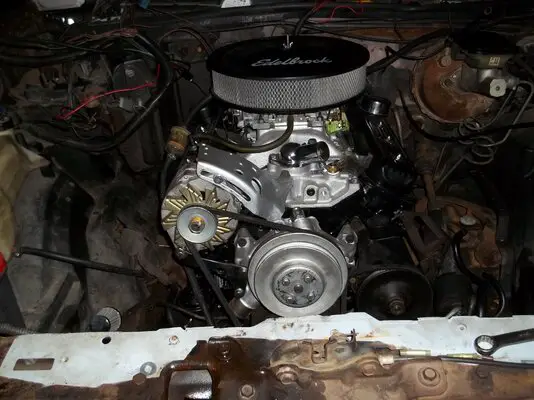
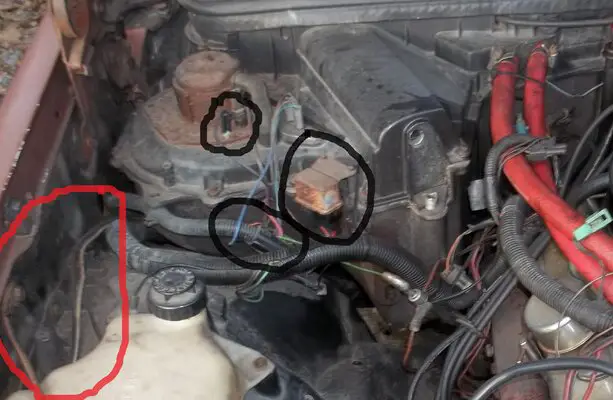 Rats nest of an engine bay from the previous owners swap.. and me swapping out the Rochester and stock intake for an Edelbrock Performer Carb and Intake. Way too many wires going onto the Rochester in my opinion. Black circles that you can't really make out are the black wire locations. The red circle is two maybe three lines that go no where. Kinda looked like vacuum lines? And isn't that just a lovely AC delete they did? .... After I get this thing running again and home, I'll be going through all the spare wires and removing clutter. Melted wires and plugs concern me. And since I'll be doing a true AC delete the halfassed way and keeping the current dash controls, I'll probably still need some of those wires. Best to leave everything plugged in for now and rewire the bay later from the fuse block back. To be continued in next post...
 Got it pulled all by myself, after forgetting to take the shift linkage off again. Might have to stick that in a vise later.
Gratuitous transmission pics incoming.


 The lines need to be redone, and not sure what's up with where the kickdown should have been. Should have tried to take the screw out of it while I had it out, but too late. It's back in. The other two pics are just about the only markings I can find on the transmission other than the stamped number found further up in the post just bellow that single wire sensor in the middle pic. All I got from searching google for T18 was a Ford manual transmission, which this is not. Most Uni-case transmissions I've seen also have a different bellhousing shape, so I have no clue how old this thing is or what it really is.
 Black wire goes
  which leads to
  the three black wires I'm holding. One to ECM (i think, it does feed back into the conduit that vanishes into the passengers side firewall), one to the nice plug on the right and one just off screen at the top. Red wire that has melted the whole damn plug goes to the plug with the orange blue and purple wires. For the time being I wrapped the melted black wire in some good old electrical tape... and the melted plug... and the random wire that was already taped up and caught under my valve cover. Wish I took a pic of that one. Covered in oil, under the tape. It was a thing of beauty.
 Rats nest of an engine bay from the previous owners swap.. and me swapping out the Rochester and stock intake for an Edelbrock Performer Carb and Intake. Way too many wires going onto the Rochester in my opinion. Black circles that you can't really make out are the black wire locations. The red circle is two maybe three lines that go no where. Kinda looked like vacuum lines? And isn't that just a lovely AC delete they did? .... After I get this thing running again and home, I'll be going through all the spare wires and removing clutter. Melted wires and plugs concern me. And since I'll be doing a true AC delete the halfassed way and keeping the current dash controls, I'll probably still need some of those wires. Best to leave everything plugged in for now and rewire the bay later from the fuse block back. To be continued in next post...


![100_0799[1].JPG 100_0799[1].JPG](https://cdn-0.gbodyforum.com/data/attachments/39/39019-a161213ded572b151a04ac124f81001a.jpg?hash=oWEhPe1XKx)
![100_0800[1].JPG 100_0800[1].JPG](https://cdn-0.gbodyforum.com/data/attachments/39/39020-23cf426c9e2cdfb079a4146a04a6b942.jpg?hash=I89CbJ4s37)
