

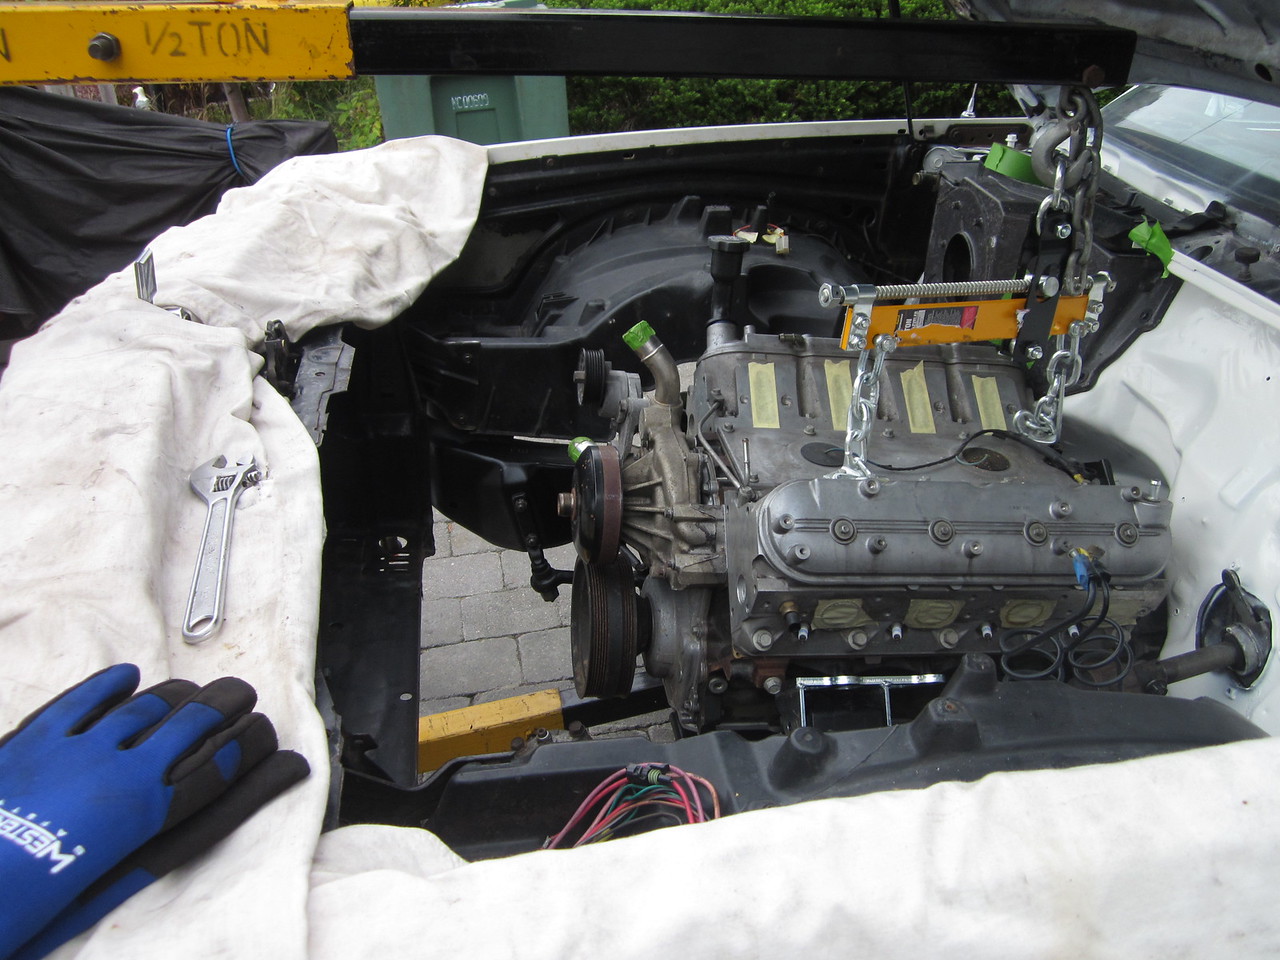
Yeah I see he wrote that just didn't know if he knew the setback on the mountsHe is doing it right. Those are the Holley mounts for a G body.
83 Buick Regal Estate Wagon 5.3 LS, bagged
- Thread starter vandall
- Start date
You are using an out of date browser. It may not display this or other websites correctly.
You should upgrade or use an alternative browser.
You should upgrade or use an alternative browser.
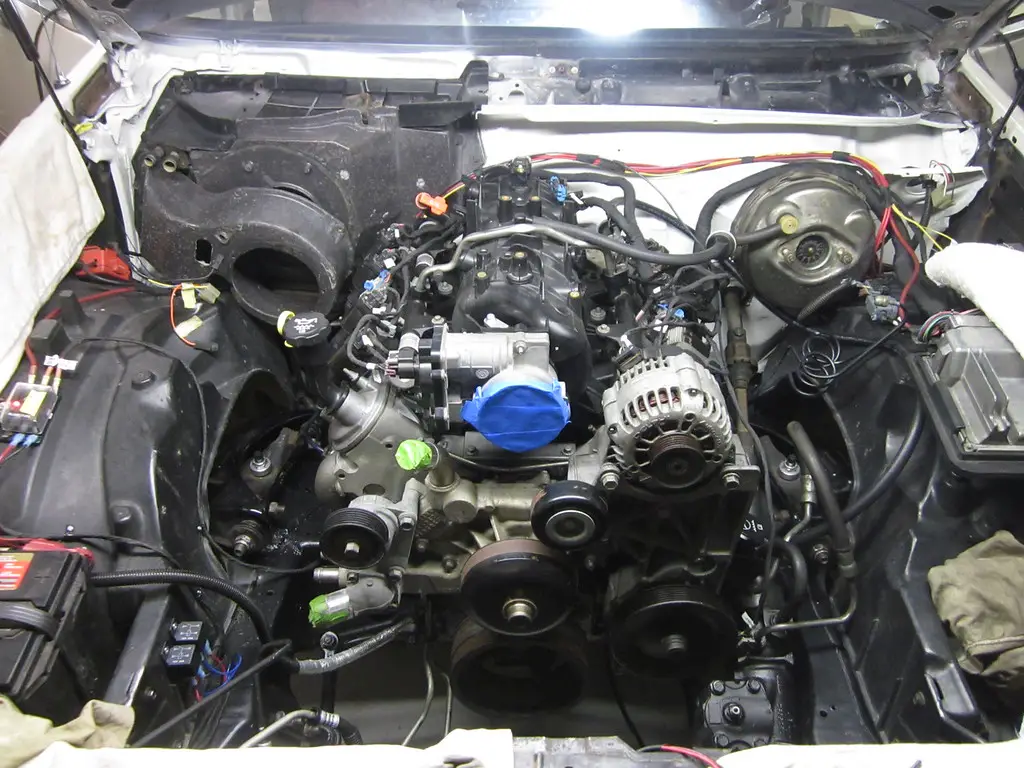
Hi Zeth, I imagine they are like 1" or more set back because the head is damn close to the heater box.. I looked at their site and it doesn't mention a specific amount:
https://www.holley.com/products/ls_...8_gm_g-body_ls_swap_components/parts/12643HKR
HTH
https://www.holley.com/products/ls_...8_gm_g-body_ls_swap_components/parts/12643HKR
HTH
I kind of researched a little last night I have a feeling ill end up making my own mounts because I'd like to move engine back 3-4"
Well, you might be able to find something, here are some 3" adjustables:
http://www.speedwaymotors.com/Adjustable-LS-Engine-Motor-Mount-Adapter-Bracket-Kit,100238.html
http://www.speedwaymotors.com/Adjustable-LS-Engine-Motor-Mount-Adapter-Bracket-Kit,100238.html
Having the perfect spot for a hidden system, I didn't know if it would fit until I could physically place the components in there.. bam! It fit perfect, even having too much room leftover but maybe I'll figure something else to jam in there in the future. The other trick to getting it to look OK was to figure out where and how to mount the much-bigger-than-I-assumed control and gauge panel. It's pretty deep. Eventually I settled on something like the box that lowriders tend to use, except to anchor it to something and try to make it look somewhat stock.
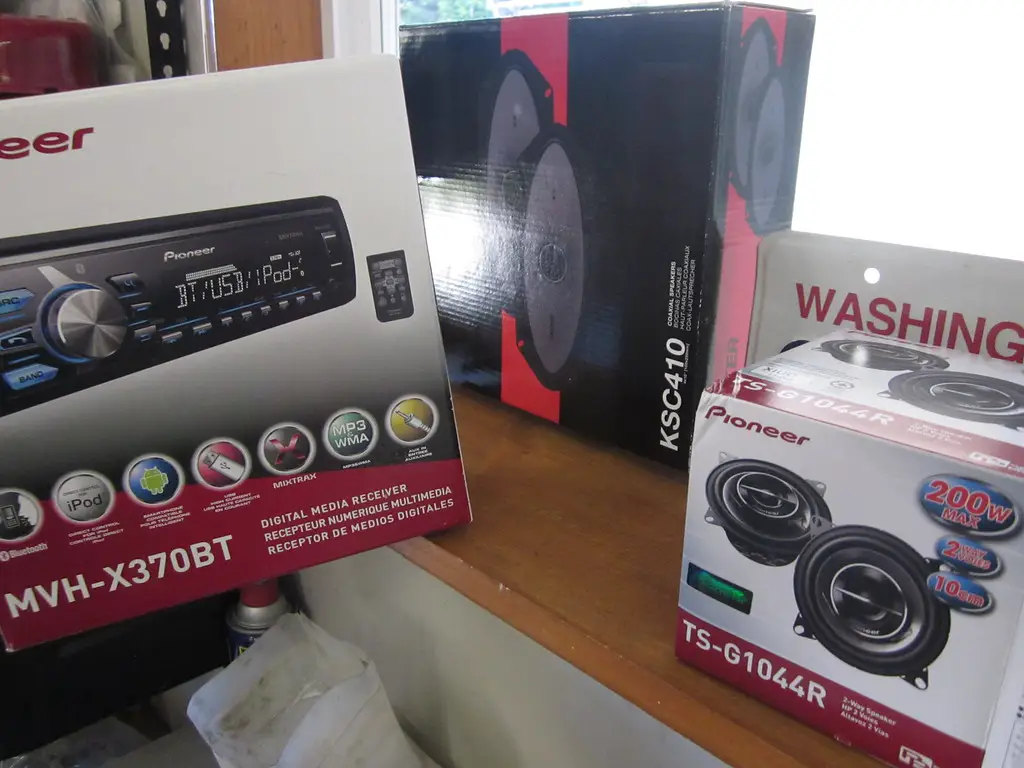
I got a new audio set up as the old speakers could barely put out any sounds.. they were toast and I'd like to make the car more functional and future proof. So I got a nice Pioneer digital only receiver with radio, too. And some decent speakers.. more on this later, but I had to cut in to the upper dash panel a little to make the small speakers fit properly, but once in place they are solid. I was worried the rears might be too heavy for the old plastic pegs to hold, but they seem good.
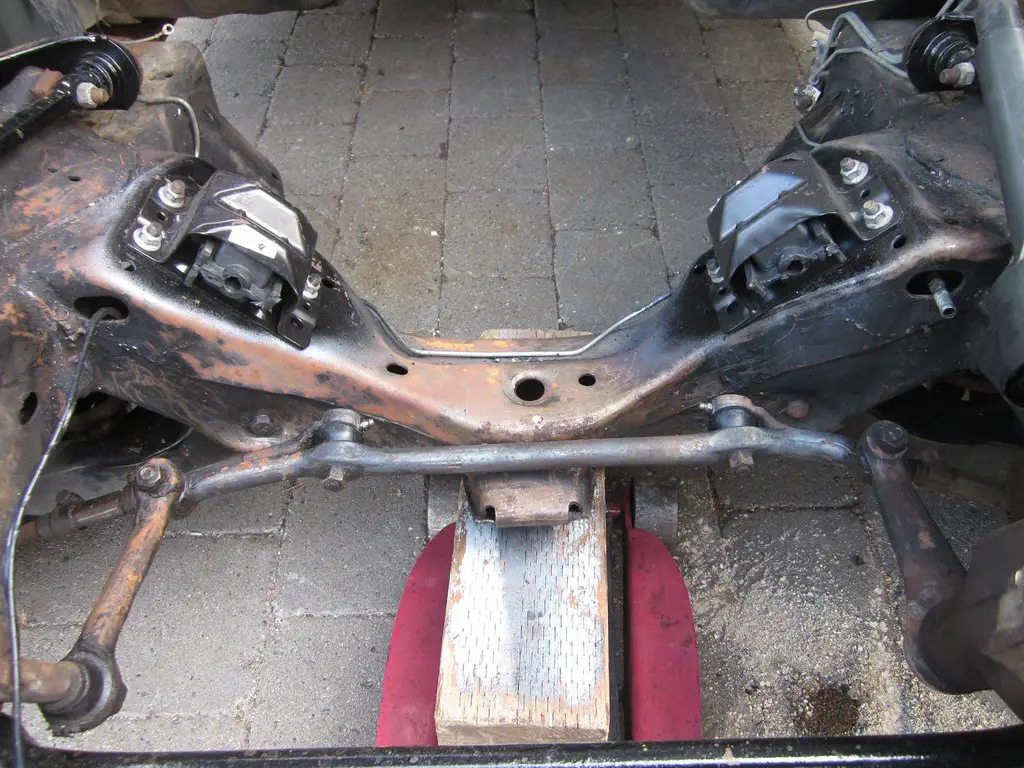
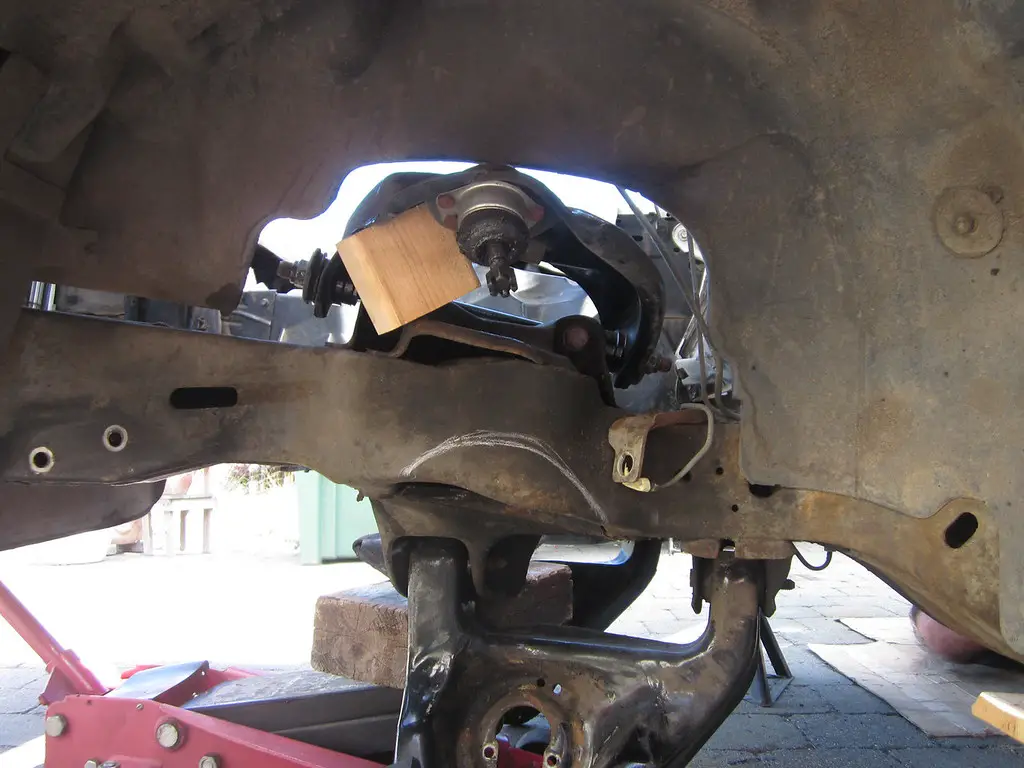
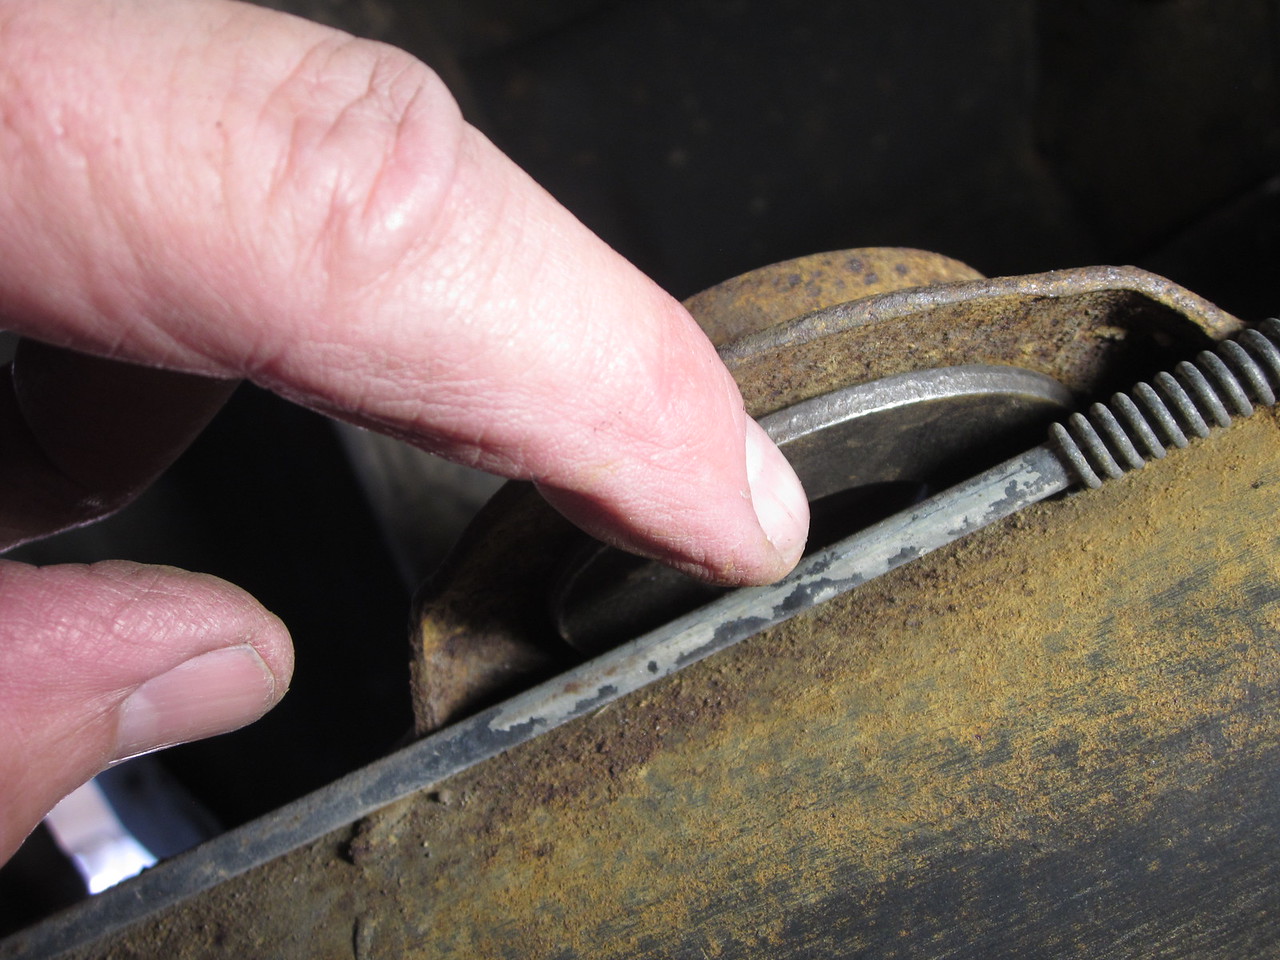
And then we started cutting in to the suspension to mount the air bags.. turns out the fronts are easier to do than the rears (at least on this wagon).You have to remove quite a bit of material around the old spring hat to make certain nothing touches the bags when they are fully inflated. This is the no-going-back part.
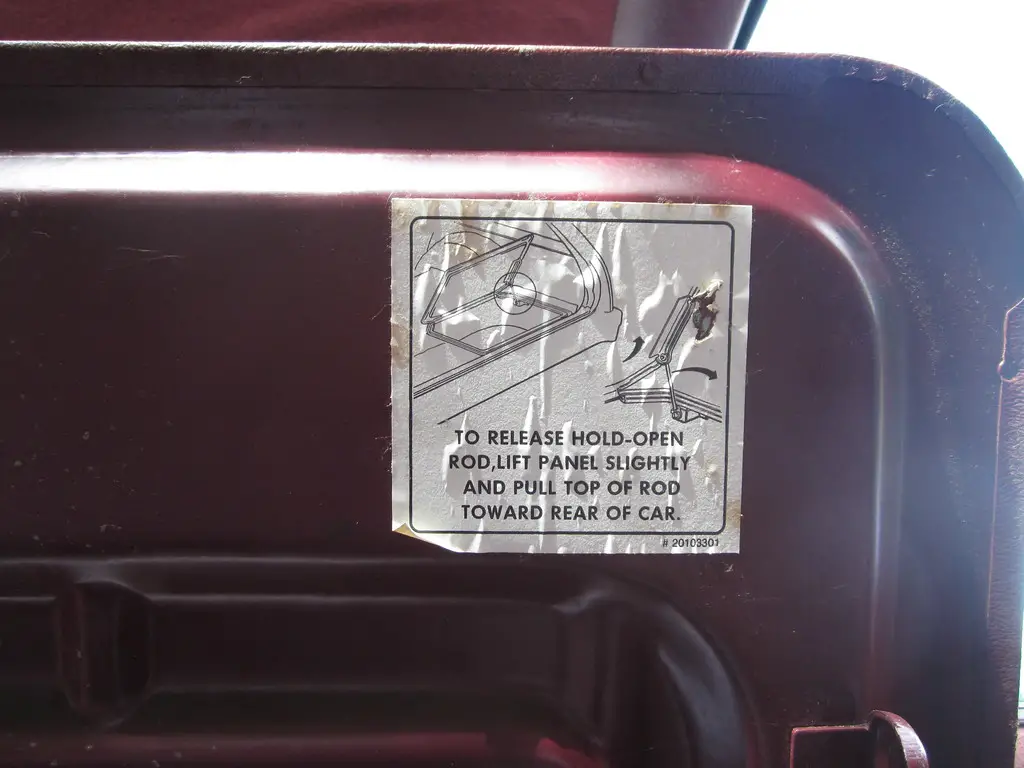
the old panel instructions are still intact
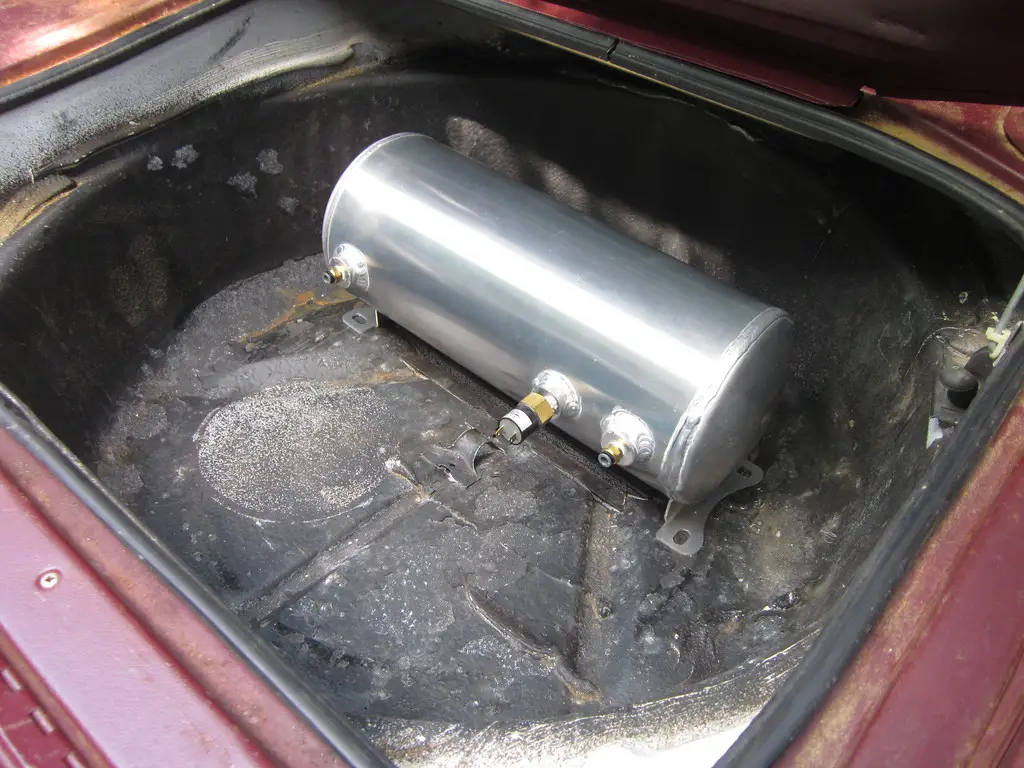
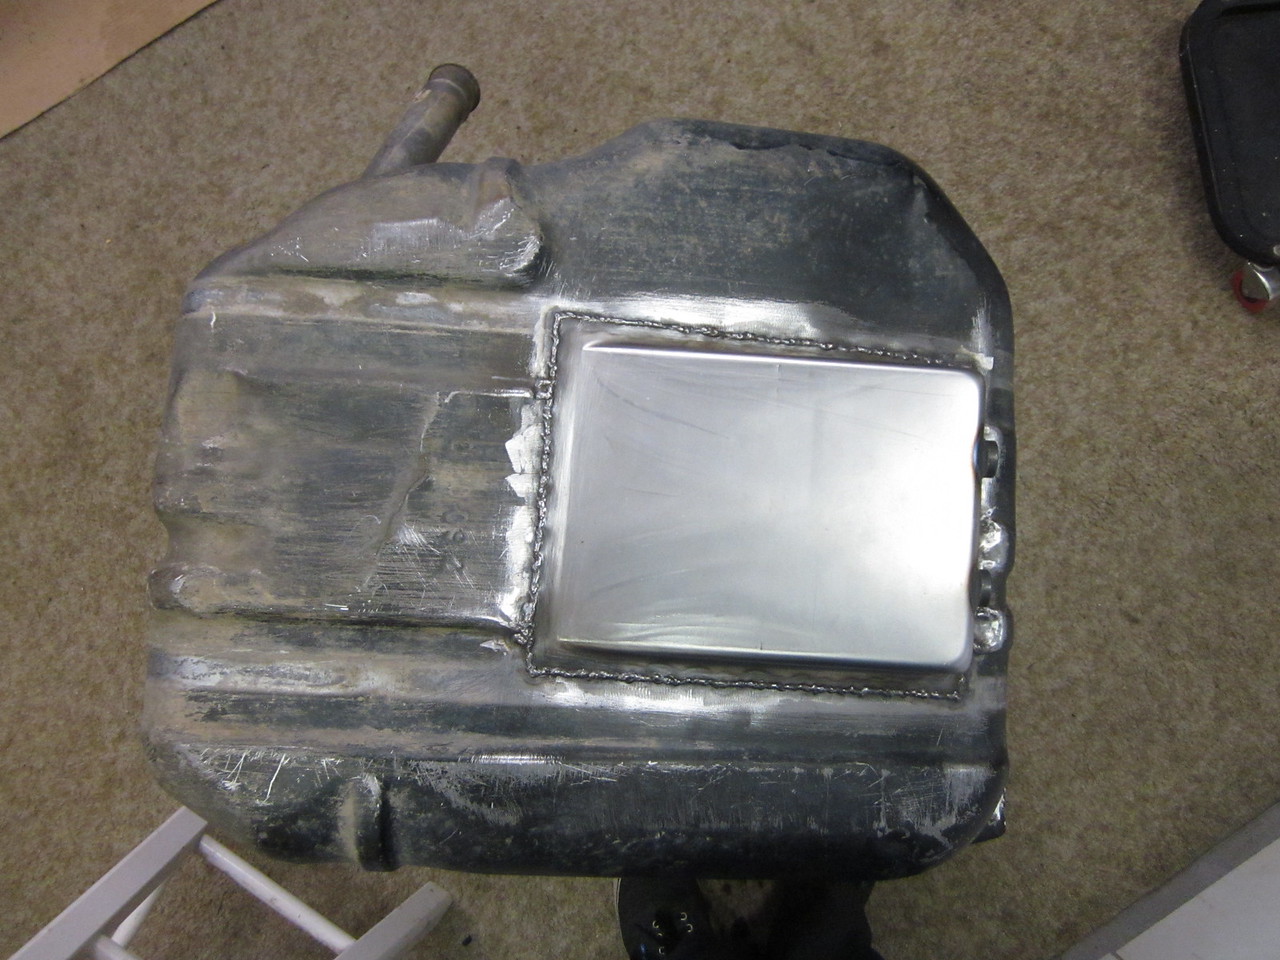
tank fits nicely
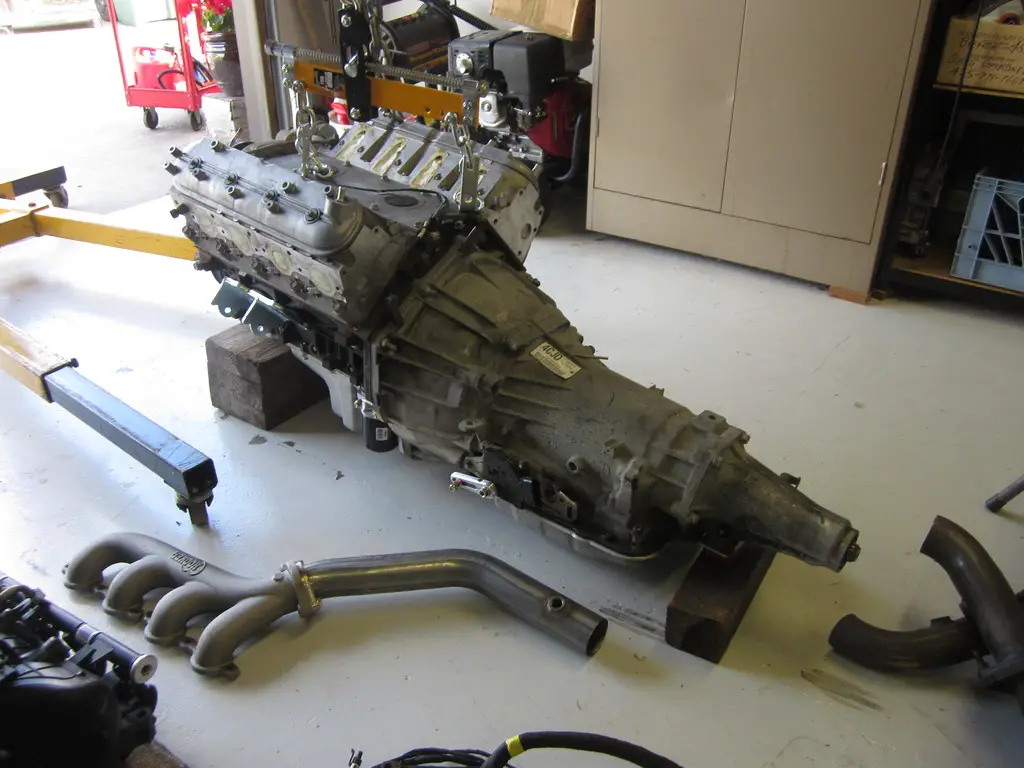
you can see the Lokar adjustable shift part on the trans, which we would ditch for the stock set up. Who needs to buy a discount Lokar shift kit?!
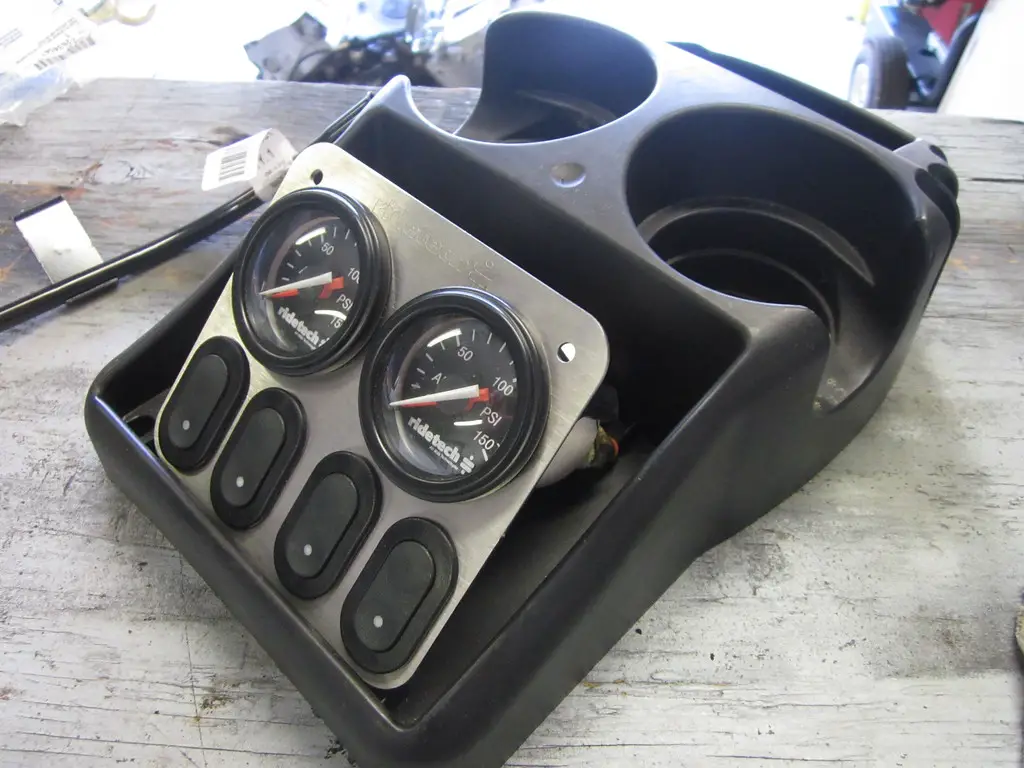
was contemplating using a plastic cup holder, which would be cool, but it was too shallow
final fitting of the new clamshells
sweeeeet
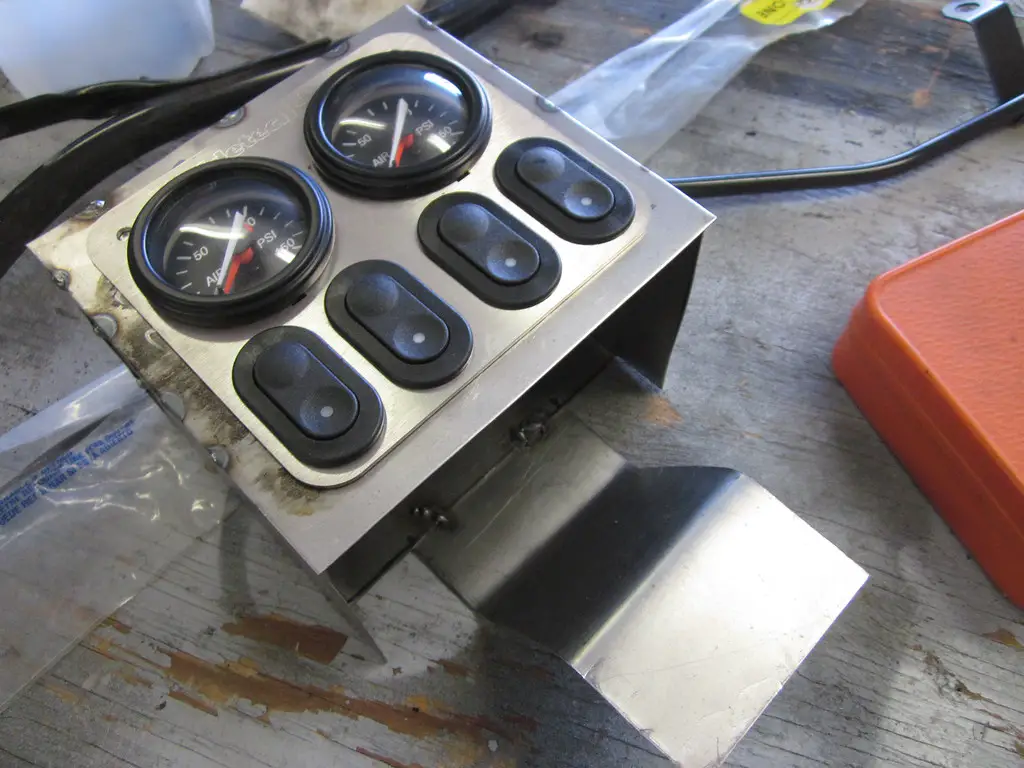
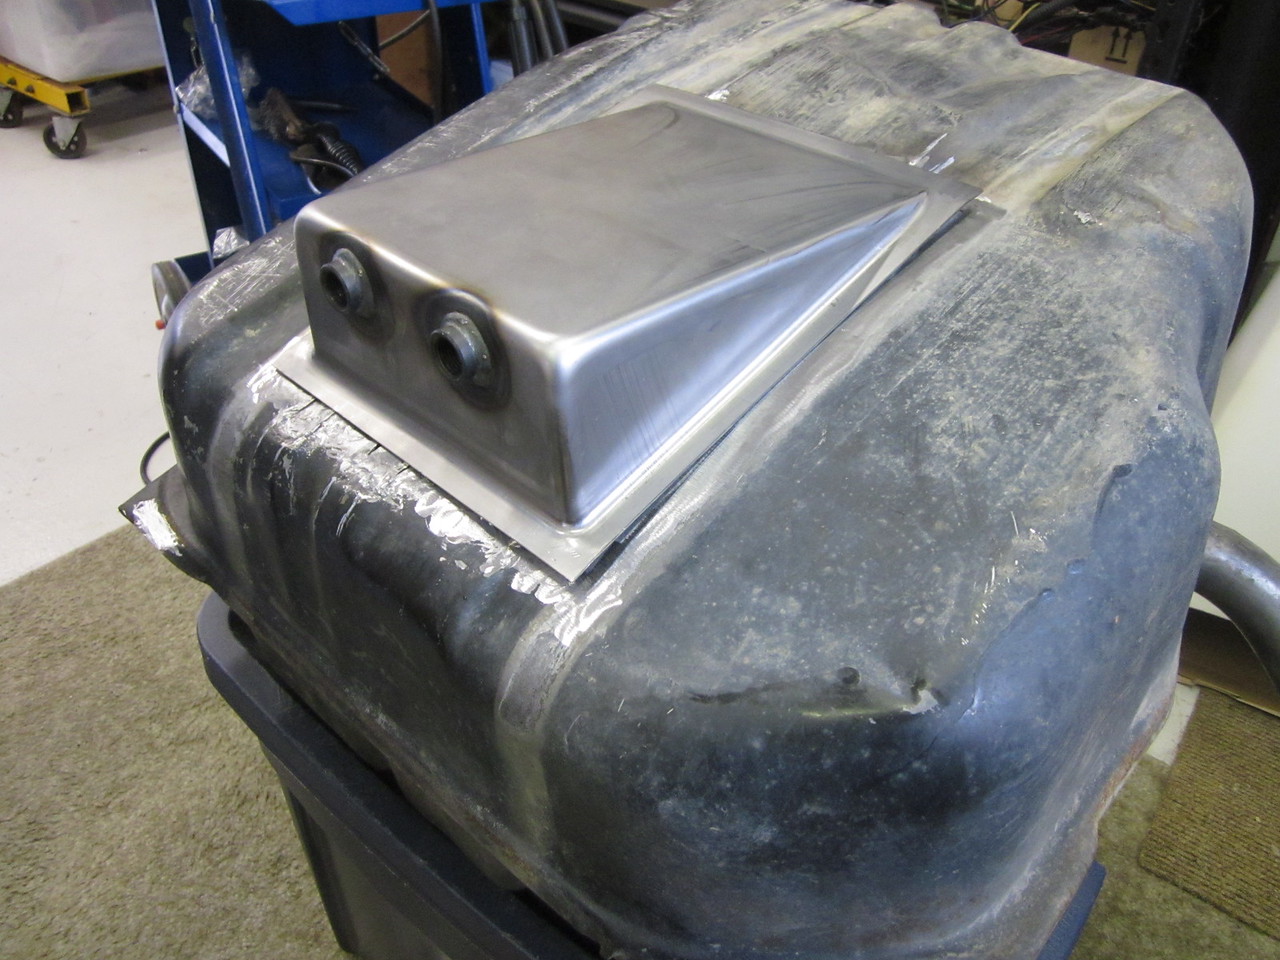
the old man fabbed up a cool little control box
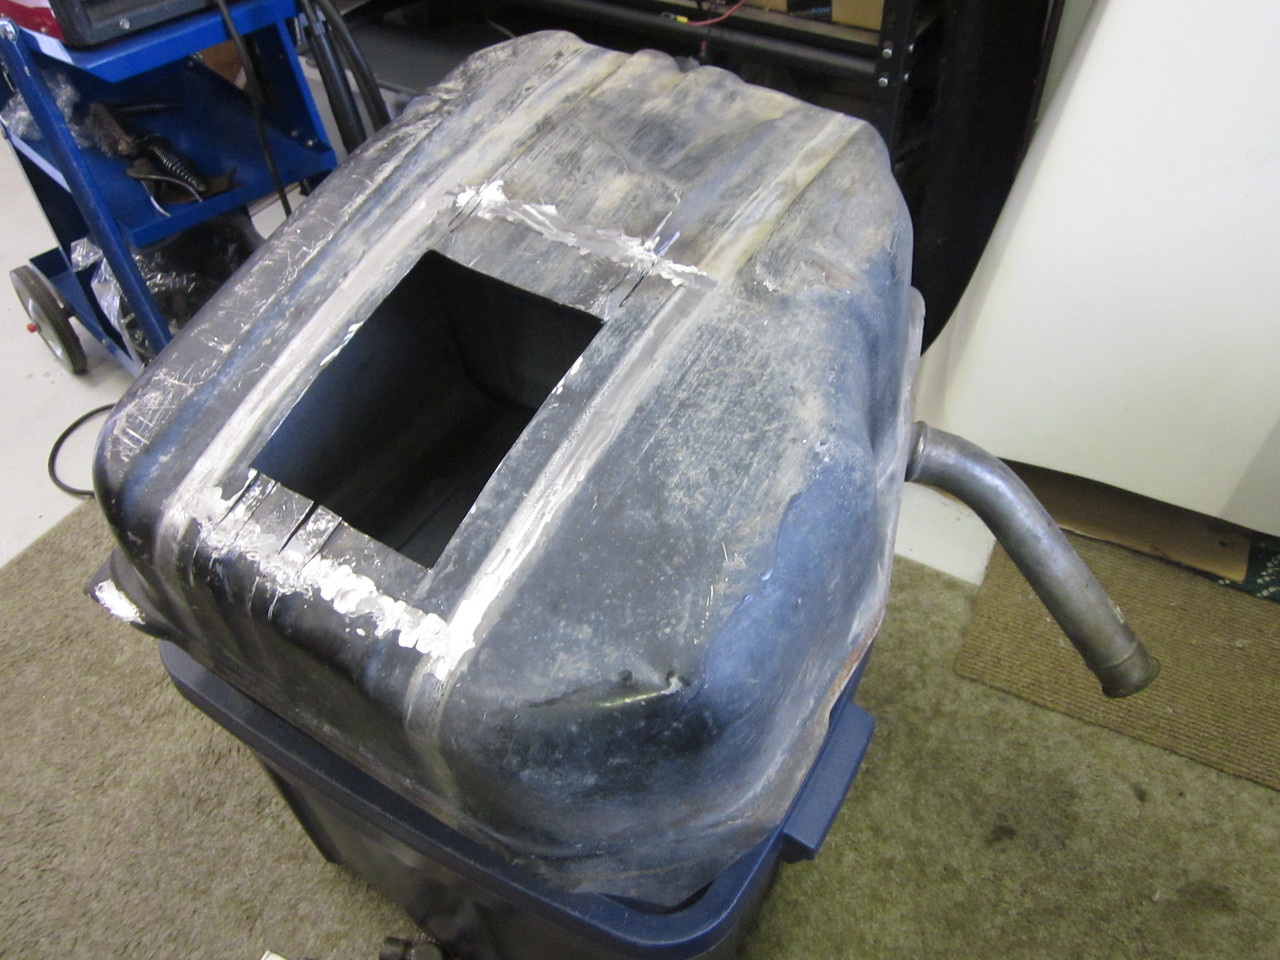
we will tack it to the underside where it goes over the hump.. be careful! this can easily start a fire!
you can see the cut line we drew - this is the outside, the inside also needs to be hacked up
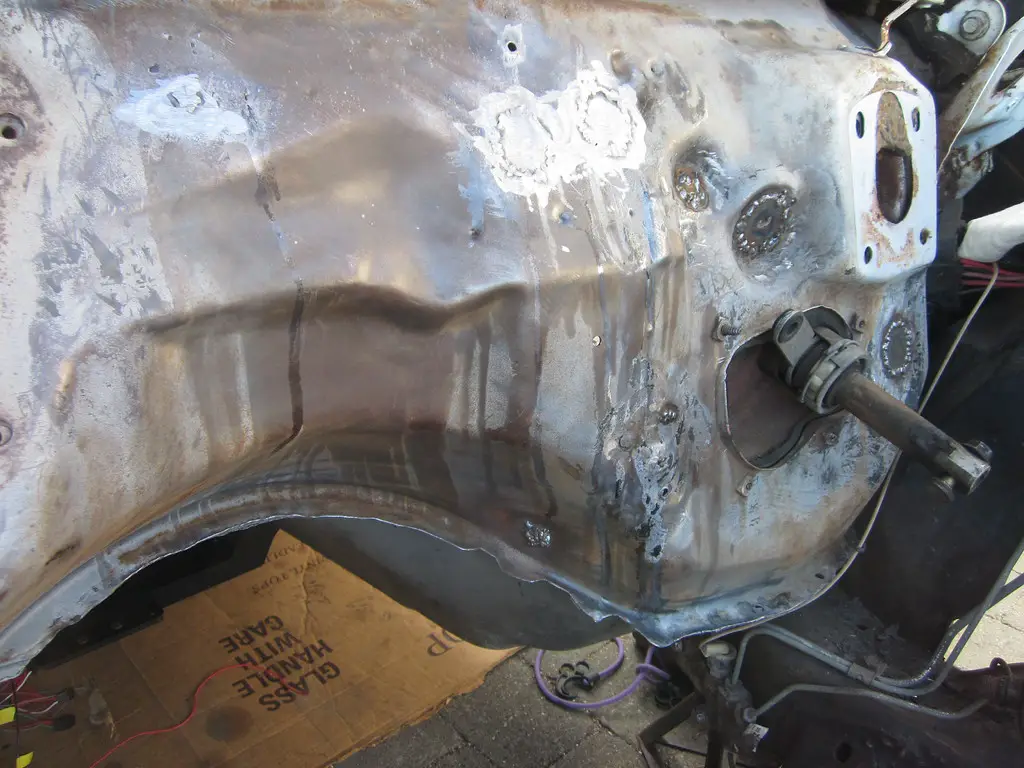
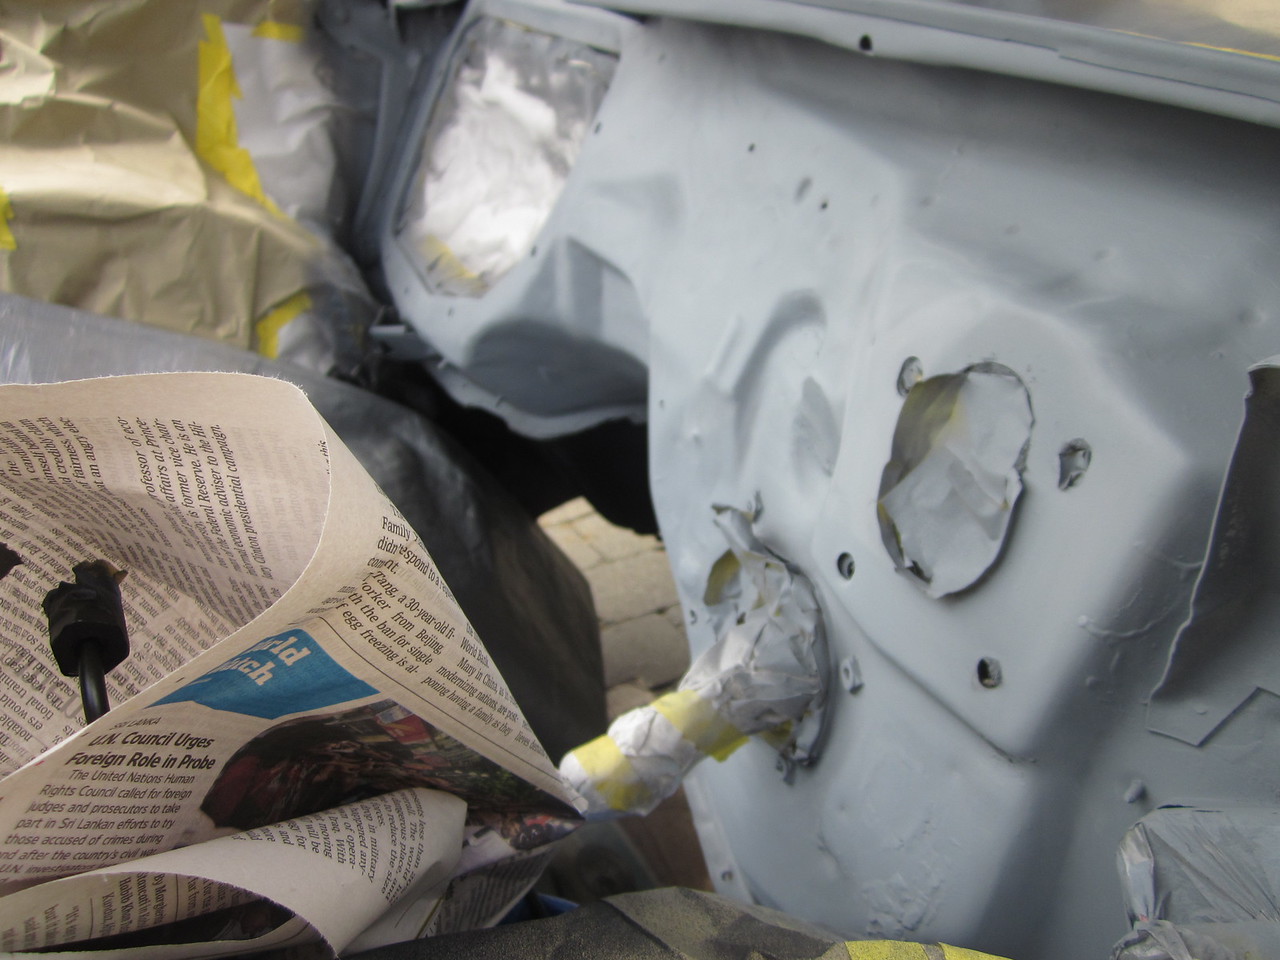
ugly firewall being prepped, holes filled, etc
ta-dah
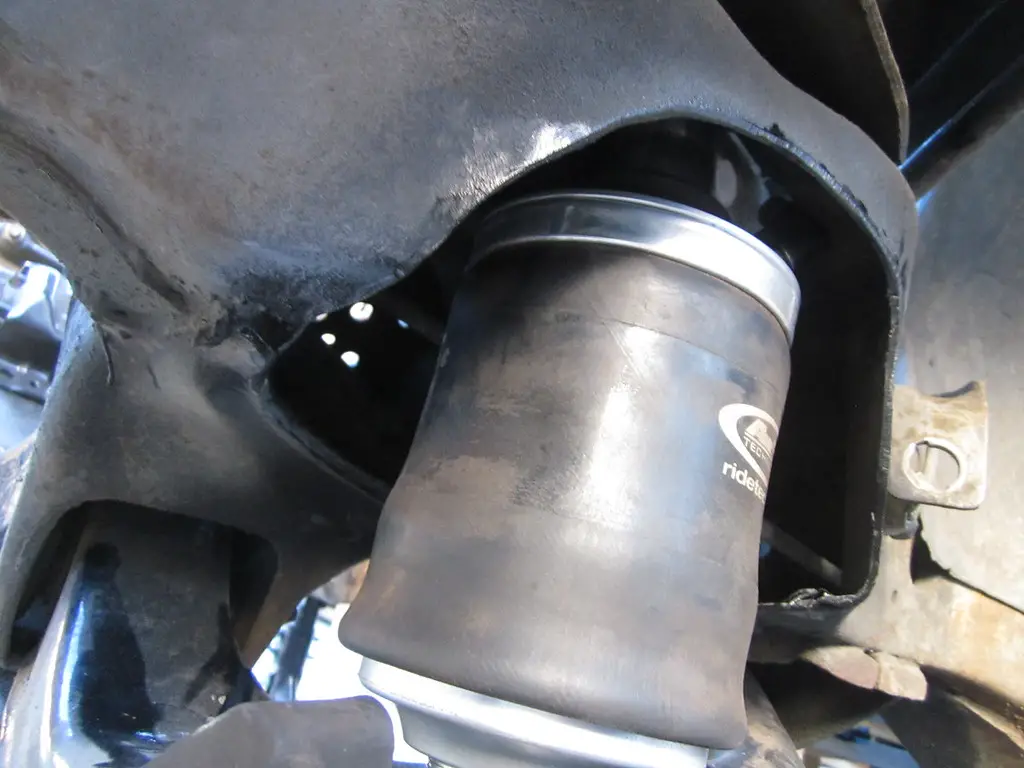
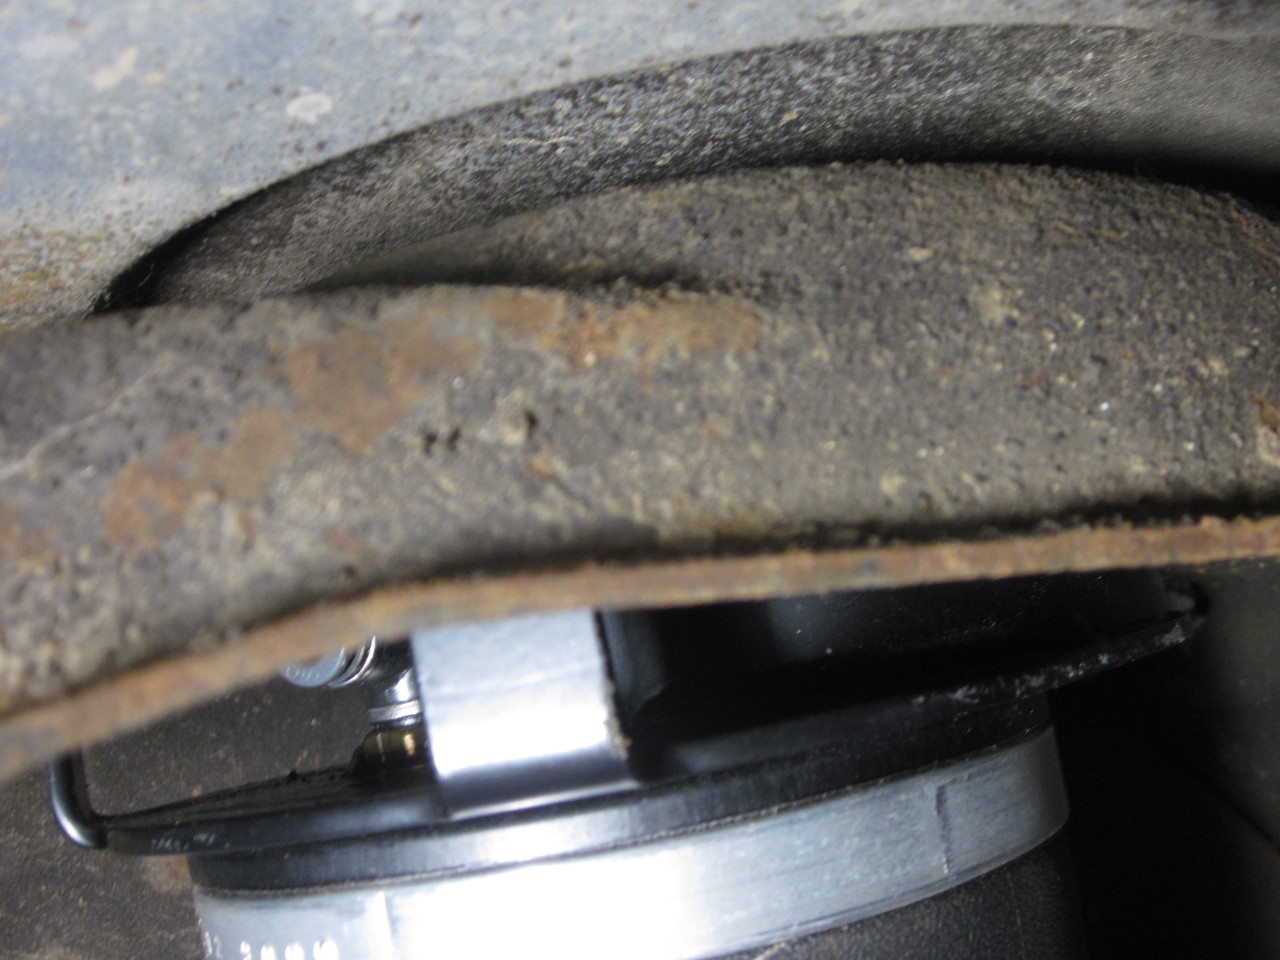
you can't really see up there, but the fingers that hold the spring in place need to be removed, plus we had to take out some extra once we figured out it was contacting the air line valve
I got a new audio set up as the old speakers could barely put out any sounds.. they were toast and I'd like to make the car more functional and future proof. So I got a nice Pioneer digital only receiver with radio, too. And some decent speakers.. more on this later, but I had to cut in to the upper dash panel a little to make the small speakers fit properly, but once in place they are solid. I was worried the rears might be too heavy for the old plastic pegs to hold, but they seem good.
And then we started cutting in to the suspension to mount the air bags.. turns out the fronts are easier to do than the rears (at least on this wagon).You have to remove quite a bit of material around the old spring hat to make certain nothing touches the bags when they are fully inflated. This is the no-going-back part.
the old panel instructions are still intact
tank fits nicely
you can see the Lokar adjustable shift part on the trans, which we would ditch for the stock set up. Who needs to buy a discount Lokar shift kit?!
was contemplating using a plastic cup holder, which would be cool, but it was too shallow
final fitting of the new clamshells
sweeeeet
the old man fabbed up a cool little control box
we will tack it to the underside where it goes over the hump.. be careful! this can easily start a fire!
you can see the cut line we drew - this is the outside, the inside also needs to be hacked up
ugly firewall being prepped, holes filled, etc
ta-dah
you can't really see up there, but the fingers that hold the spring in place need to be removed, plus we had to take out some extra once we figured out it was contacting the air line valve
Honestly I think you're overthinking the fuel system. I have no idea weather wagons are a car or el camino style tank (or their own for that matter). But what i've done is order a tbi sending unit for that body style and tank size and then order a walbro 255 with a universal install kit. Install the walbro on the tbi sending unit and you're done. Run your feed and return with AN 6 lines straight to the rail and back to the feed and return on the sending unit at the tank. Put a filter in the feed and your vent tube where you may please. Can use real AN fittings or just good fuel injection clamps. AN fuel hose isn't that bad when you buy in bulk but I prefer the black nylon stuff. It's what I run on my c10 swap and what I will run in my el camino swap. If it's an el camino style tank you might be just want to mod the stock sender as i've been unable to find TBI sending units for the el caminos and have no idea if the monte ones will work.
Honestly I think you're overthinking the fuel system.
Yeah I most definitely have overthought it.. I wish I had experience in setting up custom FI systems but going in to it with little knowledge caused a lot of headaches. I'm not sure if I could have got the correct TBI unit for my tank, but that is a great idea. I know that a lot of people just cut the original pick up line and put an inline pump and then cut and put the original pick up back on.. honestly that may have worked better. Like I mentioned before the system as it currently is is not optimal and I'll probably be upgrading somehow in the future. The shape at least on my wagon is much more square than flat rectangle that most cars use.
Onward and downward! If the front bag installs were tricky, it's cake compared to the rear. These cars may have slightly different geometry because in the instructions it sounds super easy.. but in reality it took some ingenuity to make everything work. The spring perch on the rear end sits way too close to the axle tube to slip a bolt in there, let alone get a wrench on it.. and the upper is also too close to work the connector on as well. So, we had to tack the bolt head to the tube to hold it in place. Then we spun the bag on that (it doesn't have to be torqued, it's just to hold it down). And the tops required lifting the body slightly which of course damaged the rear bumper fillers because we were lazy and didn't fully disassemble the rear bumper, etc.. I got the fronts from gbodyparts but still need to order rears eventually. Pics...
too close for comfort
also no room to work
there's also a big washer plate that goes under the perch
much better already
finishing parts in chassis black
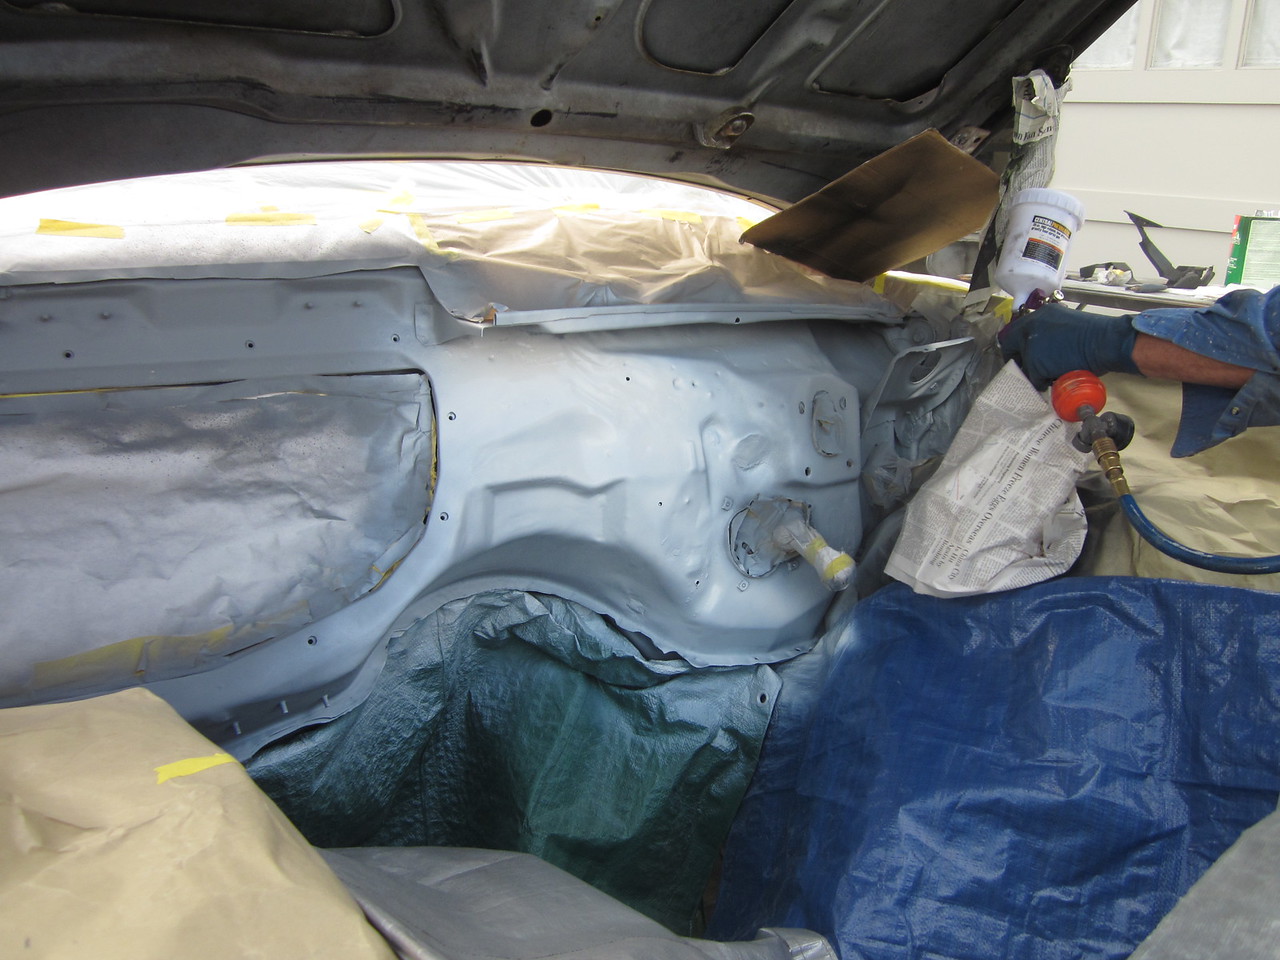
laying down some white which of course is much brighter than the original paint.. someday maybe I'll repaint.. maybe
no turning back!
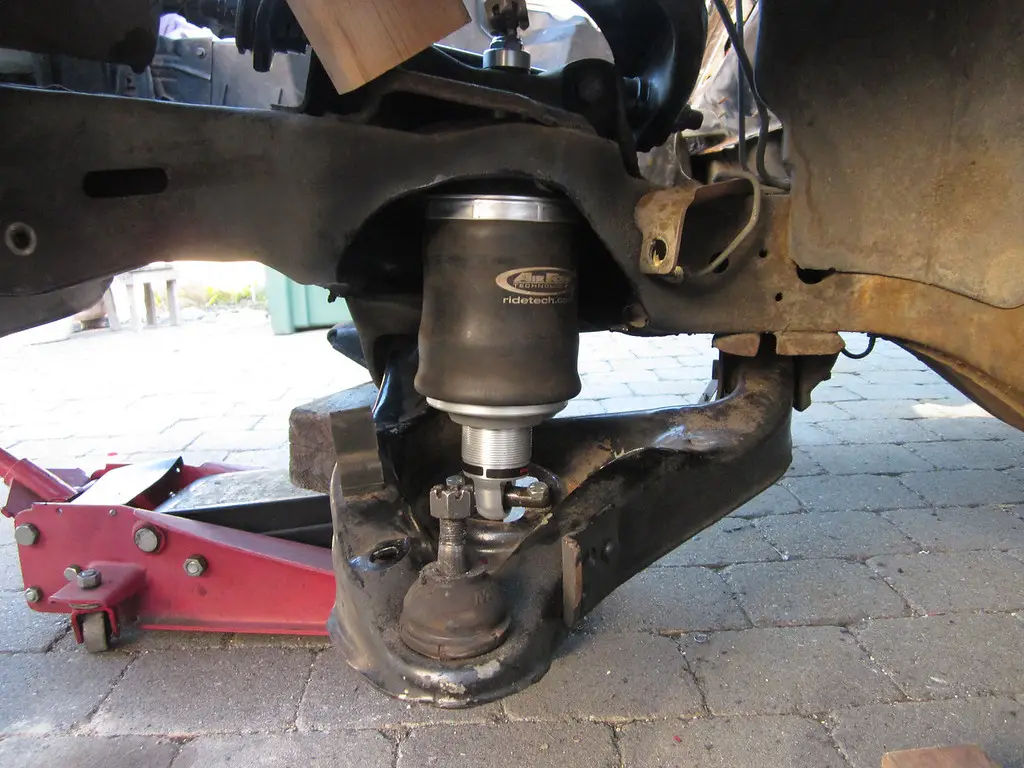
checking fit
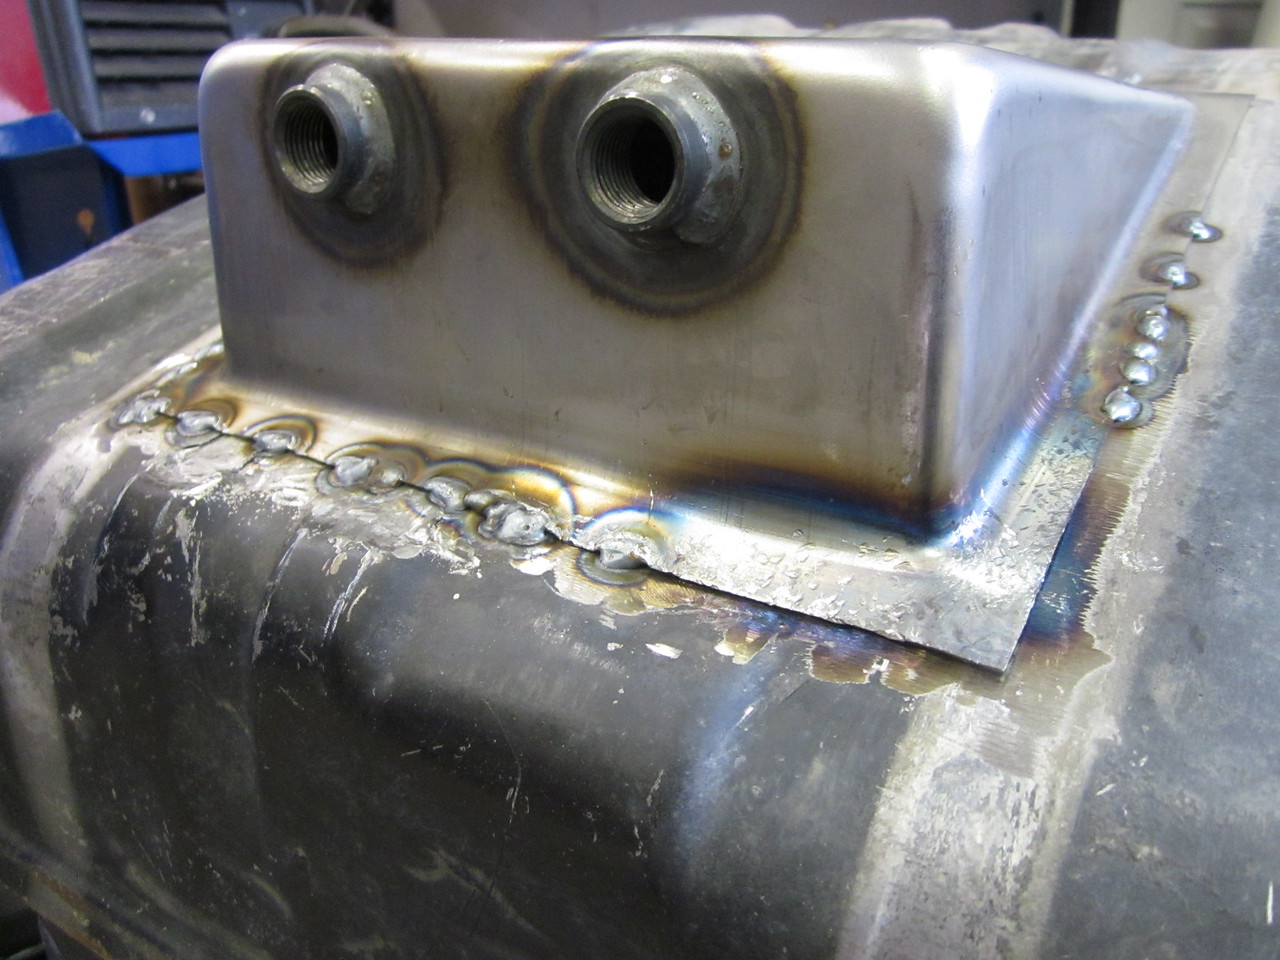
tacking and hammering.. of course THIS spot will end up being a problem area for leaks
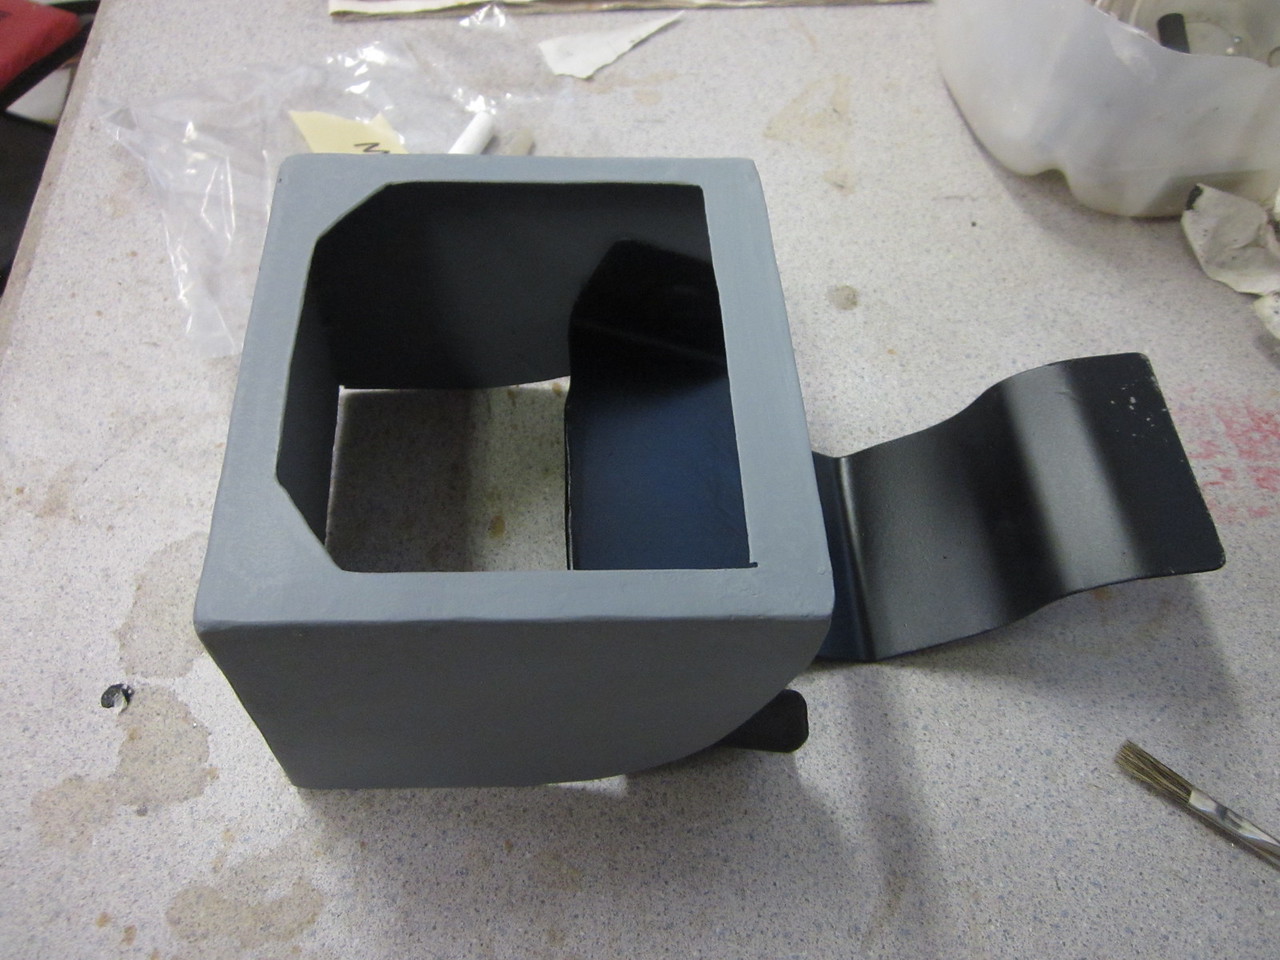
custom control box is taking shape
first round done
final fit with the painted firewall.. of course it touched somewhere - it's inevitable
If the front bag installs were tricky, it's cake compared to the rear. These cars may have slightly different geometry because in the instructions it sounds super easy.. but in reality it took some ingenuity to make everything work. The spring perch on the rear end sits way too close to the axle tube to slip a bolt in there, let alone get a wrench on it.. and the upper is also too close to work the connector on as well. So, we had to tack the bolt head to the tube to hold it in place. Then we spun the bag on that (it doesn't have to be torqued, it's just to hold it down). And the tops required lifting the body slightly which of course damaged the rear bumper fillers because we were lazy and didn't fully disassemble the rear bumper, etc.. I got the fronts from gbodyparts but still need to order rears eventually. Pics...
too close for comfort
also no room to work
there's also a big washer plate that goes under the perch
much better already
finishing parts in chassis black
laying down some white which of course is much brighter than the original paint.. someday maybe I'll repaint.. maybe
no turning back!
checking fit
tacking and hammering.. of course THIS spot will end up being a problem area for leaks
custom control box is taking shape
first round done
final fit with the painted firewall.. of course it touched somewhere - it's inevitable
Not sure that I talked much about it, but for the aftermarket HVAC system I wanted to make that right.. since it's not typically hot here I wanted to revert it to the stock heater-only system. I luckily found someone parting out a 79 Malibu with the complete intact heater system from the control panel to all plastic ducting and the fan/core housing. I jumped on it and one very awkward ferry ride later I had all the parts for the swap. Unfortunately the dealer had hacked up the car something awful so not everything is fully functional such as the vents. They had cut those cables directly under the steering column so I'm not sure I will ever be able to find that replacement panel and controls fully intact. We removed a lot of the wiring harness they had integrated as well.
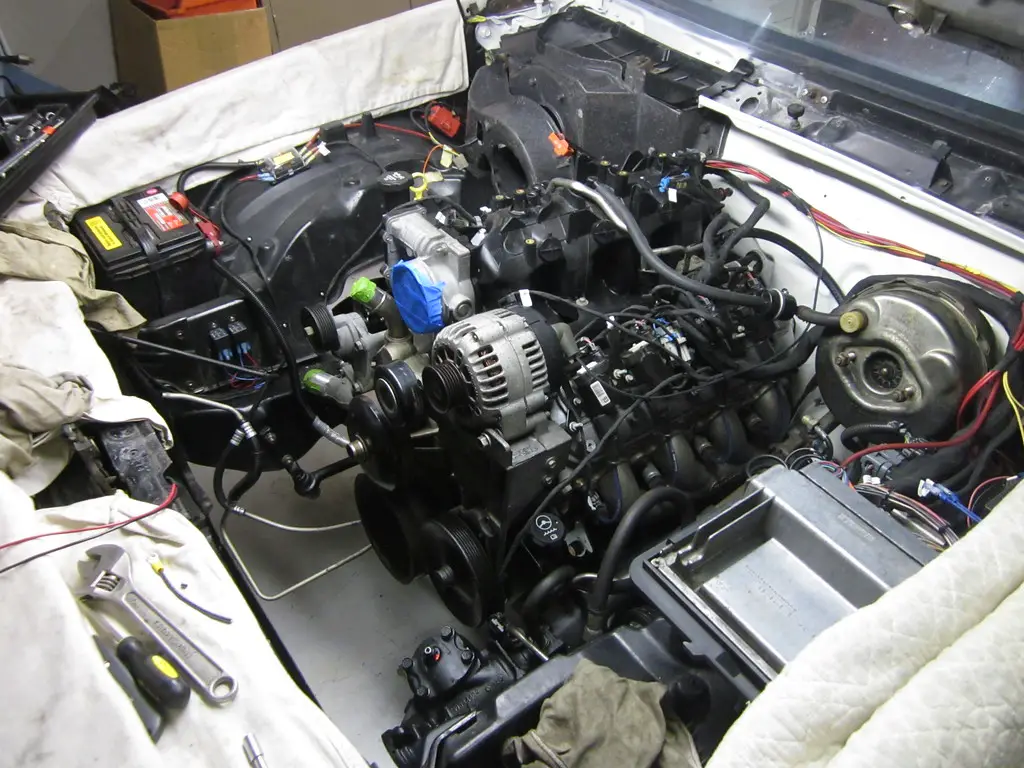
Here are some of the latest photos of the project.
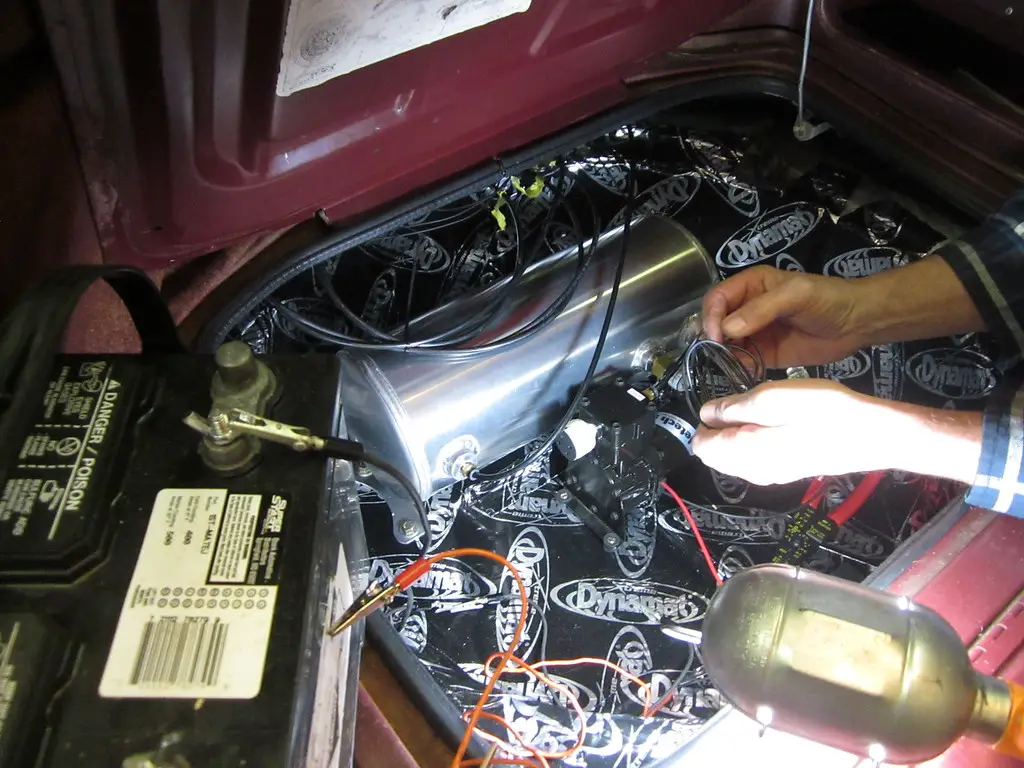
testing the air bag system.. turns out I needed to replace the push in valves in the manifold as the tank slowly loses air over a couple days period
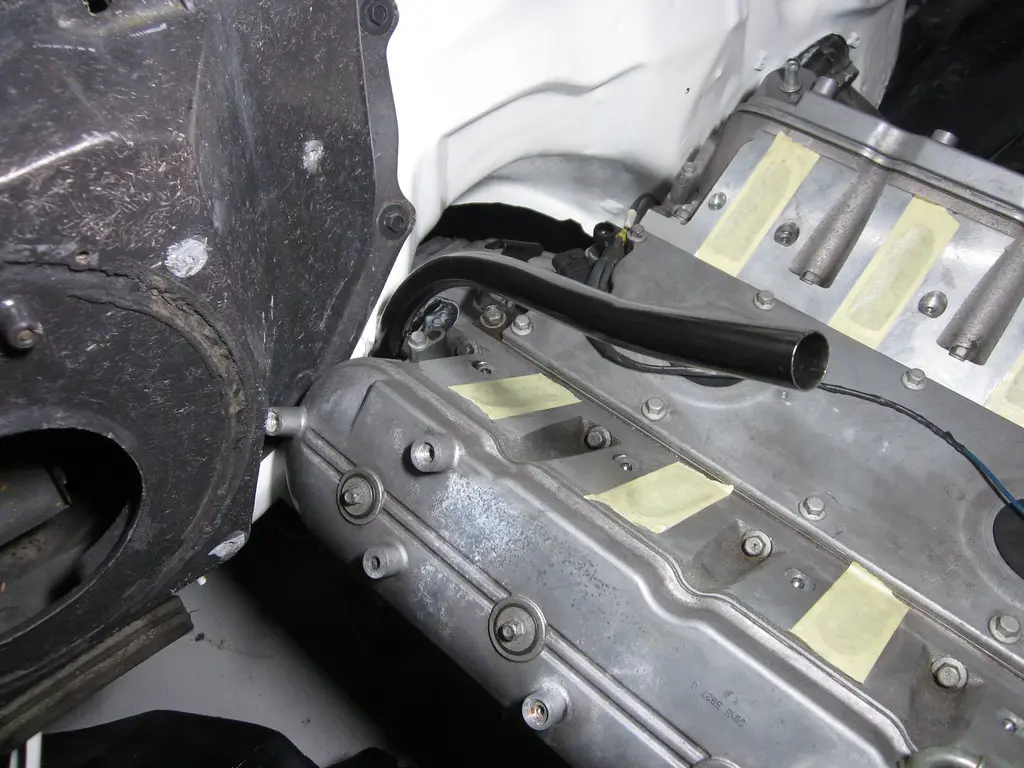
I used the stock trans dipstick tube but it rubs very hard on the firewall.. I still need to bend it to relieve that pressure
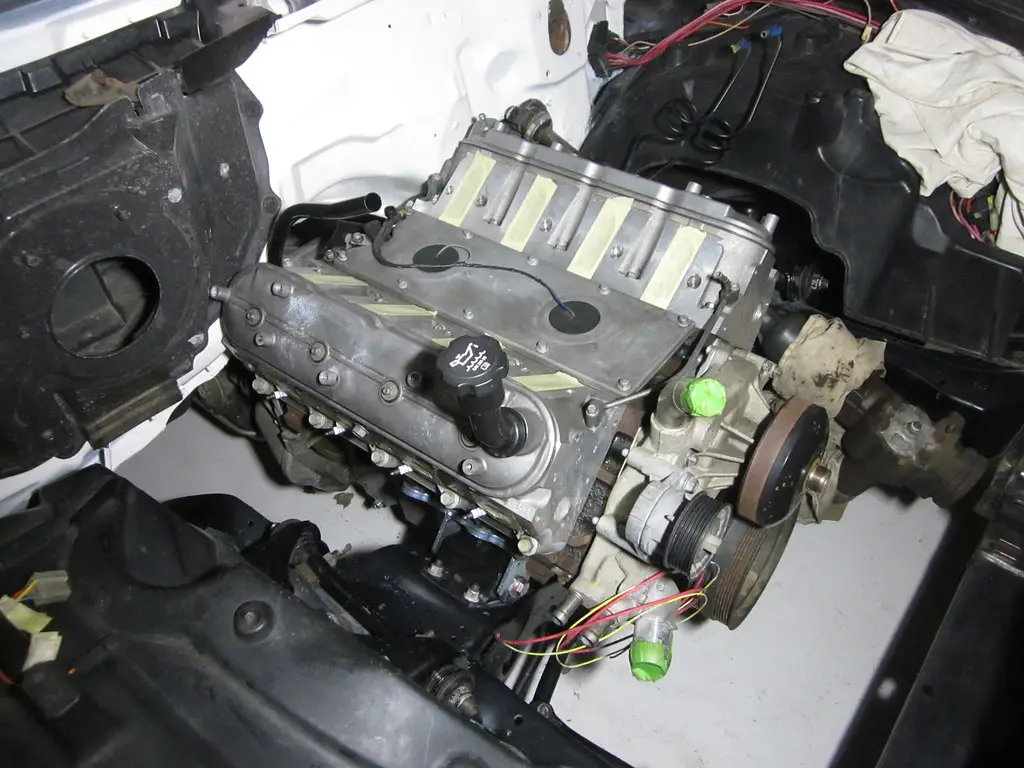
it fits really nice with plenty of room without all the accessories
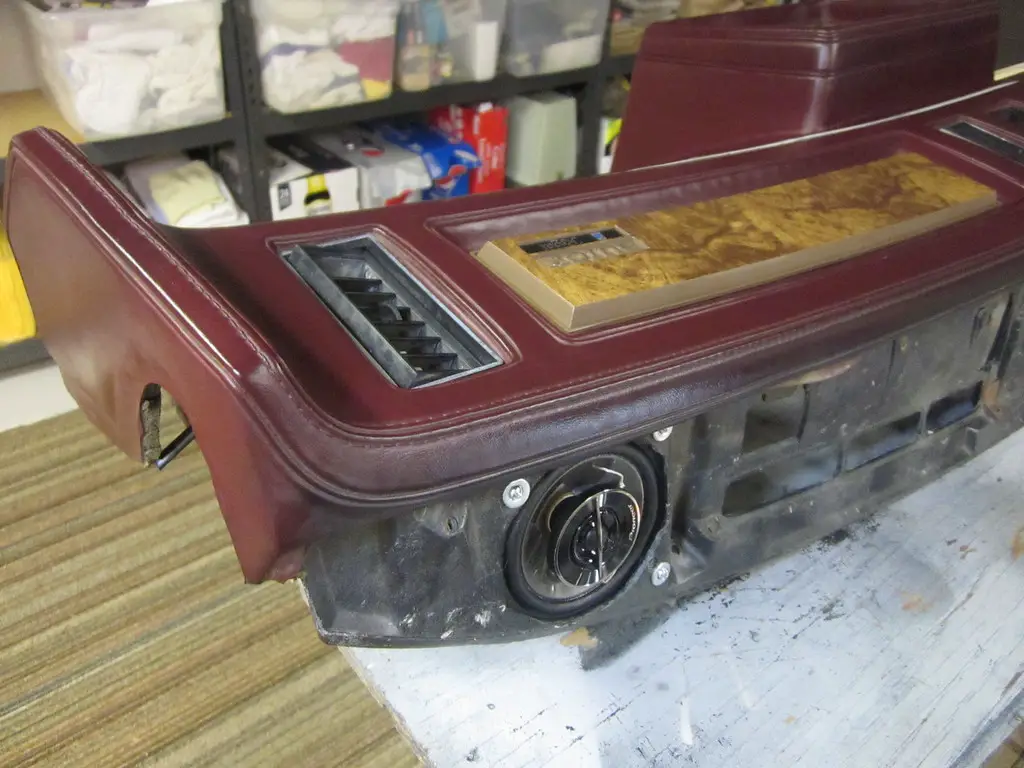
only had to cut out a little plastic to clearance the foam lip on the front speakers...
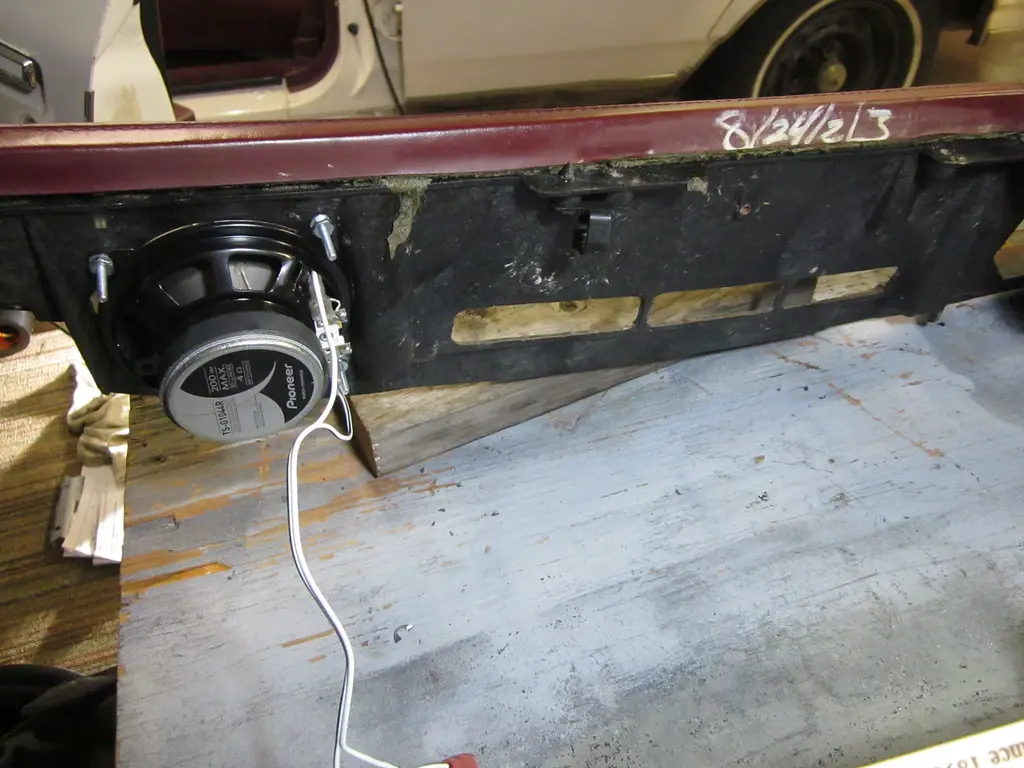
...and used only 3 bolts due to the space not allowing that outside corner to fit right.. since I used small bolts with nylock nuts I made sure they were solidly mounted
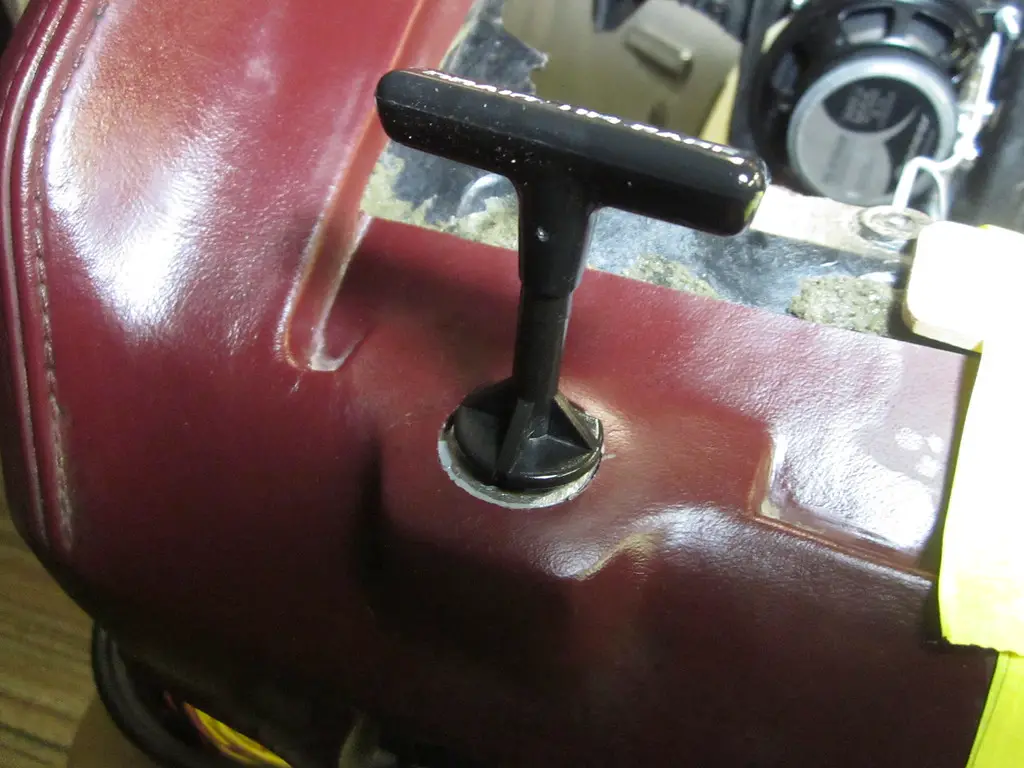
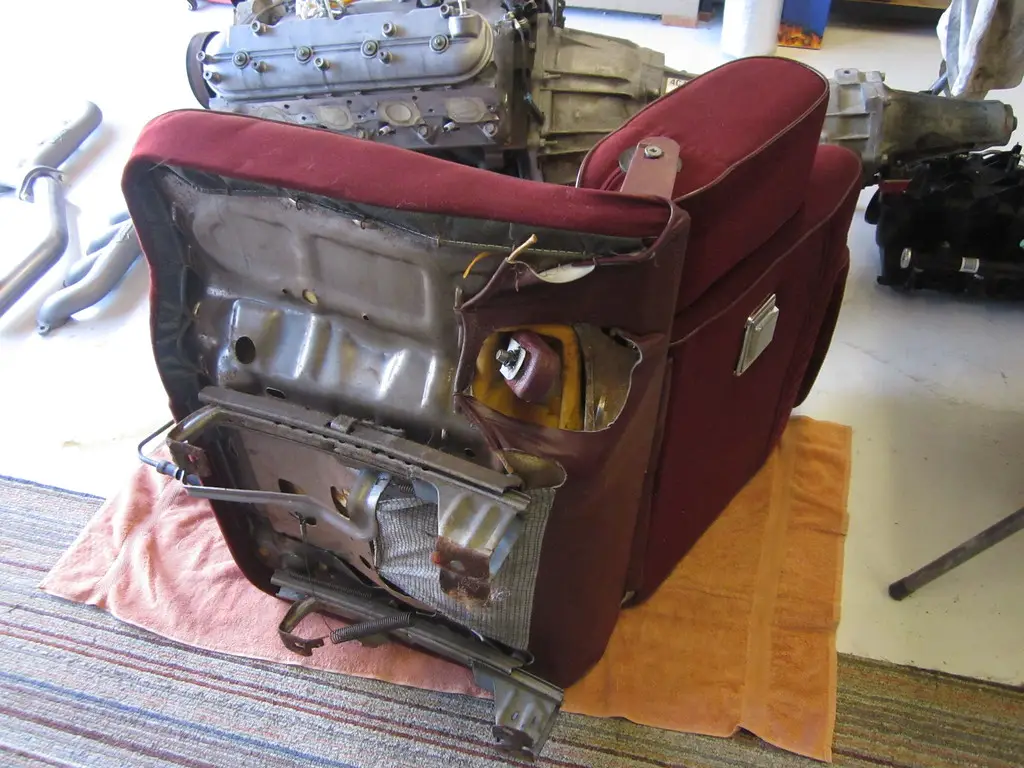
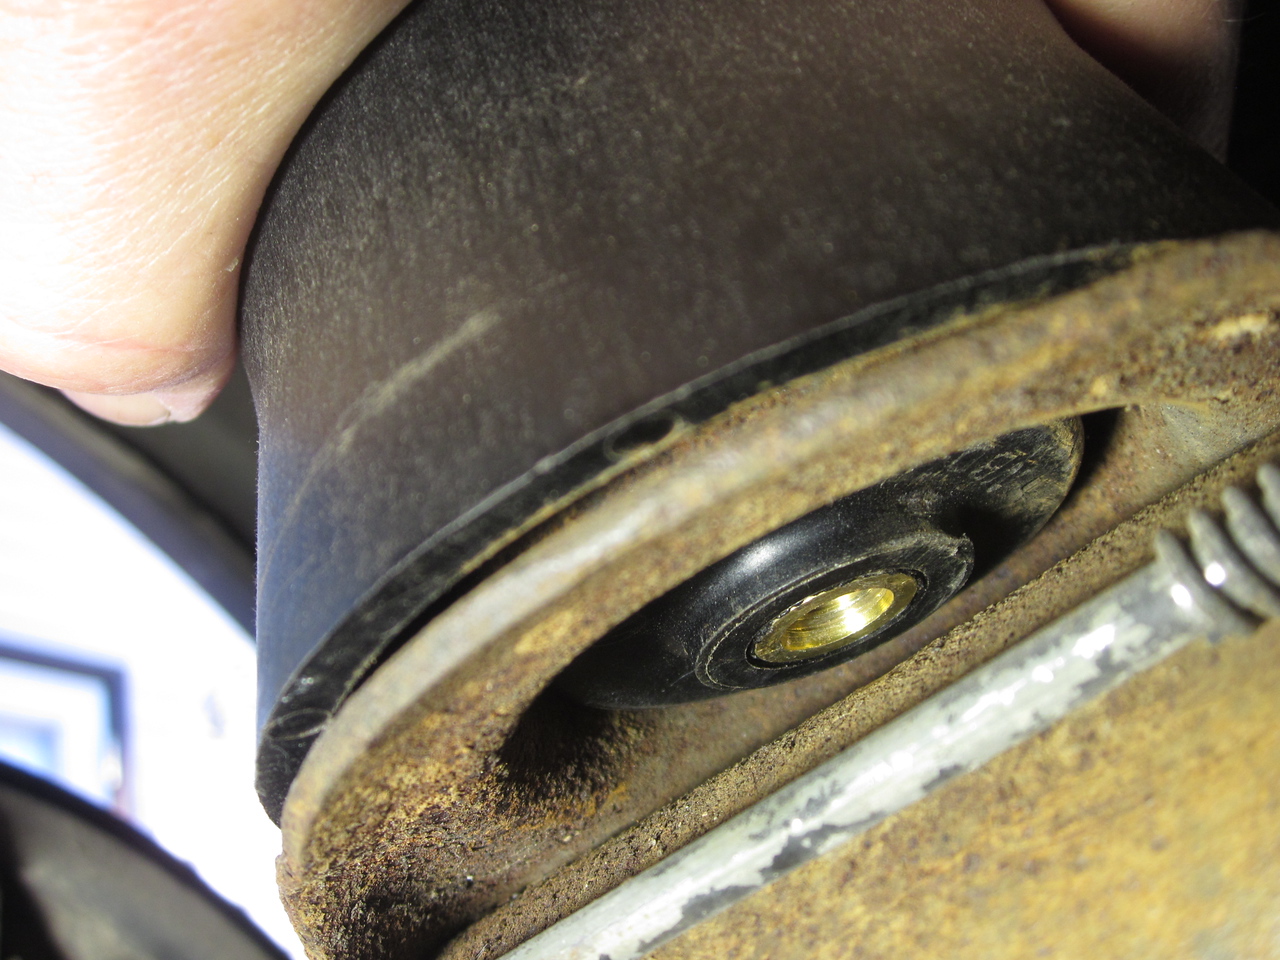
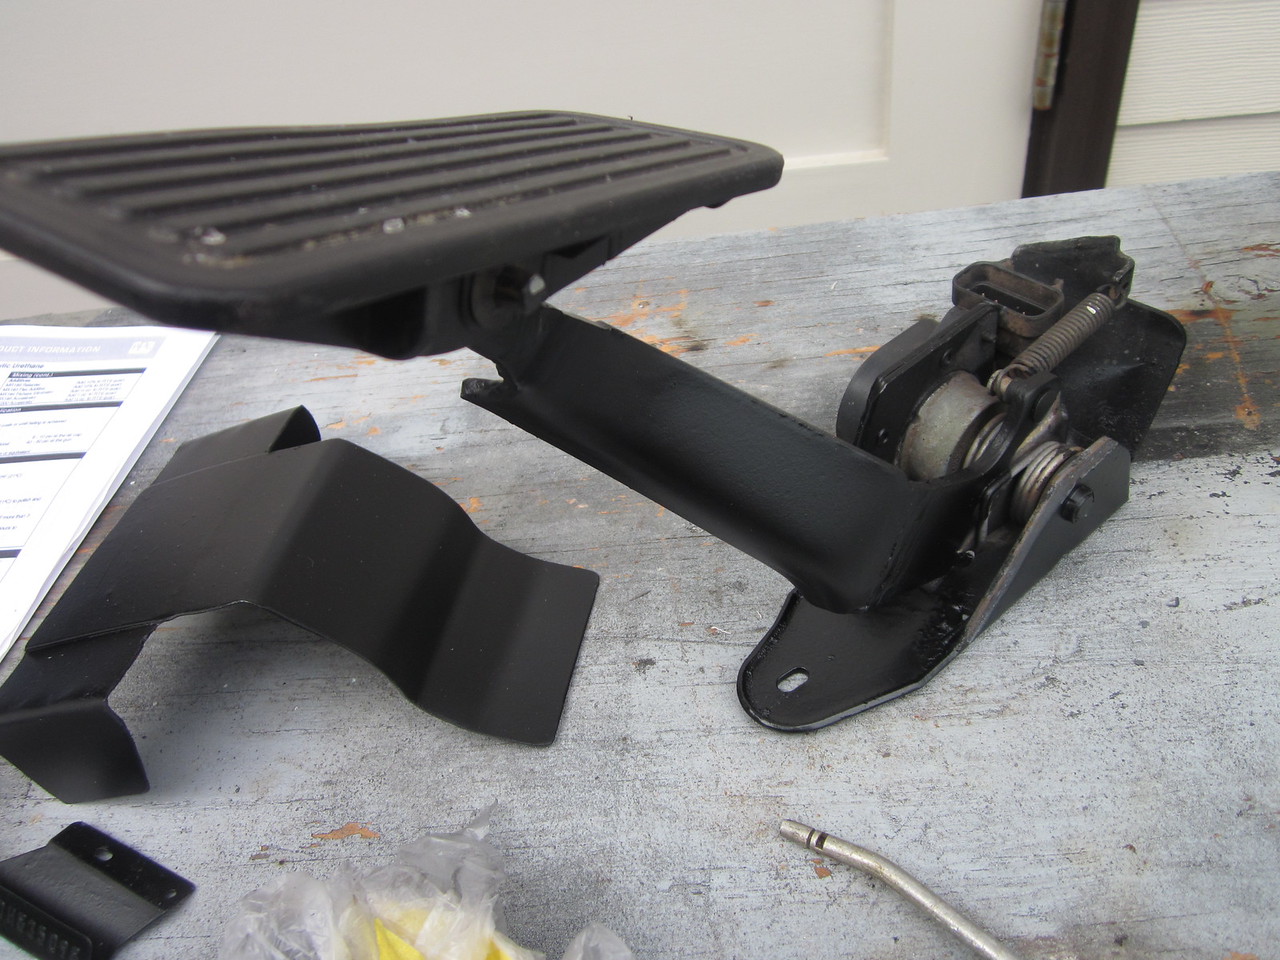
this was one fix that concerned me. Over the years the plastic(!) mount surface that the parking cable brake clips on to had become broken an unusable
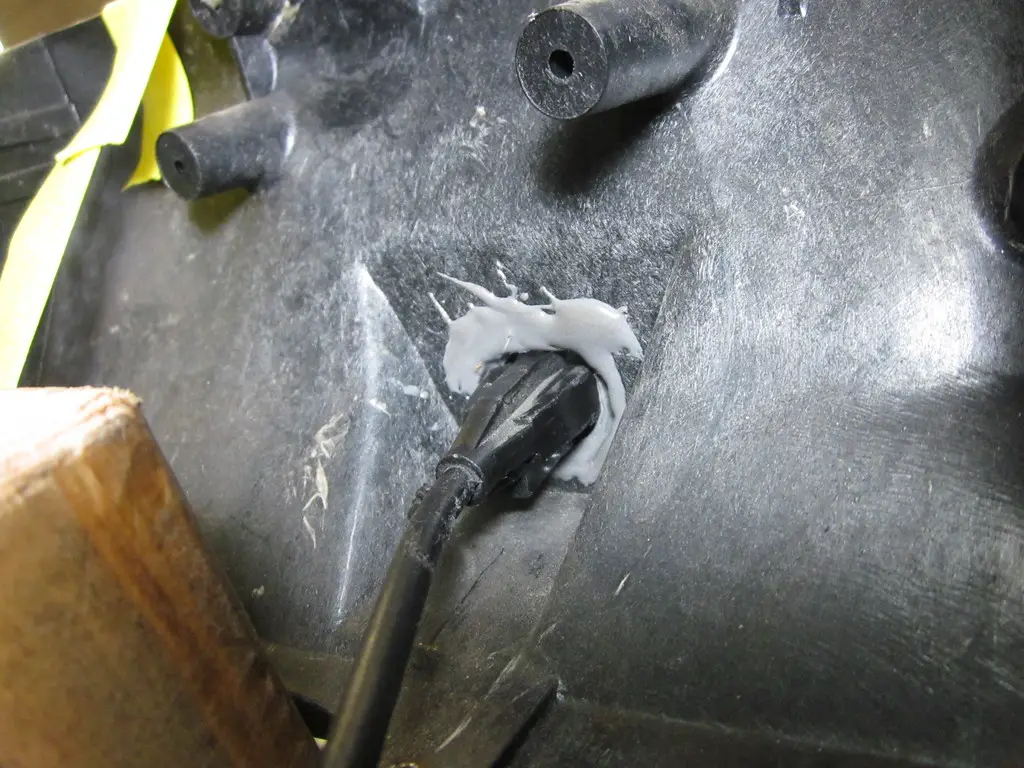
we used JB weld and just kept working it to get a nice flat mount that was the correct circumference. It's holding well for now
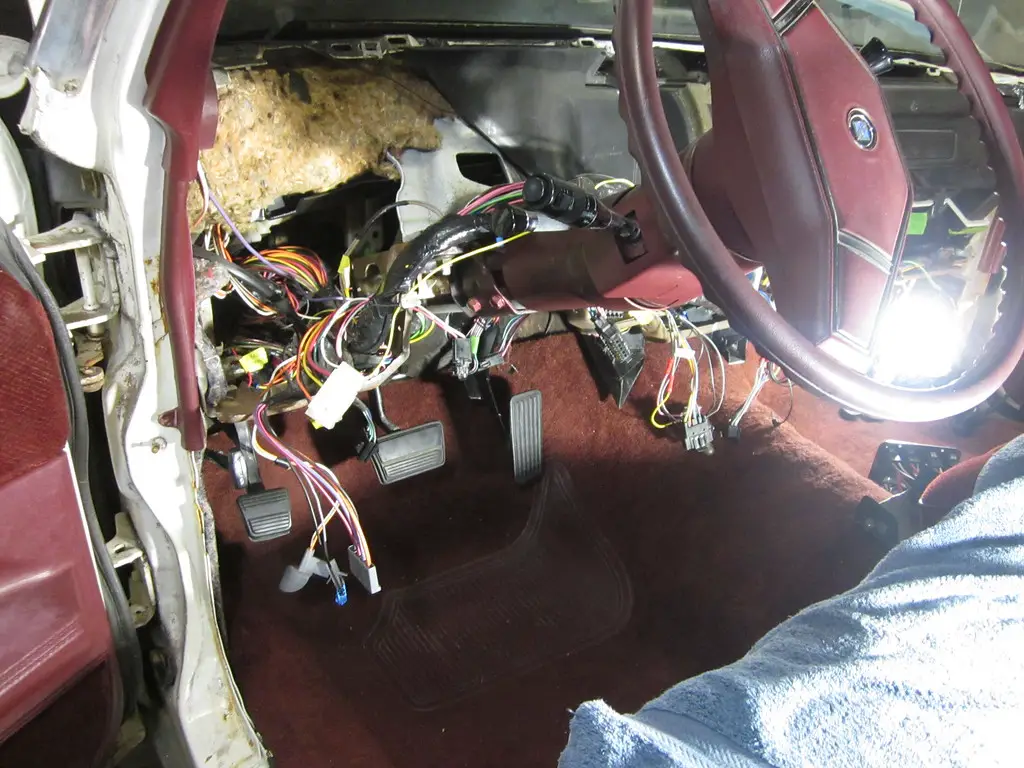
gutted for hopefully the last time, or at least a long time
coming together now.. we used half of the stock computer case to create kind of a pedestal mount to bolt on the inner fender
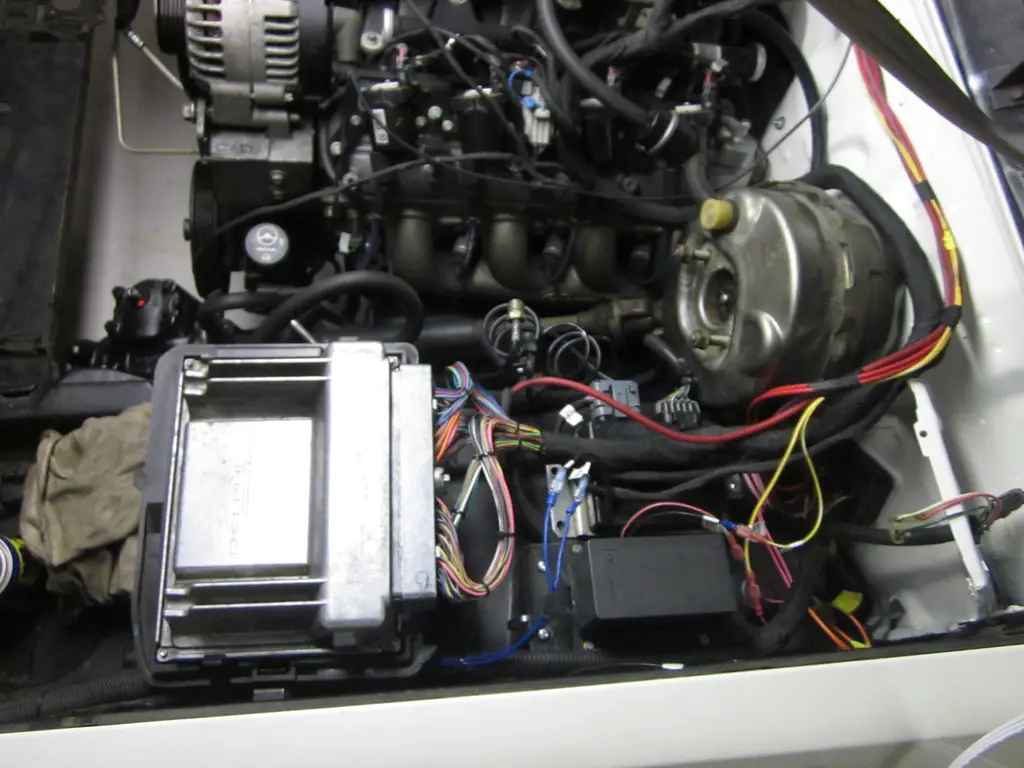
wiring and fuses, relays, etc
here's the new quick ratio steering box
it actually looks pretty stock in there.. most people probably have no idea what's up
Here are some of the latest photos of the project.
testing the air bag system.. turns out I needed to replace the push in valves in the manifold as the tank slowly loses air over a couple days period
I used the stock trans dipstick tube but it rubs very hard on the firewall.. I still need to bend it to relieve that pressure
it fits really nice with plenty of room without all the accessories
only had to cut out a little plastic to clearance the foam lip on the front speakers...
...and used only 3 bolts due to the space not allowing that outside corner to fit right.. since I used small bolts with nylock nuts I made sure they were solidly mounted
this was one fix that concerned me. Over the years the plastic(!) mount surface that the parking cable brake clips on to had become broken an unusable
we used JB weld and just kept working it to get a nice flat mount that was the correct circumference. It's holding well for now
gutted for hopefully the last time, or at least a long time
coming together now.. we used half of the stock computer case to create kind of a pedestal mount to bolt on the inner fender
wiring and fuses, relays, etc
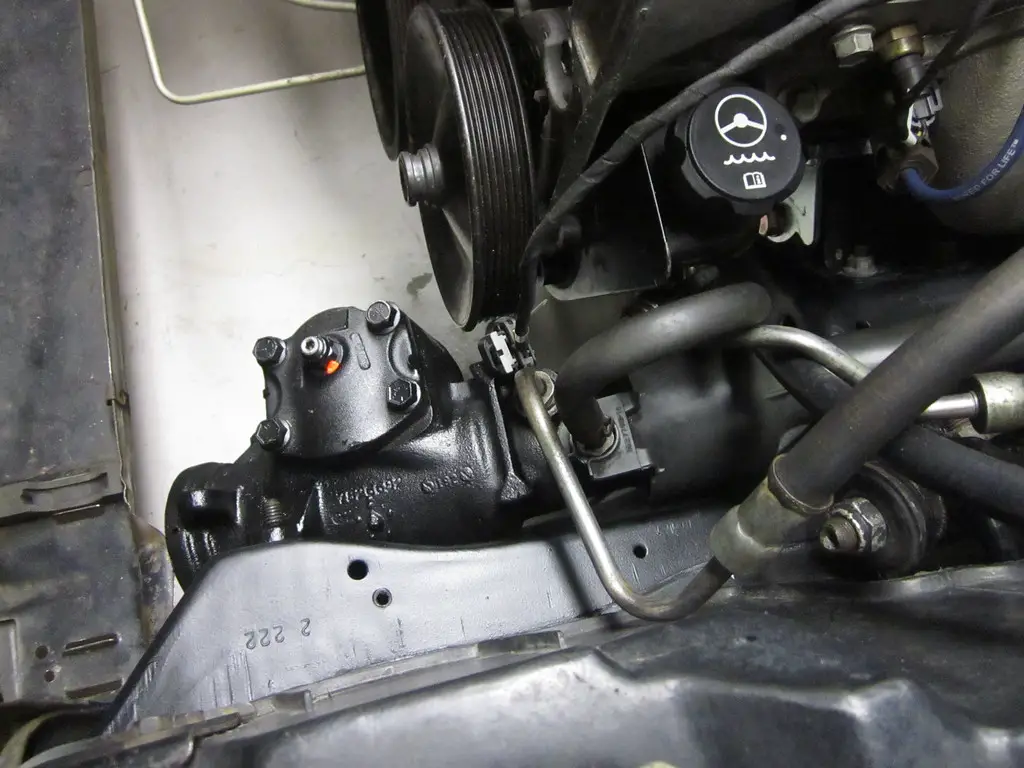
here's the new quick ratio steering box
it actually looks pretty stock in there.. most people probably have no idea what's up

Similar threads
- Replies
- 6
- Views
- 831
- Replies
- 28
- Views
- 4K
- Replies
- 13
- Views
- 2K
GBodyForum is a participant in the Amazon Services LLC Associates Program, an affiliate advertising program designed to provide a means for sites to earn advertising fees by advertising and linking to amazon.com. Amazon, the Amazon logo, AmazonSupply, and the AmazonSupply logo are trademarks of Amazon.com, Inc. or its affiliates.