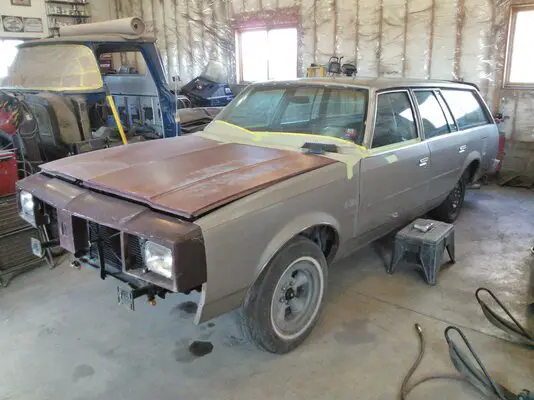
'83 Cutlass Cruiser Build Thread

Been debating adding the vinyl woodgrain trim around the car once it's painted. Should I do it?

  • Yes, that wagon needs woodgrain

    Votes: 12 35.3%
  • No, leave that wagon smooth and simple.

    Votes: 22 64.7%

  • Total voters
    34
  • Poll closed .
I'm cautiously optimistic about the body mount bolts...

Being a Texas car, every single fastener I've removed on this car has come right apart. *knock on wood* :lol:
Of course if some of them decide to fight me, now is the time to take care of it since the interior is out...

I'm feelin pretty beat up from having to put a starter in my truck lying in the driveway yesterday, but I'm excited to get going on my wagon!
This is about the time of year that I'd normally be getting ready to pull it out of storage, and the thought that I'll have to keep driving my bomber pickup is going to be a good motivator to get things moving! :lol:
 
I also have a good feeling that your bolts will come out easily, being a Texas car. My car was a northern car to start with, so I was being overly cautious. A few bolts were right on the verge of snapping. Fortunately I was able to remove them in one piece. Some look like they've had more exposure to the elements than some of the others. Oddly enough, some of them looked like brand new when I removed them...go figure.
I would still recommend shooting some PB Blaster wherever you're able to gain access to them.
 
Good progress to report from the last couple days...

Yesterday morning after work I headed out and got started on the car.
I got the car up on stands and removed the wheel housings and tucked the items attached to them out of the way.
I had a few j-nuts break on me so I had to cut one bolt, but otherwise it was pretty smooth sailing.
By this point I was running out of steam. I had hoped to work later, but in my excitement to get started on the car I overlooked the fact that I had already been up all nite at work, so I called it a day.

Today I pulled the wheels off and did the body mounts.
I unhooked the shifter rod at the column and unbolted my ground strap that goes from the back of the cylinder head to the firewall to allow the body enough movement.
Every single bolt came apart easily by hand with just a 3/8 ratchet... :banana:
A few seconds with the wire wheel for each bolt and they looked like new, I just put a lite coat of anti-seize on the threads for reassembly.
There was no corrosion on either the body or frame side of the old mounts, I simply brushed away any loose dirt with my hand and threw it back together.
I don't work as fast as I used to, and even at my leisurely pace it only took a few hours to get them all done.
Tomorrow I'll get started on the roof...
 
All in all, I'm glad to hear that it went well for you, Blake.
I had to replace most of the bolts in the process...and there was a few that I actually was able to reuse. I also added anti-seize to the threads before reassembling.

It makes you feel good when things start coming together without too much difficulty. 😀
Keep up the good work!
 
Nice, damn it Blake, you'll have your body off before me, lol. 😀
 
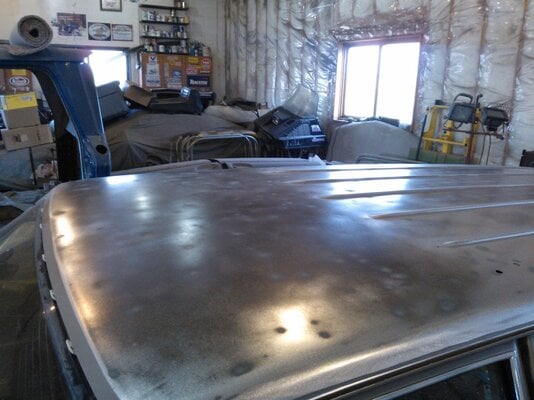
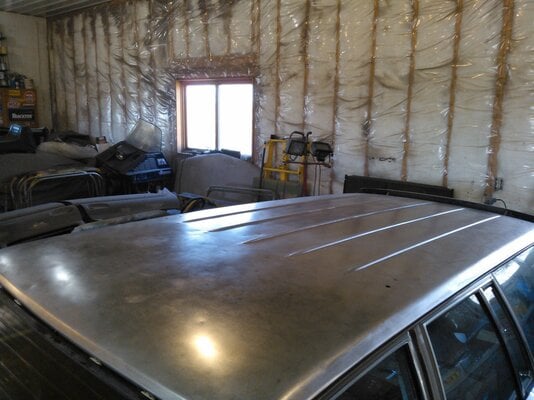
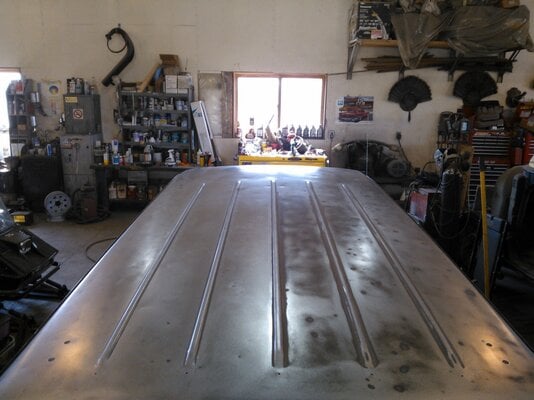
Got the car back on the ground and started stripping the roof yesterday and today.
The paint was so baked that there was a lot of surface rust underneath the primer.
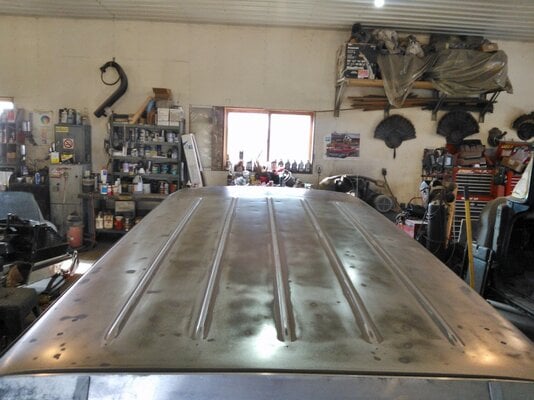
I got all the old paint and primer sanded off but I still need to do a lot of cleaning up around the edges and the ribs down the middle. I'll might have to acid wash the roof to get the metal clean... that or maybe soda blast it after all...
 
Now is the time to take care of that rust while it's all apart. Hopefully we'll get some pics. 😀
 
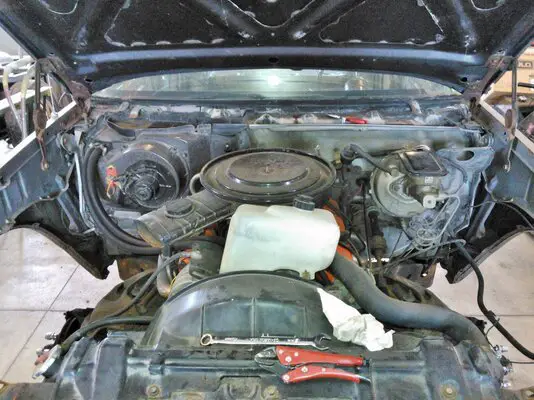
Tucked everything from the wheel wells up and out of the way, I'll be cleaning up the engine compartment after paint so I want to keep it drivable with little work...


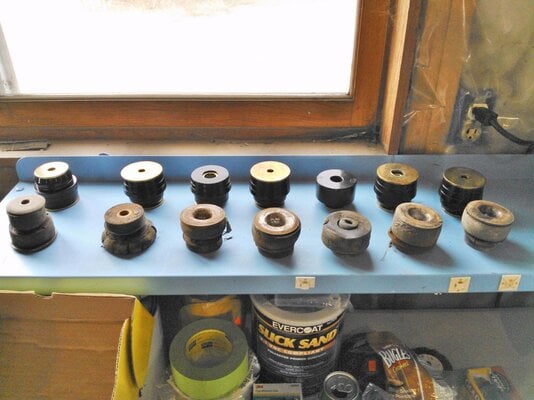
All the mounts were actually in pretty good shape, except for the ones under the cowl...
 

Attachments

  • WP_000663.jpg
    WP_000663.jpg
    599.9 KB · Views: 587
  • WP_000661.jpg
    WP_000661.jpg
    452.5 KB · Views: 577
Still working on cleaning up the roof...

Before


Getting closer...


Slowly but surely!
 

Attachments

  • WP_000665.jpg
    WP_000665.jpg
    406.9 KB · Views: 584
  • WP_000664.jpg
    WP_000664.jpg
    411.5 KB · Views: 592
  • WP_000667.jpg
    WP_000667.jpg
    385.4 KB · Views: 577
  • WP_000666.jpg
    WP_000666.jpg
    371.3 KB · Views: 589
  • WP_000668.jpg
    WP_000668.jpg
    461.8 KB · Views: 573

GBodyForum is a participant in the Amazon Services LLC Associates Program, an affiliate advertising program designed to provide a means for sites to earn advertising fees by advertising and linking to amazon.com. Amazon, the Amazon logo, AmazonSupply, and the AmazonSupply logo are trademarks of Amazon.com, Inc. or its affiliates.

Please support GBodyForum Sponsors

Classic Truck Consoles Dixie Restoration Depot UMI Performance

Contact [email protected] for info on becoming a sponsor