IROC Wagon Project
- Thread starter ssbrewskyaz
- Start date
You are using an out of date browser. It may not display this or other websites correctly.
You should upgrade or use an alternative browser.
You should upgrade or use an alternative browser.
- Status
- Not open for further replies.
Hey on the second pic the gear box has like a nipple sticking out its painted yellow to be exact I bought a gear today but it doesn't have does it matter?I've been working on this Malibu wagon on and off for several years now. It started out inocently enough as a dailey driver with some extra beans to scare the neighbor kids in their little tuner mobiles. Wasn't too long before the thing started to take on a life of its own. Seems after several years of casually building "numbers matching" Camaros, Chevelles, El Caminos and Impalas, I was not able to do a car in which the body was not removed from the frame, also know as "frame off" restoration. And although I have way more time and money in the car than it will ever be worth, it will not be a trailer queen as all the cars before it have been.
So, here I am building an IROC wagon. Started with a 1981 Malibu wagon, bought a 1990 IROC and gutted it to use the parts in the wagon. You might ask, who needs an IROC wagon? Apparently I do.
It's still a work in progress but coming together now that I'm nearly complete on my second complete chassis. The first one was original to the car and had spent time somewhere frames don't like to be. Body didn't and doesen't have a spec of rust anywhere but the first chassis was scaley. I thought I could live with it, I was wrong.
13:5 to1 high compression balanced and blue printed 302 DZ Clone motor with a ported and polished Tuned Port Injection running on E85.
Borg Warner T-5 five speed transmission
Grand National 8.5 10 bolt Rear Axle with 4:11 gears and Truetrac posi.
98-02 LS1dual piston front brakes. 05 Blazer Extreme Rear disc brakes.
A complete IROC interior including bucket seats, center console and overhead console. If the wife wouldn't have threatened to stab me in my sleep, it probably would have been turned into a two door with T-Tops. Thank God for idle threats.
Any way, this is a peak at the money pit.
Thanks guys. Been working on some other projects lately. Just about ready to get back after the wagon. Bought the tools to rebuild GM tilt columns. Also bought the stuff to rebuild Muncie 4 speeds. Great therapy.
The nipple on the gear is a rebuilder inspection trait. Not sure what the factory inspection mark was so I left the yellow.
...Scott...
The nipple on the gear is a rebuilder inspection trait. Not sure what the factory inspection mark was so I left the yellow.
...Scott...
Woo Hoo! Put some parts on the wagon this weekend. It’s a modest reengagement but it’s reengagement none the less. Been trying to get the Impala sorted out and while the wife wasn’t looking, bought a couple of parts for my LS6 El Camino I haven’t started on yet.
Anyway, I have resisted installing the sheet metal for fear it’s gonna get all beat up by the time I finish the stupid thing. I decided this last week I’m going to put every part I have finished on the car and deal with it. So, I started with the tailgate.
I had already cleaned and blasted the mechanisms and hardware, had a shiny new rear lock freshly rekeyed, so I decided to start there. This is where having all your stuff bagged and tagged starts to pay dividends. There it all was, the screws I had wire wheeled, the cables I cleaned and the rest of the junk, just a matter of reassembling all of it.
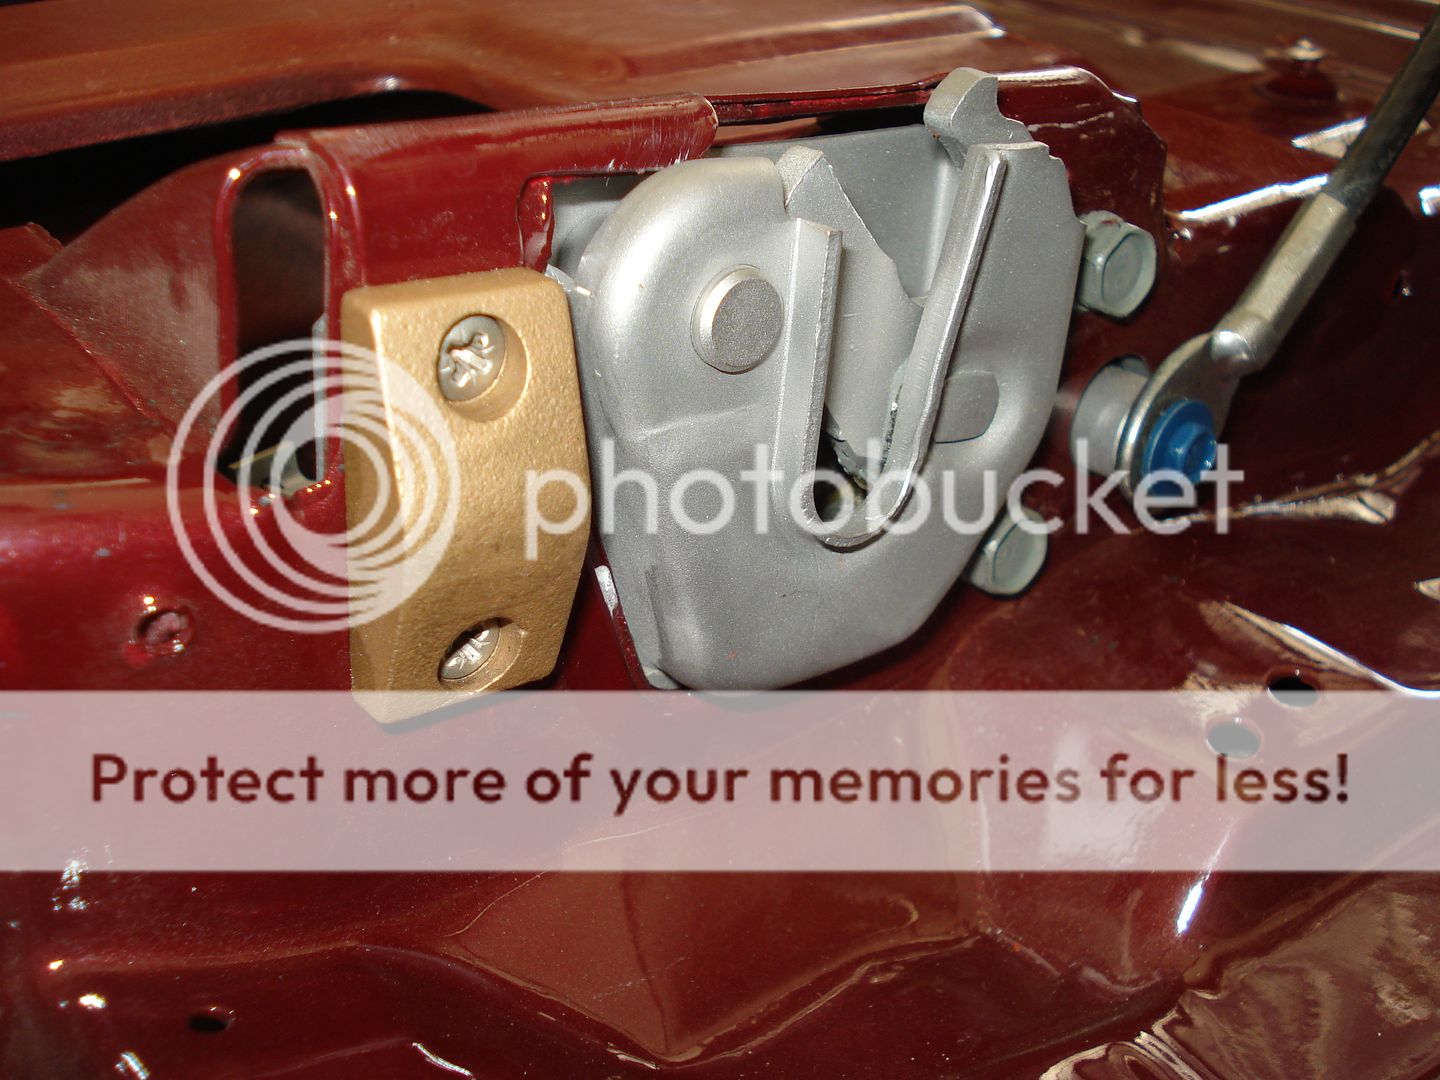
Let me tell you for those of you that don’t know. There is an order in which this stuff goes back together easily and then there’s random order if you like your hands medium to coarsely mangled. Sure you can do it out of order like I did the first time, but it’s soooo much easier when the parts are installed in the right order.
The lock assembly needs to be installed first. The lever that trips the mechanism points to the left side.

You can install both latches with the rods not attached.
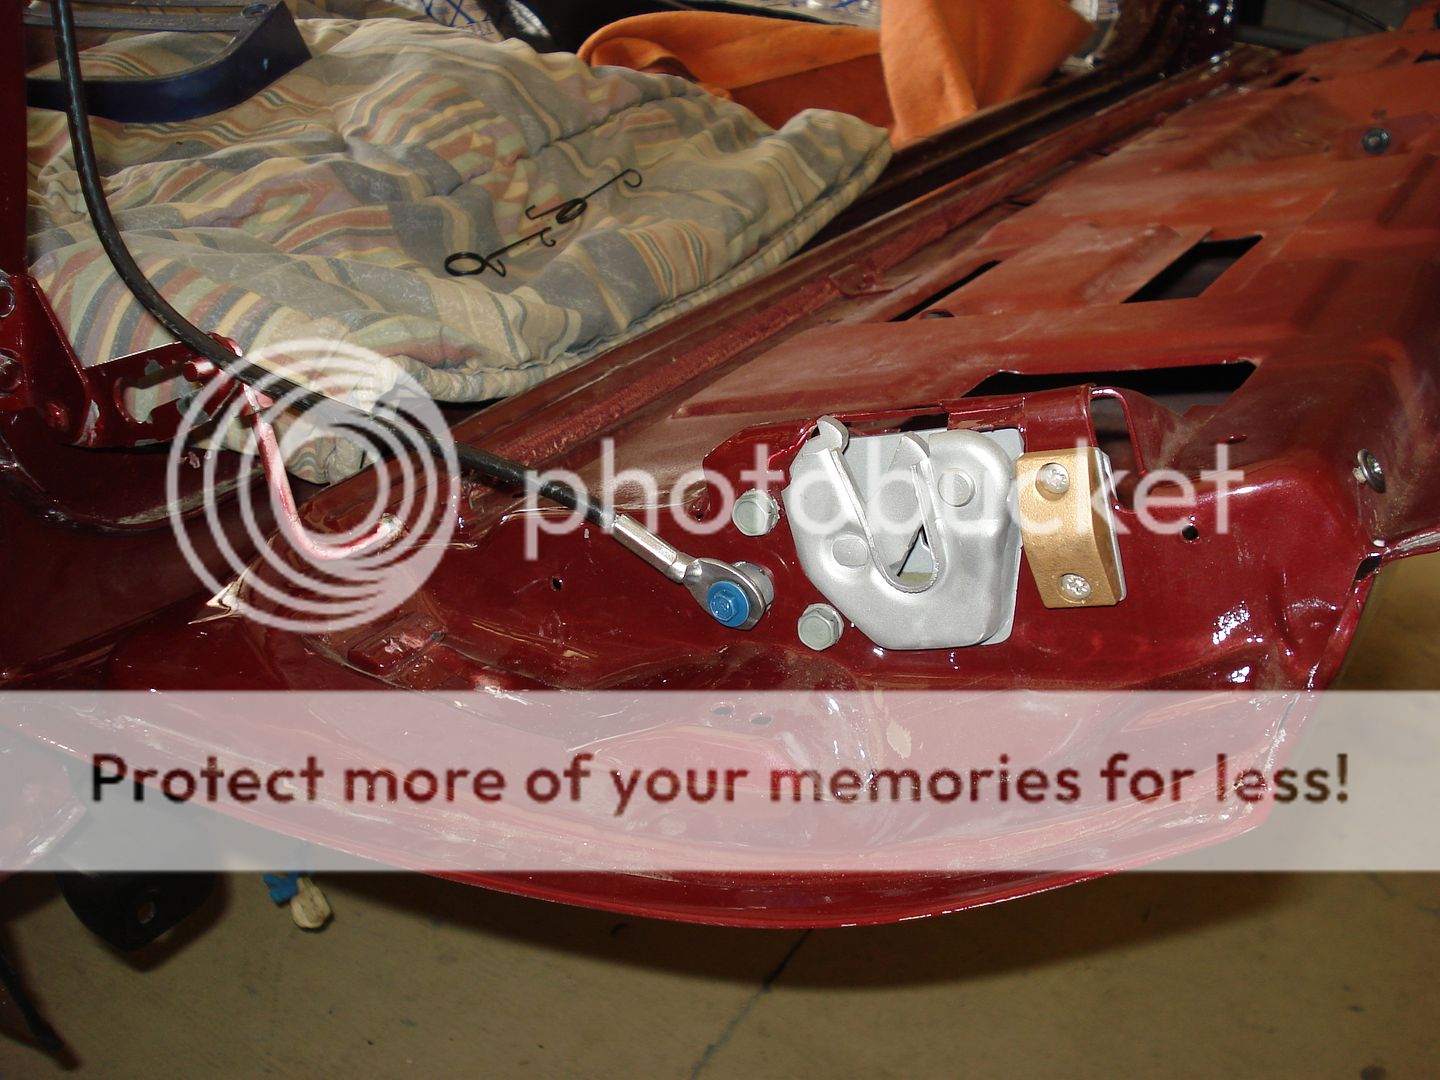
The center mechanism that actually pulls the rods needs to be installed with the left rod attached. It’s on the bottom and unless you’re a contortionist, good luck after it’s installed. It is possible (trust me on this) to install the mechanism correctly with the rods pointed incorrectly. You’ll know this is the case if you don’t have enough adjustment to make the rods reach the latches.
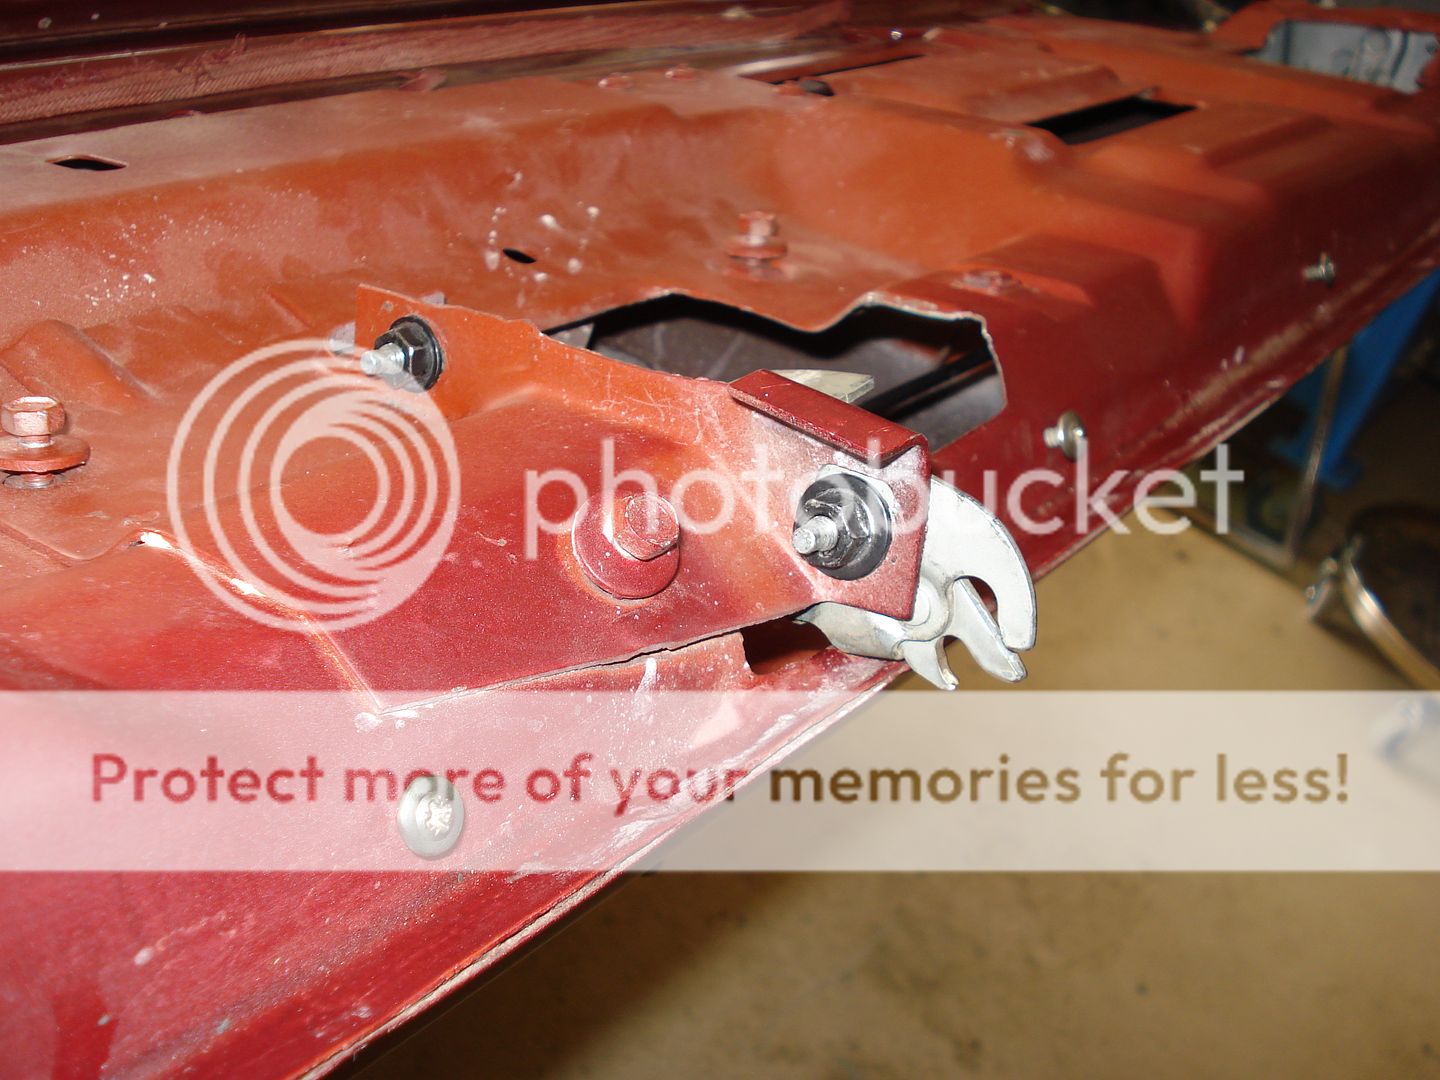
While the mechanism is still loose, and if you have the electric rear window popper option, hook this cable to the mechanism as well, again, unless you’re a contortionist, then ignore everything I’m saying.
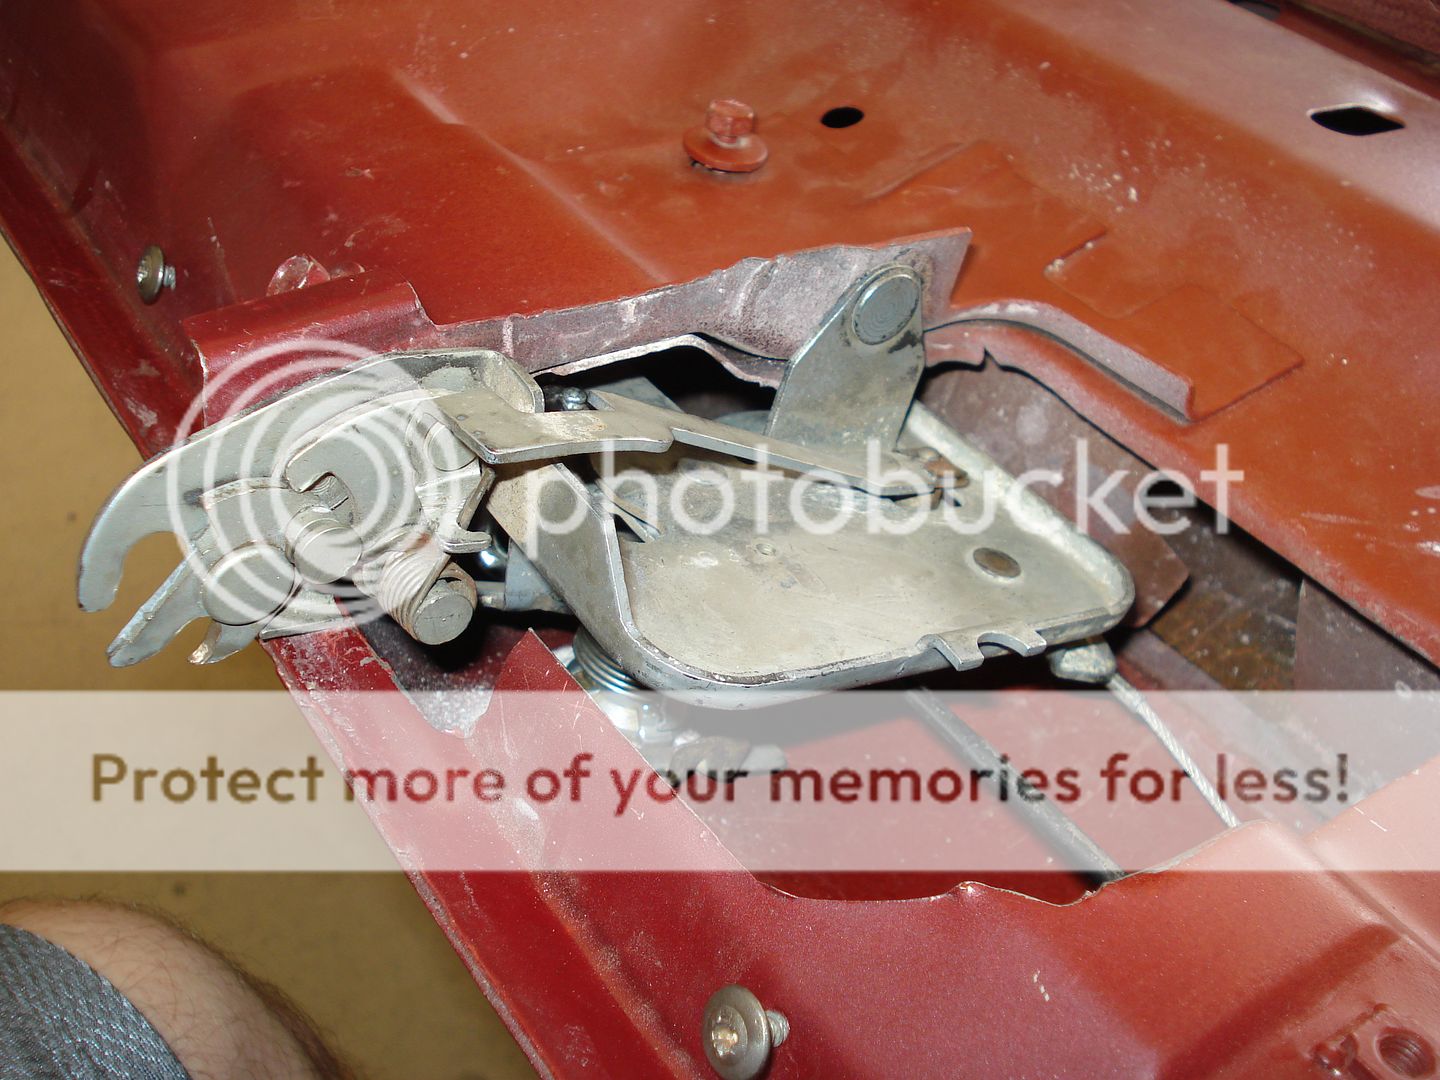
Before you tighten the mechanism down, make sure your rods are on the side of the latch they need to be on. Also make sure the trip arm from the lock assembly is where it needs to be located in-between the mechanism arms. As you turn the lock the latch arms should pull in towards the center. Push the rod ends up through the little retainer clips and go get a Band-Aid or in my case, a roll of painters tape.
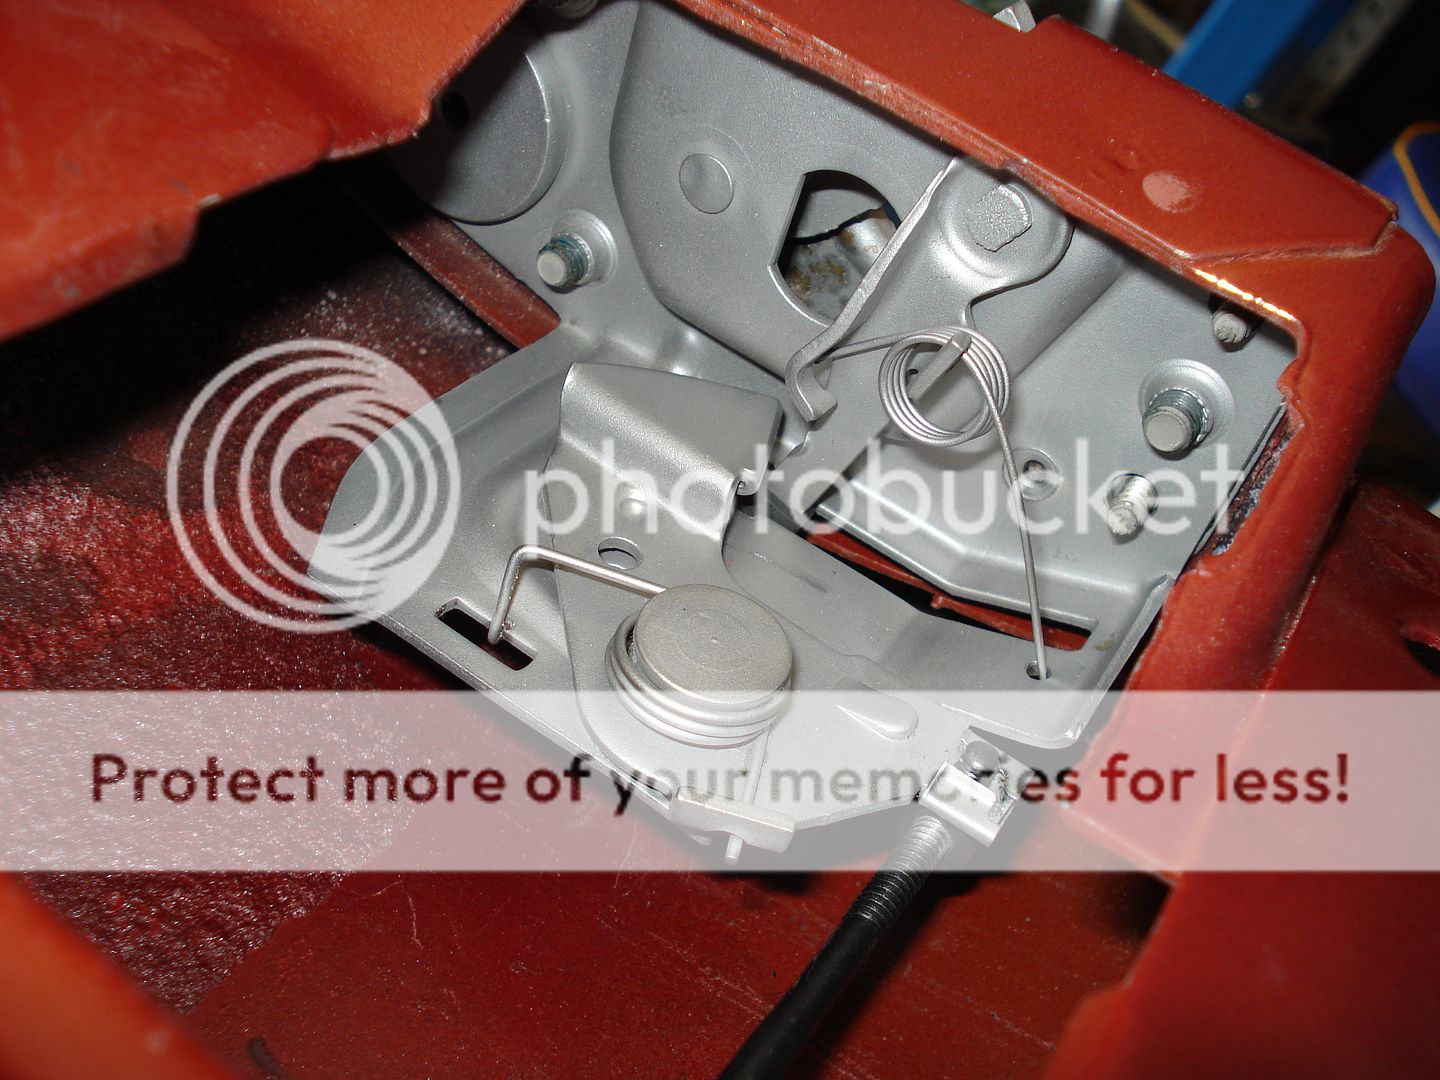
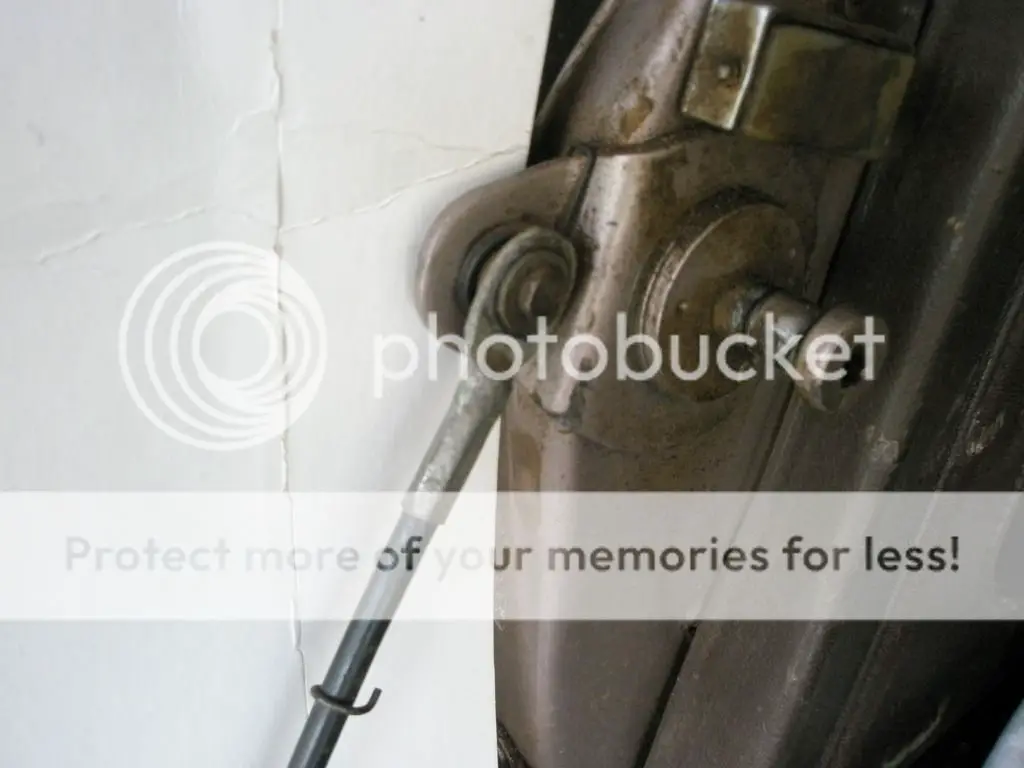
Does anyone have a good photo of how these springs are correctly assembled to the tailgate cables?

Well, there you have it, another day not at the office. …
Scott. …
Anyway, I have resisted installing the sheet metal for fear it’s gonna get all beat up by the time I finish the stupid thing. I decided this last week I’m going to put every part I have finished on the car and deal with it. So, I started with the tailgate.
I had already cleaned and blasted the mechanisms and hardware, had a shiny new rear lock freshly rekeyed, so I decided to start there. This is where having all your stuff bagged and tagged starts to pay dividends. There it all was, the screws I had wire wheeled, the cables I cleaned and the rest of the junk, just a matter of reassembling all of it.

Let me tell you for those of you that don’t know. There is an order in which this stuff goes back together easily and then there’s random order if you like your hands medium to coarsely mangled. Sure you can do it out of order like I did the first time, but it’s soooo much easier when the parts are installed in the right order.
The lock assembly needs to be installed first. The lever that trips the mechanism points to the left side.

You can install both latches with the rods not attached.

The center mechanism that actually pulls the rods needs to be installed with the left rod attached. It’s on the bottom and unless you’re a contortionist, good luck after it’s installed. It is possible (trust me on this) to install the mechanism correctly with the rods pointed incorrectly. You’ll know this is the case if you don’t have enough adjustment to make the rods reach the latches.

While the mechanism is still loose, and if you have the electric rear window popper option, hook this cable to the mechanism as well, again, unless you’re a contortionist, then ignore everything I’m saying.

Before you tighten the mechanism down, make sure your rods are on the side of the latch they need to be on. Also make sure the trip arm from the lock assembly is where it needs to be located in-between the mechanism arms. As you turn the lock the latch arms should pull in towards the center. Push the rod ends up through the little retainer clips and go get a Band-Aid or in my case, a roll of painters tape.

Does anyone have a good photo of how these springs are correctly assembled to the tailgate cables?


Well, there you have it, another day not at the office. …
Scott. …
I was going to take a few pics of them on mine this AM, but Ed beat me to the punch.
Nice going, Ed. 🙂
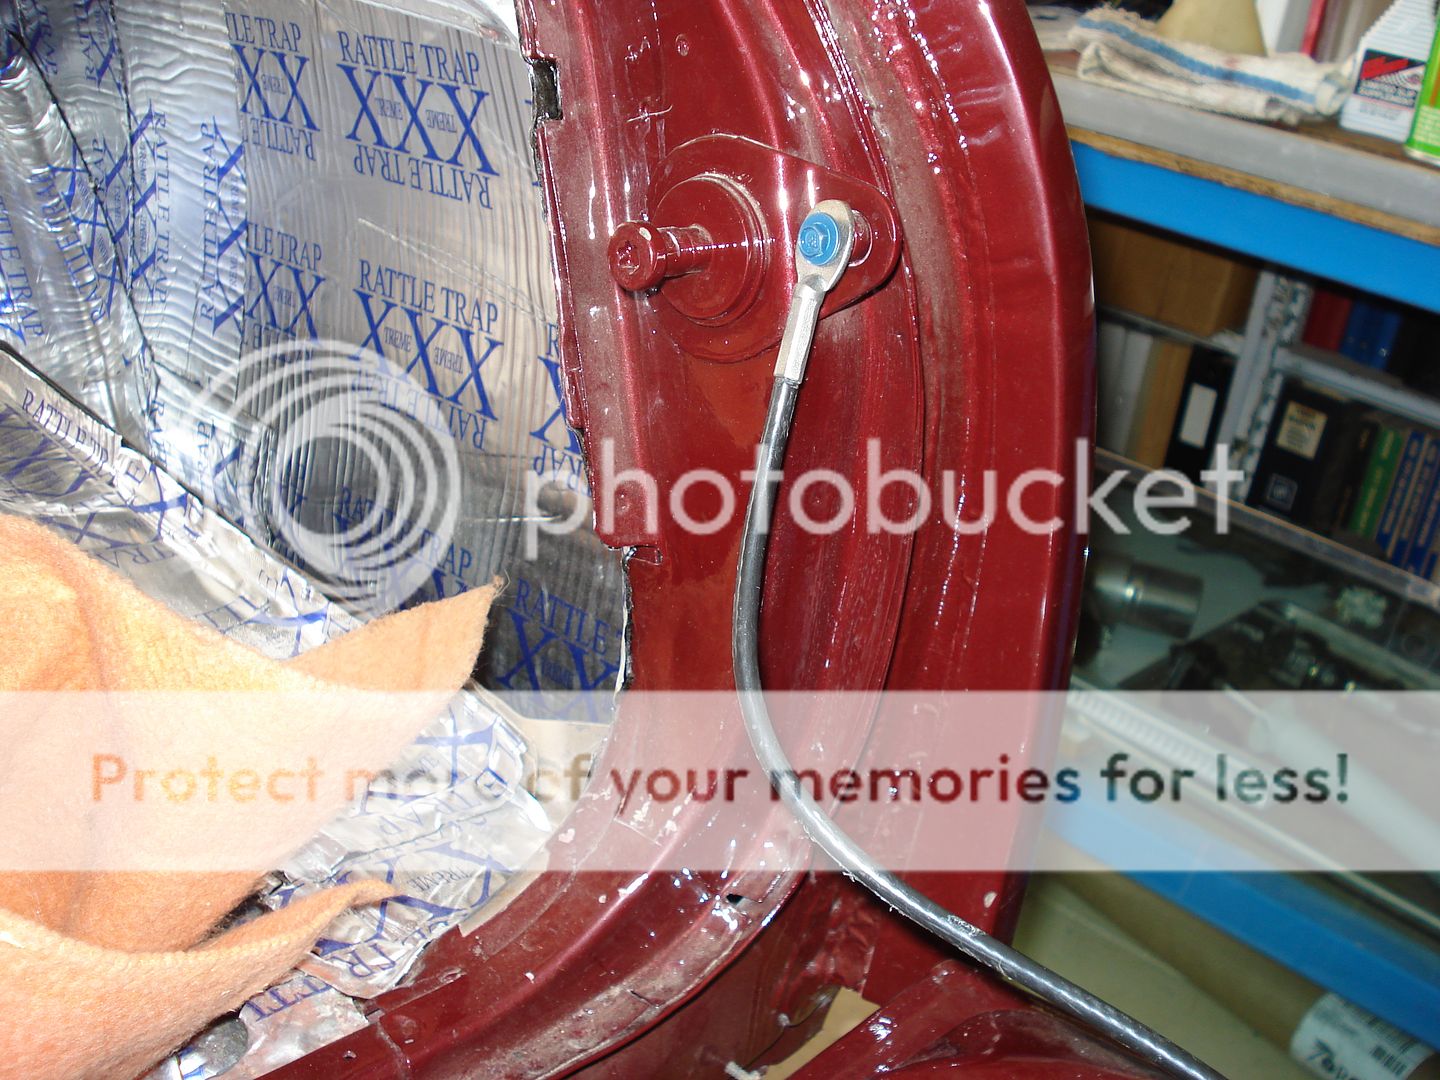
While we're in the area of tailgate cables, springs,latches, etc...could anyone direct me to a source where I could obtain the cable eyes. Due to the narrowed and tucked bumper, I need to shorten the cables in order to keep the license plate pocket (and tailgate) from hitting the bumper.
Last edited:
liquidh8
Comic Book Super Hero
- Status
- Not open for further replies.
Similar threads
- Replies
- 0
- Views
- 172
- Replies
- 2
- Views
- 130
- Replies
- 5
- Views
- 277
GBodyForum is a participant in the Amazon Services LLC Associates Program, an affiliate advertising program designed to provide a means for sites to earn advertising fees by advertising and linking to amazon.com. Amazon, the Amazon logo, AmazonSupply, and the AmazonSupply logo are trademarks of Amazon.com, Inc. or its affiliates.


