IROC Wagon Project

Status
Not open for further replies.
They're 1 5/8 and are only temporary. In keeping with my OE theme, I can't get the shields modified in a reasonable time frame to fit around the tubes of the Hooker replacements I have so they'll have to wait. Hookers welds are ugly and the tubes have a couple of dings I need to cover up with the shields. The tubes on the Hookers are 1 3/4 so I figure it will be an automatic performance improvement once I get the car sorted out. The Hookers look exactly like the OE Corvette manifolds with the exception of the larger tubes.

I'll still be able to wind this mouse pretty tight even with the restricted exhaust. Back in the day most of the headers were 1 1/2 until some point they went to 1 5/8 and then on to 1 3/4. I had three 69 Z28's that never complained about the header pipe size, they were just too glad to rid themselves of the cast iron. ...
 
I hear you, it was just an observation - stick with your theme it'll be worth it I am certain.
 
Worked on the car a little today. Needed to get the front fenders off so I can have them soda blasted and painted. Did some measuring and calculations to determine why the fender is so far off on one side where it meets the core support. Not really gonna lose any sleep over it, my body guy will figure it out. We trade, I do stuff for him (usually chassis’ work) and he straightens out my body junk.

Finally got the number two body mount finished, tightened and torqued. The number two mount is the first body mount (number one is the core support) on the body tub. I tried unsuccessfully numerous times to purchase a couple of these but apparently nobody cuts them out of the cars when they scrap them. Like a dummy, I didn’t either when I scrapped the 78 I had.


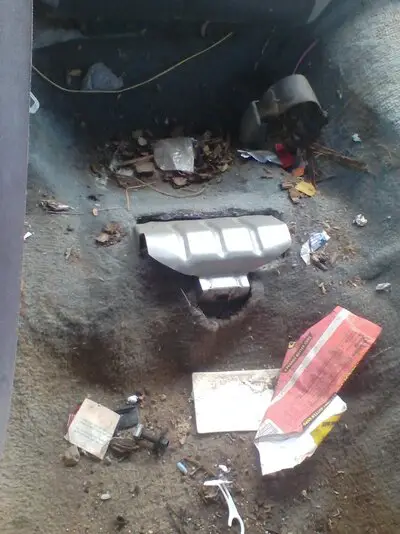
For those of you that don’t know what the bolts for the body mounts go into, they look like this.


They’re not square but more of a diamond shape.


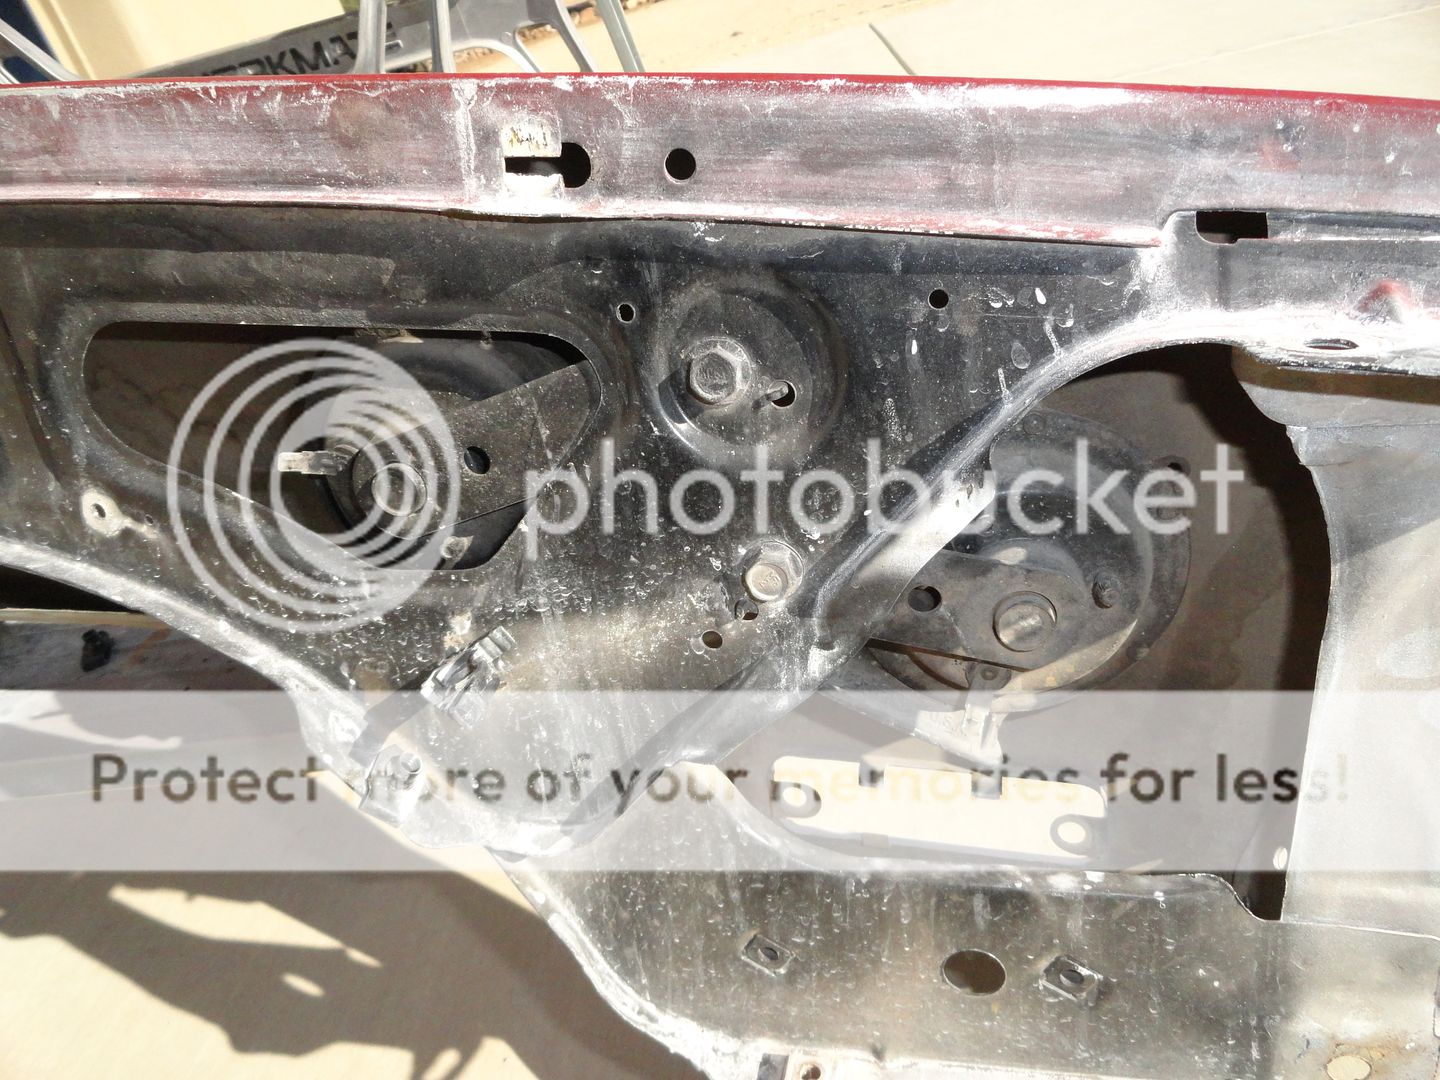
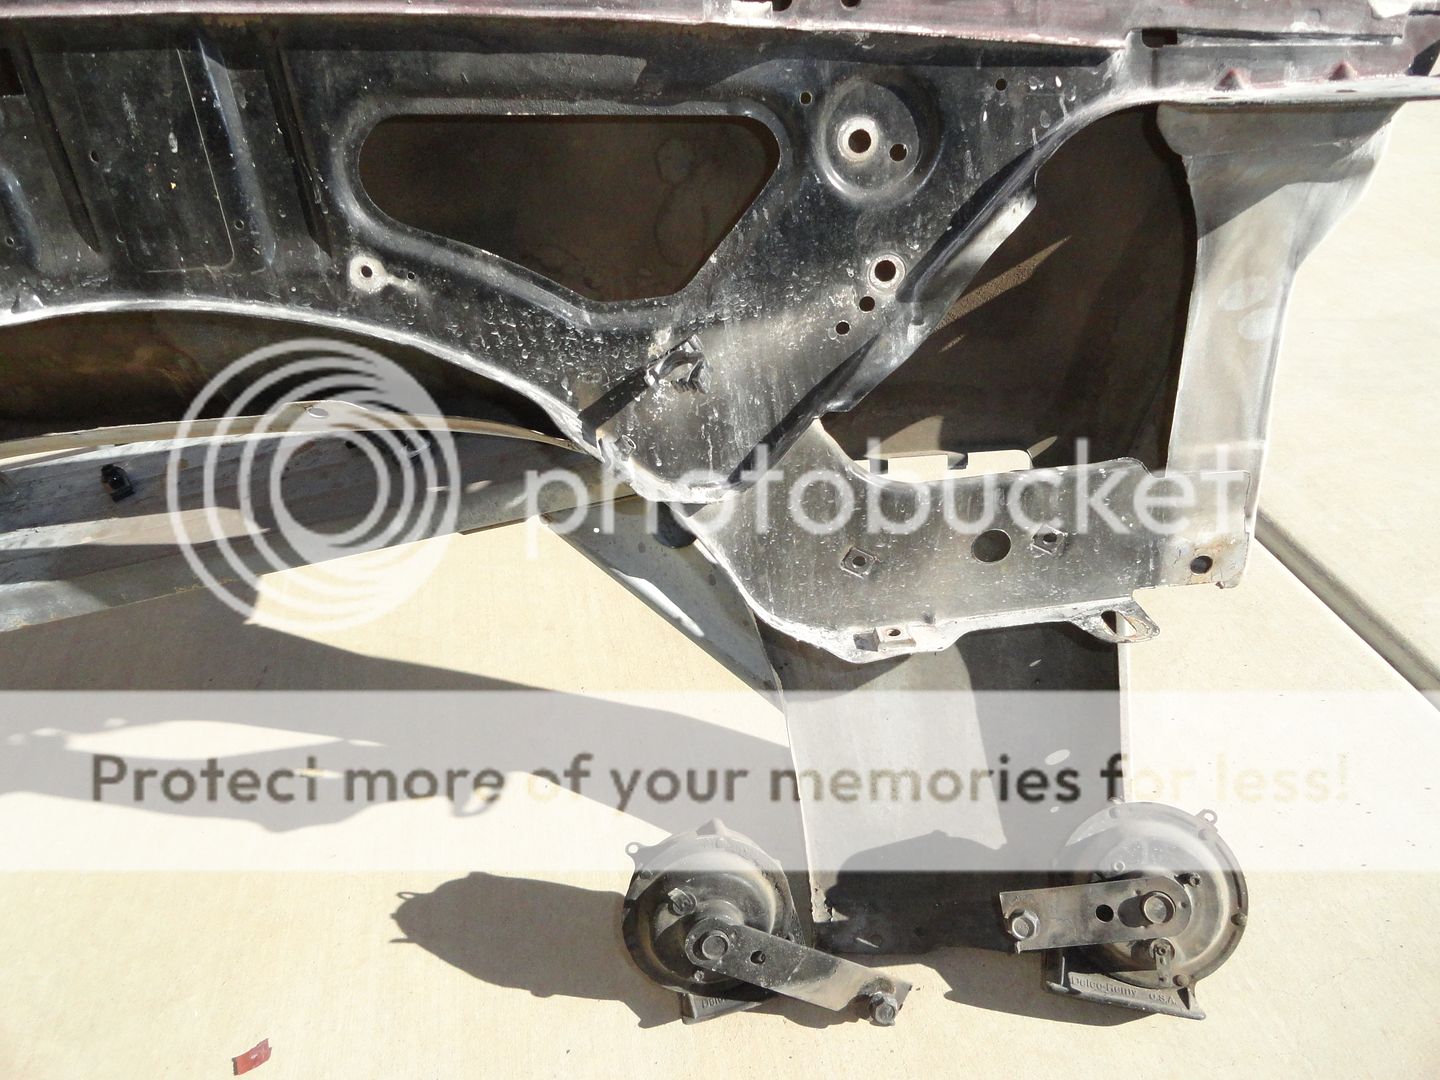
I took a couple of reference photos of the horn position when I stripped the fenders. There’s also a wire route that’s kinda hard to see. I know most of you guys don’t care about the little details but I do.


Yep, that's it for the day. Hopefully some more this week being this is one of the two weeks a year I don't travel. ...

:arrow: :roll: :arrow: :shock: :arrow: 8) :arrow:
 
Keep moving forward, the little details are what count sometimes. I take as many pictures as I can, even though I have had so many g-bodies (10+), and stripped many more, I remember a good deal of where things go. BUt thank god there are digital cameras and phones, my memory is not what it once was, lol 😀
 
Scott,
Hope you'll be able to make some headway in the coming weeks. I'll stay tuned. 😀
 
It's beautiful here now guys, in the mid 80's with 17% humidity. These are the "Chamber of Commerce" days and a time of year we don't invite anyone out for fear that they'll stay! As usual, it's always something, I'll be painting interior parts this week with hopes my engine will soon be finished.

:arrow: :roll: :arrow: :roll: :arrow: :roll: :arrow:
 
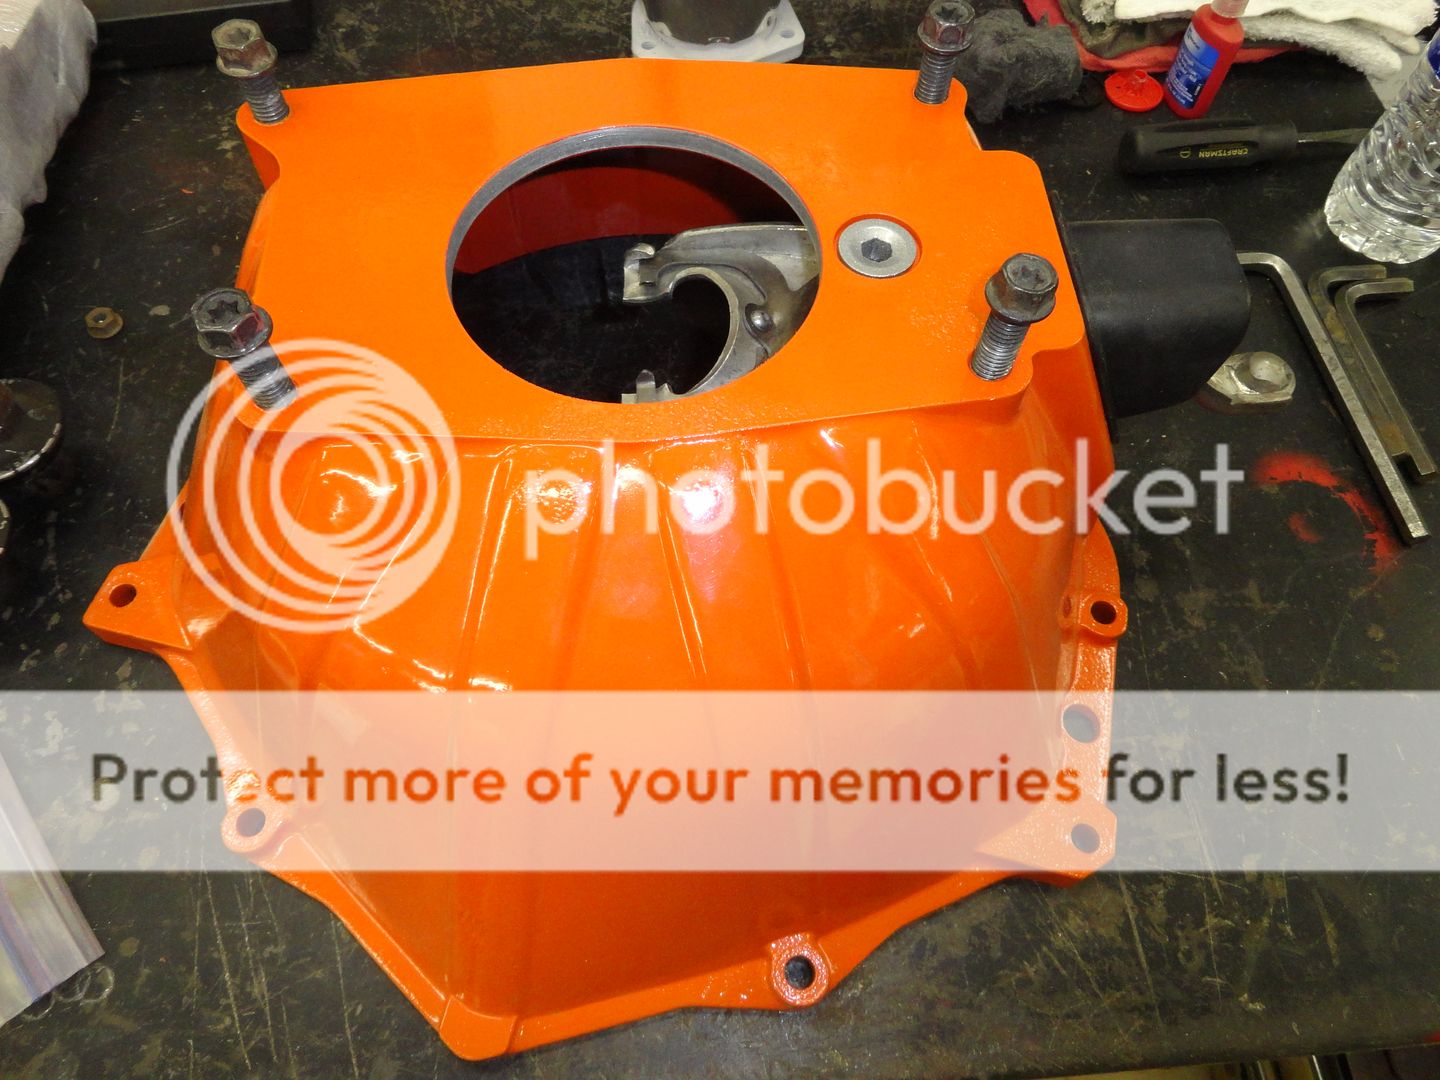
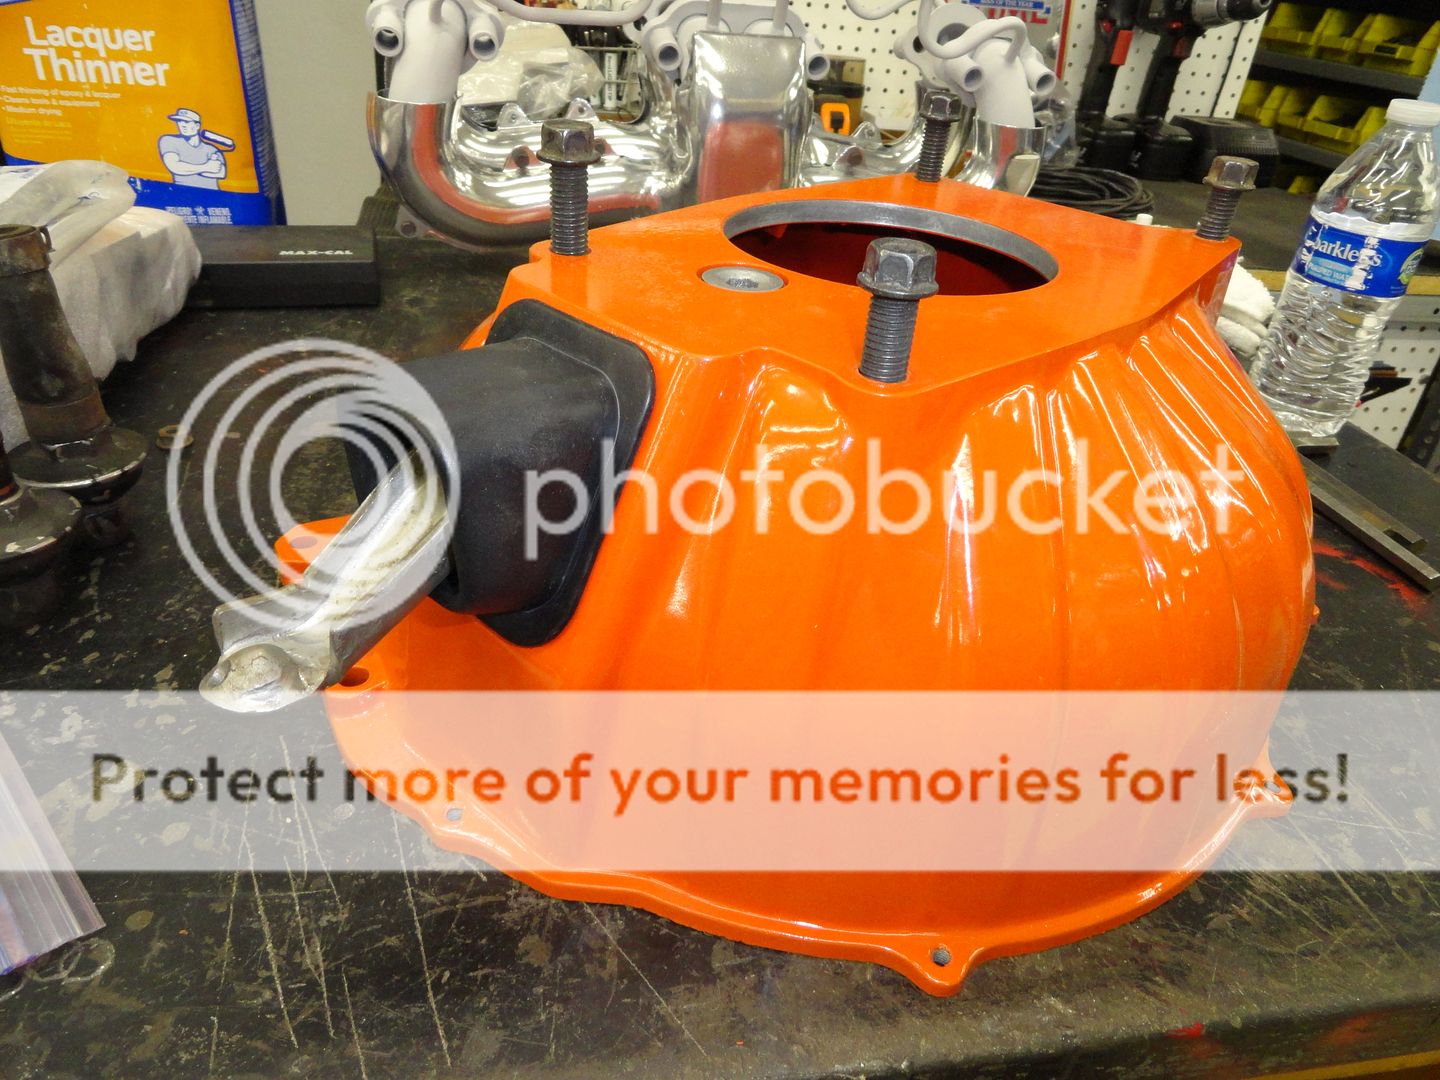
Doing some sub assembling today. Started off with the exhaust manifolds and shields then moved on to the bellhousing, ball stud and clutch fork. Then I did a little test fit on the intake plenum and runners. As you can tell I jump around a lot, this helps keep me from being bored on working on the same end of the horse all the time. The way I look at this process is that it all needs to be done at some point.

The manifolds turned out better than I anticipated. I had them ceramic coated but I only had the shields polished. This provides a nice contrast while adding some bling under the hood. Kinda like chrome valve covers on a stock big block Chevy.


I ordered stainless screws but they haven’t shown up yet so I just used the original screws to hold the shields in place.


The bellhousing is pretty straight forward. I’m going on the assumption I can make a regular clutch fork work rather than the bent up morphidite the G-Body’s use. Time will tell but I’ve engineered my way out of more complex issues than this.


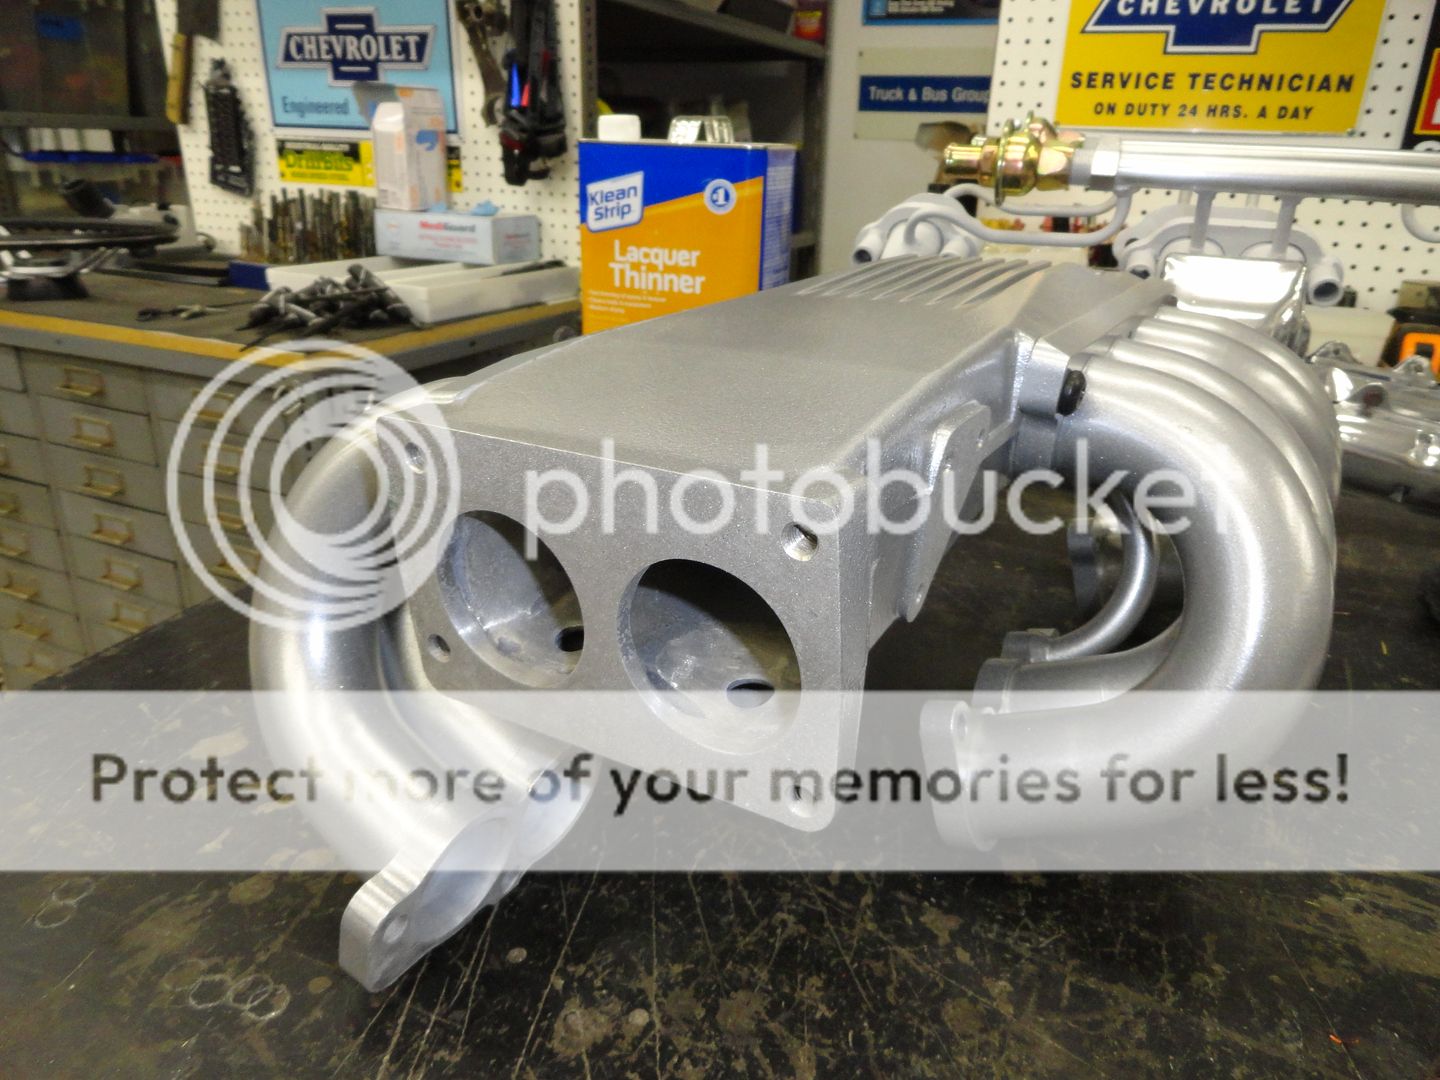
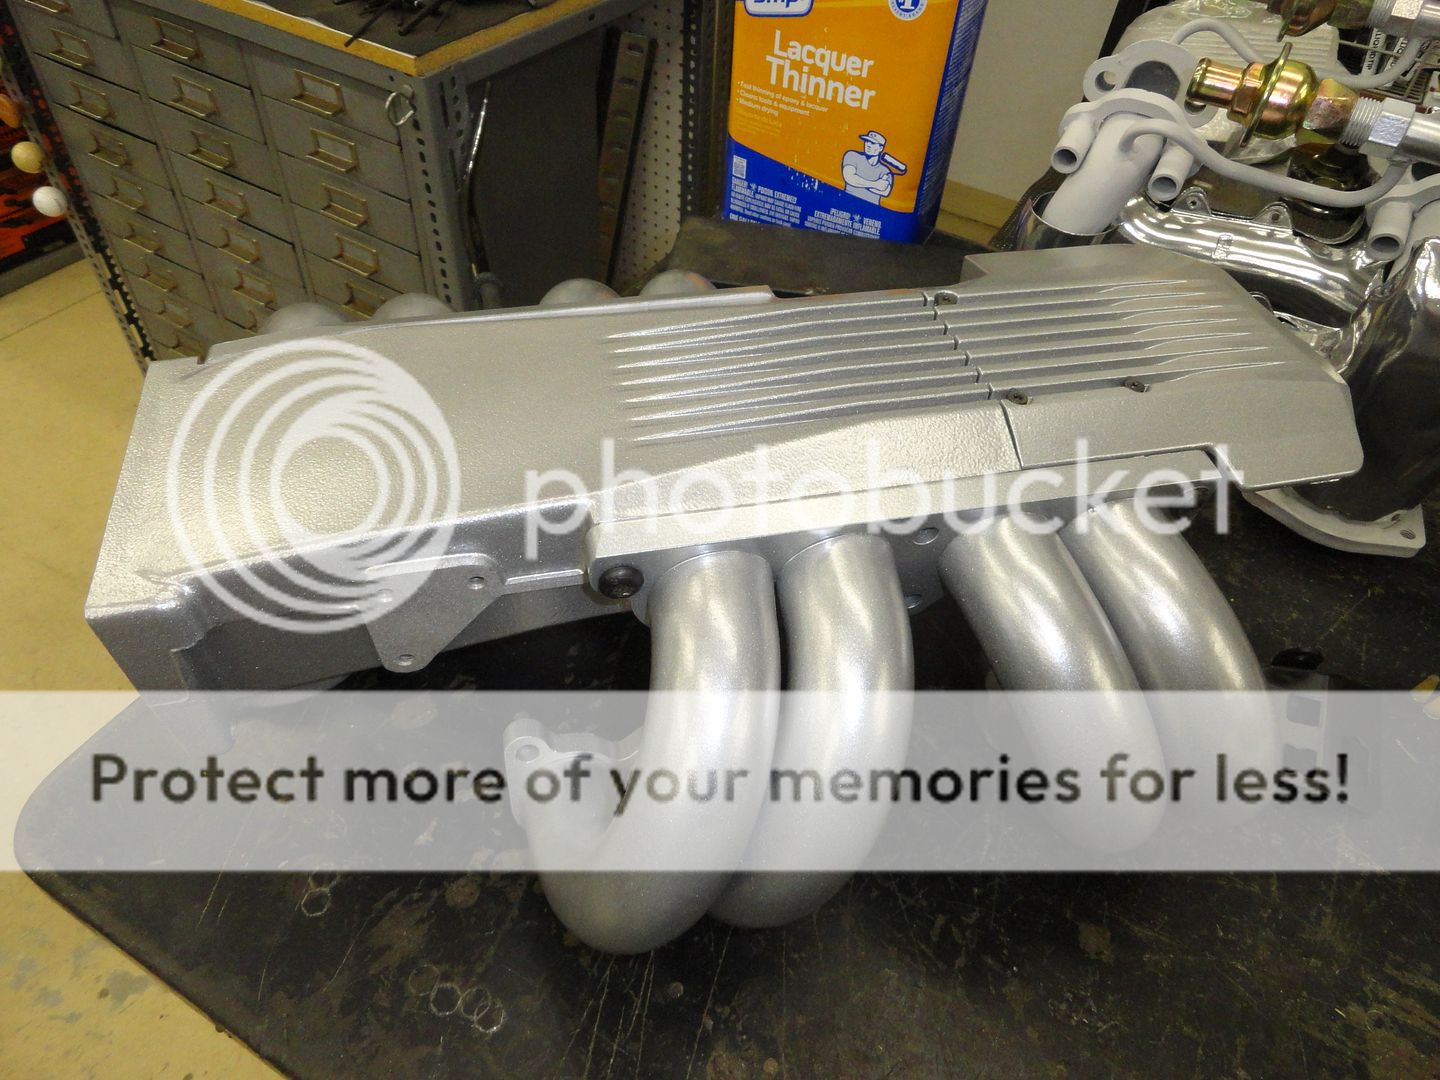
I loose assembled the runners to the plenum, mainly to make sure the color matched but also to make sure no holes were gummed up. The runner tubes are as large as they can be without being siamesed. The size difference is easily noticeable when compared to the originals but fairly difficult without the reference.


It’s really hard to see with these photos but the plenum has been totally smoothed out and radiused.


Yep, that's it for another day. We'll keep picking away at it. ... .Scott. ...

:arrow: :roll: :arrow: 8) :arrow: 😱 :arrow:
 
ssbrewskyaz said:
It's beautiful here now guys, in the mid 80's with 17% humidity. These are the "Chamber of Commerce" days and a time of year we don't invite anyone out for fear that they'll stay! As usual, it's always something, I'll be painting interior parts this week with hopes my engine will soon be finished.

:arrow: :roll: :arrow: :roll: :arrow: :roll: :arrow:
This weather is awesome, It's actually a joy to be out side again and not hear the AC running.... LOL
 
demon for detail!!! :shock: like mickey d's"IM LOVING IT"!!! well hear are the pics of the brackets from the camaro,they should work as they are 2 separate lower seat buns...? lmk,andill get them in route to ya :wink:
 

Attachments

  • IMGA0490 (1).jpg
    IMGA0490 (1).jpg
    200.2 KB · Views: 385
Way too clean for my taste. 😉 But, impressive as always.
 
Status
Not open for further replies.

GBodyForum is a participant in the Amazon Services LLC Associates Program, an affiliate advertising program designed to provide a means for sites to earn advertising fees by advertising and linking to amazon.com. Amazon, the Amazon logo, AmazonSupply, and the AmazonSupply logo are trademarks of Amazon.com, Inc. or its affiliates.

Please support GBodyForum Sponsors

Classic Truck Consoles Dixie Restoration Depot UMI Performance

Contact [email protected] for info on becoming a sponsor