Monte Carlo Clip on an El Camino

Mike P

Master Mechanic
Aug 7, 2009
446
208
43
Arizona
To make it a little easier to follow, I've broken my build down to three parts. This thread, the body;

The 500 Caddy Swap: viewtopic.php?f=13&t=25458

And the 9" Build: viewtopic.php?f=14&t=25389


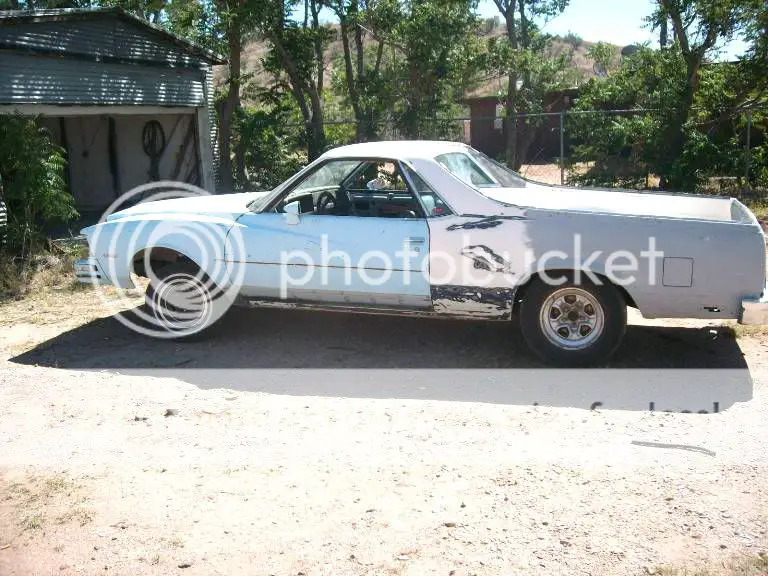
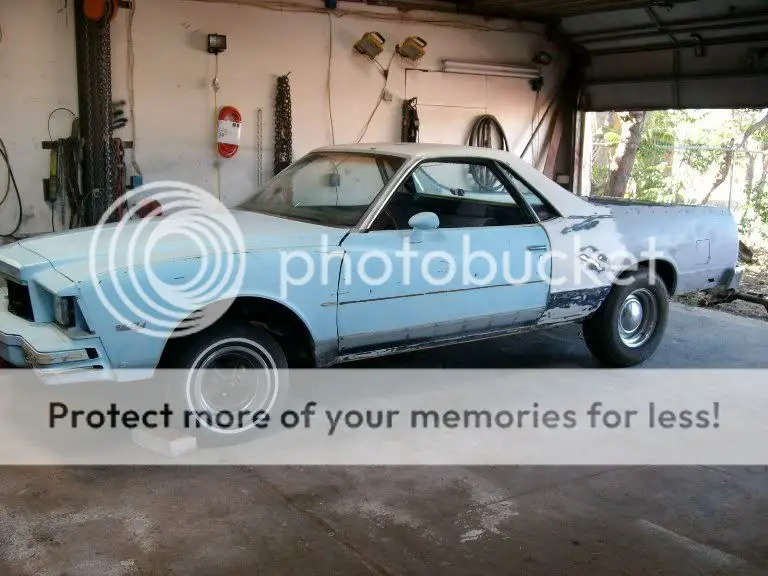
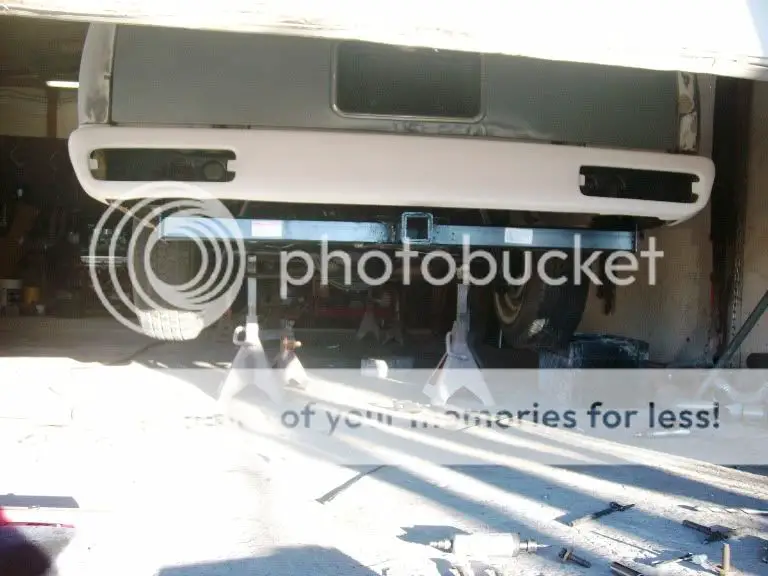
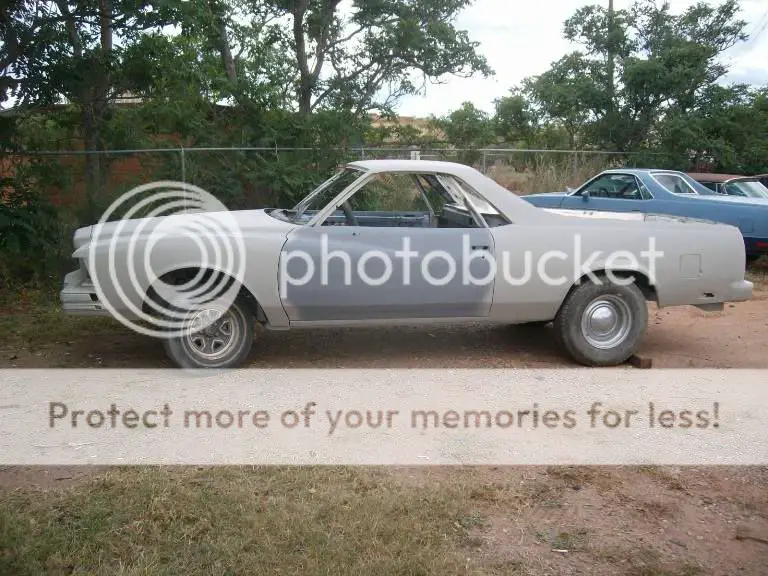
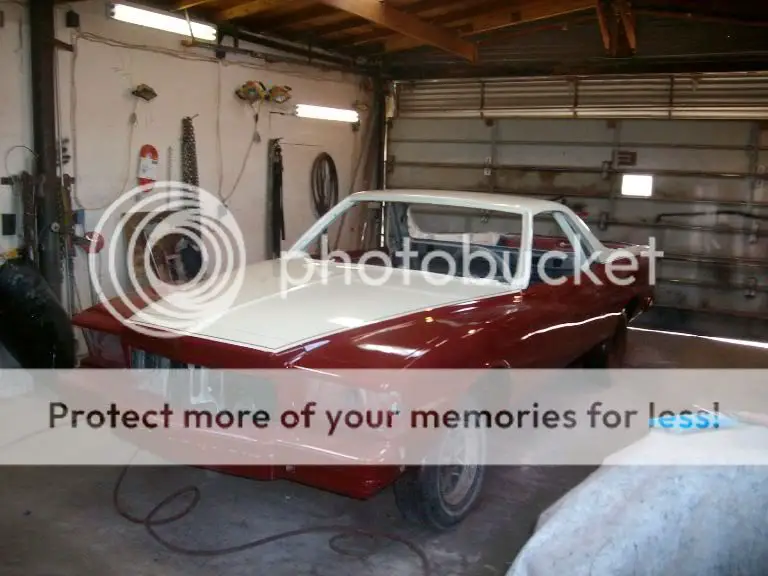
This started when I bought an 83 El Camino to use as a parts truck on an 84 El Camino project I was building. It wasn’t real pretty but hey it was a parts truck and it had beautiful bumpers and several other odds and ends that I needed for the 84 and it was cheap ($250).

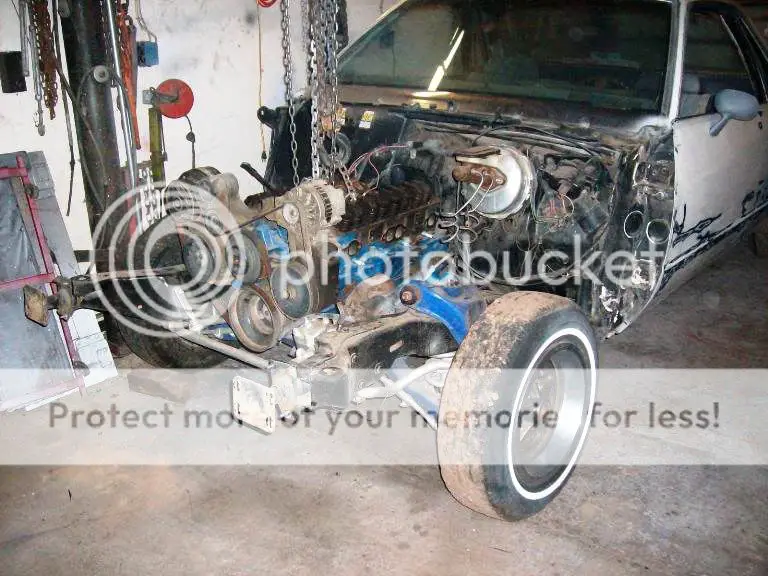
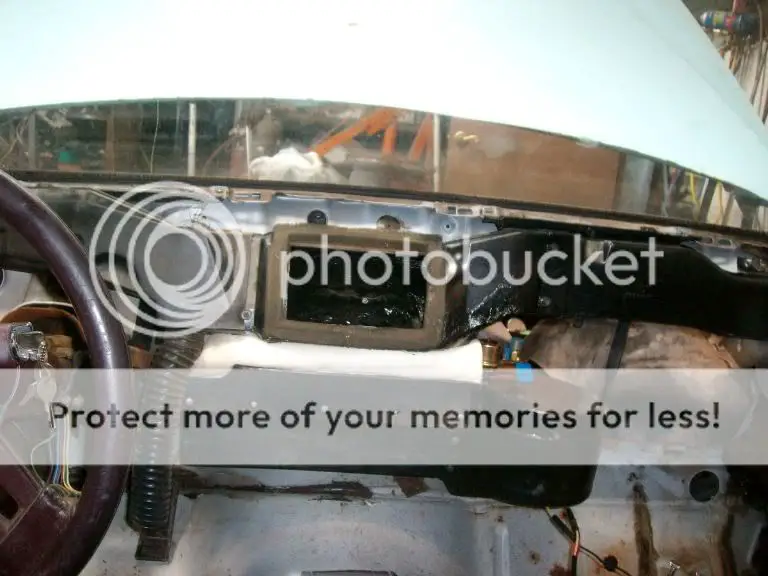
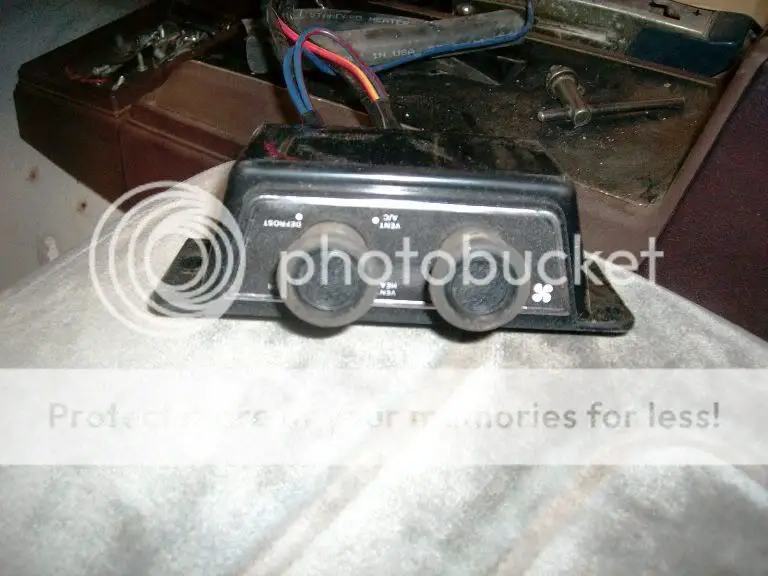
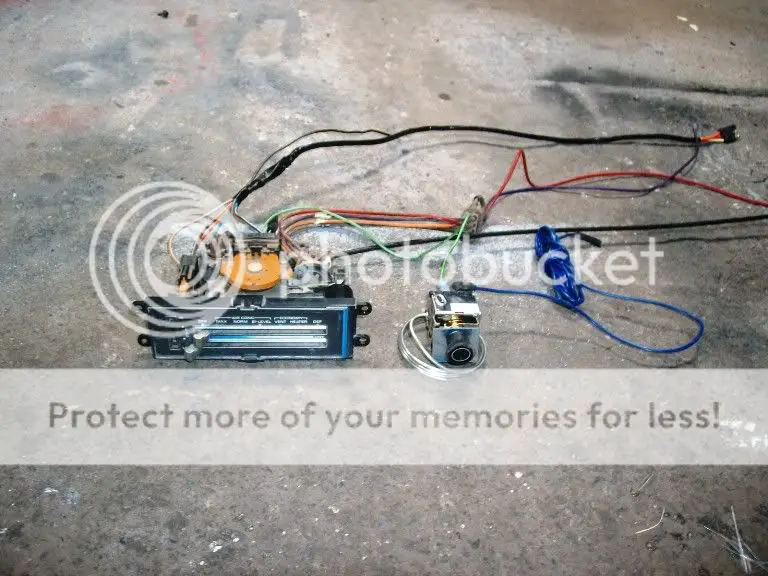
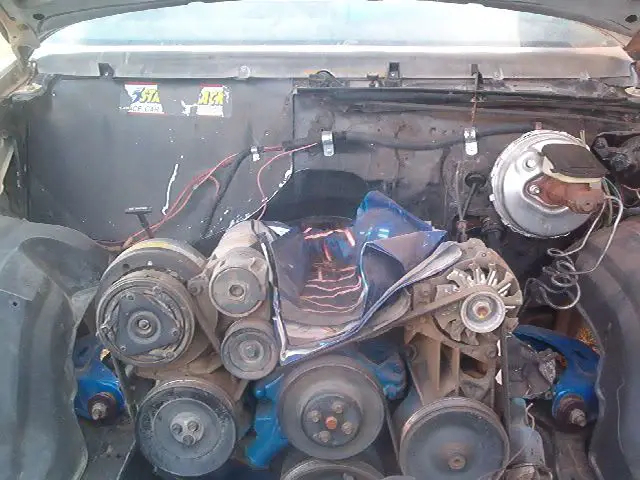
I’m not real sure what the previous owners plans had been but it had a roller 305 with a serpentine belt sep up in it and AC/Heater delete plate. I figured I could part the belt setup and engine for almost what I spent on the truck so it was pretty much win win. It also had a very nice 78 Malibu/El Camino front clip I could make a few bucks on.


83Side.jpg


833quarter.jpg


83SmallBlock.jpg


83interior.jpg


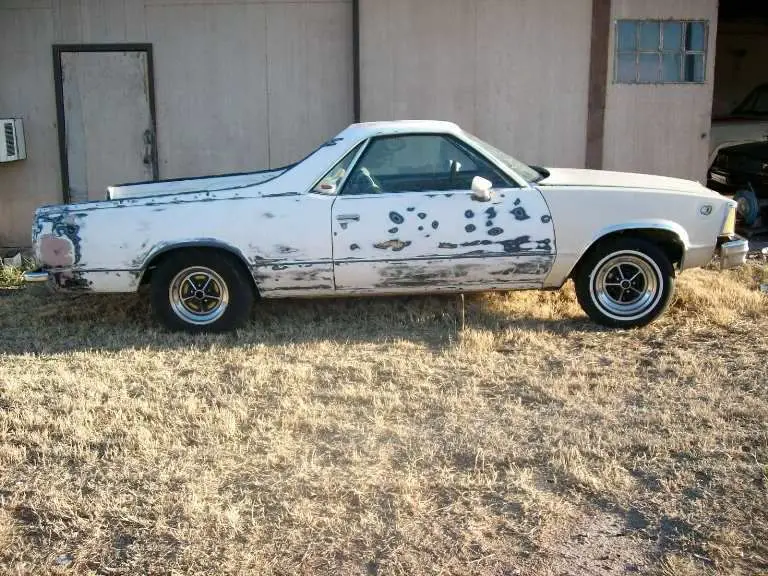
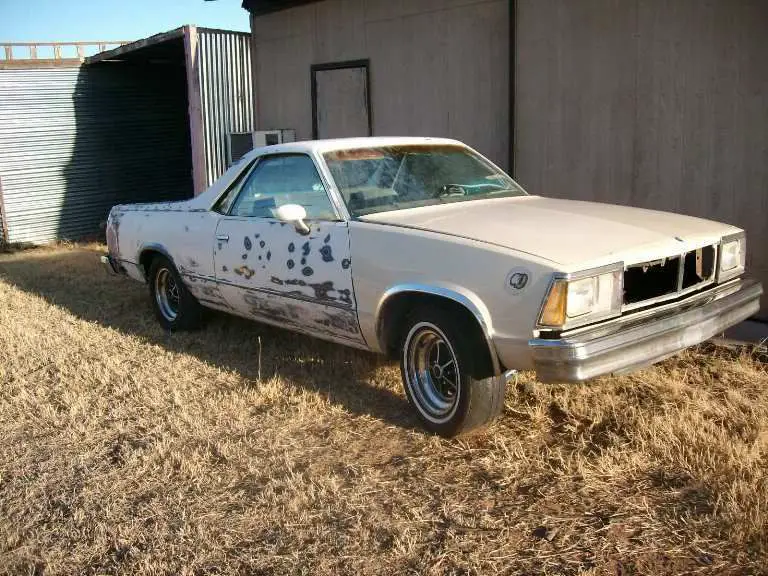
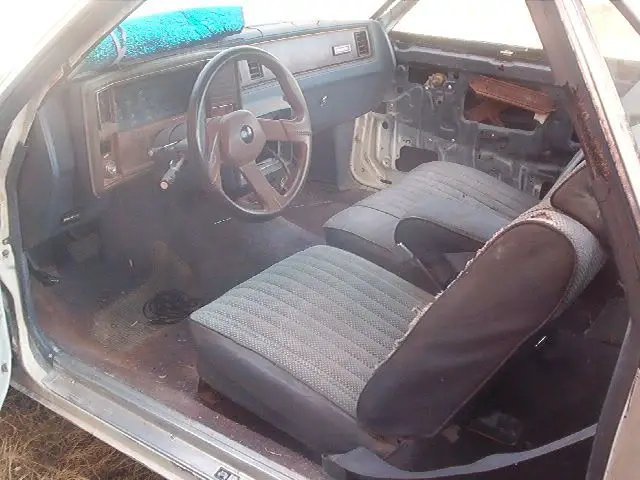
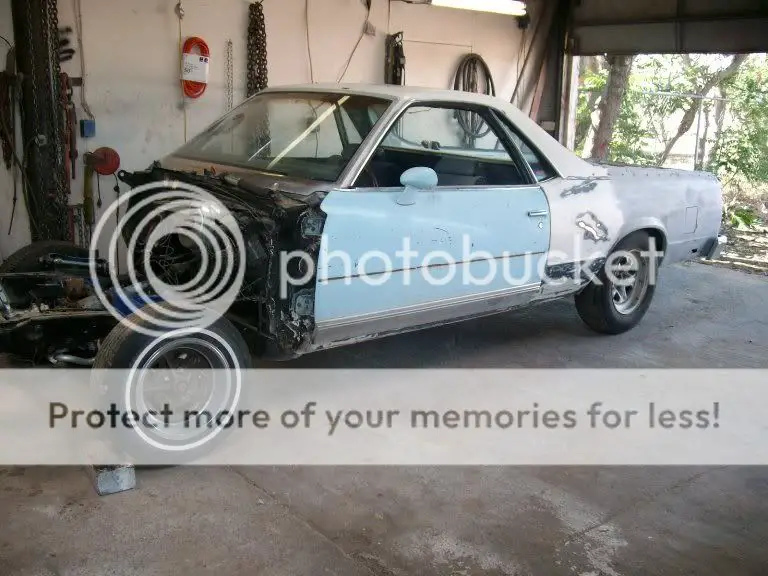
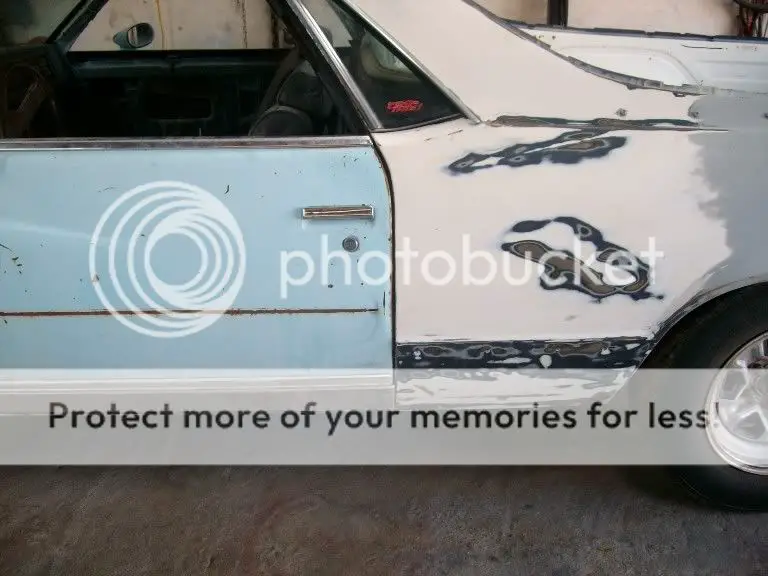
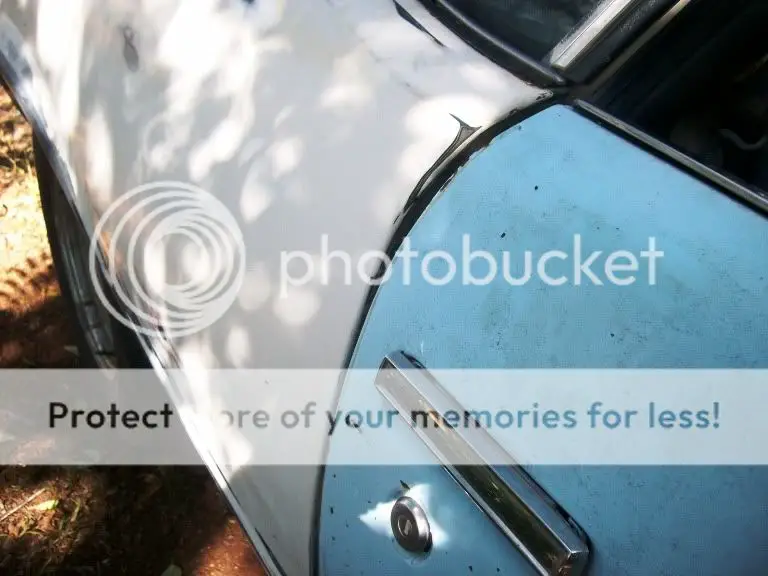
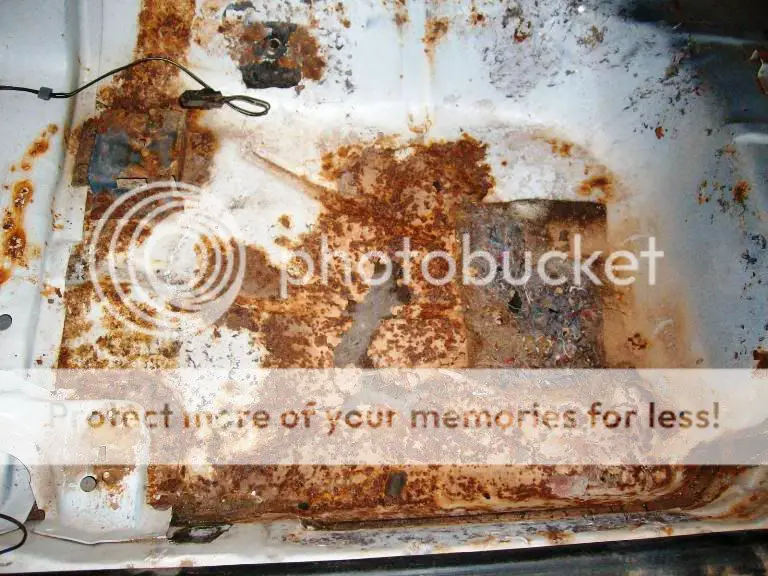
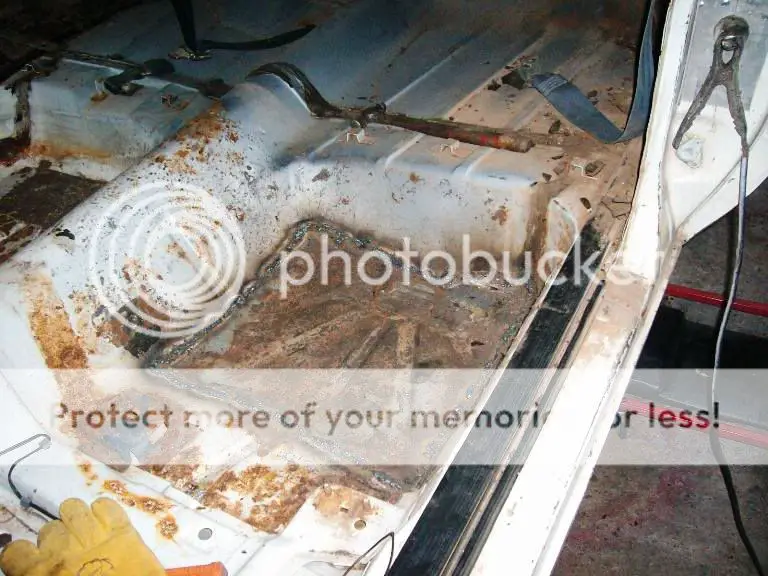
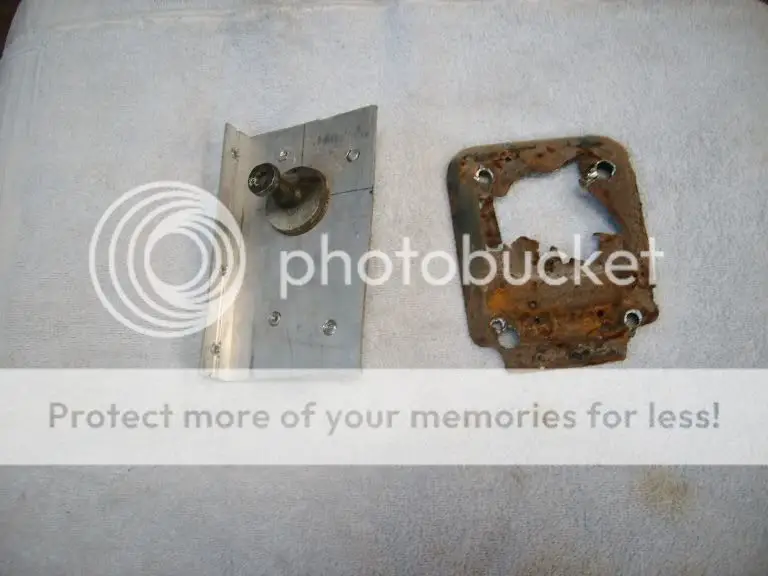
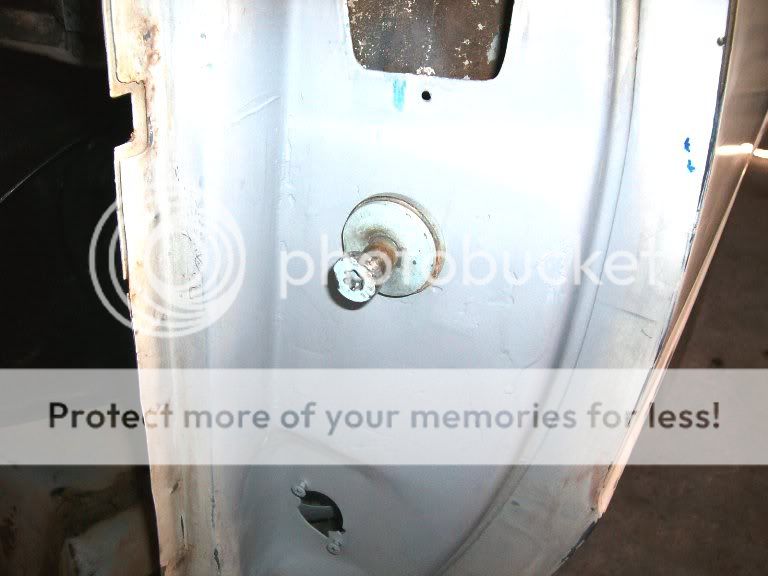
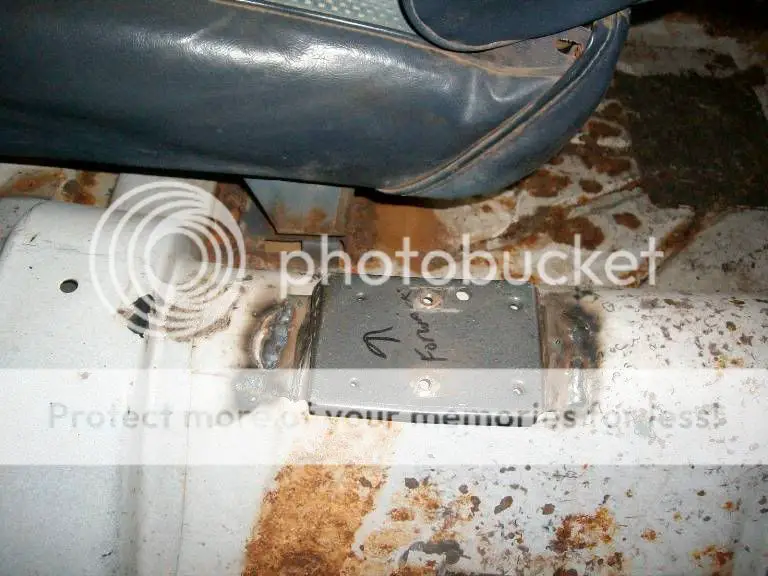
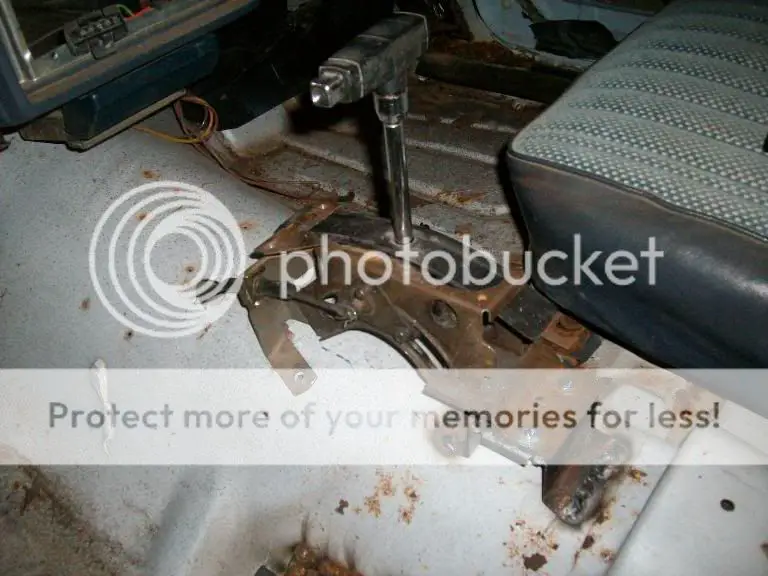
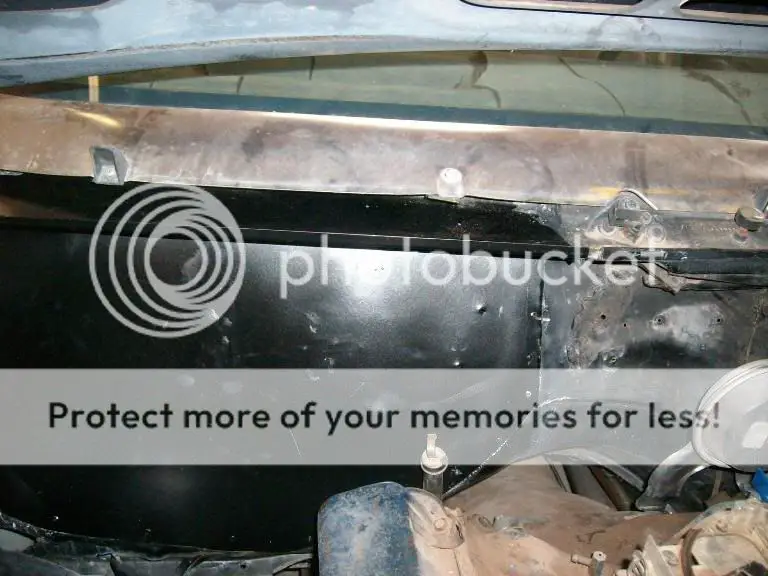
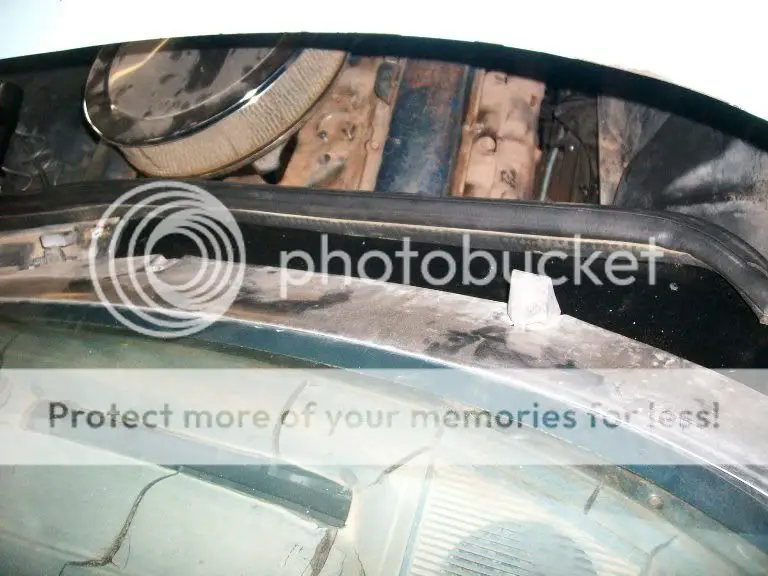
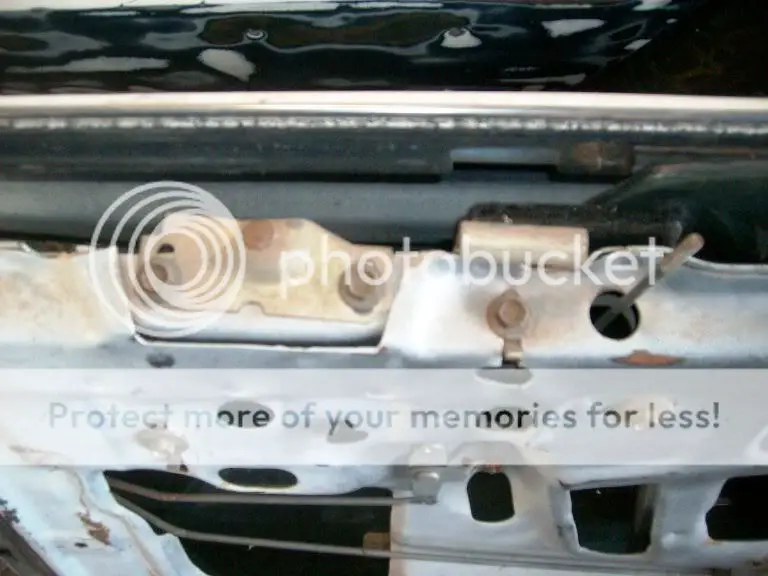
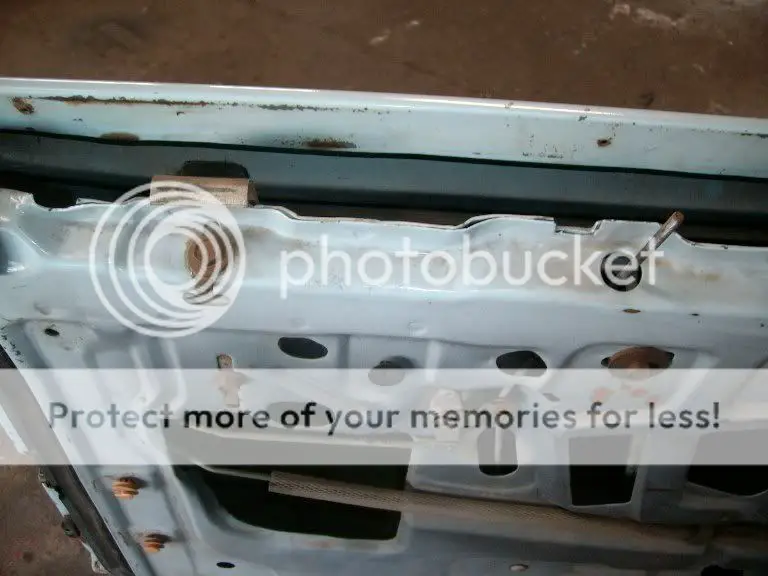
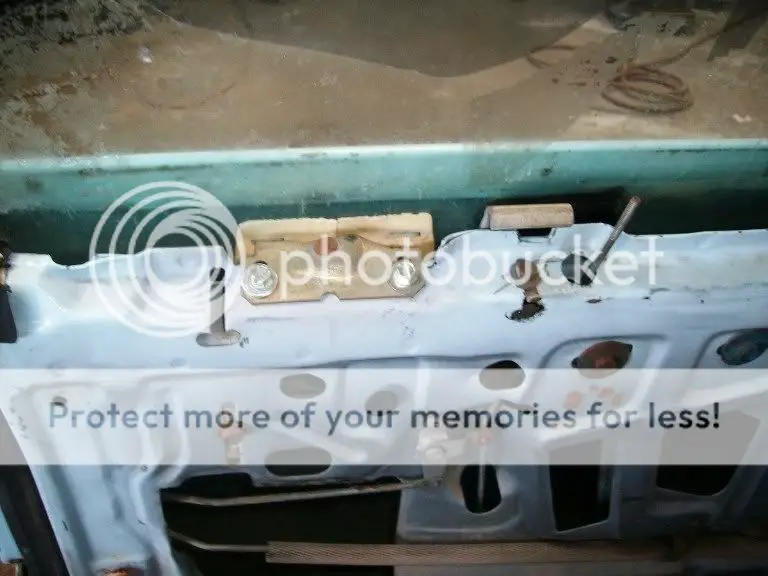
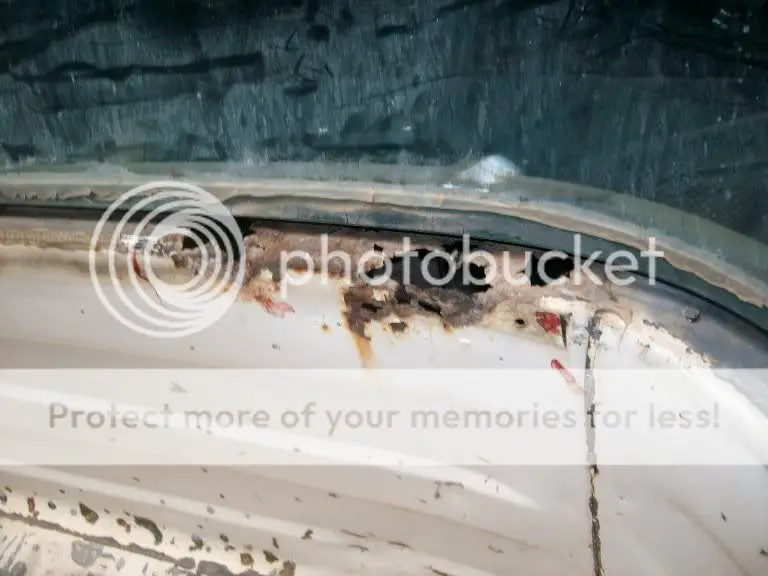
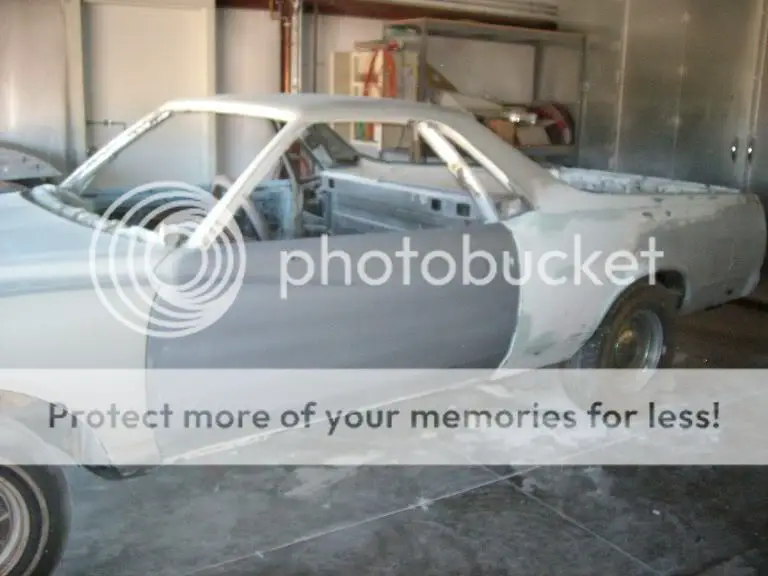
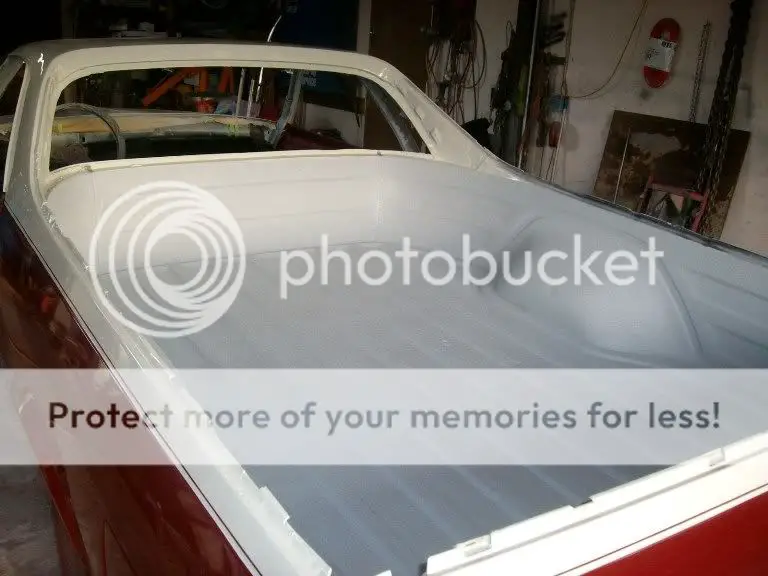
The more the El Camino sat beside the shop the more I thought it would be a good home for a 500 CI Cadillac engine I had set aside year ago. Overall the body wasn’t too bad, it needed the floor behind driver’s seat and drivers door striker repaired, there was also some pretty bad rust thru in the bottom of the passenger door.......all of which I figured would be pretty easy to repair.

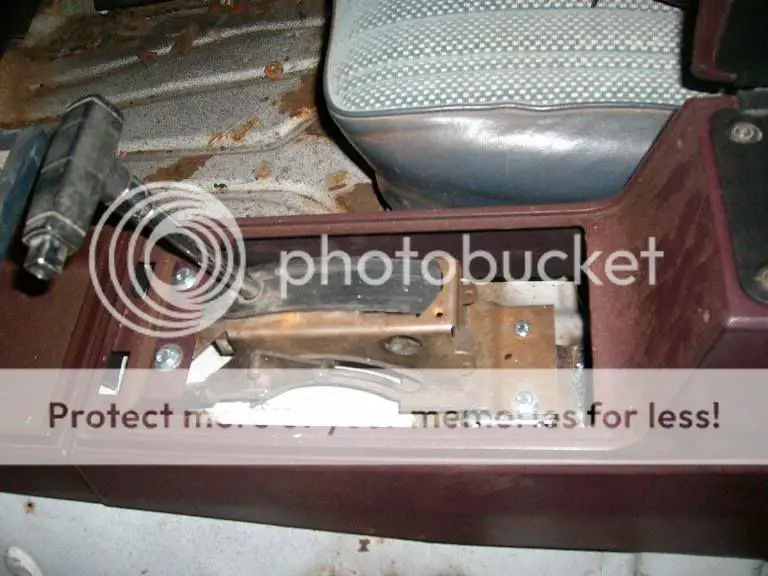
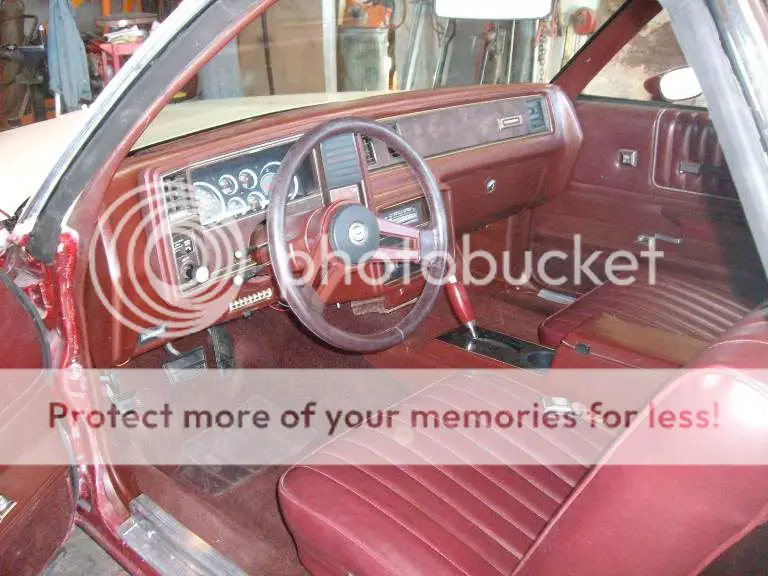
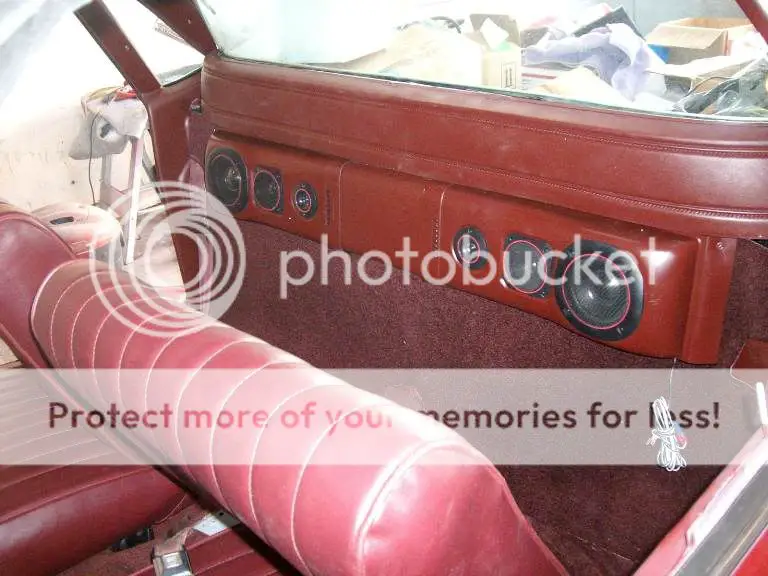
I made a trip to the local wrecking yard a few days after I decided to build the 83 figuring on finding a door and maybe a few other odds and ends. I scored a bunch of nice burgundy interior pieces from a Monte Carlo that was going to be crushed.

mc4.jpg


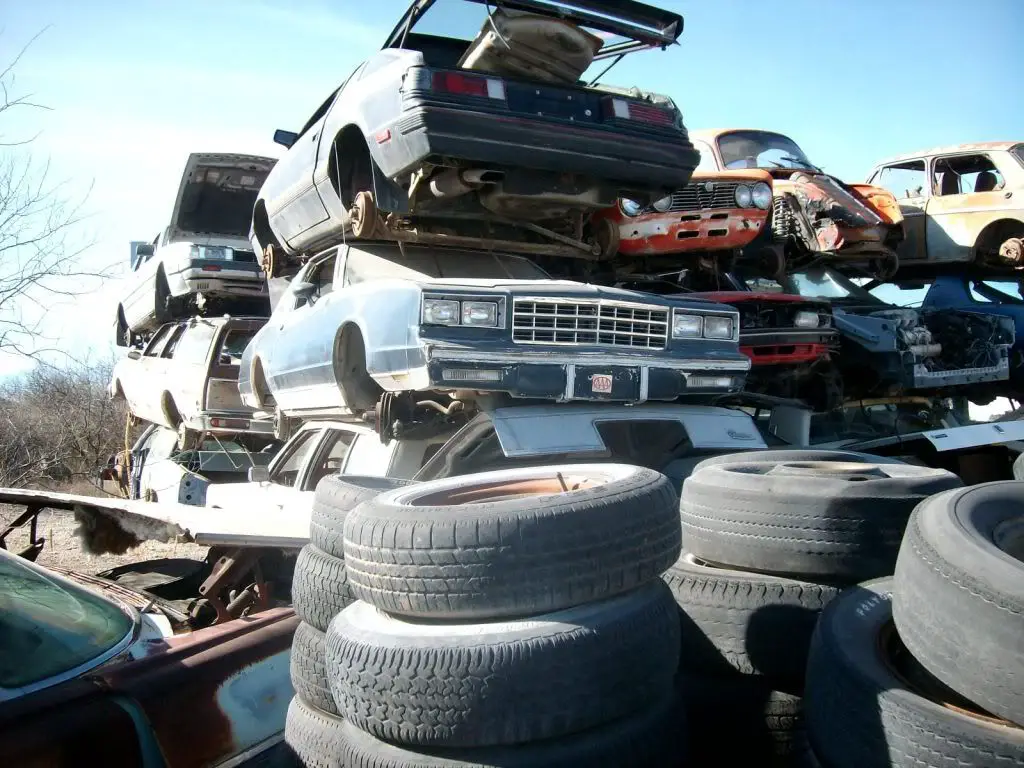
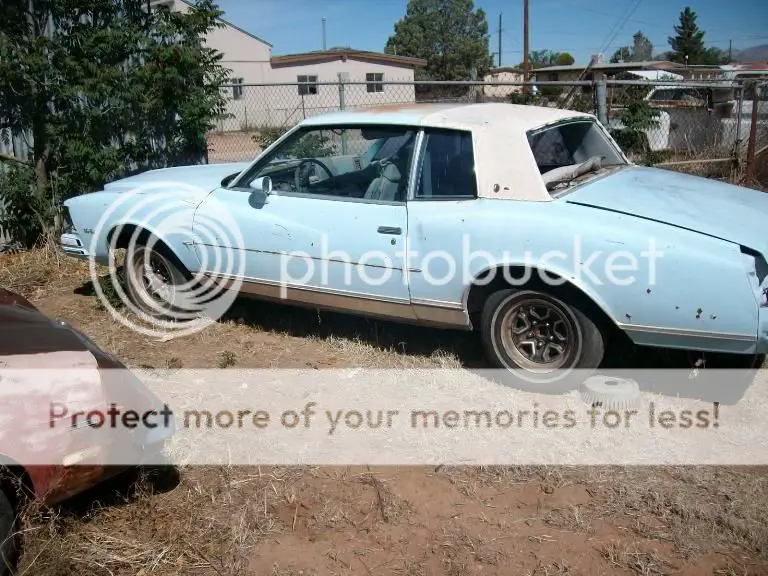
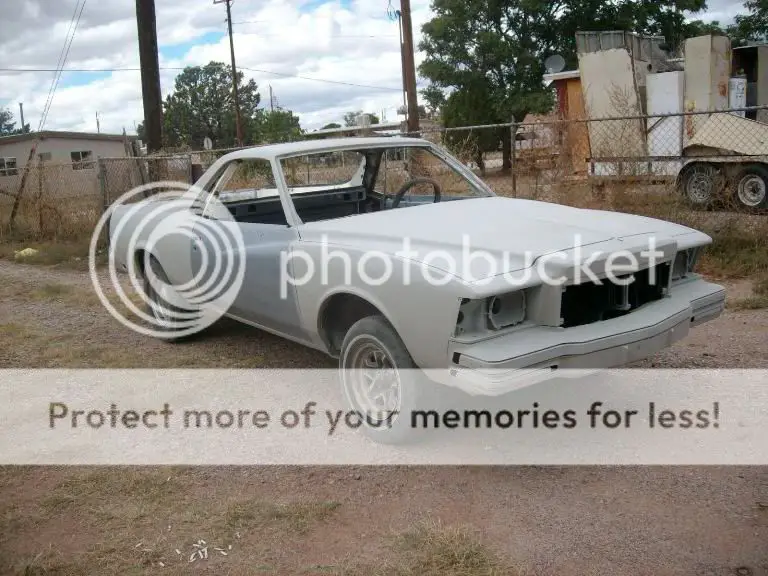
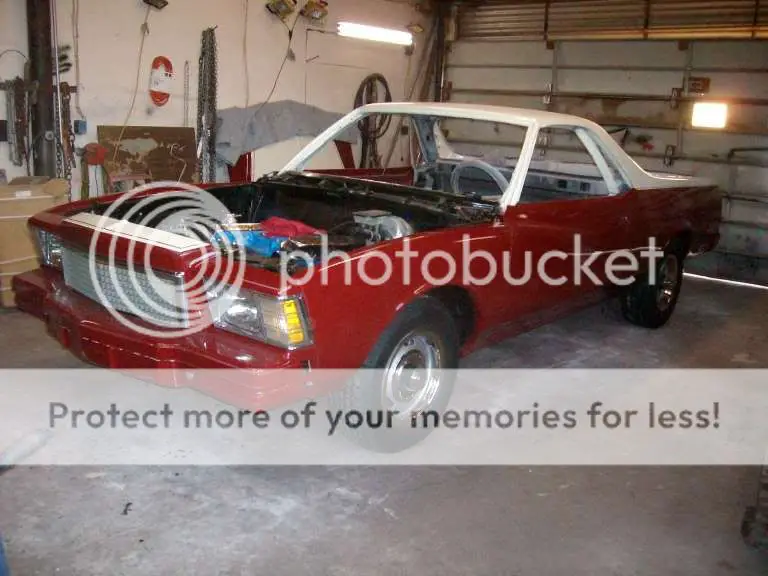
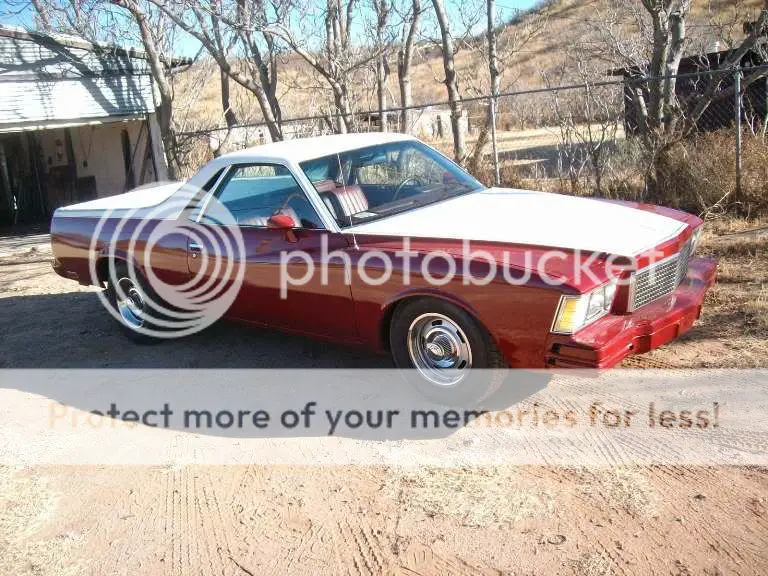
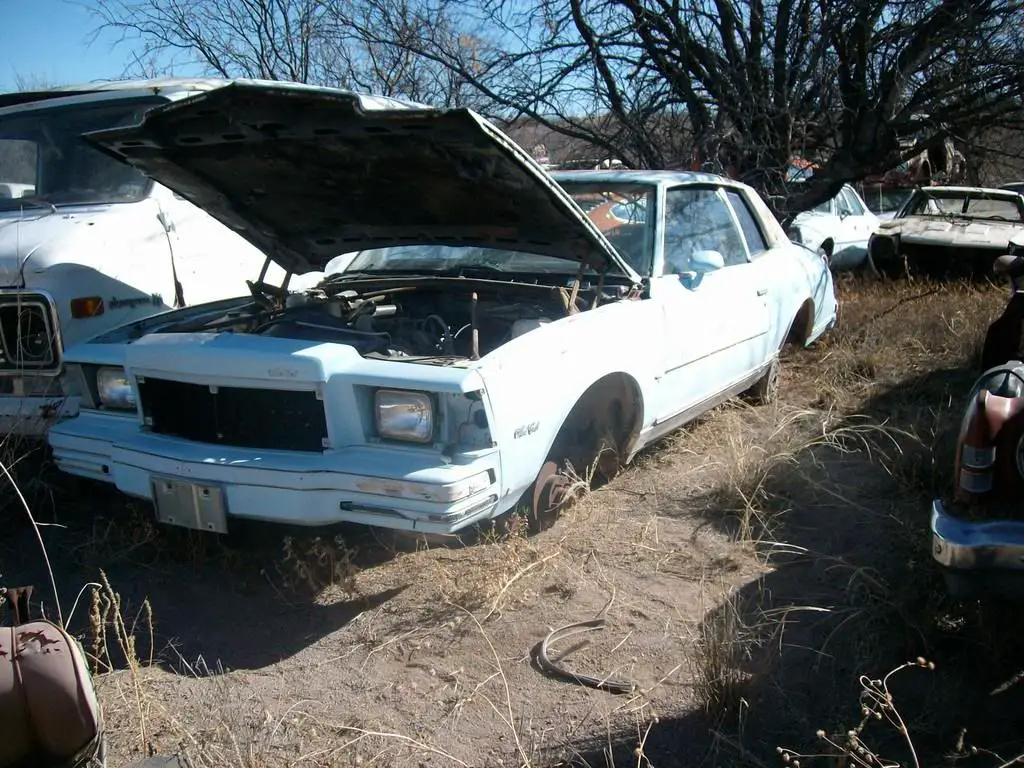
I wandered over to a 78 Monte Carlo that had been in the yard for several years . I had seen a picture of an El Camino with an 80 Monte nose on it and the more I looked at the 78 the more I thought why not, I had always really liked the body lines on the early Monte’s. The sheetmetal was very straight and rust free and what really sealed the deal was that the Monte had the F41 suspension, power drivers seat, power windows, power door locks and a beautiful unmolested wiring harness. Before I left I had made a deal on the Monte ......yeah, I bought a parts car for the parts car LOL.

78MC.jpg
 

Mike P

Master Mechanic
Aug 7, 2009
446
208
43
Arizona
I got the Monte home a few days later and that’s when I realised that there was going to be an issue with the body lines at the bottom of the door not matching. The body line on the El Camino was 8” from the bottom edge of the door and on the Monte it was only 4”. I almost scrapped the project right there but figured I check with a couple of body guys I knew to see how feasible it was going to be the change the body lines. They both said that it really wouldn’t be that hard to do and while it wouldn’t be real cheap it was still affordable.

78Monte.jpg


And so the project began. The first step was to remove the front clip and doors from the El Camino (I eventually traded the clip for the bed trim and tailgate I needed for the project) along with the engine and then fit the Monte Carlo doors.


MC305.jpg


MCDoors1.jpg


The doors fit the holes very well, but there was defiantly some bodyline issues.


MCDoorGap.jpg


LowerBodyline.jpg


MCUpperbodyline.jpg


Along the line I had come across some information indicating that the front frame horns on the 78 Monte Carlo were a bit longer than the ones on the El Camino and as it turned out they were by about 2 3/4”. After looking at different options (spacers etc) I decided the easiest way to extend them on the El Camino would be to just cut the required amount from the Monte Carlo donor and graft it to the El Camino frame.

Extension.jpg


Extendedframe.jpg


With the frame extended and the help of a friend we installed the front clip as 1 piece and installed the bumper.

Clip2.jpg


Frontend5.jpg
 

Mike P

Master Mechanic
Aug 7, 2009
446
208
43
Arizona
With the clip and doors on I moved on to the rust repair (that I knew about at the time). The Monte Carlo proved helpful again by providing the patch panel for the area behind the driver’s seat.

rustyfloorpan.jpg


floorpanpatch.jpg


As far as the striker area, over time the reinforcing plate behind the striker bolt had rusted out (losing the threaded portion the striker bolt screws into). The solution the PO had used was a piece of aluminium screwed into the area with the striker bolt screwed into that. The fix was pretty straight forward simply remove the striker area and reinforcement plate from the Monte and weld into the Camino.

latch.jpg


repairedlatch2.jpg


Somewhere along the line I decided that the stock chrome rear bumper just looked out of place with the picnic bench body colored front bumper. I found a fibreglass rear bumper that that I thought flowed well with the front so on that went.

rearbumper1.jpg


hitch.jpg


I had also decided to add a console and floor shifter which meant adding the appropriate brackets and drilling the floor for the shift cable.


rearbracket.jpg


shifterFbrack.jpg


Frontconsolemounting.jpg


And because I’m basically cheap, rather than dig up a floor shift column, I removed and filled the shifter nub on the column.

Nubcutoff.jpg


Filler.jpg


Primer.jpg
 

Mike P

Master Mechanic
Aug 7, 2009
446
208
43
Arizona
As this is a daily driver and will also be used for some fairly long trips a heater and AC were definitely on the agenda. I could have dug up a factory setup (and modified the box to clear the Cadillac valve cover, I elected to use an aftermarket unit. I ended up getting a HotRod Air unit (the company has since gone out of business. I selected their biggest unit and even though it was made to fit, in retrospect were I to do it again I probably would use a smaller unit (I ended up losing 1/2 of the glove compartment with this unit). After several trial fits (and trimming various places on the inside of the dash the unit was mounted and connected to the factory duct work.

ACBRaclets3.jpg


AC1-1.jpg


AC2-1.jpg


I did have to modify the defroster part of the ducting in order to cover the defroster vents of the AC/Heater unit. A little bit of fibreglass work and everything pretty much came together. I then cut a seal from a piece of foam to seal everything and the installation was pretty much done.

boxmod2.jpg


Seal1.jpg


sealvent.jpg


The final thing I did on the AC was to convert the factory El Camino AC control panel to operate the system and get rid of the overly complicated controls that came with the HotRod Air unit.

HRACOntrols.jpg


controlslayout1.jpg


modstcont.jpg


Removing the stock AC box from the engine compartment leaves a huge gap between the windshield and hood and no way to deflect rain water from going down the windshield onto the back of the engine and exhaust manifold. I picked up one of the filler plates that solves this problem and provided a place for the stock cowl seal. The piece actually installed and fit as well as advertised.....I’m very happy with the results.

Pannel2.jpg


cowlpiece3.jpg
 

Mike P

Master Mechanic
Aug 7, 2009
446
208
43
Arizona
I knew I would have to change out the Monte Door glass for the El Camino glass, but figured that would be pretty straight forward.....and then I started comparing the doors. It seems the El Camino doors use a stop in the rear the Monte Carlo doesn’t have and the El Camino uses a larger rear rub block that is positioned more forward (due to the slant the El Camino window is cut at).

El Camino door

ELSweeps.jpg


Monte Carlo Door

Montesweeps.jpg


A couple hours later and the doors were modified for the El Camino glass

drdone.jpg


About this time I figured about all that was left was pulling the windshield and rear glass and then it would be sent to the body shop to have the body lines matched up. There was one last unpleasant surprise when I pulled the rear window trim.

backwindow-1.jpg
 

Mike P

Master Mechanic
Aug 7, 2009
446
208
43
Arizona
Body work is not my strongest point, I can rough stuff in but to make it straight I usually have some problems with. So I had the body guy come out and we discussed exactly what needed to be done to make it ready for paint.

Basically it was determined that besides the rust repair in the back window, he would change the body line between the rear edge of the door and the front of the rear tire, soften the body line under the quarter window and eliminate the body line behind the tire to the rear bumper (lowering that body line would have put it thru the center of the rear marker light.

Bodylinechanges.jpg


The body guy did beautiful work, and had it done and ready for paint in 5 weeks at the agreed price.
body1.jpg


831.jpg


832.jpg
 

Mike P

Master Mechanic
Aug 7, 2009
446
208
43
Arizona
I had originally planned on painting the El Camino white and a little bit of pin striping on the fender body line, but when I got to the paint store I just couldn’t bring myself to paint it just white. I decided to 2 tone it burgundy and white, and went back to my roots and used just a plain acrylic enamel paint (it’s going to be a driver and base/clear systems tend not to hold up as well here in AZ on cars that are parked outside most of the time).

paint1.jpg


I also did a light grey spray in bed liner

bedliner.jpg


When the paint and bedliner had dried it was on to final assembly. The hood came off and the engine and trans went in.

nohood.jpg


The floor and roof were insulated and the interior, dash (with a new full dash cover) and wiring went in, along with a set of speakers from the El Camino store.

inslulation.jpg


I added an aftermarket shift handle, and something I found out I really missed when I started driving my wife's 84 El Camino....a cup holder.....(about the simplest part of the whole project, I bought a $1.00 holder off of E Bay and had to cut a 3" hole in the console top).

interior.jpg


speakers.jpg
 

Mike P

Master Mechanic
Aug 7, 2009
446
208
43
Arizona
And so 18 months after I started the “parts truck” was transformed into this.

outside83.jpg


pass83.jpg


Specs:

83 El Camino W/78 Monte Carlo front end and doors;
500 Cadillac (swap covered in post viewtopic.php?f=13&t=25458&p=194605&sid=bd0f3af87278b9b7dfc8ac9ccbc96d5b#p194605 )
TH400
Ford 9” W/2.75 Posi (covered in
viewtopic.php?f=14&t=25389 )

F41 Suspension and quick ratio steering box
HotRod Air AC/Heater
Power seat
Power windows
Power locks W/remote
Console W/floor shift
Cruise
Factory Delay wipers
Monte Carlo SS Dash cluster (120MPH speedo, Tach, gauges)
Pioneer super tuner with CD changer
 
  • Friendly
  • Like
Reactions: 1 users

87LS/88SS

Master Mechanic
Nov 12, 2008
288
6
16
If I had 2 more hands I'd give you 4 thumbs up :D.
 

GBodyForum is a participant in the Amazon Services LLC Associates Program, an affiliate advertising program designed to provide a means for sites to earn advertising fees by advertising and linking to amazon.com. Amazon, the Amazon logo, AmazonSupply, and the AmazonSupply logo are trademarks of Amazon.com, Inc. or its affiliates.

Please support GBodyForum Sponsors

Classic Truck Consoles Dixie Restoration Depot UMI Performance

Contact [email protected] for info on becoming a sponsor