BUILD THREAD My 85 455

Status
Not open for further replies.
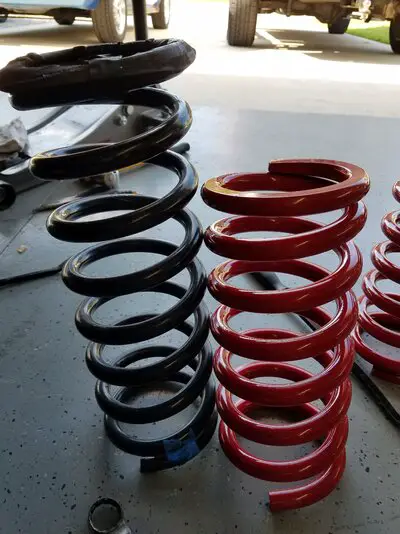
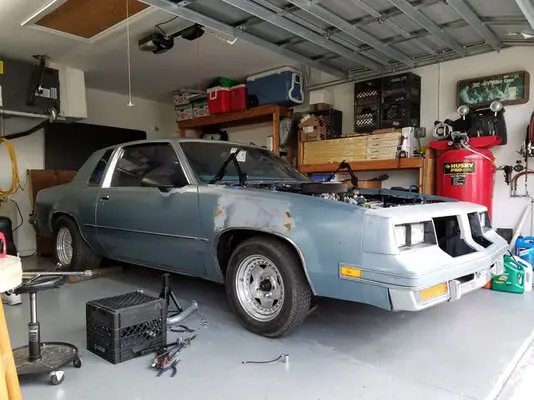
I've had a major problem getting the nose down on this thing, the first pic in this thread shows how high it sits with a BBO in it. After pulling things apart this weekend everything moved freely so the only culprit was the springs. Thanks to BMR for the quickness getting my order out, 3 days total at my door. Got the 1.5" lowered springs and I think this is about as low as it gets without cutting.
 

Attachments

  • 20160427_170123.jpg
    20160427_170123.jpg
    1.5 MB · Views: 61
  • 20160427_190405_zpsthkhams2.jpg
    20160427_190405_zpsthkhams2.jpg
    162.9 KB · Views: 61
Last edited:
  • Like
Reactions: Mrockatansky
As long as you don't get traction, the 7.5" might hold. Those sound like decent clearances although stock rods will move around as they please.
 
Fired it up almost a couple weeks ago. Fighting the typical stuff like a small leak hear or there. Had an issue with the lifters not delivering oil to the top end but after some advice I let it warm up good and they all started pumping finally. Just have to set the timing, fix a leaking rear brake cylinder, and tag and insure.
 
  • Like
Reactions: Tony1968
Great build! I picked up a 455 years ago to put in my '87 Cutlass, but it ended up going in my '73 Omega hatchback that had dead inline 6. I just dropped in a modded 403... nice to see others are keeping things Olds!
 
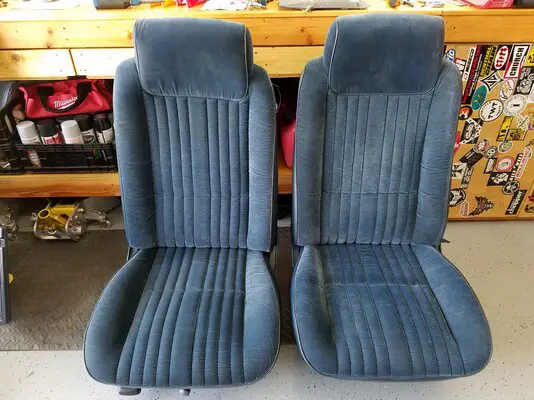
Couple of updates. I picked up a set of blue bucket seats out of a crashed 442 beginning of the year, just got them from my buddy in Tenn. beginning of the month. Cleaned up and ready to install.

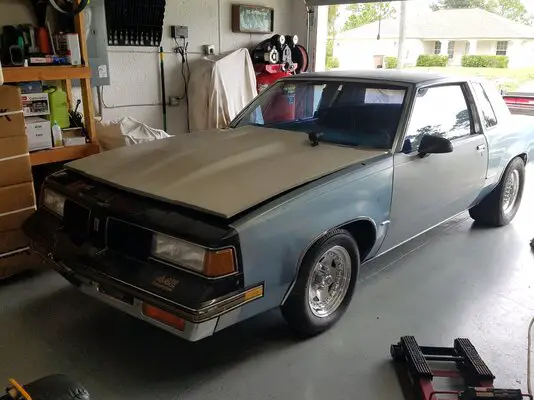
also snagged a euro front end of last year in NY, finally got it at the same time as the seats....

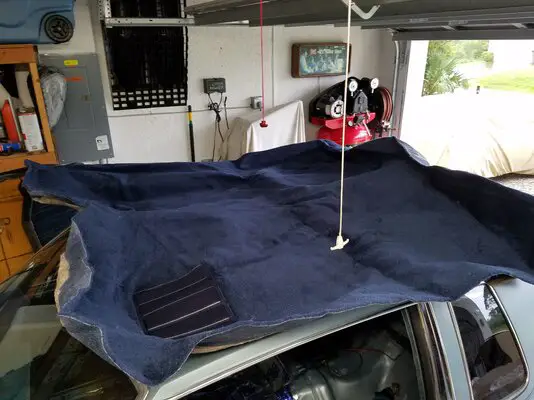
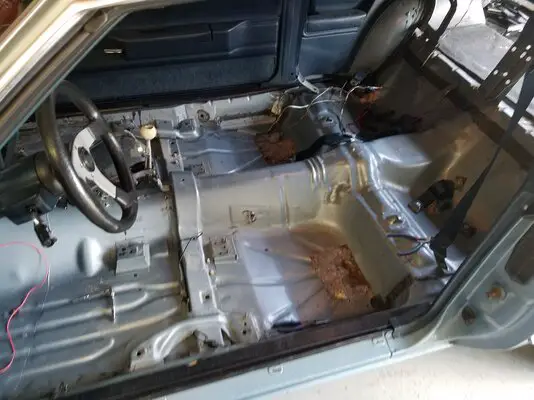
Now I'm tearing into the interior and finally putting down a mount for the console ( I have a thread asking for help), new ACC carpet to replace the cheap crappy fitting carpet I put in almost 25 years ago.
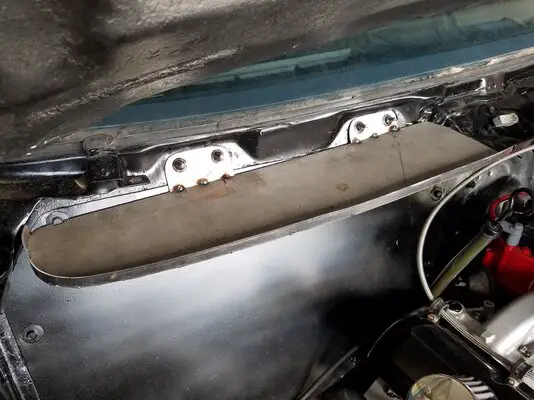
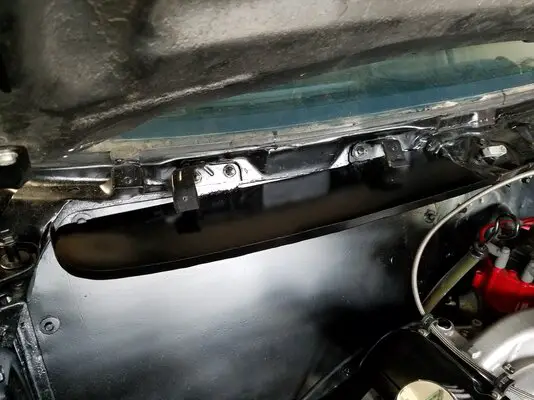
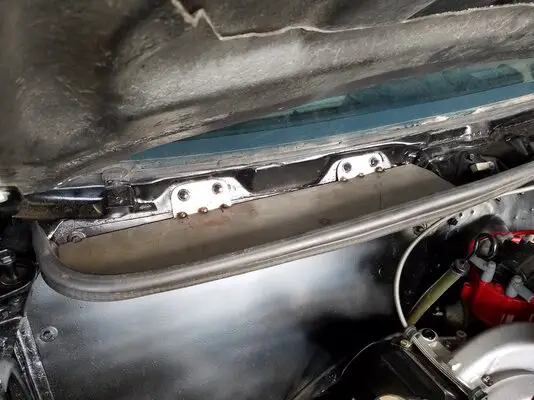
Buttoned up the engine bay with a home made cowl shelf.....
 

Attachments

  • 20160820_122510.jpg
    20160820_122510.jpg
    4.9 MB · Views: 65
  • 20160809_161524.jpg
    20160809_161524.jpg
    3.4 MB · Views: 58
  • 20160830_170736.jpg
    20160830_170736.jpg
    3.5 MB · Views: 66
  • 20160704_143642.jpg
    20160704_143642.jpg
    3.9 MB · Views: 58
  • 20160704_175304.jpg
    20160704_175304.jpg
    3.7 MB · Views: 56
  • 20160704_143623.jpg
    20160704_143623.jpg
    4.2 MB · Views: 63
Last edited:
Don F, nice fab on the HVAC filler panel. Punch some louvers and duct the cold air to the carb!
 
Installing the console mount turned into a can of worms, but one I created so I can't be to pissed. Just pulling the carpet wasn't enough, I decided to yank the almost 25 year old sound system out.
Had a newer Kenwood head unit in my old daily driver I installed, left the 4 speakers I substituted for the 4x10's, and installed a new pair of 3.5's to take place of the tweeters I had there.
20160911_151816_zpsqmzseibm.jpg

Then the headliner fell the rest of the way.....so that had to come out and get redone. My upholstery guy did a great job matching the factory color, and did the visors also. I put down a layer of sound deadener on the floor and on the roof.
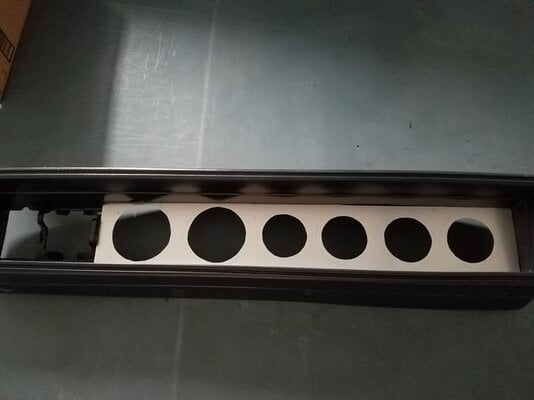
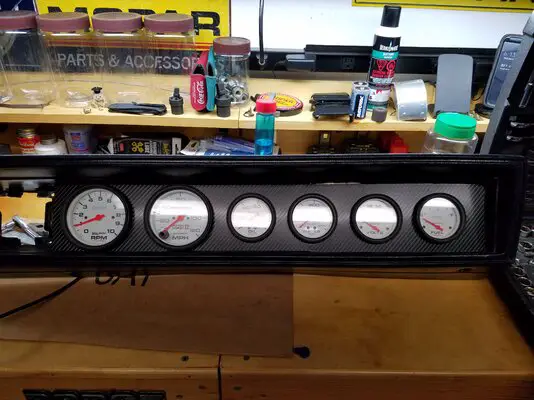
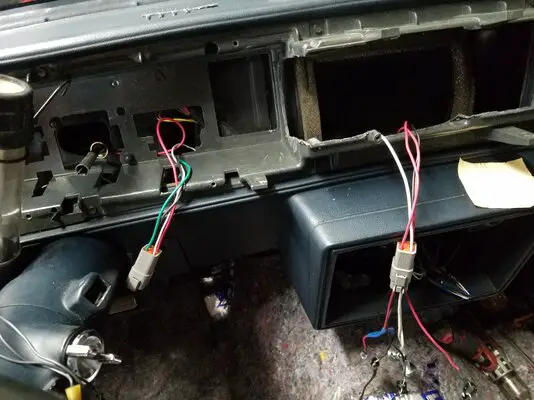
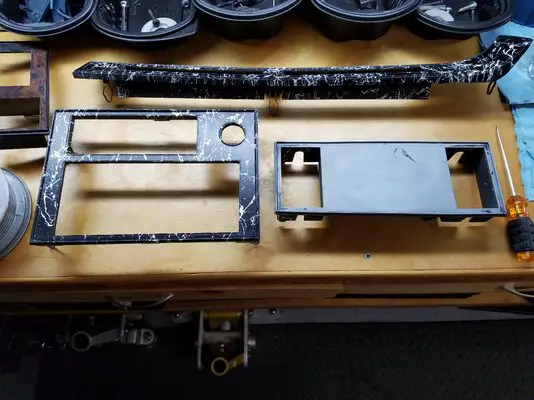
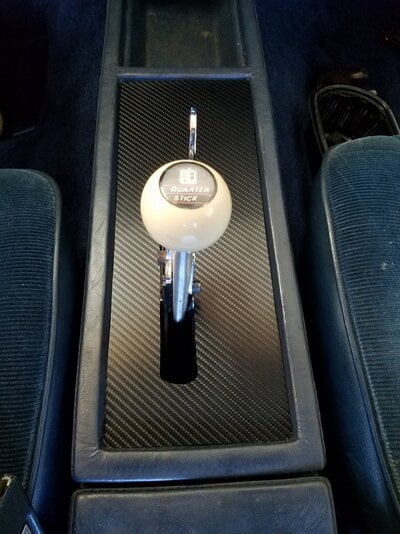
Then I decided having 2 of my gauges down on the center console wasn't going to cut it and looked like an after thought. Since I eliminated the A/C years ago time to take the gauges all the way across the dash. I made a new panel out of a door kick plate. I'm going to carbon fiber wrap it, just showed up tonight, just because I don't want the bright aluminum look. And I'll finally be able to get rid of that hokey 90's look I did to the interior, young and dumb.
Also put in a couple quick connectors so if I do need to pull this the wiring will be easy peasy to unplug.
These will all be wrapped also, except the center vent piece I'm not using.
 

Attachments

  • FB_IMG_1471791691543.jpg
    FB_IMG_1471791691543.jpg
    3.4 MB · Views: 65
  • 20160905_163230_zpso4skto5l.jpg
    20160905_163230_zpso4skto5l.jpg
    93 KB · Views: 59
  • 20160914_181326.jpg
    20160914_181326.jpg
    3.4 MB · Views: 60
  • 20160917_155044.jpg
    20160917_155044.jpg
    3.9 MB · Views: 67
  • 20160907_180937.jpg
    20160907_180937.jpg
    3.7 MB · Views: 58
  • 20160911_151756.jpg
    20160911_151756.jpg
    3.5 MB · Views: 65
Last edited:
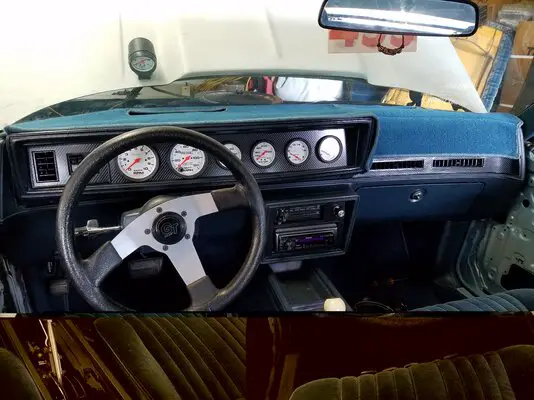
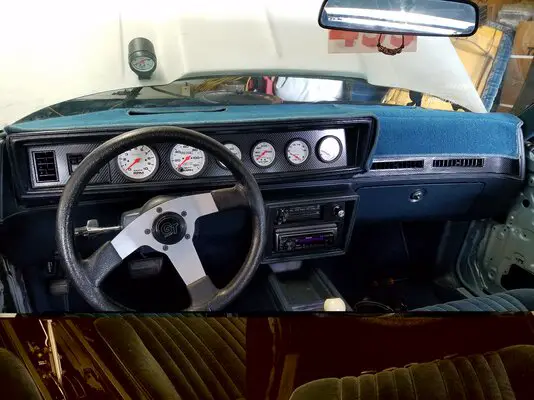
Been a few months but in that time I finished the interior. New carpet, headliner, windows retinted, new door glass, gauges finished up.
Dash finished up
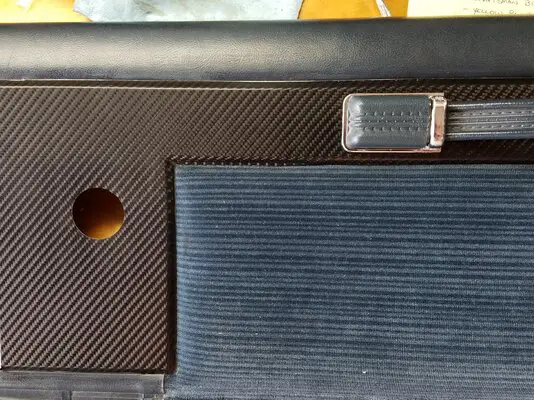
center console and door panels to match, way better than that splatter.
 

Attachments

  • 20160917_155044.jpg
    20160917_155044.jpg
    3.9 MB · Views: 61
  • 20160919_162954.jpg
    20160919_162954.jpg
    5.2 MB · Views: 62
  • 20160918_105329.jpg
    20160918_105329.jpg
    1.8 MB · Views: 61
Last edited:
Status
Not open for further replies.

GBodyForum is a participant in the Amazon Services LLC Associates Program, an affiliate advertising program designed to provide a means for sites to earn advertising fees by advertising and linking to amazon.com. Amazon, the Amazon logo, AmazonSupply, and the AmazonSupply logo are trademarks of Amazon.com, Inc. or its affiliates.

Please support GBodyForum Sponsors

Classic Truck Consoles Dixie Restoration Depot UMI Performance

Contact [email protected] for info on becoming a sponsor