BUILD THREAD Project "Learning Curve" 1980 Grand Prix

Status
Not open for further replies.

shotgun

Royal Smart Person
Nov 12, 2007
1,067
80
48
Nort o Philly
g quick.jpg
g bar.jpg
g link.jpg
Quick ratio box is in,fought me on getting primed, foamed a lot but I won!

Since it was out installed the Jeep universal end steering shaft, so much tighter now.

There is minor play in the lower bearing on the steering column but will live with it "for now"

In a case of "while you are in there" , my Fbody 36mm hollow bar with custom end links is installed.

Can't have a front bar without a rear bar so installed that too.

Does anyone know if anyone made a 26mm rear bar?

My 1 inch wrench would not slip over it anywhere but 1 1/16 had play. 1 1/32=26mm?

I'll call it 1 inch for now.

Next body mounts, arrrgh.
 
Last edited:

shotgun

Royal Smart Person
Nov 12, 2007
1,067
80
48
Nort o Philly
gp comp.jpg
gp bush b4.jpg
gp bush.jpg
gp bush 1.jpg
Got a compressor from the wife and kids for my birthday. I Was spoiled at the old place tapping into commercial/dry air.

There is a weird alcove upstairs that I turned into a compressor room. Took old carpet and lined the lower 1/2 of the alcove.

It works great, between the carpet/padding and being one floor up, just get hum/vibration when it is on. Dropped the air line thru the ceiling so good to go.

Did the p/s body mounts with a combo of aluminum and poly today. Took little over 2 hours.

Only had to use a hole saw for one! Most bolts were shot but I dug out some from my stock.

Here is a tip, make your dummy bushing smart.

,I found a poly bushing with a hole that matched the dummy height and reused a stock bottom rubber bushing. Once the new dummy is in, use it as a guide to drill up through the trunk floor. It feels like you go through 2 layers. I used an oversized nut on the other end.

Sorry for the cell phone pictures but you get the idea.
 
Last edited:

shotgun

Royal Smart Person
Nov 12, 2007
1,067
80
48
Nort o Philly
gp bush 2.jpg
gp bush 3.jpg
gp tire.jpg
Well, d/s body bushings are done. Same bushing on the d/s was bad as the p/s, hmmm manufacturer defect?

Ended up using holesaw threw trunk and then used a large grade 8 bolt to secure mount.

Amazingly the others just unscrewed and the one under the sill plate area came out shiny!

When I bought the car I thought maybe I overpaid but the frame looked so good.

Nice to have something work out for a change!

Did some testing while jacked up, looks like the rear tire clearance will not be an issue.

Installed some "pre-owned" Edelbrock IAS shocks out back, now has them on all four corners.

Next up final mount of the bumpers and fix the trans leak.

Just moving around the lot it feels like a different car , can't wait to blast around a corner.
 
Last edited:
  • Like
Reactions: 1 user

shotgun

Royal Smart Person
Nov 12, 2007
1,067
80
48
Nort o Philly
gp deck pin.jpg
gp deck pin 1.jpg
gp cut.jpg
gp cut 1.jpg
gp cut 2.jpg
gp bump tuck.jpg
gp bump tuck 1.jpg
Started out to mount the rear bumper but in a case of "while you are in there" got some other stuff done.

First, finished mounting the deck lid and pins.

At this point decided to "cut in" the paint in the trunk area. Since I won't be using bumper fillers, wanted all the background to be black.

After cleaning and scuffing, rattle canned everything.Krylon satin black.

I think it turned out pretty darn good.

Also sprayed the inside and outside of the RED bumper.

I am loving the look of the tucked bumper.

Aluminum bumper mounts tomorrow, hopefully!
 
Last edited:
  • Like
Reactions: 1 users

shotgun

Royal Smart Person
Nov 12, 2007
1,067
80
48
Nort o Philly
gp bump mount.jpg
gp bump mount 1.jpg
gp bump mount 2.jpg
gp bump mount 3.jpg
Was not happy with the rear bumper mount so repurposed the stock metal filler supports.

The bumper is attached to the supports with 10 screws and the supports attach in stock location with 8 screws.

The bumper is attached to,as well as sandwiched between the support and body, at the top.

On the bottom made brackets out of 1 by 3 aluminum that attach to my "custom" rear frame brace..

Took a lot of tweaking but it lines up with the body really,really well.

It feels very solid.

Next up, installing fiberglass hood.
 
Last edited:
  • Like
Reactions: 1 user

shotgun

Royal Smart Person
Nov 12, 2007
1,067
80
48
Nort o Philly
gp aluminum.jpg
gp front bump mount.jpg
gp hood pin.jpg
gp hood pin 1.jpg
gp tail 80.jpg
gp tail 79.jpg
Here are the 2 types of aluminum that were used for the bumpers.

The flanged piece was used to run along the bumper, the thicker piece is what the frame mounts are made of.

The front bumper is now mounted similar to the rear, feels just as solid.

Mocked up the front hood pins.

Since I had help lined up for today but he had to reschedule, went no further with the hood.

When I was a young, invincible stud I would have just unbolted the hood and muscled it off.

Could explain why my lower back feels like it does inin the morning nowadays !

Did dig threw "stock" and found some 79 taillights. I blacked (matt black) out the chrome, the housing were black already.

Never liked the 80 taillights and I think it looks more sinister to me with the 79s.

Might even tint the lens but not a priority right now.
 
Last edited:
  • Like
  • Creative
Reactions: 1 users

shotgun

Royal Smart Person
Nov 12, 2007
1,067
80
48
Nort o Philly
gp nose.jpg
gp script.jpg
gp script 1.jpg
gp turn.jpg
gp turn 1.jpg
Removed, painted and reinstalled front bumper.

Cut in around the bezel and fogged everything I could before putting the bumper back on.

The paint on the old headlight bezels was in bad shape so they were hit with a coat of matt black.

You can see the ATF lake under the car.

Traced it the detent cable, of course the cable has to come out and the pan has to come off to do that!

Dropped the pan and prepped to do a trans service at the same time as the repair.

Nice thing about having a lot of double parts, I can "play" with a part and if it is ruined, no big deal.

The GP emblem was coated with 2 layer of VHT niteshade, it the one n the back.

Looks better in person., subtle but different.

Always wanted to color the embossed arrowhead in the front turn signals so gave it a shot.

Used red VHT niteshades for the arrow and silver sharpie for the edges.

Again looks much better in person. The camera makes the color look uneven but it looks almost factory.
 
Last edited:
  • Like
  • Creative
Reactions: 1 users

shotgun

Royal Smart Person
Nov 12, 2007
1,067
80
48
Nort o Philly
gp turn compare.jpg
gp turn in.jpg
gp hood bracket.jpg
gp hood rubber.jpg
gp hood mock.jpg
&%#@$%^&^% (cussing) . Some people should not be allowed to buy freakin' tools!

Apparently whoever originally installed the trans broke the nipple off the detent cable base. Instead of getting a new cable they made a sleeve about

1/2" long piece of metal tube and drove it into the trans from above. I had to use a drift to drive it out from below, fun. So much for a test drive today!

Installed my "custom" turn signals. I attached a picture of a stock one to compare.

Between this car and the other header panel was able to gather up 4 halogen headlights.

I like it.

I may try clear bulbs in the turn signals but that is not exactly legal in PA.

Decided to work on the fiberglass hood. Made 6 tabs out of aluminum angle, installed them in spaced between the flipped hood bumpers.

Got it lined up really good, still have to drill for the pins and figure how to attach rear hinges.

Thats enough for today, have a good holiday weekend!
 
Last edited:
  • Like
Reactions: 2 users

shotgun

Royal Smart Person
Nov 12, 2007
1,067
80
48
Nort o Philly
gp hood pin2.jpg
gp left front fender.jpg
gp right rear quarter.jpg
gp hood pin2.jpg
gp left front fender.jpg
gp right rear quarter.jpg
gp right rear quarter black.jpg
Sorry for the delay, kids back from college and all.

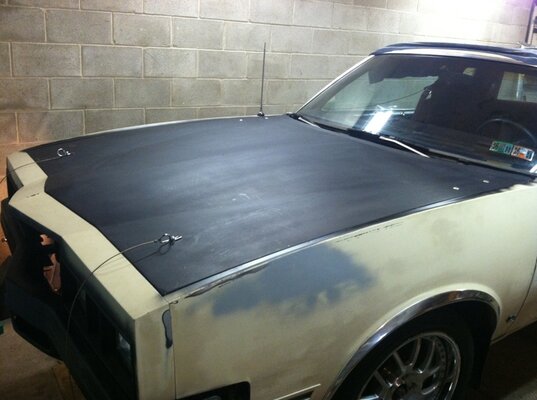
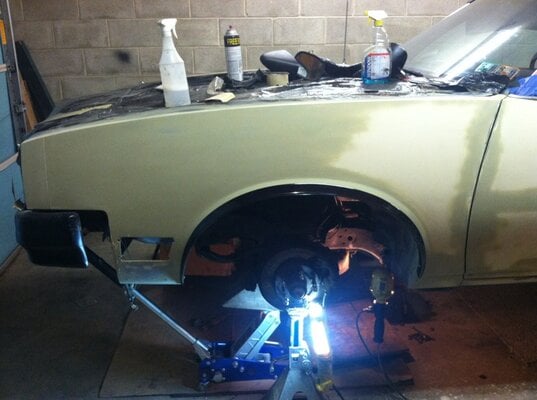
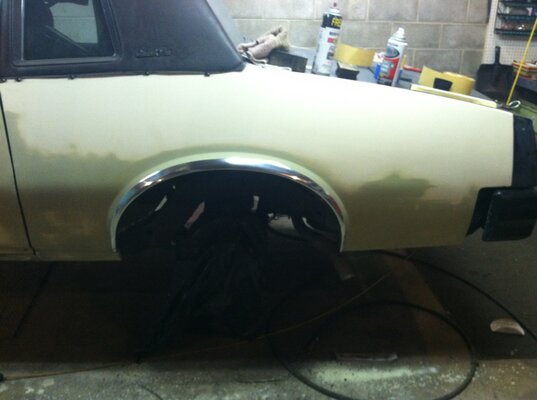
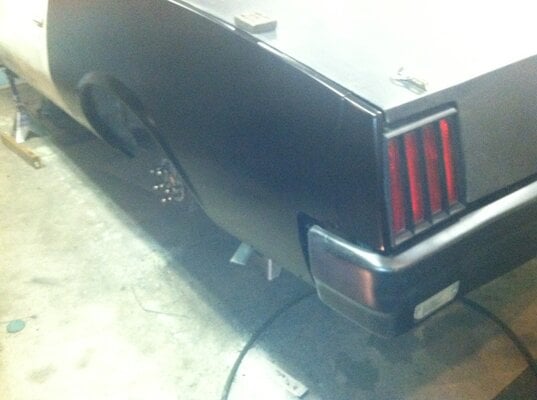
Finished bolting on my pin-on hood.

Started playing body-man.

The d/s has been dry sanded with 180, primed and wet 220 a few times and finally wet 400 before paint.

Don't plan on any bondo, there are only a few dings so far anyway.

Using SEM paint/primer can with great results.

The quarter turned out pretty darn good ,at least until it gets a "proper" coat of Hot Rod Black.

gp hood pin2.jpg gp left front fender.jpg gp right rear quarter.jpg gp right rear quarter black.jpg
 
  • Like
Reactions: 1 user

shotgun

Royal Smart Person
Nov 12, 2007
1,067
80
48
Nort o Philly
Lots done.

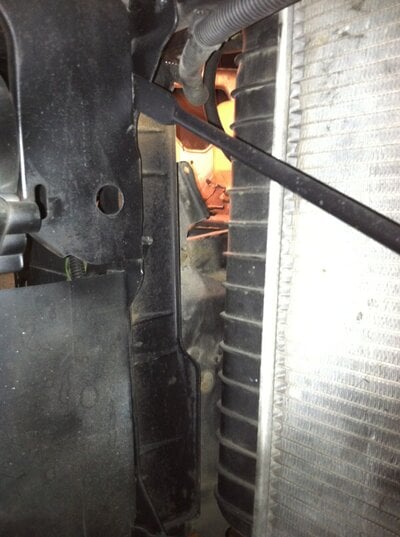
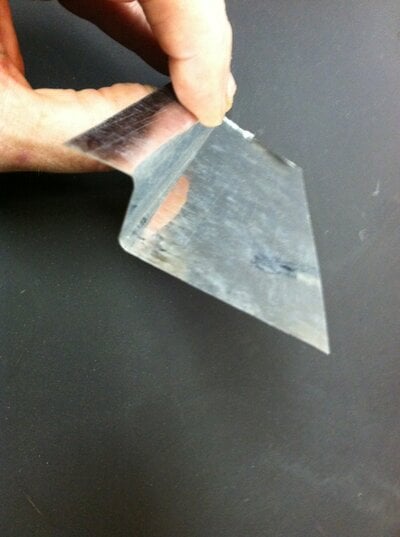
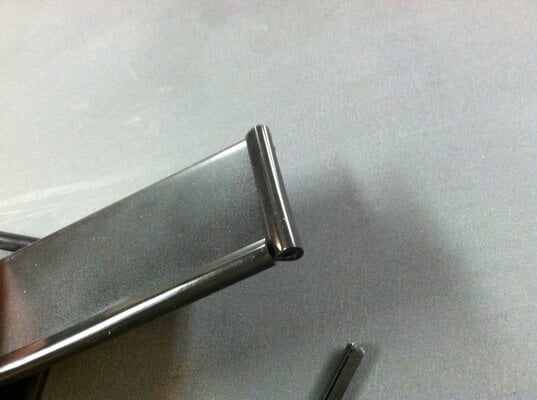
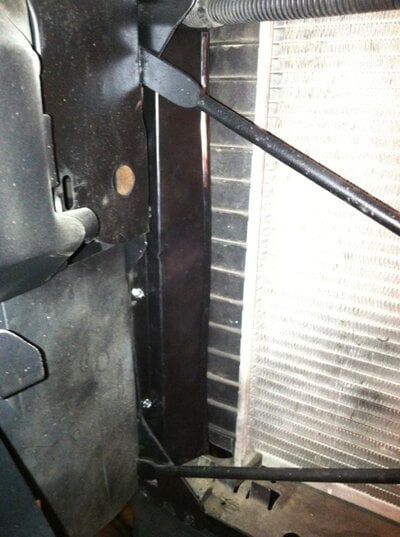
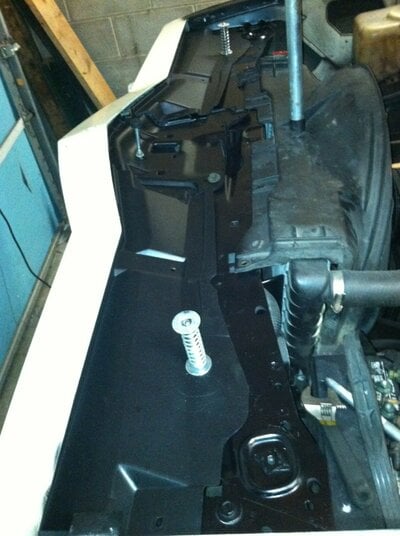
First filled the horrible gap around the radiator. Found some angle flashing at big box store and bought some door edge guard. total cost was like $8!

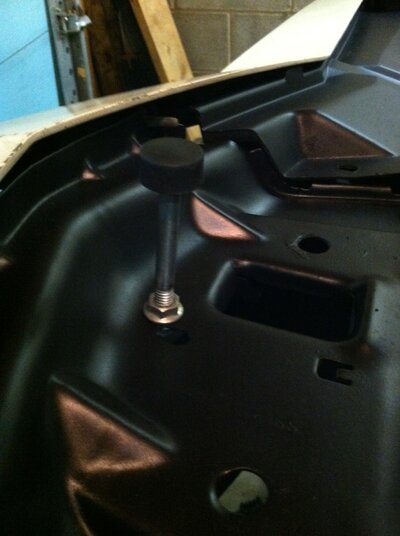
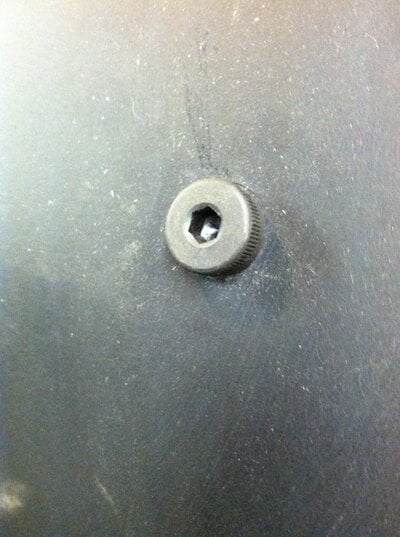
Used some high temp Rustoleum on the rad support and made a " high tech" support for the hood,also removed the carriage bolts for the hinges and replaced them with leftover Allen-head bolts.

I was a priming, sanding painting fool and got the l/f of the car done. 2/3 in paint!!!

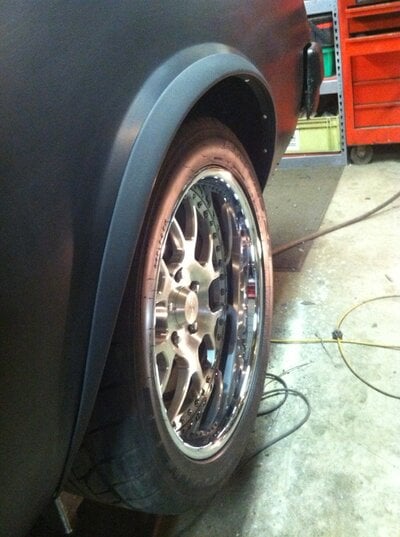
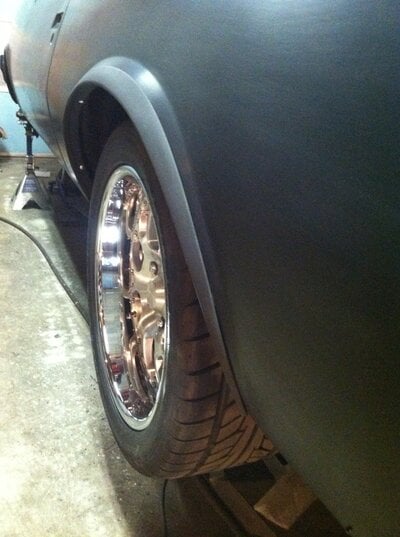
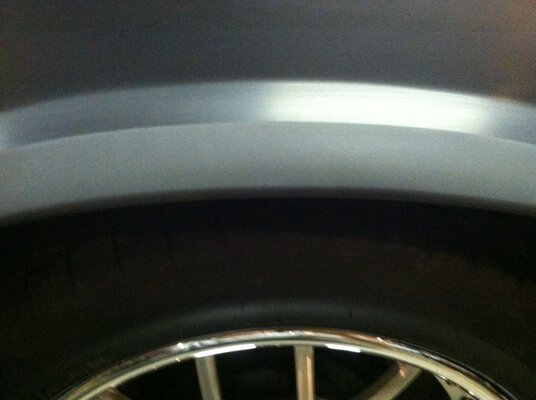
The wheel-well moldings are now "flares". They do extend the wheel well so I hit the with SEM texture paint. The finish looks like old plastic flares that were on S10s.

gp rad gap.jpg gp rad gap metal.jpg gp rad gap edge.jpg gp rad gap fixed.jpg gp rad sup paint.jpg gp rad sup hood pin.jpg gp hood bolt.jpg gp rr flare.jpg gp rr flare 1.jpg gp rr flare 2.jpg
 
  • Like
Reactions: 1 user
Status
Not open for further replies.

GBodyForum is a participant in the Amazon Services LLC Associates Program, an affiliate advertising program designed to provide a means for sites to earn advertising fees by advertising and linking to amazon.com. Amazon, the Amazon logo, AmazonSupply, and the AmazonSupply logo are trademarks of Amazon.com, Inc. or its affiliates.

Please support GBodyForum Sponsors

Classic Truck Consoles Dixie Restoration Depot UMI Performance

Contact [email protected] for info on becoming a sponsor