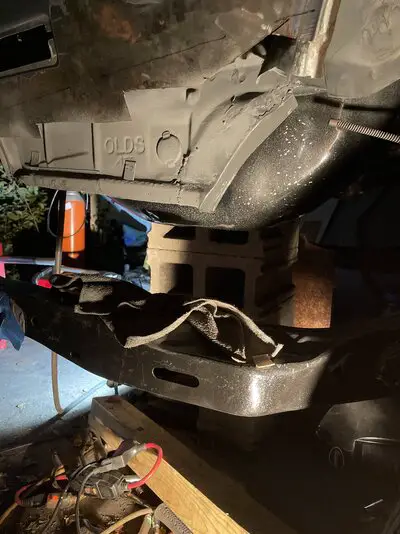
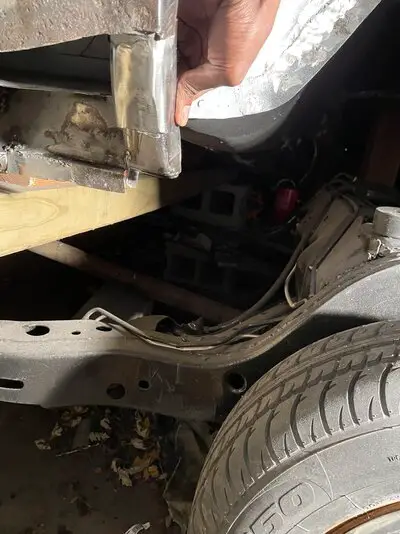
Hotboyrn84, from experience, I know you have a huge mess on your hands. A big project but not impossible! My 87 which is also a 5th Gen El Camino had body rust extending from the back lower corner of each door to the bottom of the tailgate. Because the rust was so extensive and involved the sealed chamber between the inner body shell and outer panel from the door to the front of the wheel wells, I concluded that a previous owner had been launching boats with this EC. Submersion was the only way water could intrude into this sealed area.
View attachment 185396
View attachment 185397
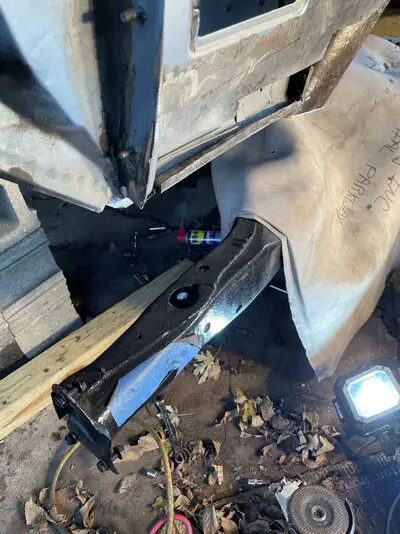
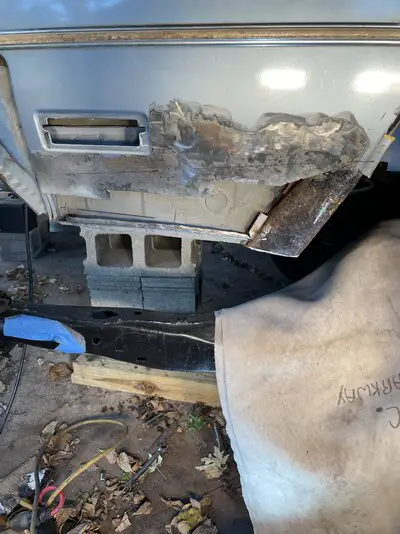
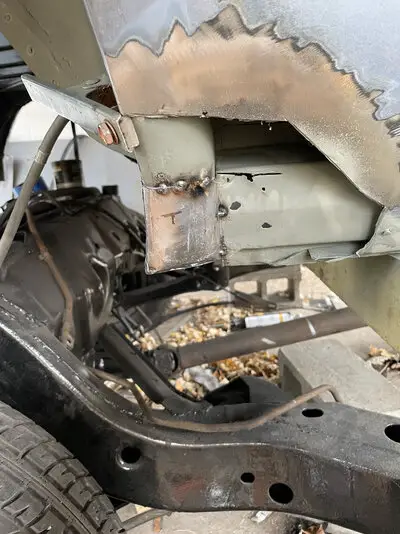
The pink compound you've encountered can be found throughout the body of our vehicles. It is not only down low but also higher like at the corners/base of the windshield where the windshield channel intersects the A-pillar. As someone previously mentioned, it is a weld-thru seam sealer that is LIBERALLY applied especially where multiple panels (I've counted up to 5 panels) are pinch welded to construct the body. Let me say that peeling back and separating the metal layers was a chore and no easy task. Because I tend to be a perfectionist, I opted to fix these areas like any restoration garage would--drill out any and all spot welds I found then separating each layers. Once the spot welds were drilled, I used a heat gun to soften the seam sealer. Softening the seam sealer was key to allow a flat Steck seam buster to slide in-between and separate each panel layer.
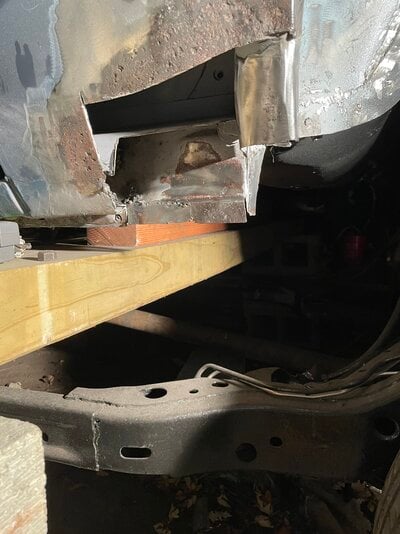
I note you're opting to retain as much of the original metal structures since you do not have replacements for these. Let me share with you how I addressed this dilemma; I ended up buying a 79 Pontiac Station Wagon and an 84 El Camino from which I scavenged replacement pieces. I was very fortunate to obtain both of these for $500 each and able to recoup my investment by selling off parts. Doing replacement of these inner pieces is important since many are involved in the structural integrity of the body, especially the seam that runs along the bottom length of the vehicle. Welding solid pieces is absolutely necessary! I offer this precaution: as you progress with the inner structures always be mindful of whether or not the outer panel fits properly. You don't want to weld it all up and later find out the skin panel doesn't line up and looks bad.
View attachment 185398
I post a few shots of the finished areas later when I find them.
Good luck and go slow!