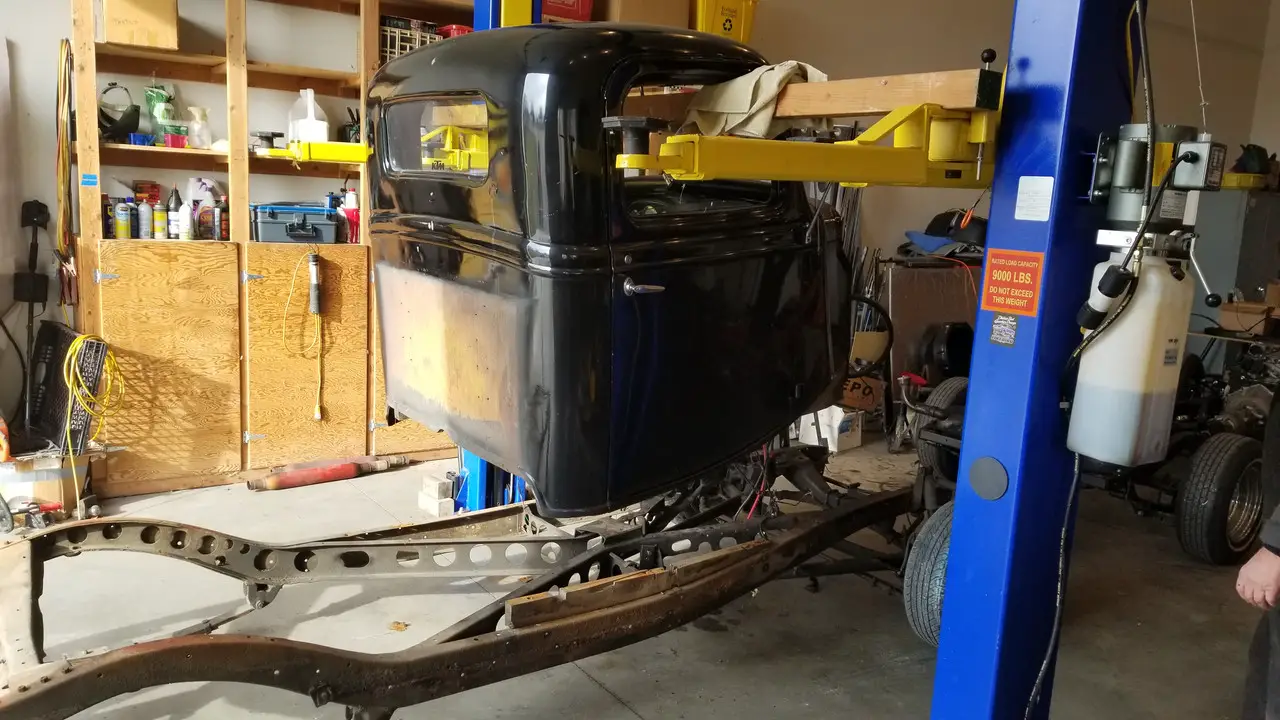
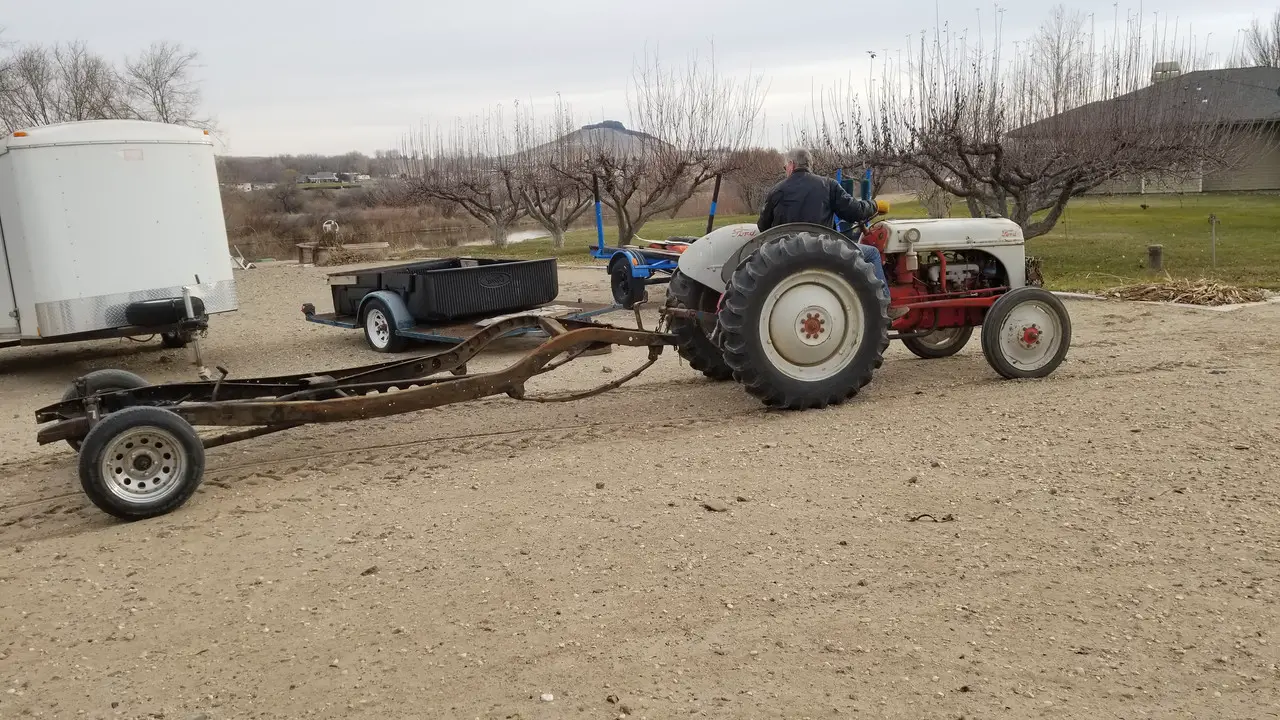
1936 Ford Pickup Refresh

Status
Not open for further replies.
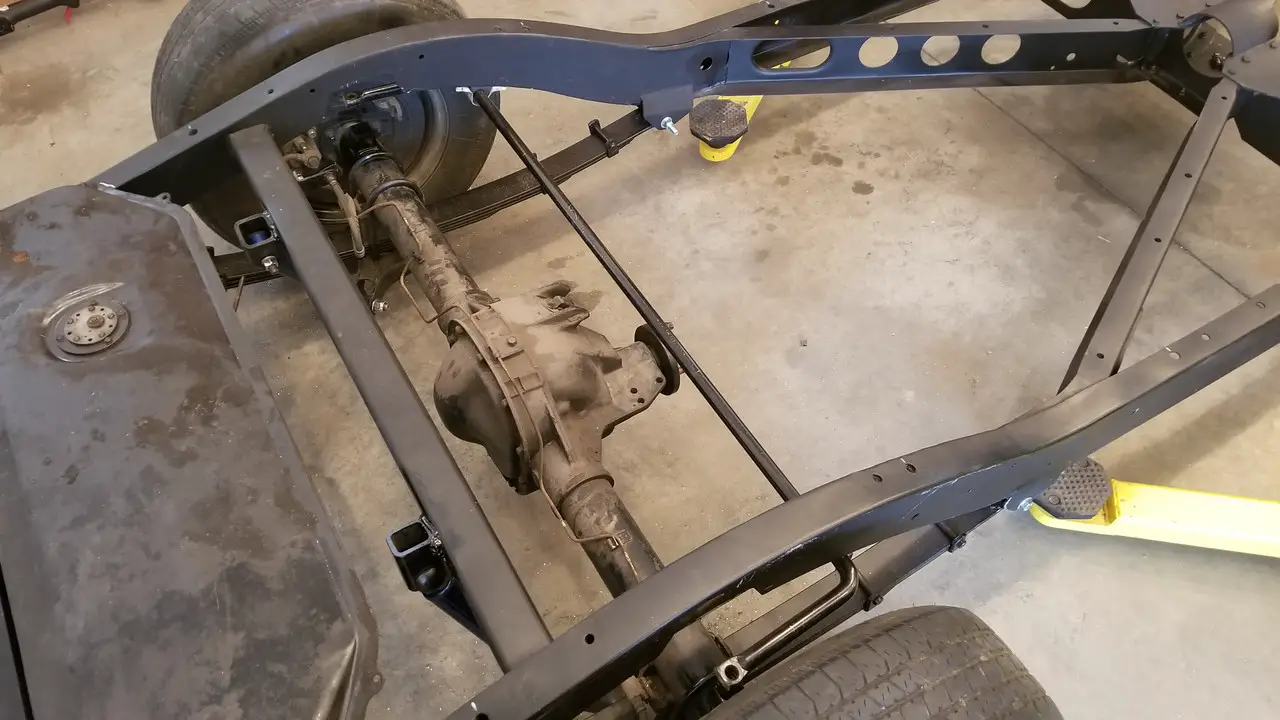
Rear sway bar mounted, end links on order.
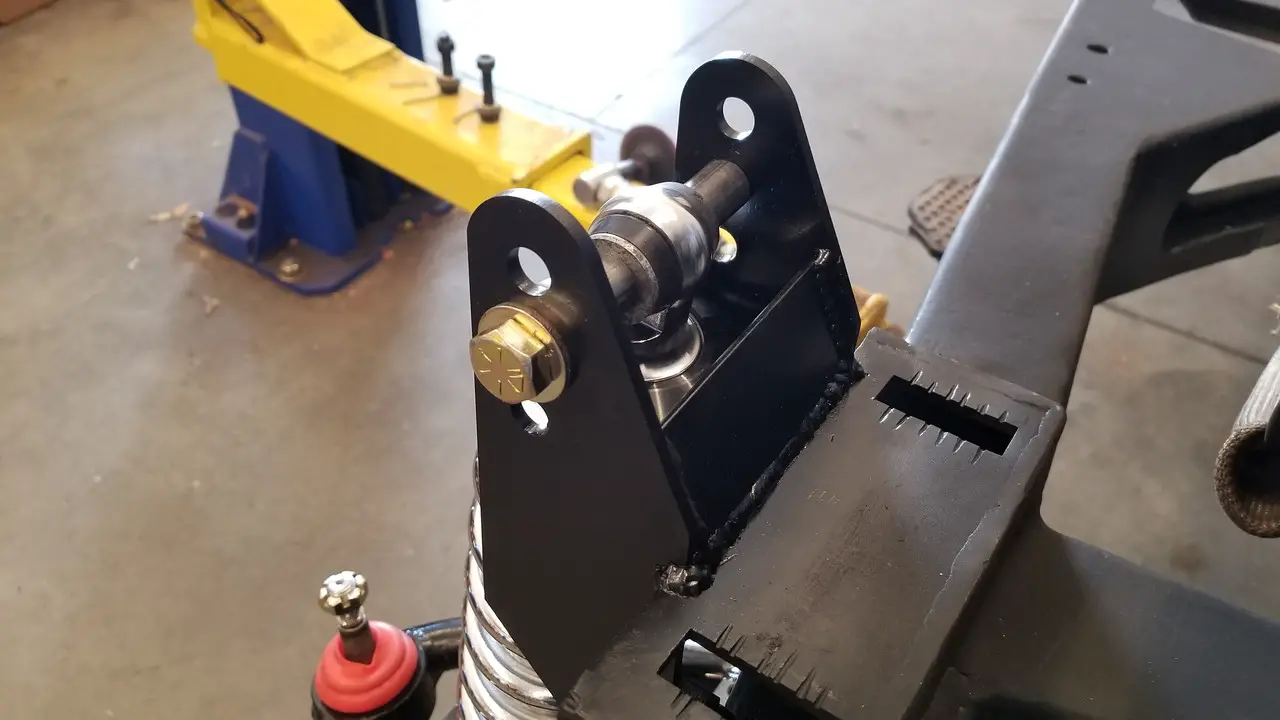
Front sway bar was a bit of a challenge. Not much real estate to work with.
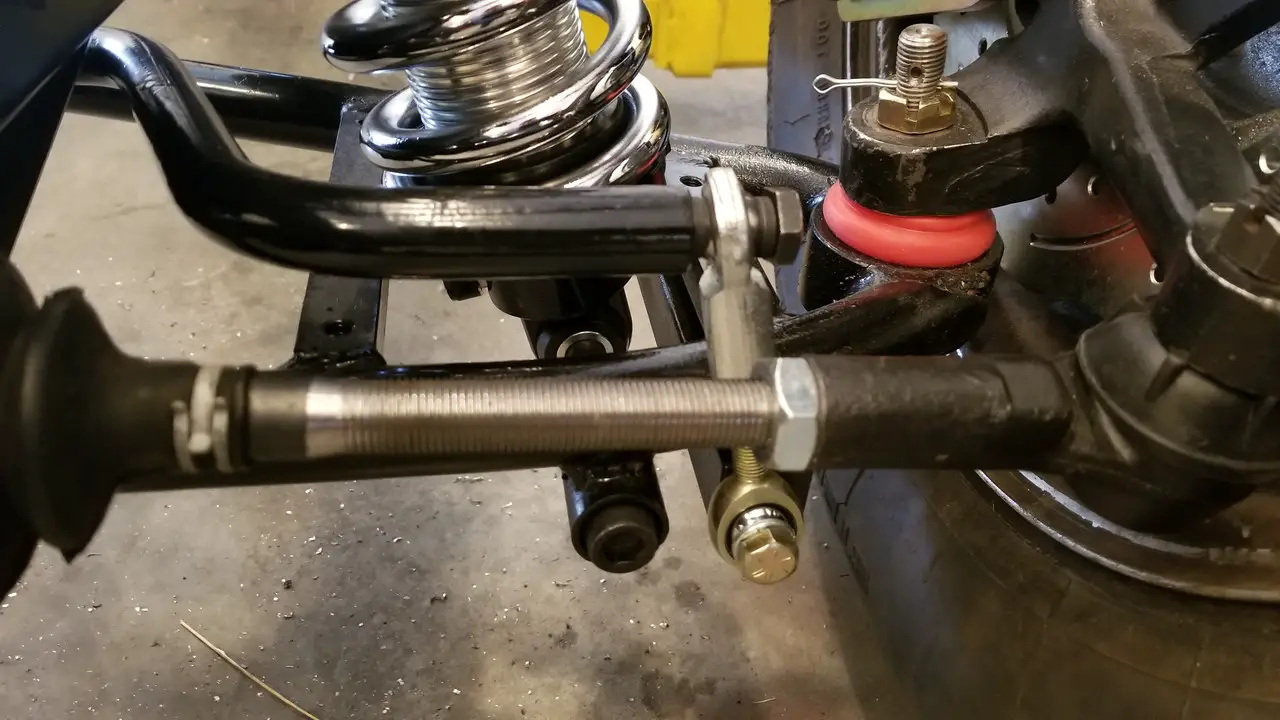

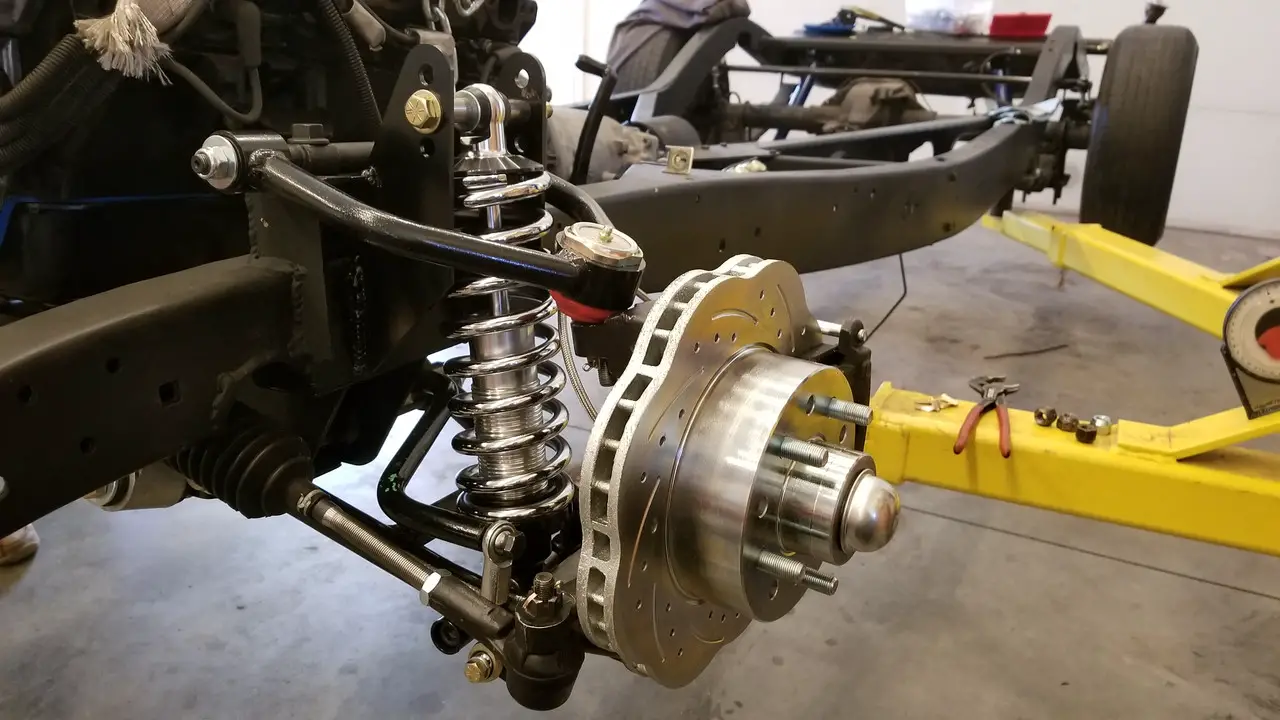
We also modified the crossmember to lower the rack mounts. The tie rods aren't exactly parallel to the lower control arms but certainly much closer.

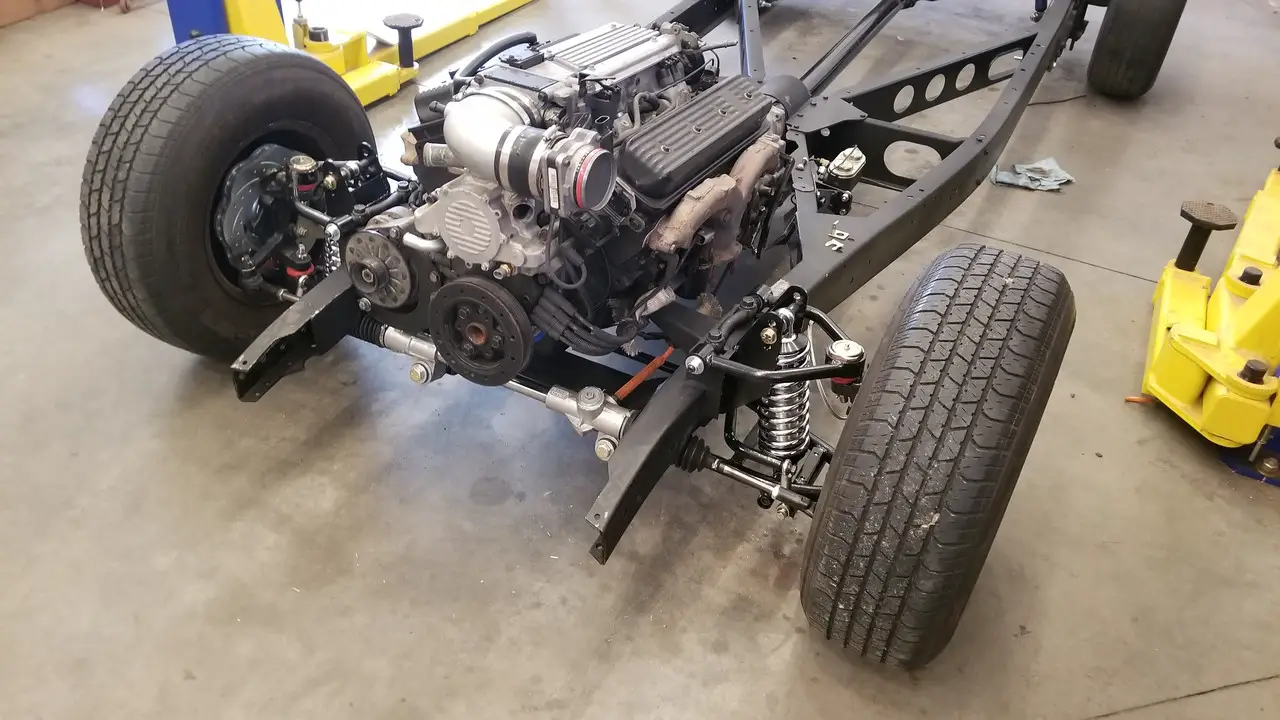
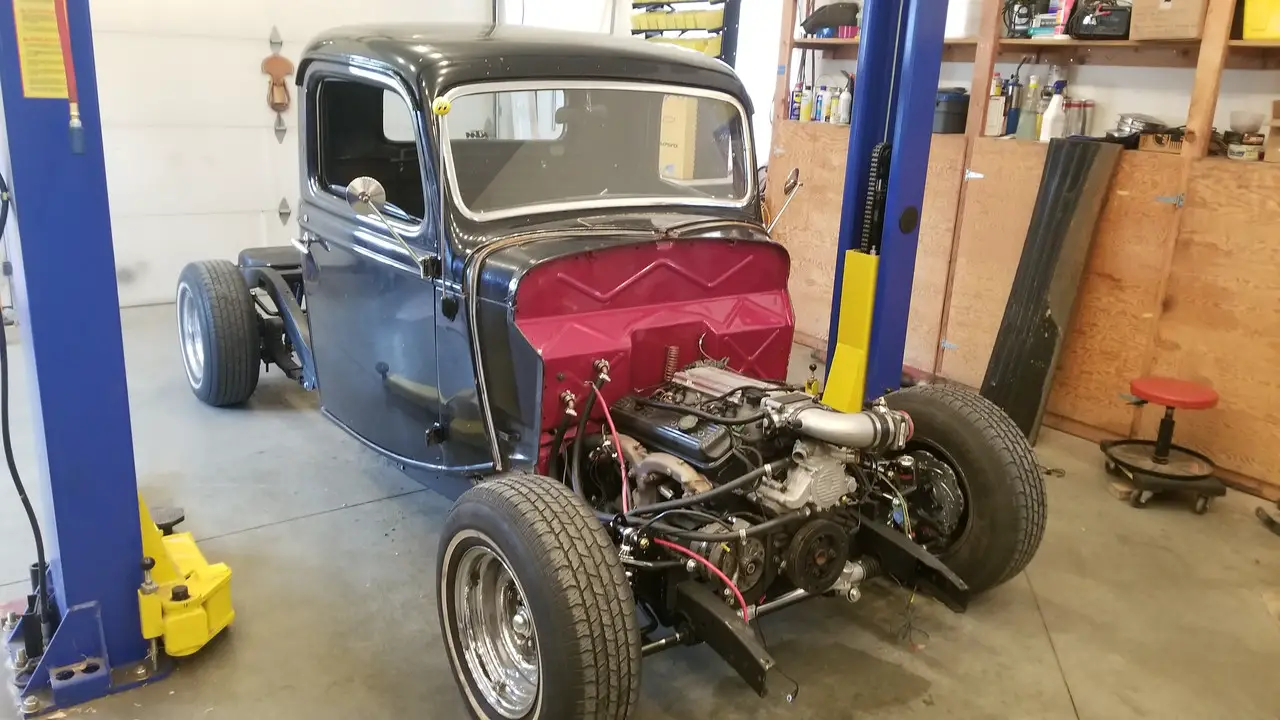
We dropped the engine and transmission in (hopefully for the last time) and set the ride height then mocked up a fender just to see how it sits.
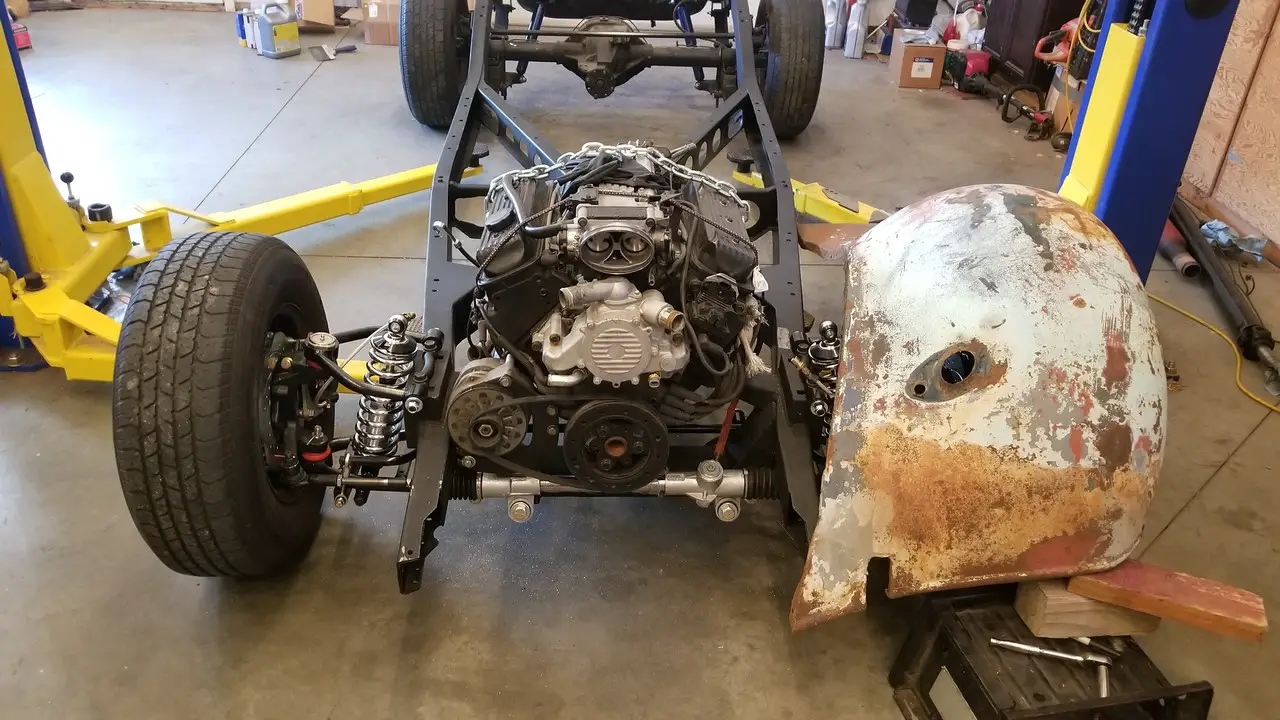
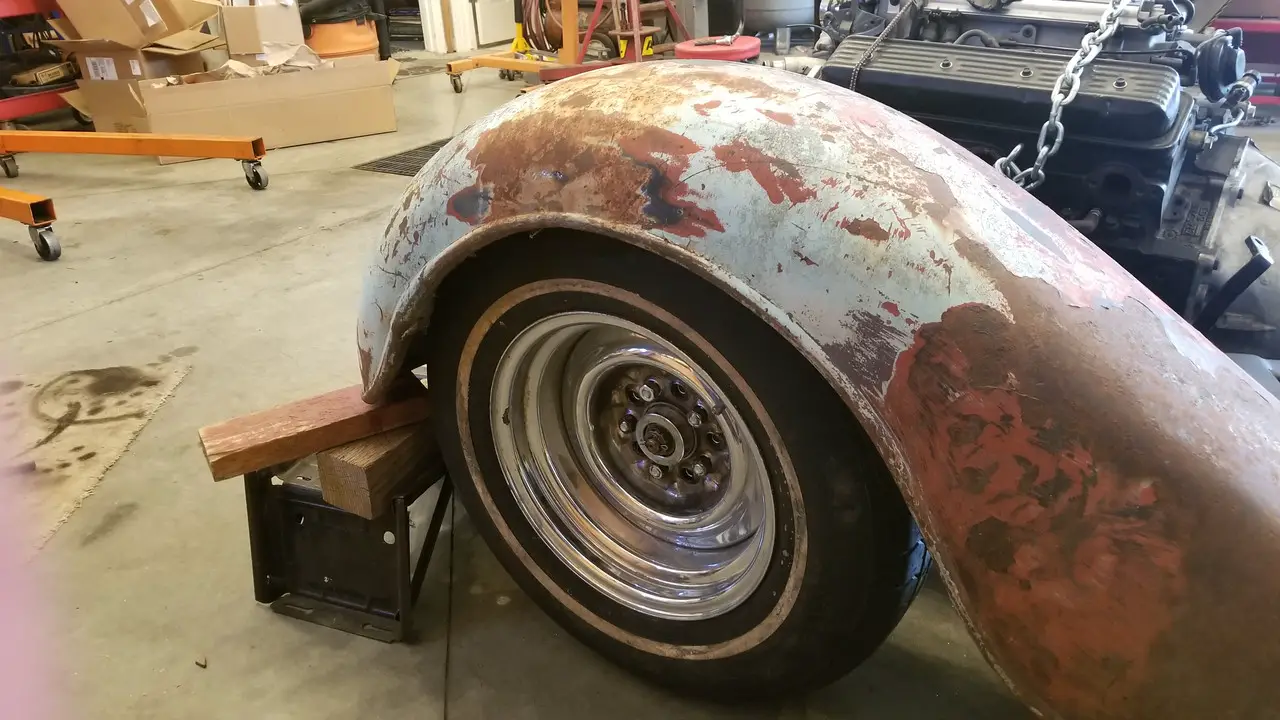
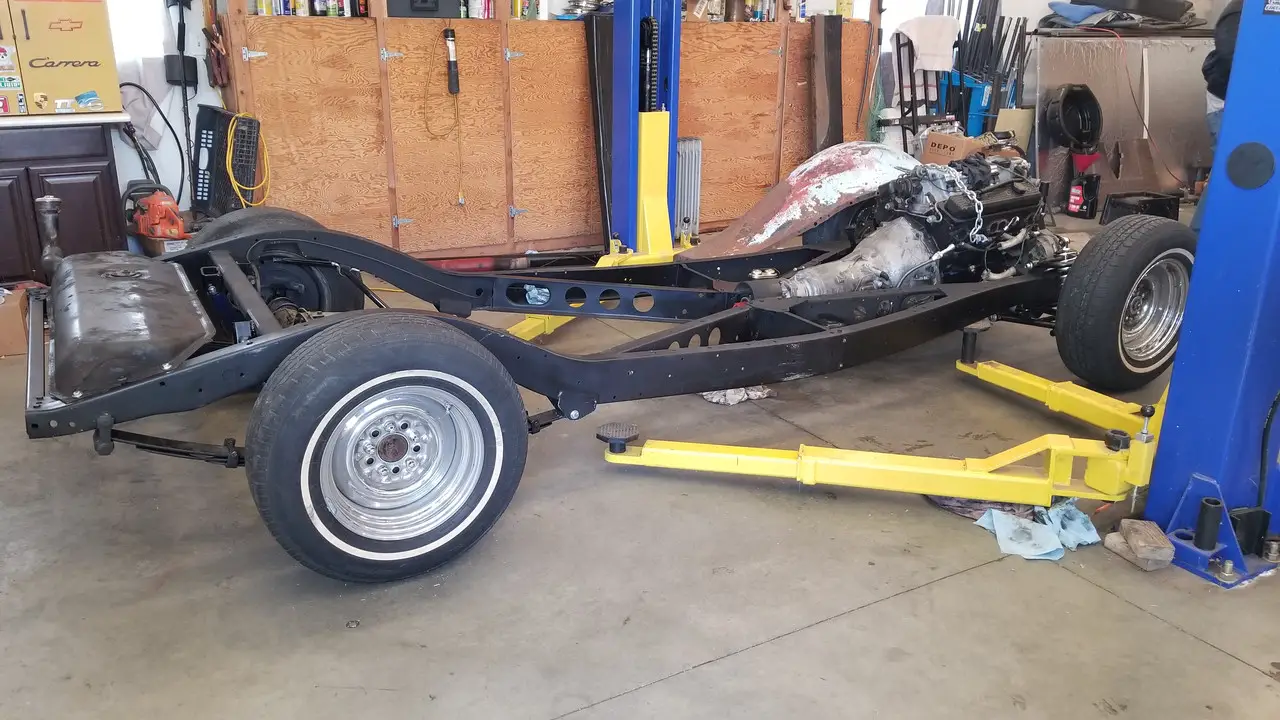

Next time we'll probably start on the upper coilover mounts and the brake lines.
 
that tie-rod looks awfully close.... not gonna contact on full left lock, is it?
 
  • Like
Reactions: DRIVEN
that tie-rod looks awfully close.... not gonna contact on full left lock, is it?
It's all awfully close. When you go to full lock the outside tie rod end just barely touches on the swaybar link...barely. We articulated the suspension straight, full left, and full right and that's the only point of contact. It turns really sharp too before it touches so it'll be pretty rare that he gets the wheel cranked that far.
We mounted the front swaybar the way it was intended but shimmed it back 1" with spacers for a better fit and to add some clearance. My dad called the vendor and talked to a guy there who does lots of installs and he actually prefers to mount it backwards. We tried that but there wasn't clearance between the rack and crossmember.
Seriously, we spent hours trying to figure out the best way to execute this. There is nothing bolt-on about all these bolt-on parts.:mrgreen:
 
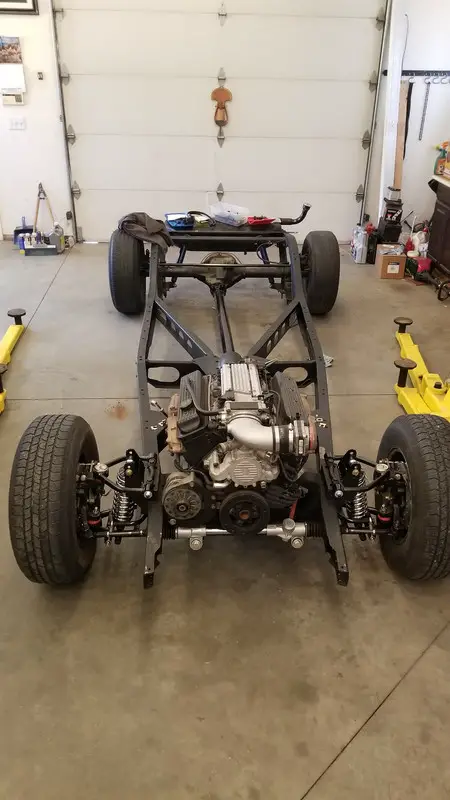
We put in more hours today and got it in to roller status. My dad finished the rear swaybar as well as started running brake lines. He also made a couple parts runs. In fact, he's been making all the parts runs. It's a bunch of frustrating legwork. Glad he's got the patience.

I got the upper coilover brackets fitted and welded in. Then put the frontend together and dropped it on the ground. The last thing we did was bolt the starter and manifolds back on.


My dad is going to finish up the front brake lines and drill the rear bumper bracket holes. At that point it's ready for a trip to the exhaust shop.
 
I usually send my brother a text with updates. Too lazy to type it all out so here's copypasta...

"Cab is bolted down and rear bumper is on. Brake plumbing is done. We ran the fuel lines and pump. Shortened the travel on your alternator bracket for frame clearance. Resealed the transmission dipstick. Cleaned and painted the column drop. Got most of the wiring done except front and rear lights. Dad is going to install the column and putter around on little stuff.
Steering stuff should be here when I get back next week. I'm going to order a battery today.
We'll probably be needing a radiator and air dam in 2 weeks, as soon as the exhaust is done."


There's no pics because it looks pretty much the same. I'll be out of town for work until next week. Then we'll get back on it. If feels pretty good to do some things righter than they have been. Even though it's not being detailed out like a show car, I still don't want to butch it out.
 
love the forward progress! nice to see you keep the same standards even if it's a family member's car... been around long enough to see alot of people cut corners on family cars....
 
  • Like
Reactions: Rktpwrd and DRIVEN
Status
Not open for further replies.

GBodyForum is a participant in the Amazon Services LLC Associates Program, an affiliate advertising program designed to provide a means for sites to earn advertising fees by advertising and linking to amazon.com. Amazon, the Amazon logo, AmazonSupply, and the AmazonSupply logo are trademarks of Amazon.com, Inc. or its affiliates.

Please support GBodyForum Sponsors

Classic Truck Consoles Dixie Restoration Depot UMI Performance

Contact [email protected] for info on becoming a sponsor