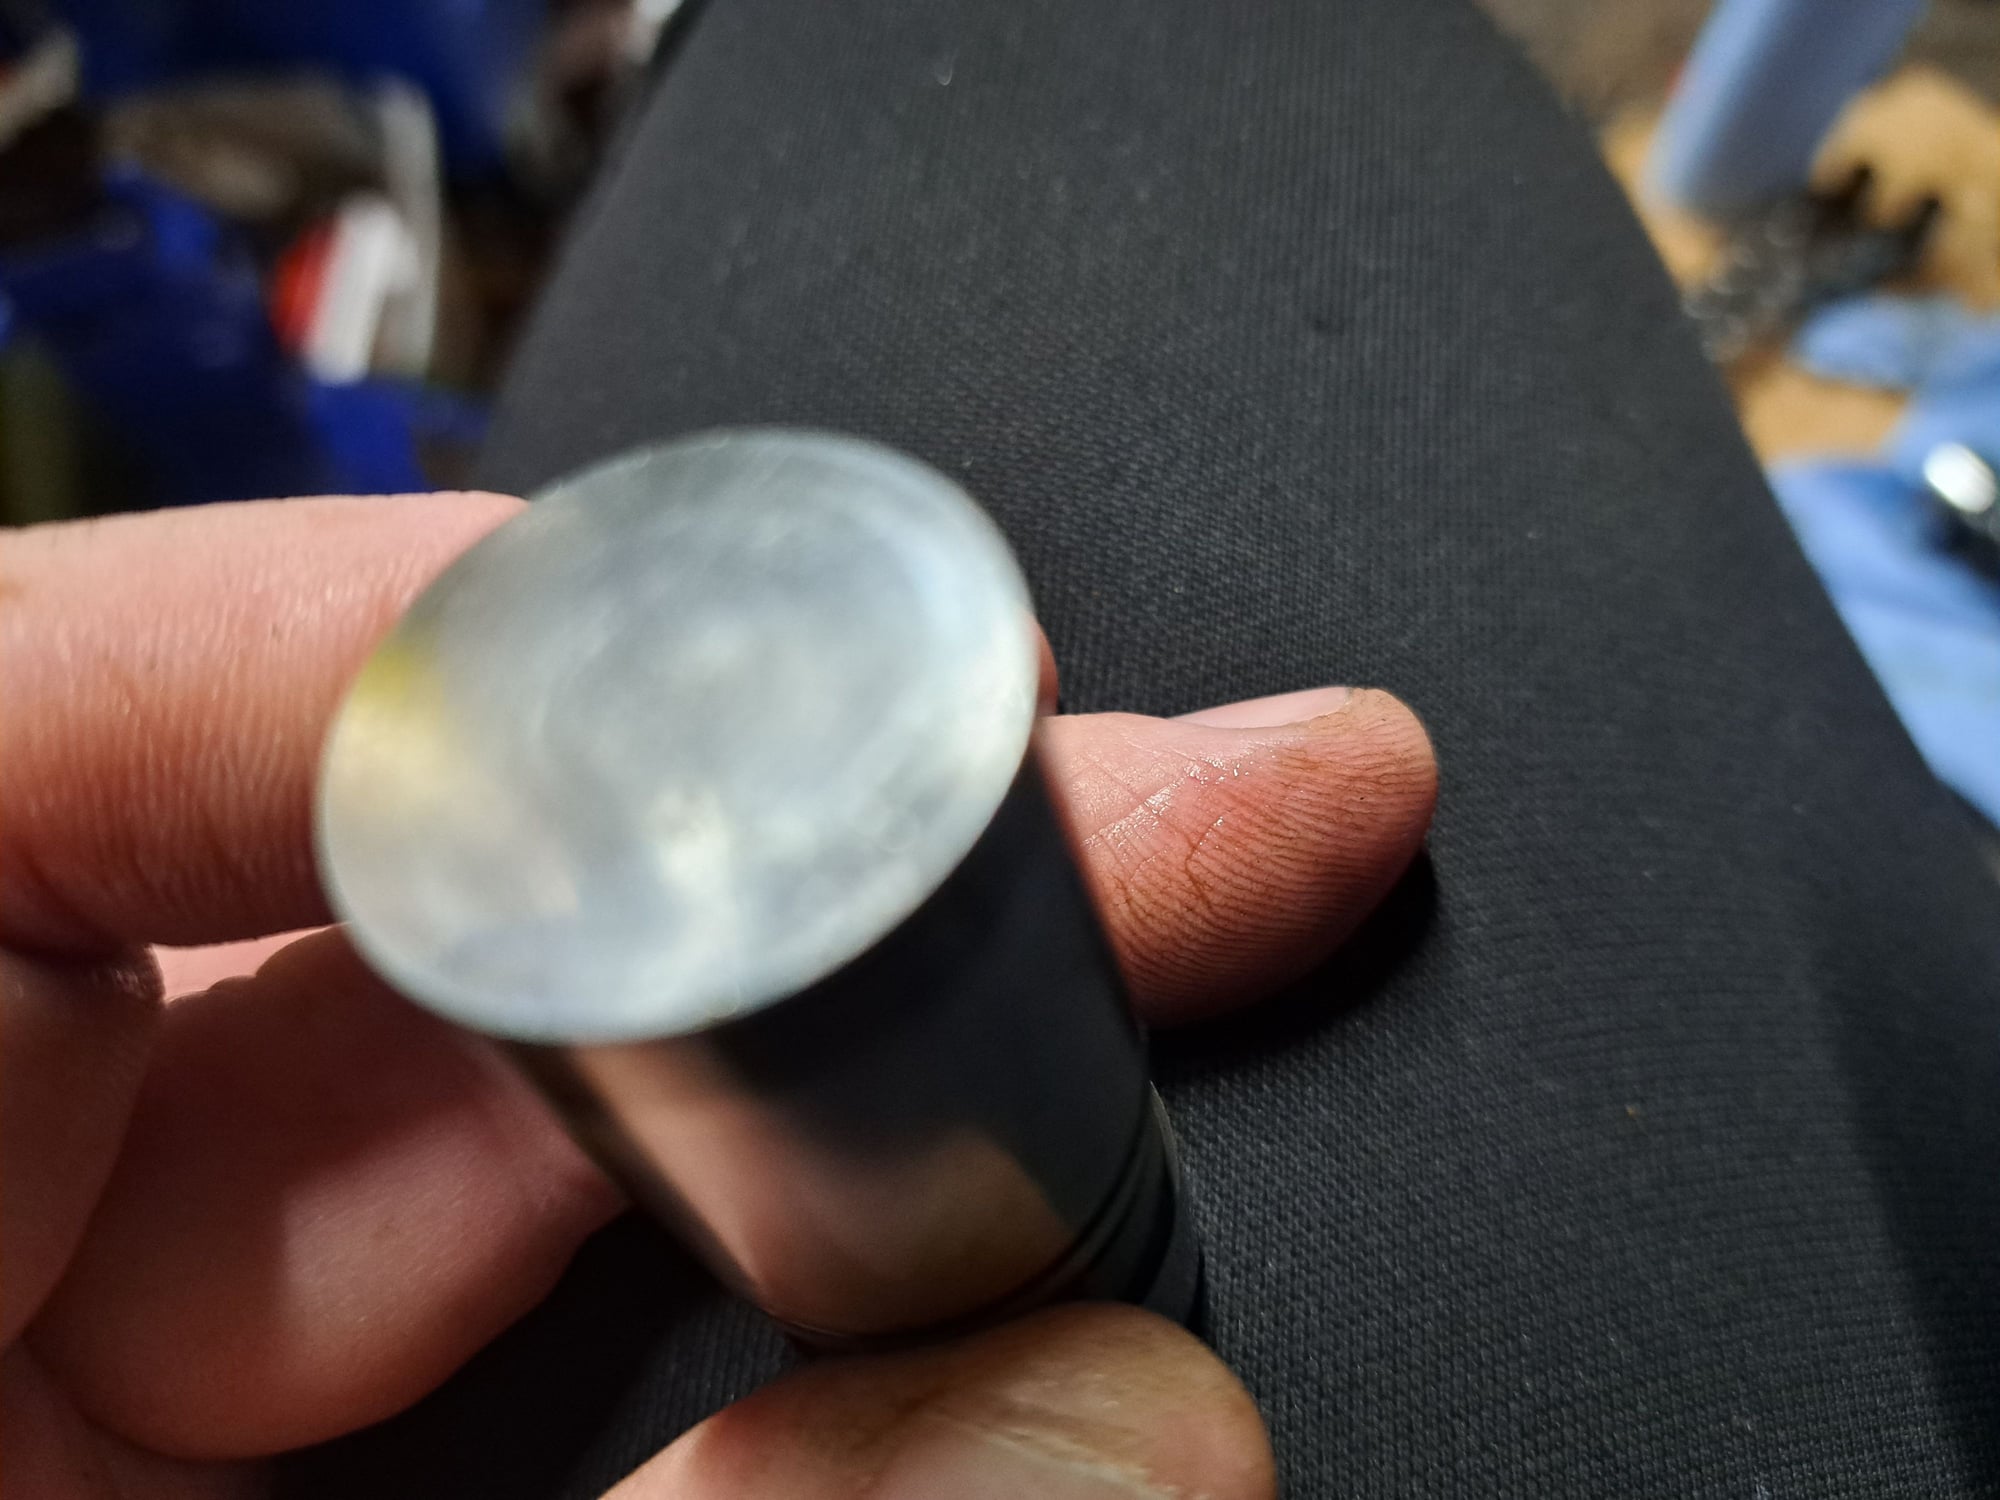
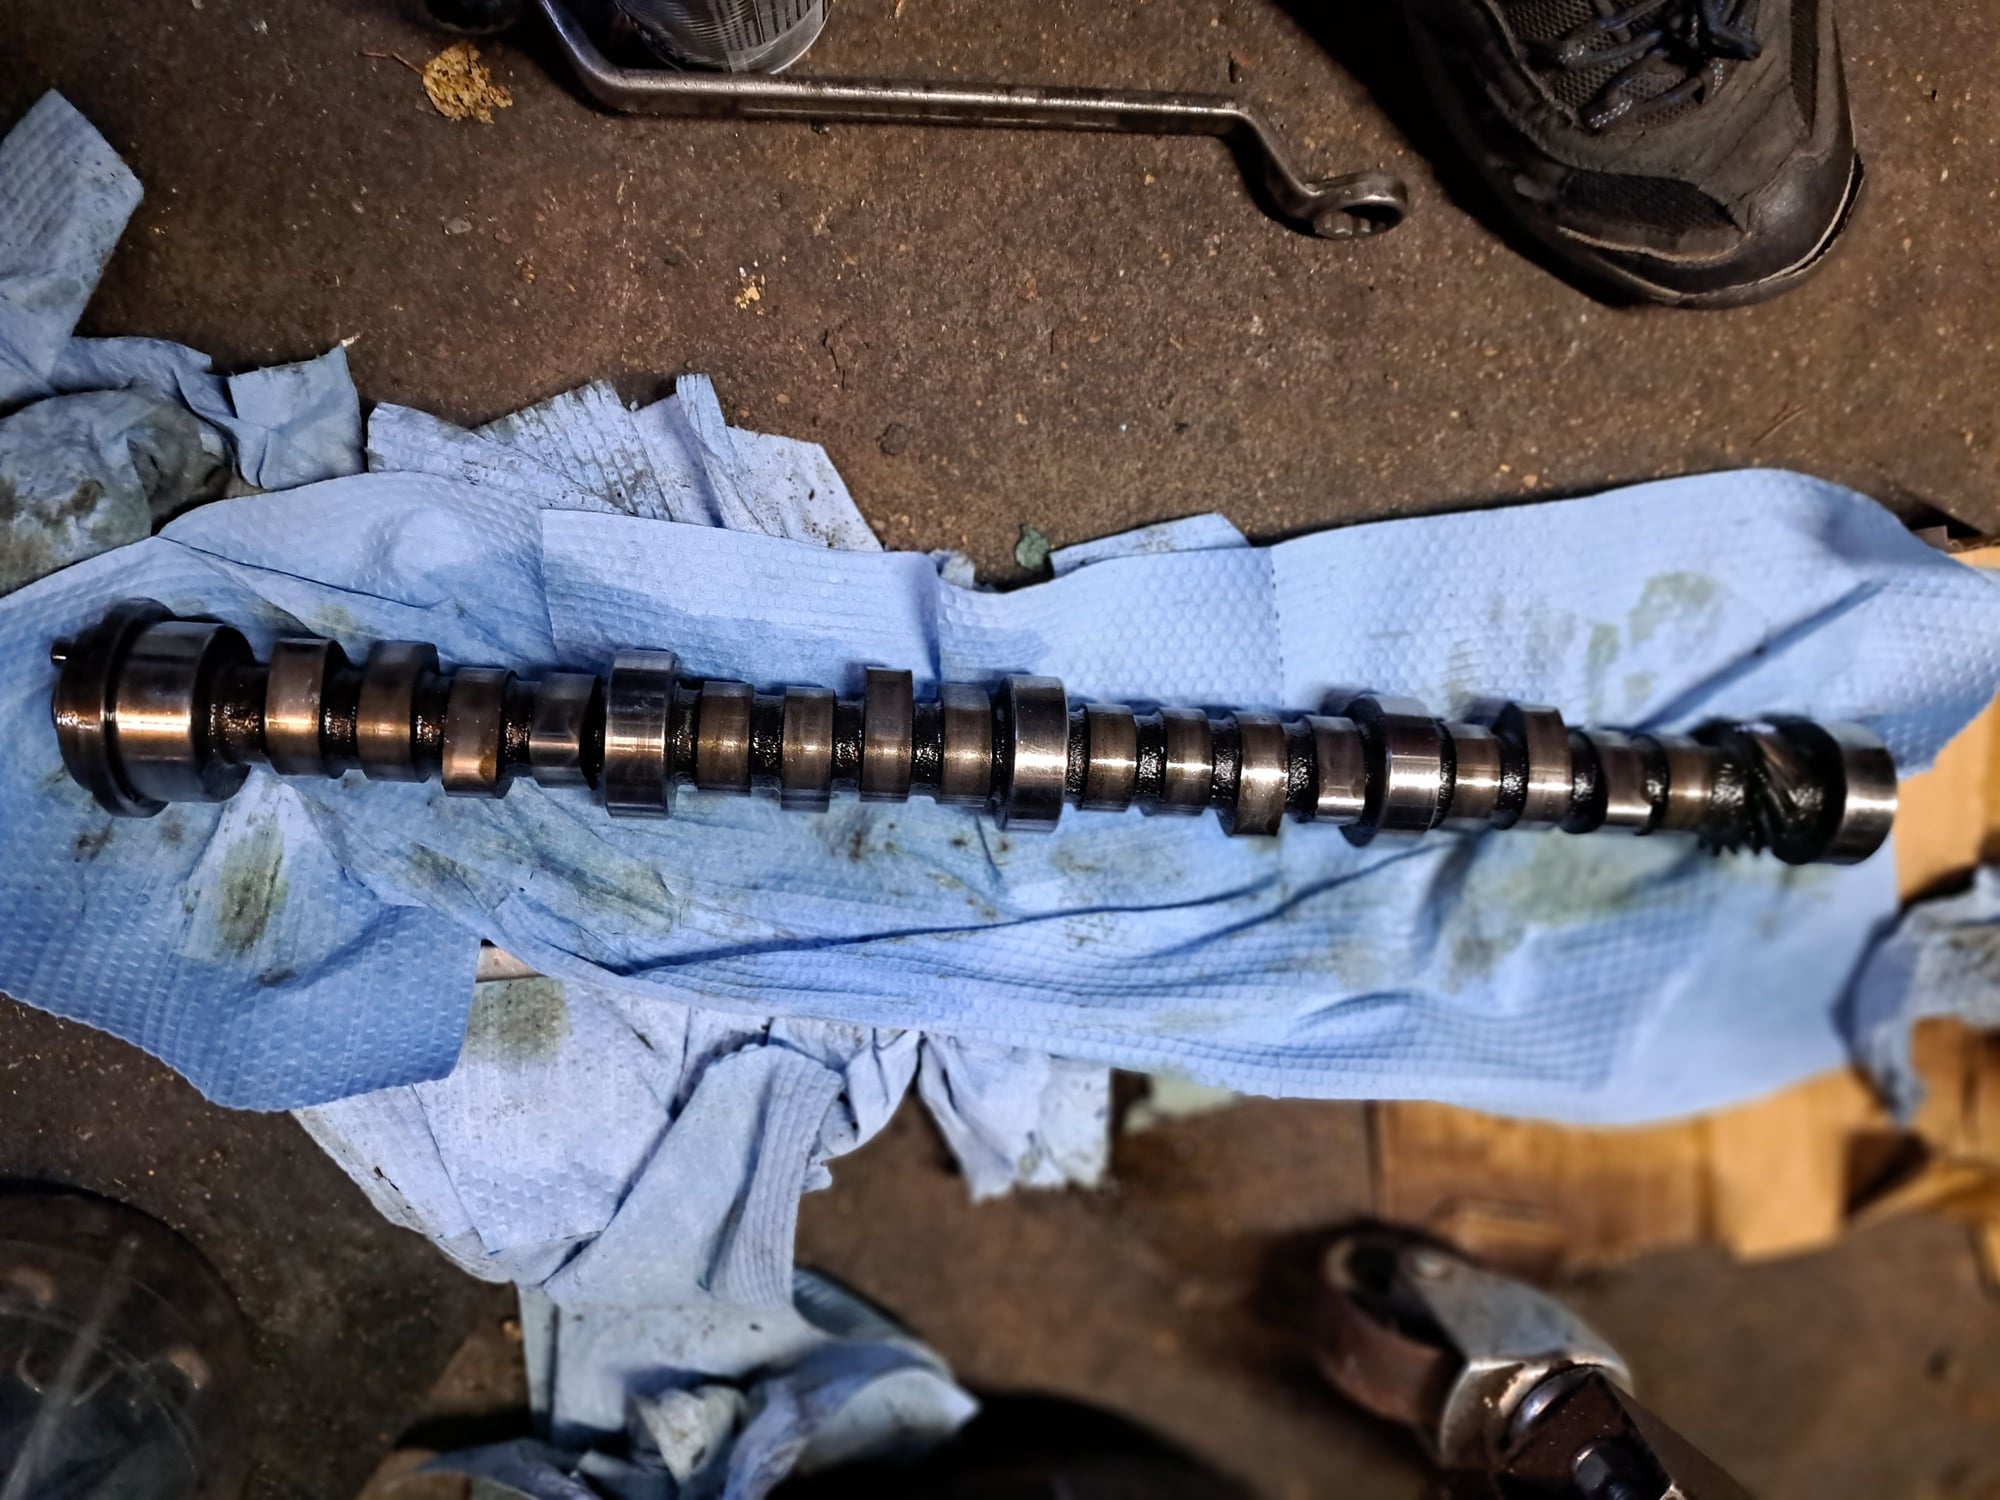
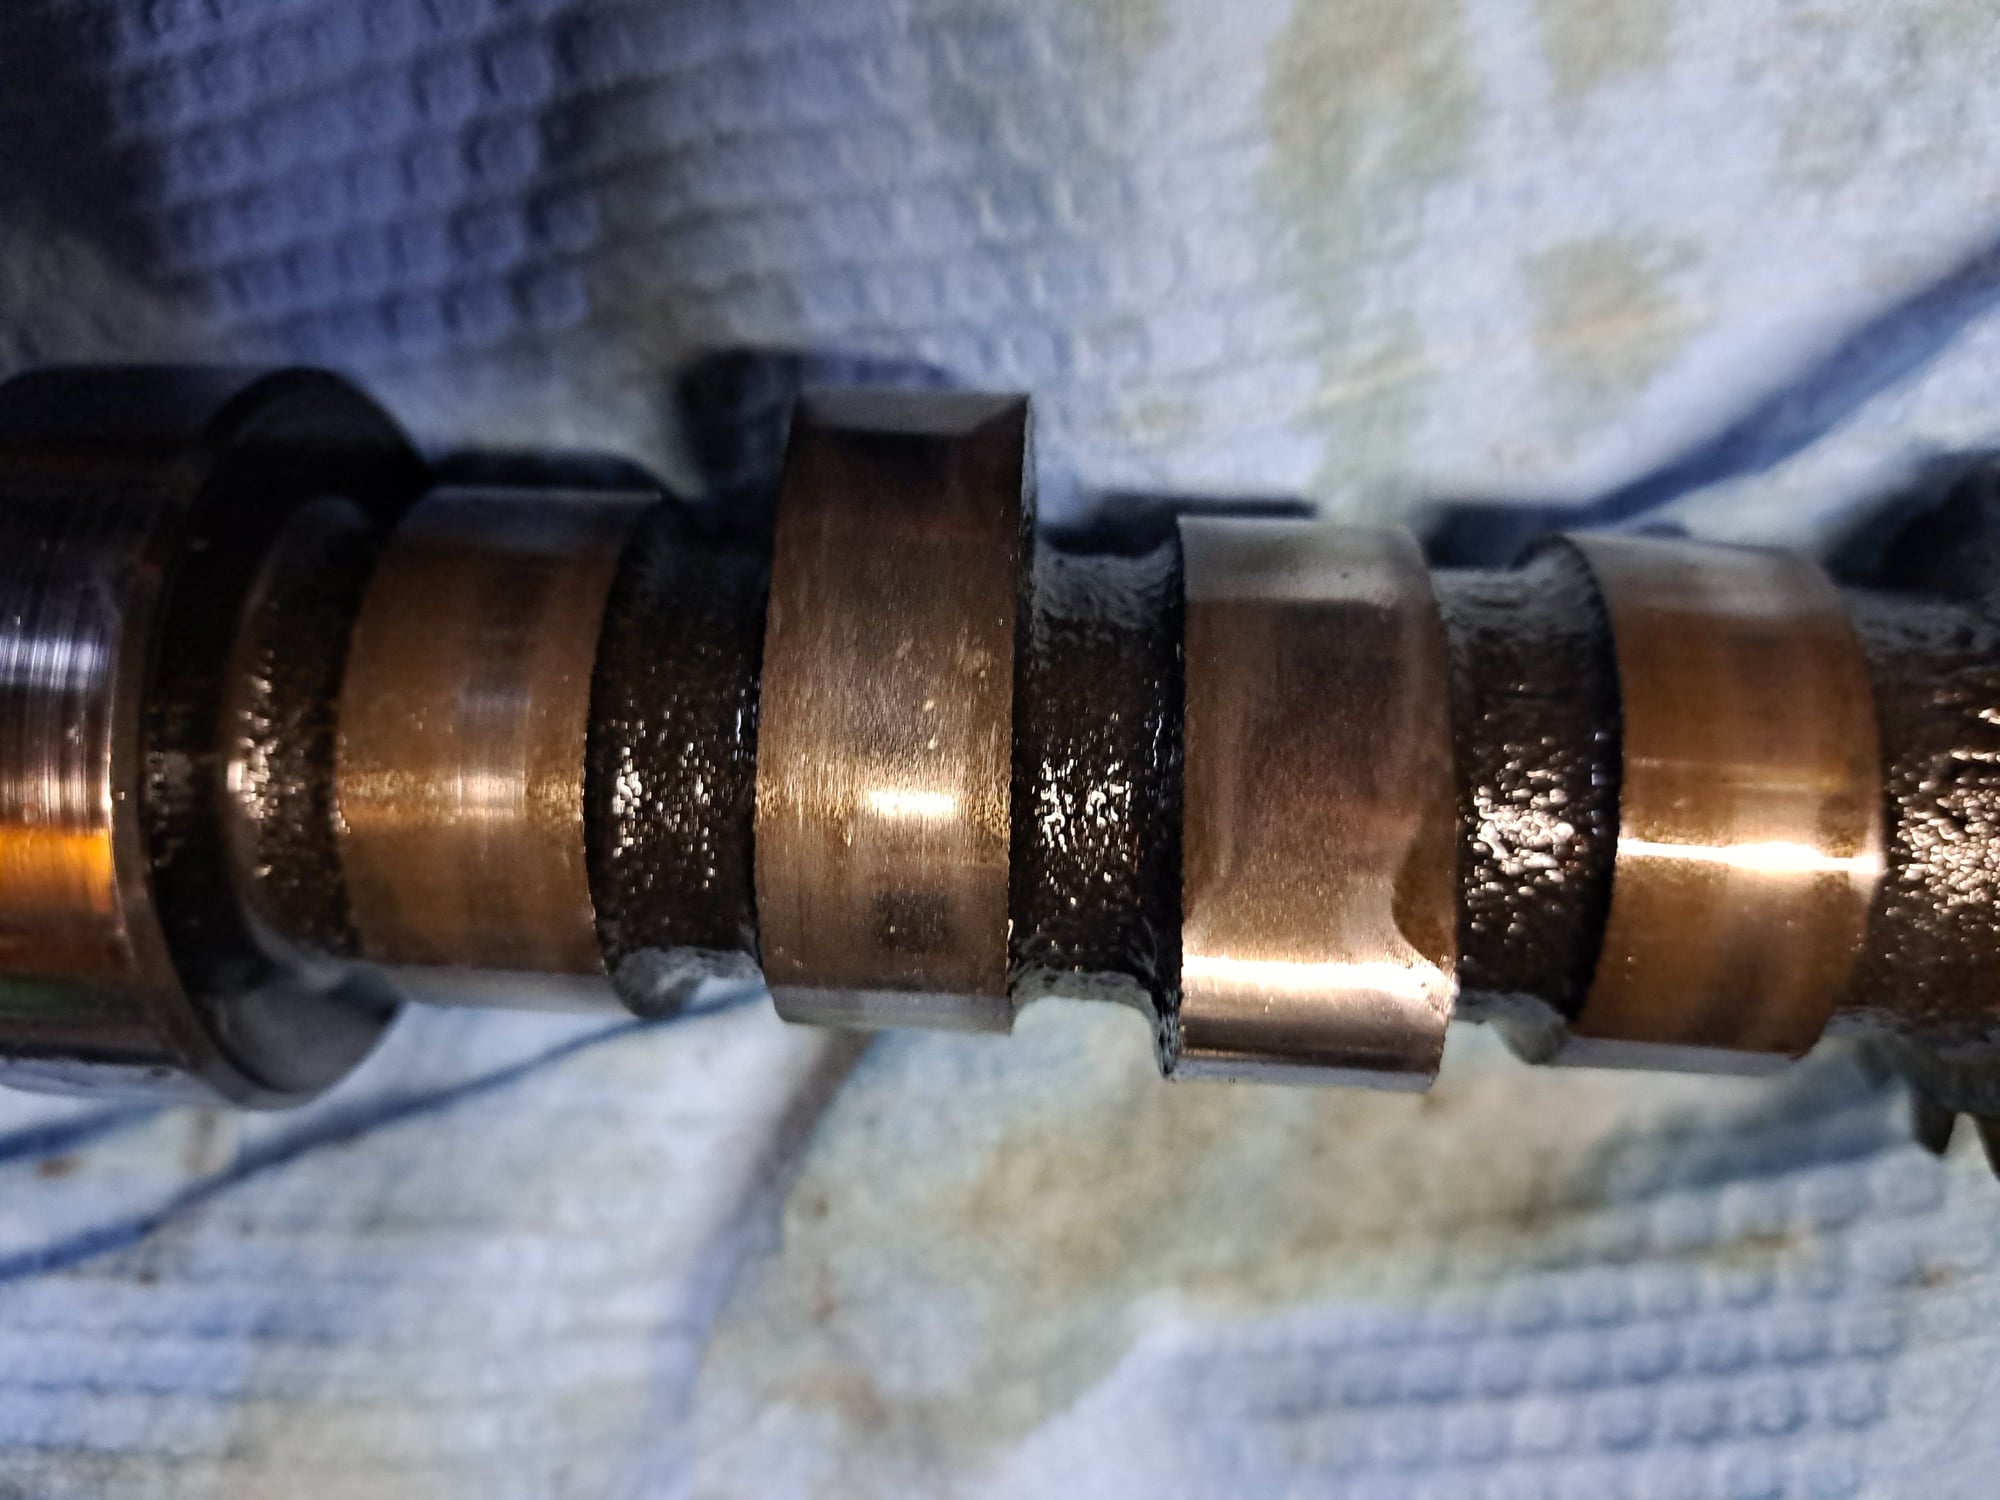
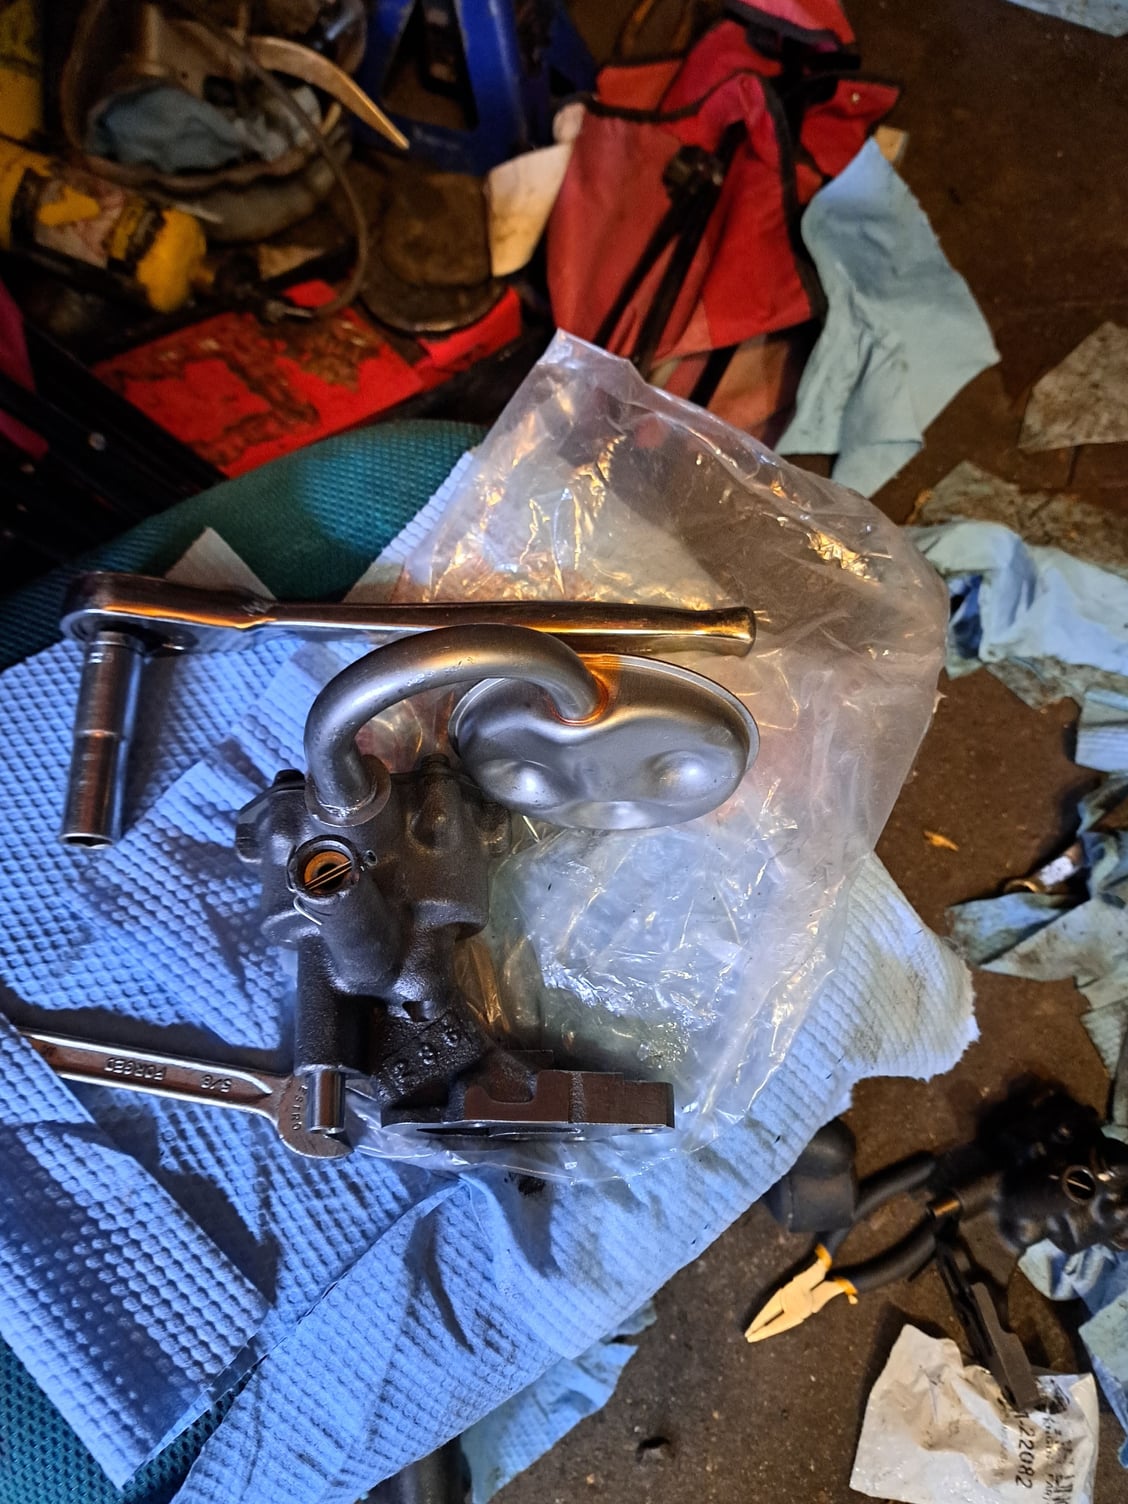
I thought the cam had a flat lobe, nope. All look OK including the lifters that have normal wear, came out easily and turn easily in the bores. I will be swapping a couple of rocker arms and bridges, if need be, play in a couple. I will be swapping in new rod and main bearings with a new standard volume oil pump with the purple spring, drive and pick up. Then onto the 2004R upgrades.
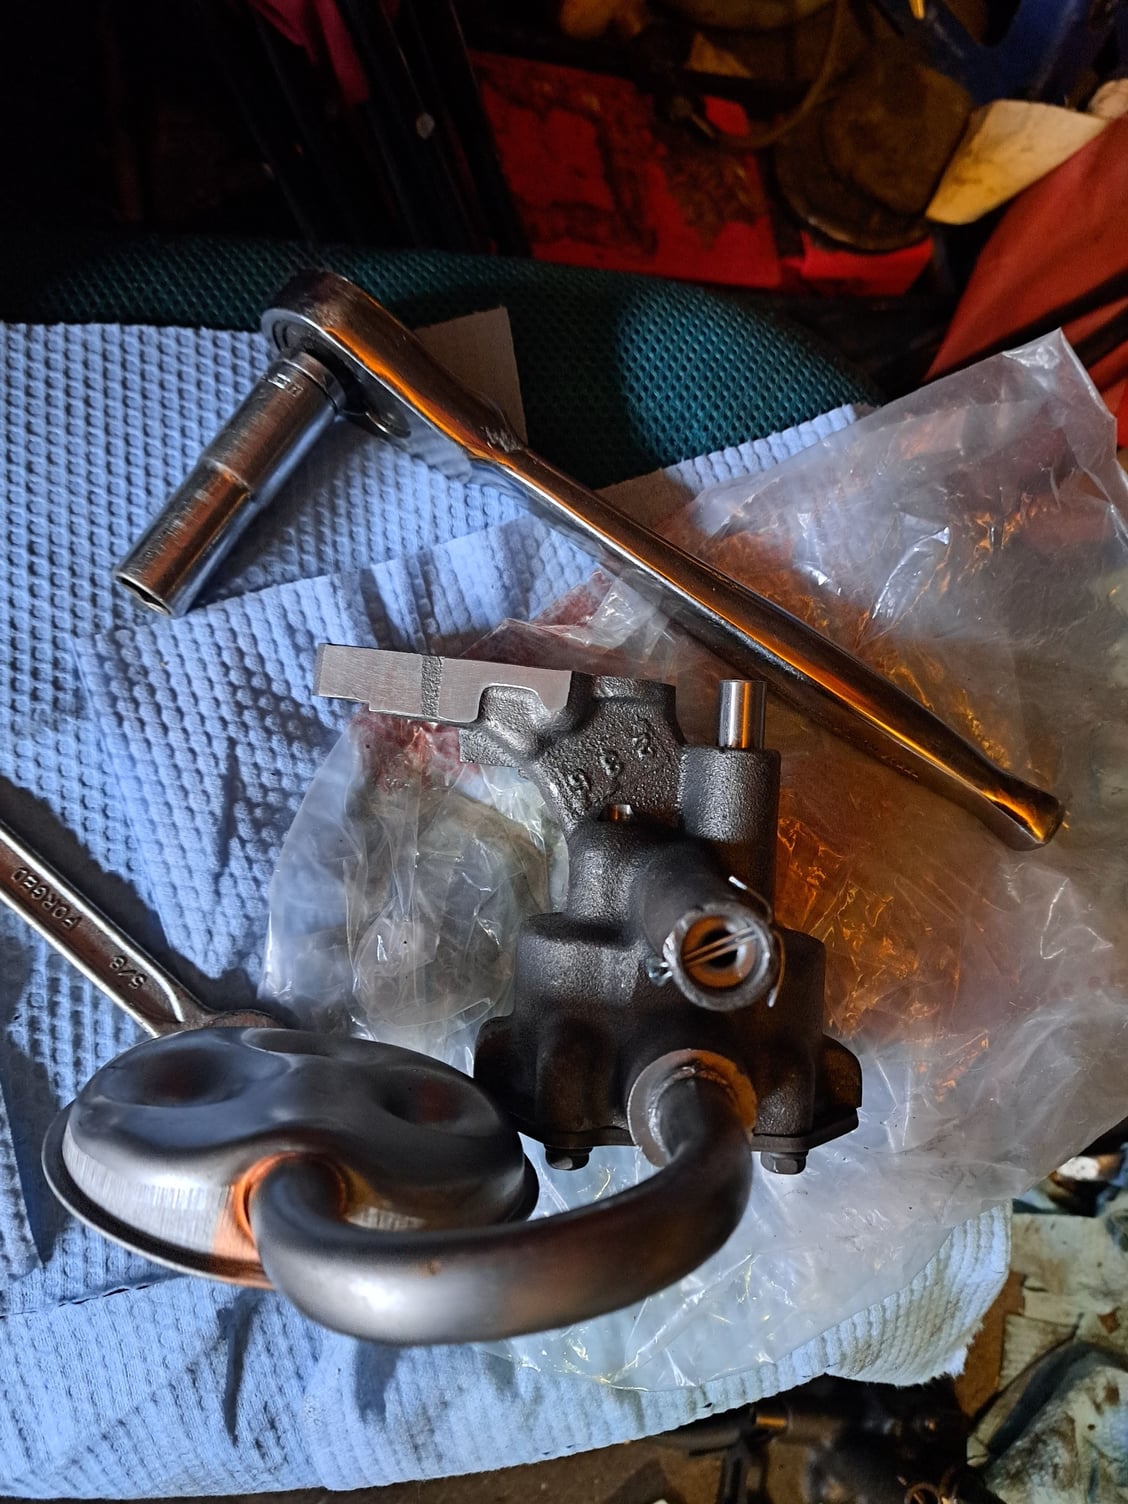
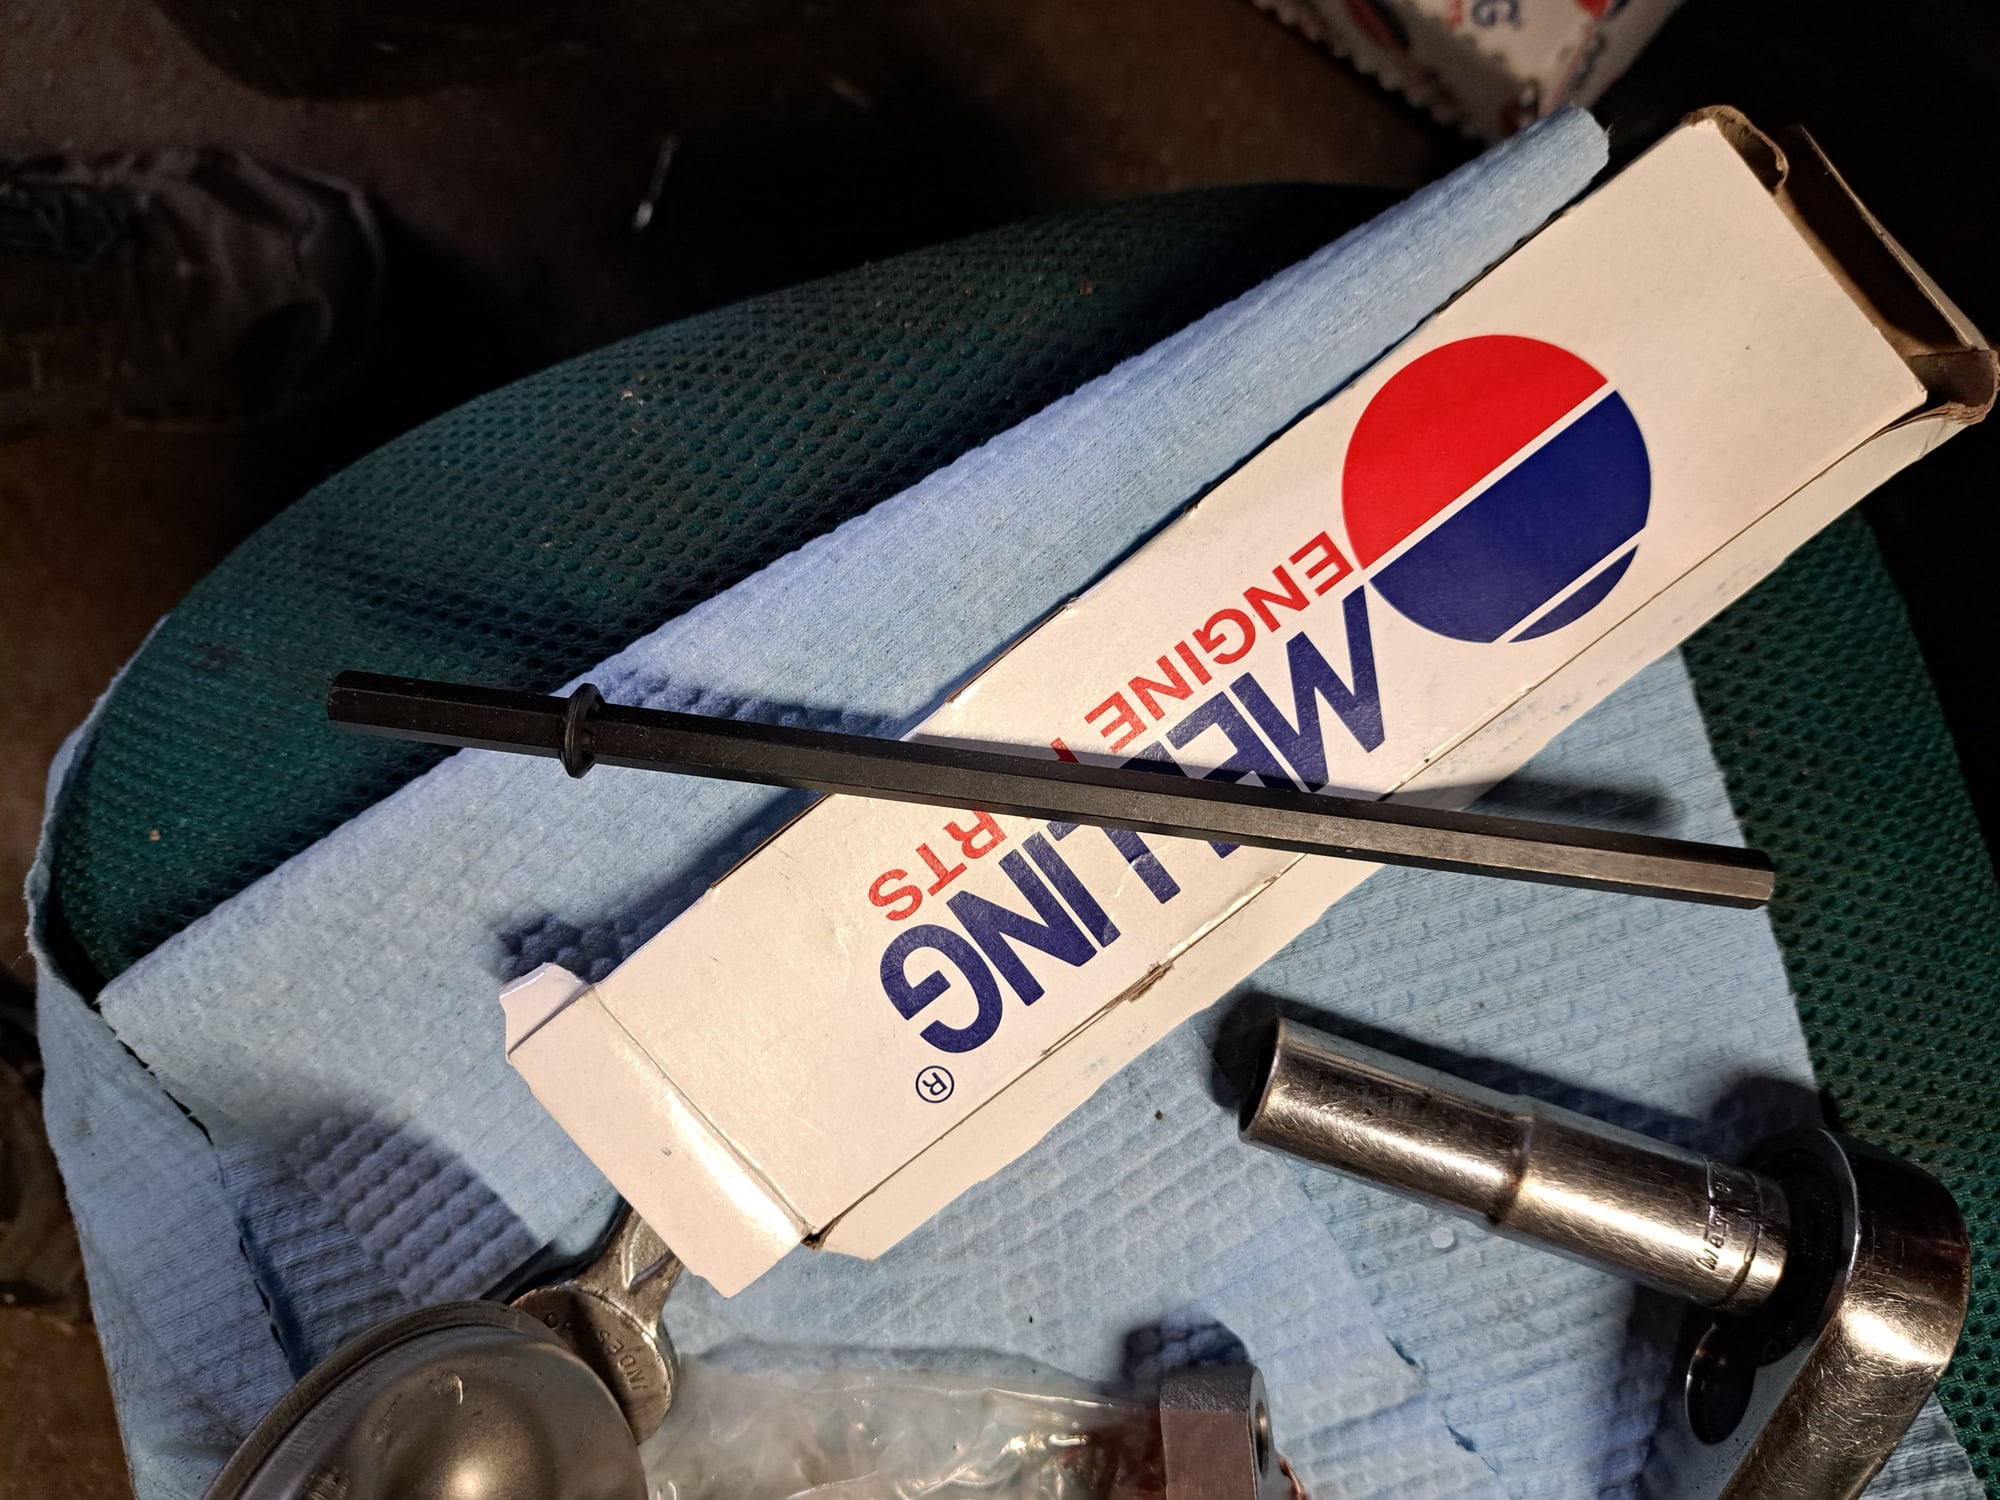
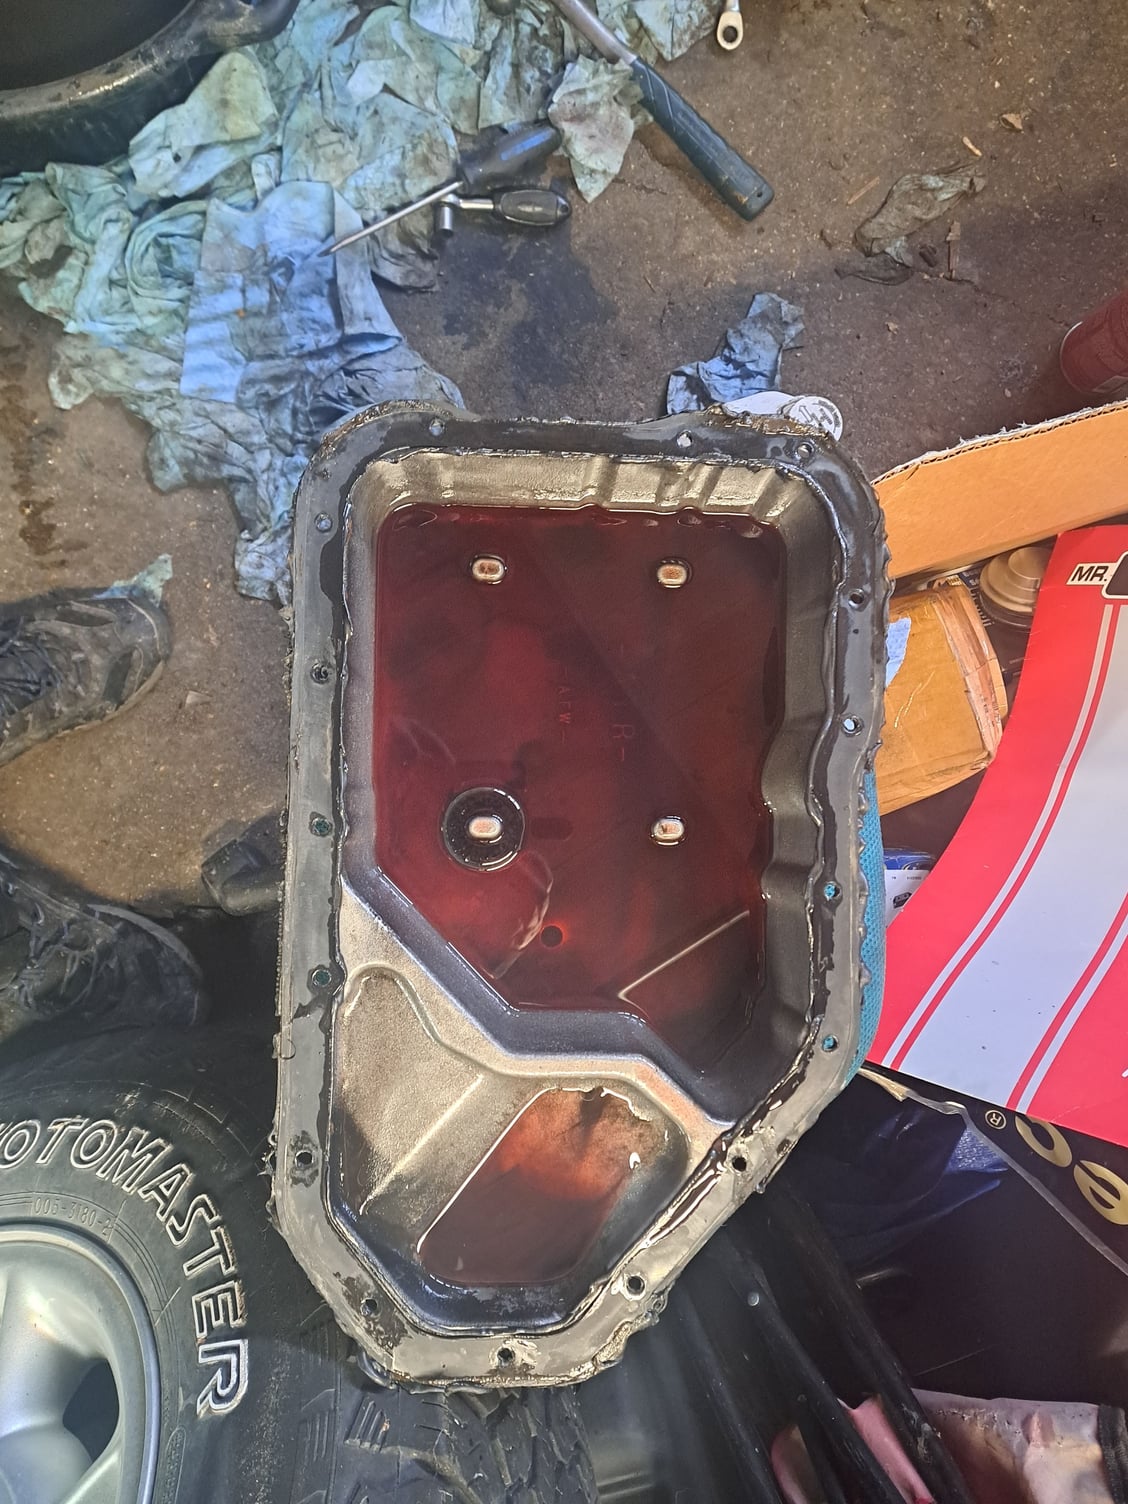
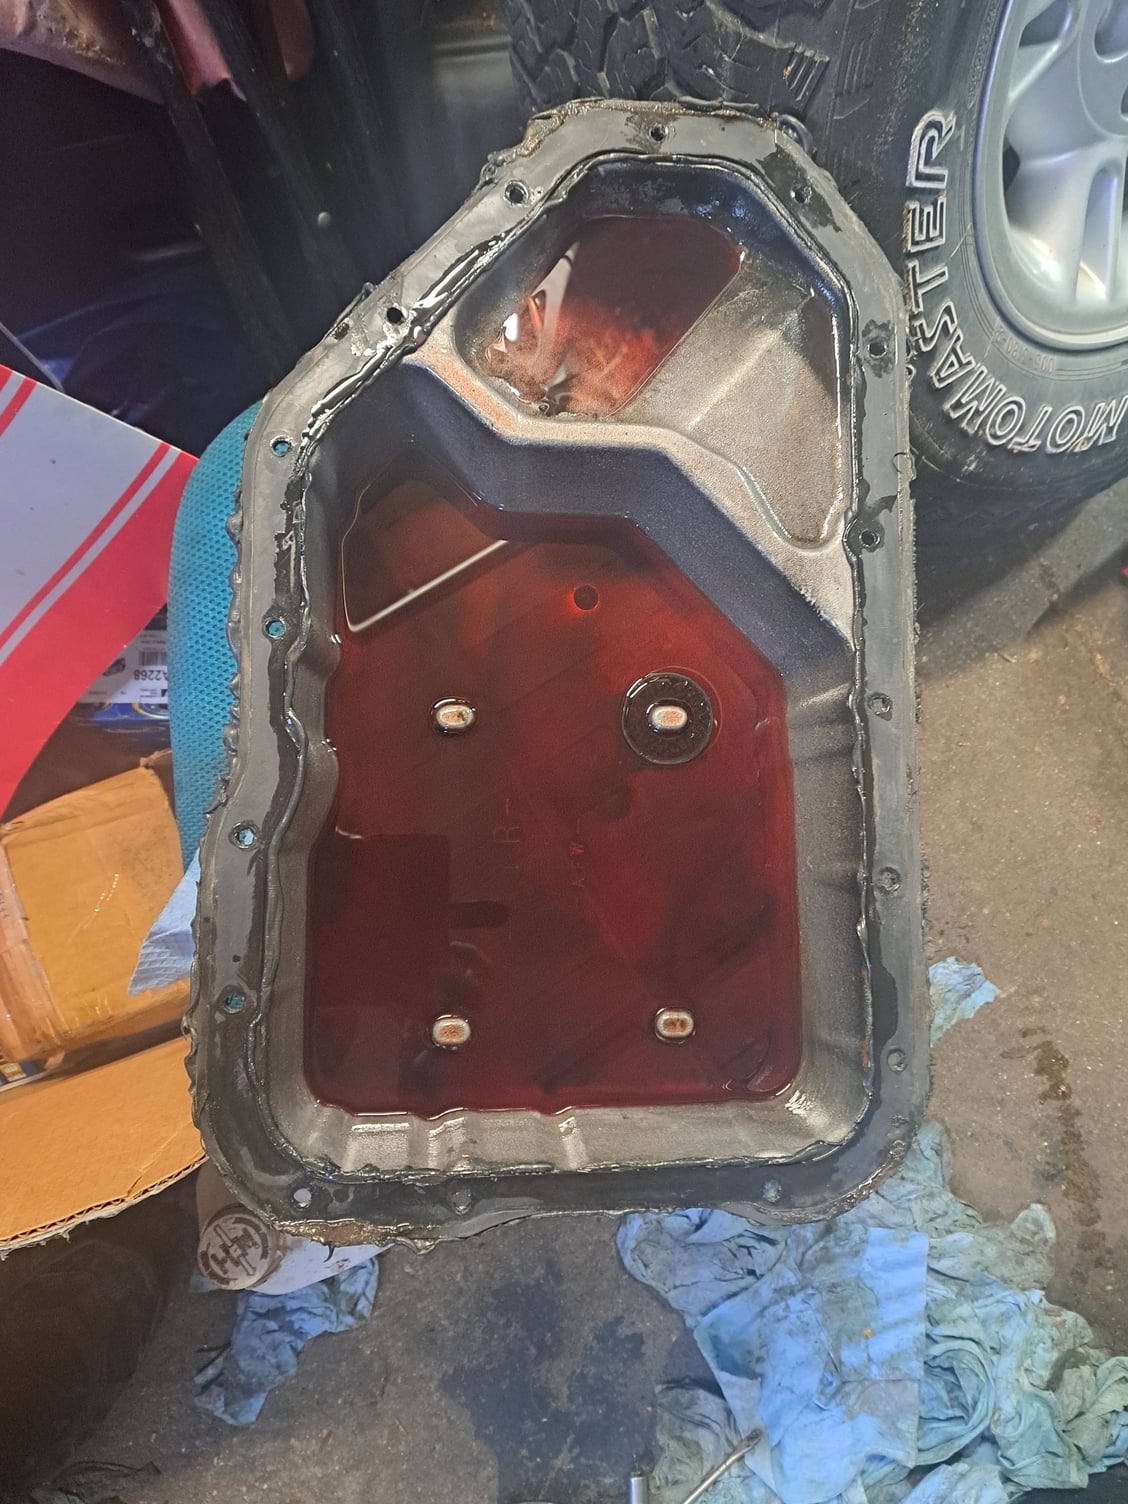
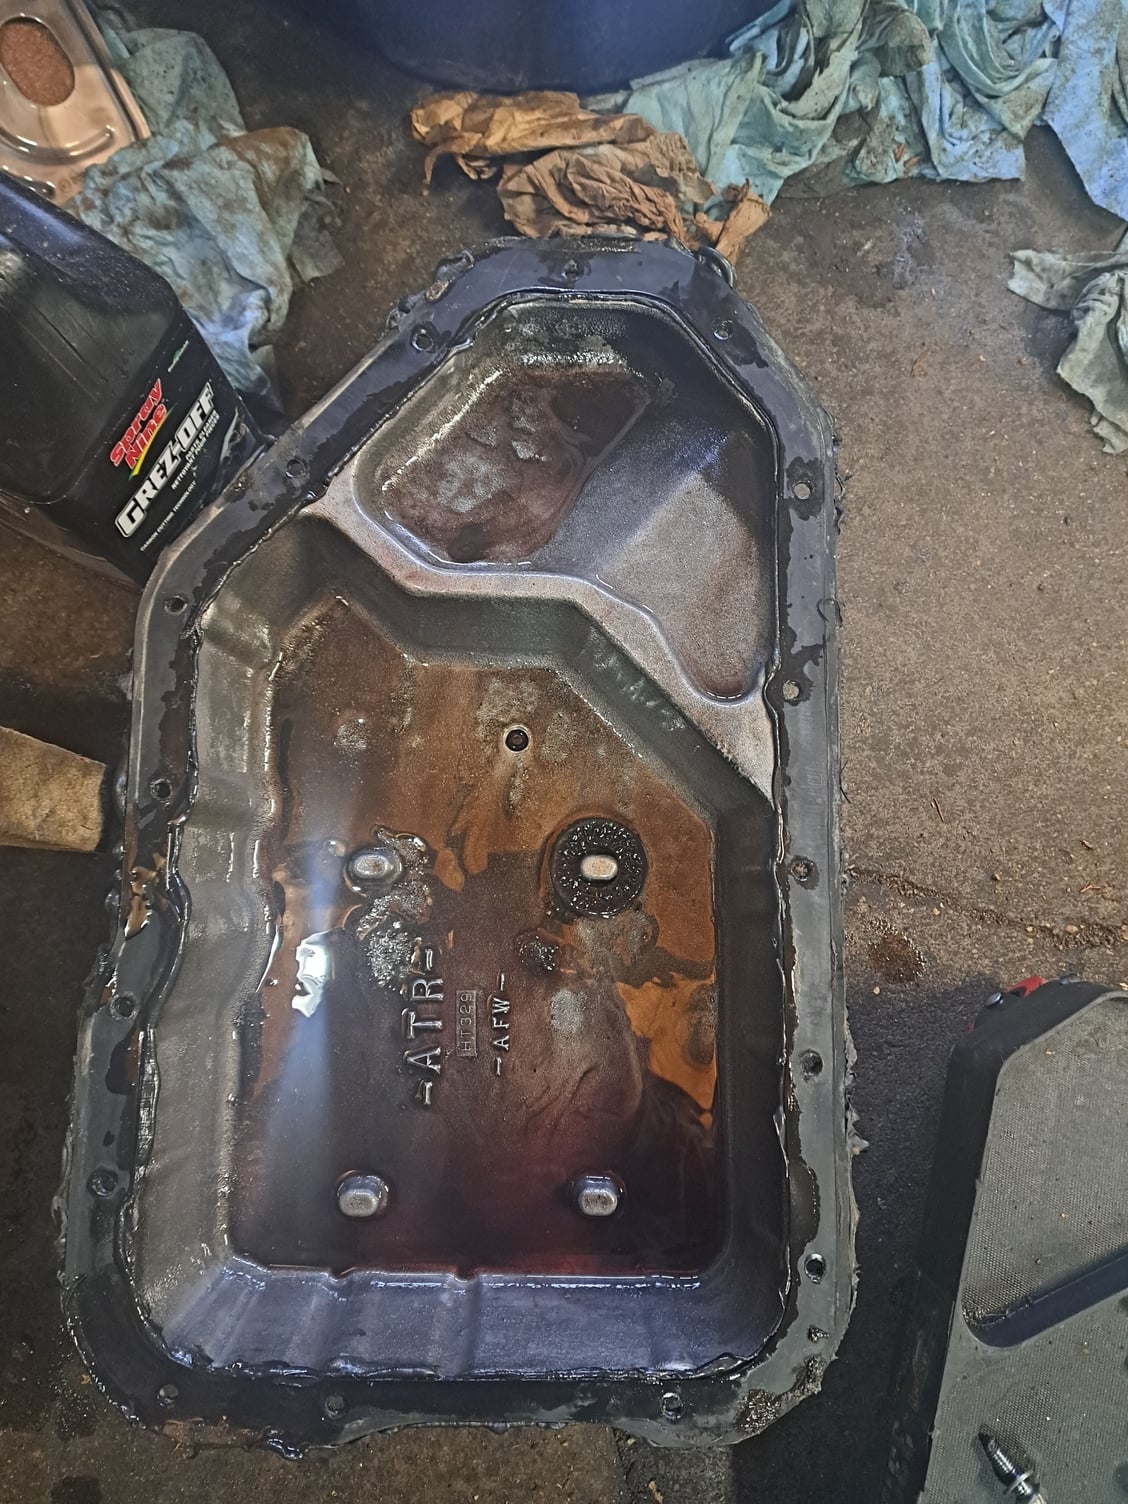
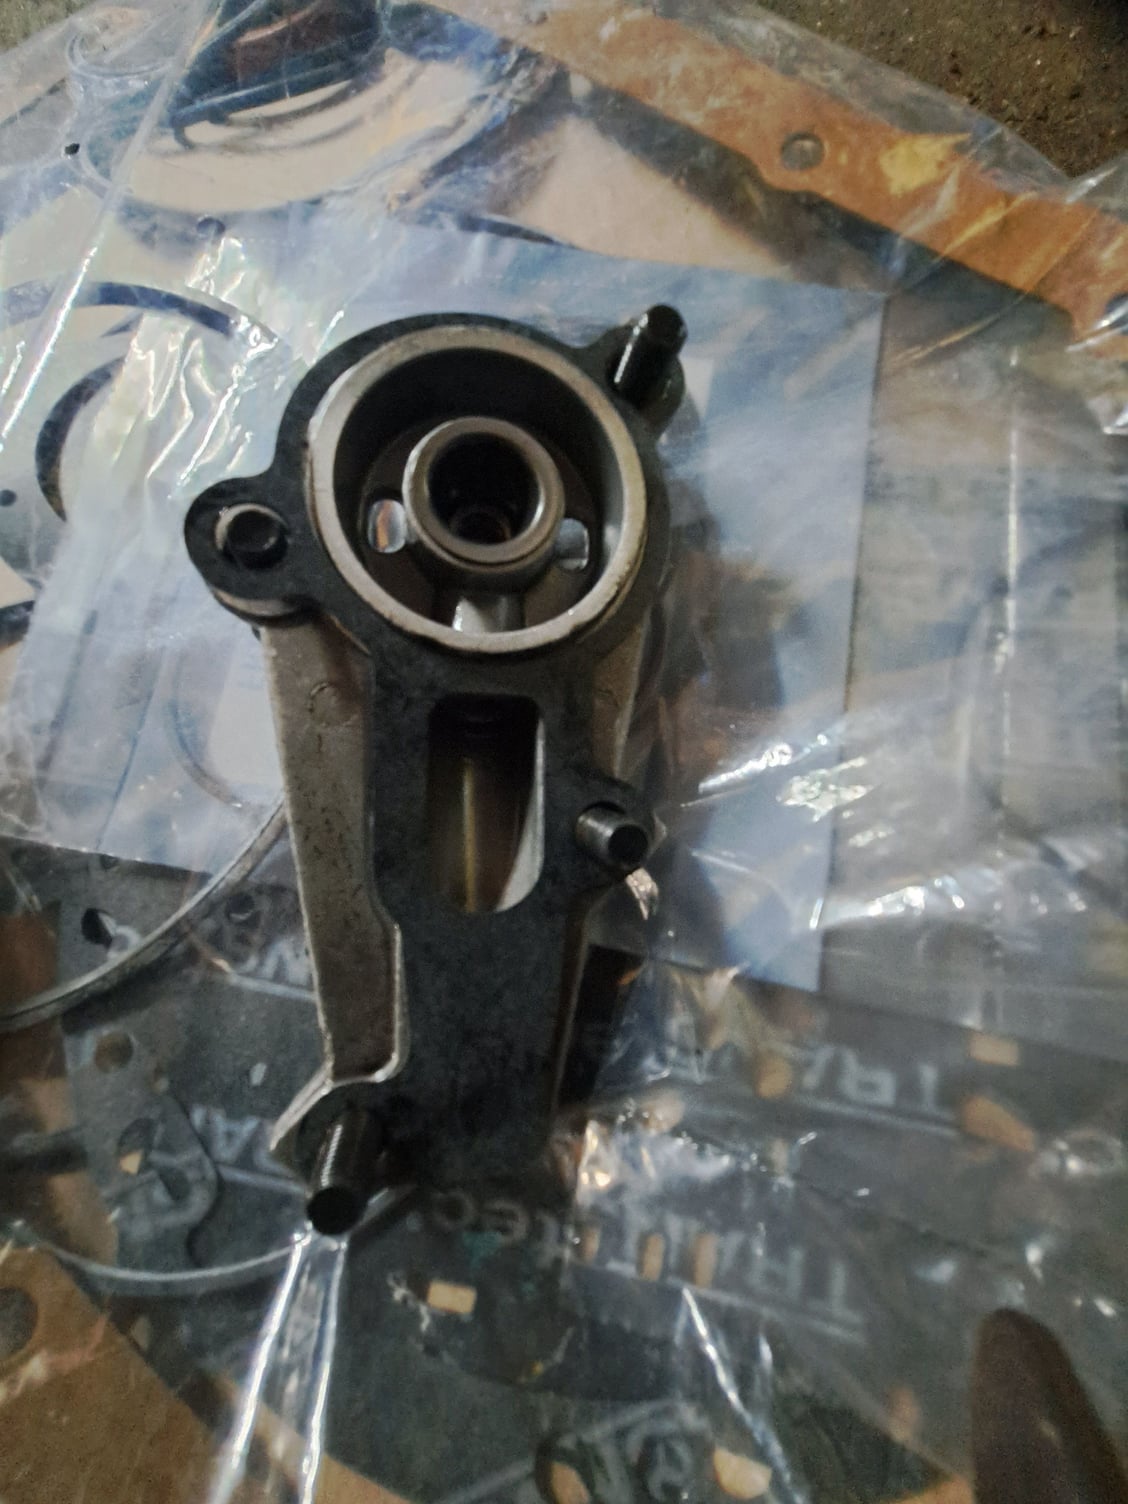
Well the passenger side of the non adjustable rocker arms bolted on with no excessive play. Number 3 and 5 on the drivers side took some fussing around. I switched bridges and swapped rocker arms side to side on #5. No more excessive play, even after rotating the cam. I put the stiffer spring pinkish or purple spring in place of the green spring in the new regular volume oil pump. Not only higher but more stable pressure throughout. I had to hammer the new pickup to achieve the proper position. A used Melling oil pump and pick up, had the same bend as a stock removed pump and pickup off the 403, so I copied them. The new Autotech oil pump, is a rebadged Melling with the new clicking pump gears. Not sure why Melling changed them. Here is the before and after on the oil pan. I will take more pics tomorrow oil the assembled oil pump and the current main bearings. The new standard rod and main bearings should be here Monday, NOS Ebay, super cheap, just over $125 CAD shipped. More than good enough for this 403.
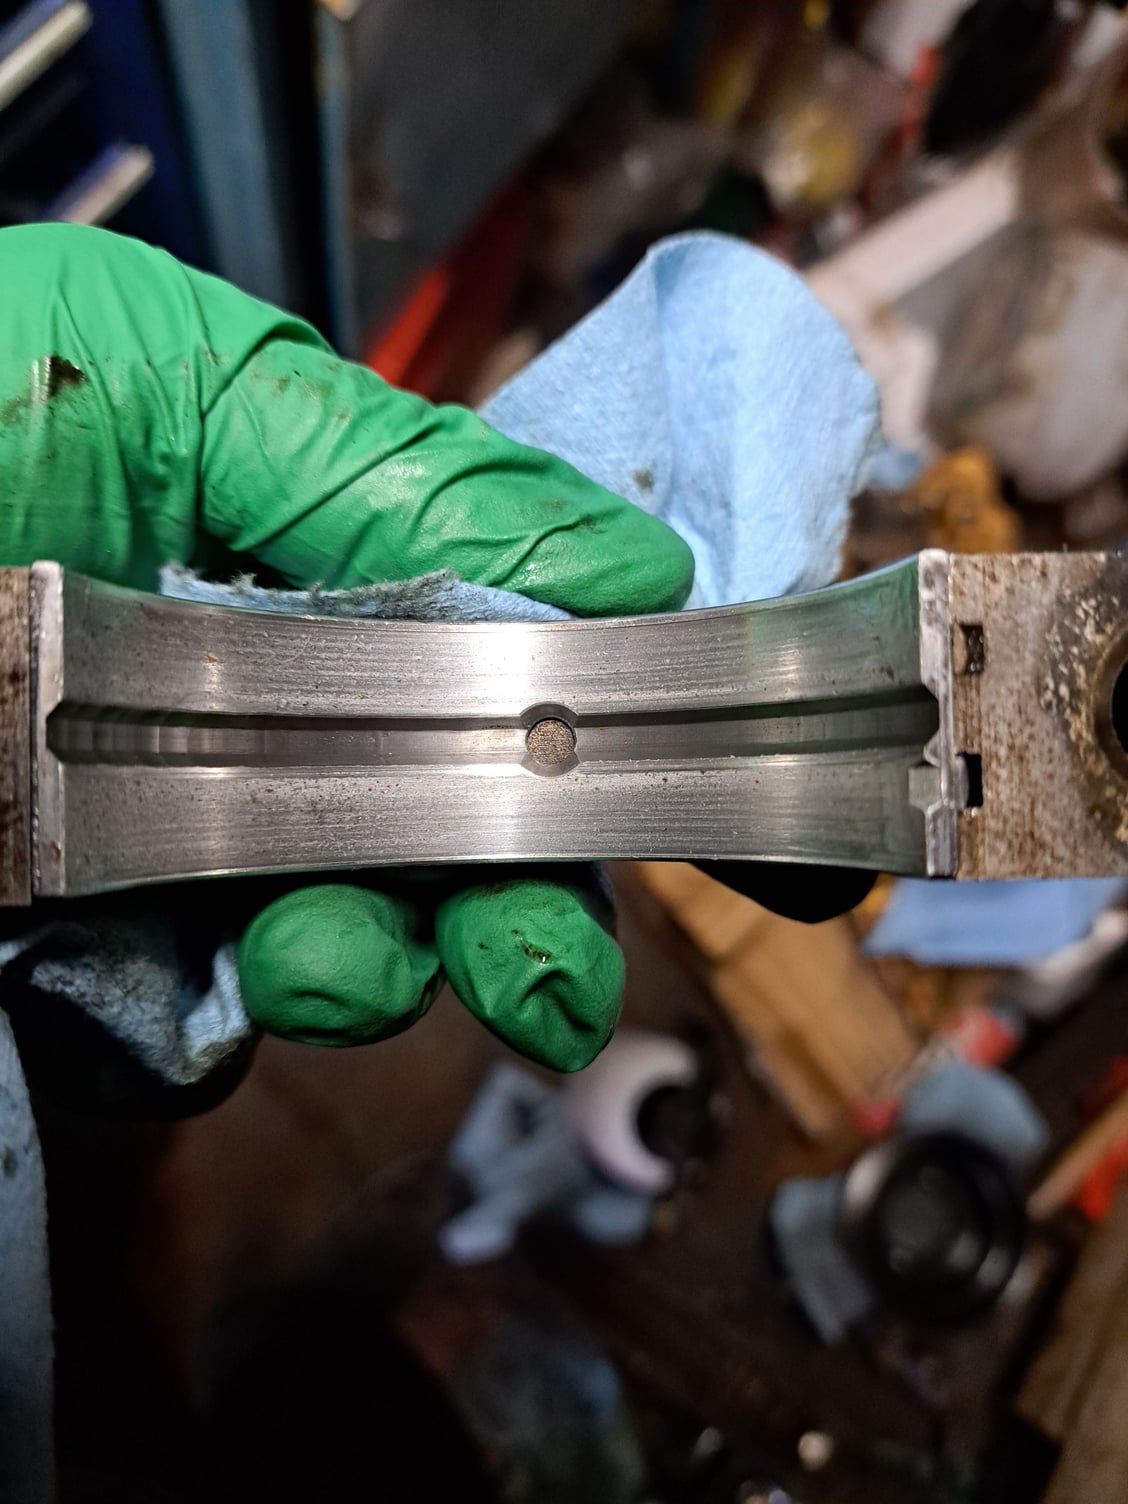
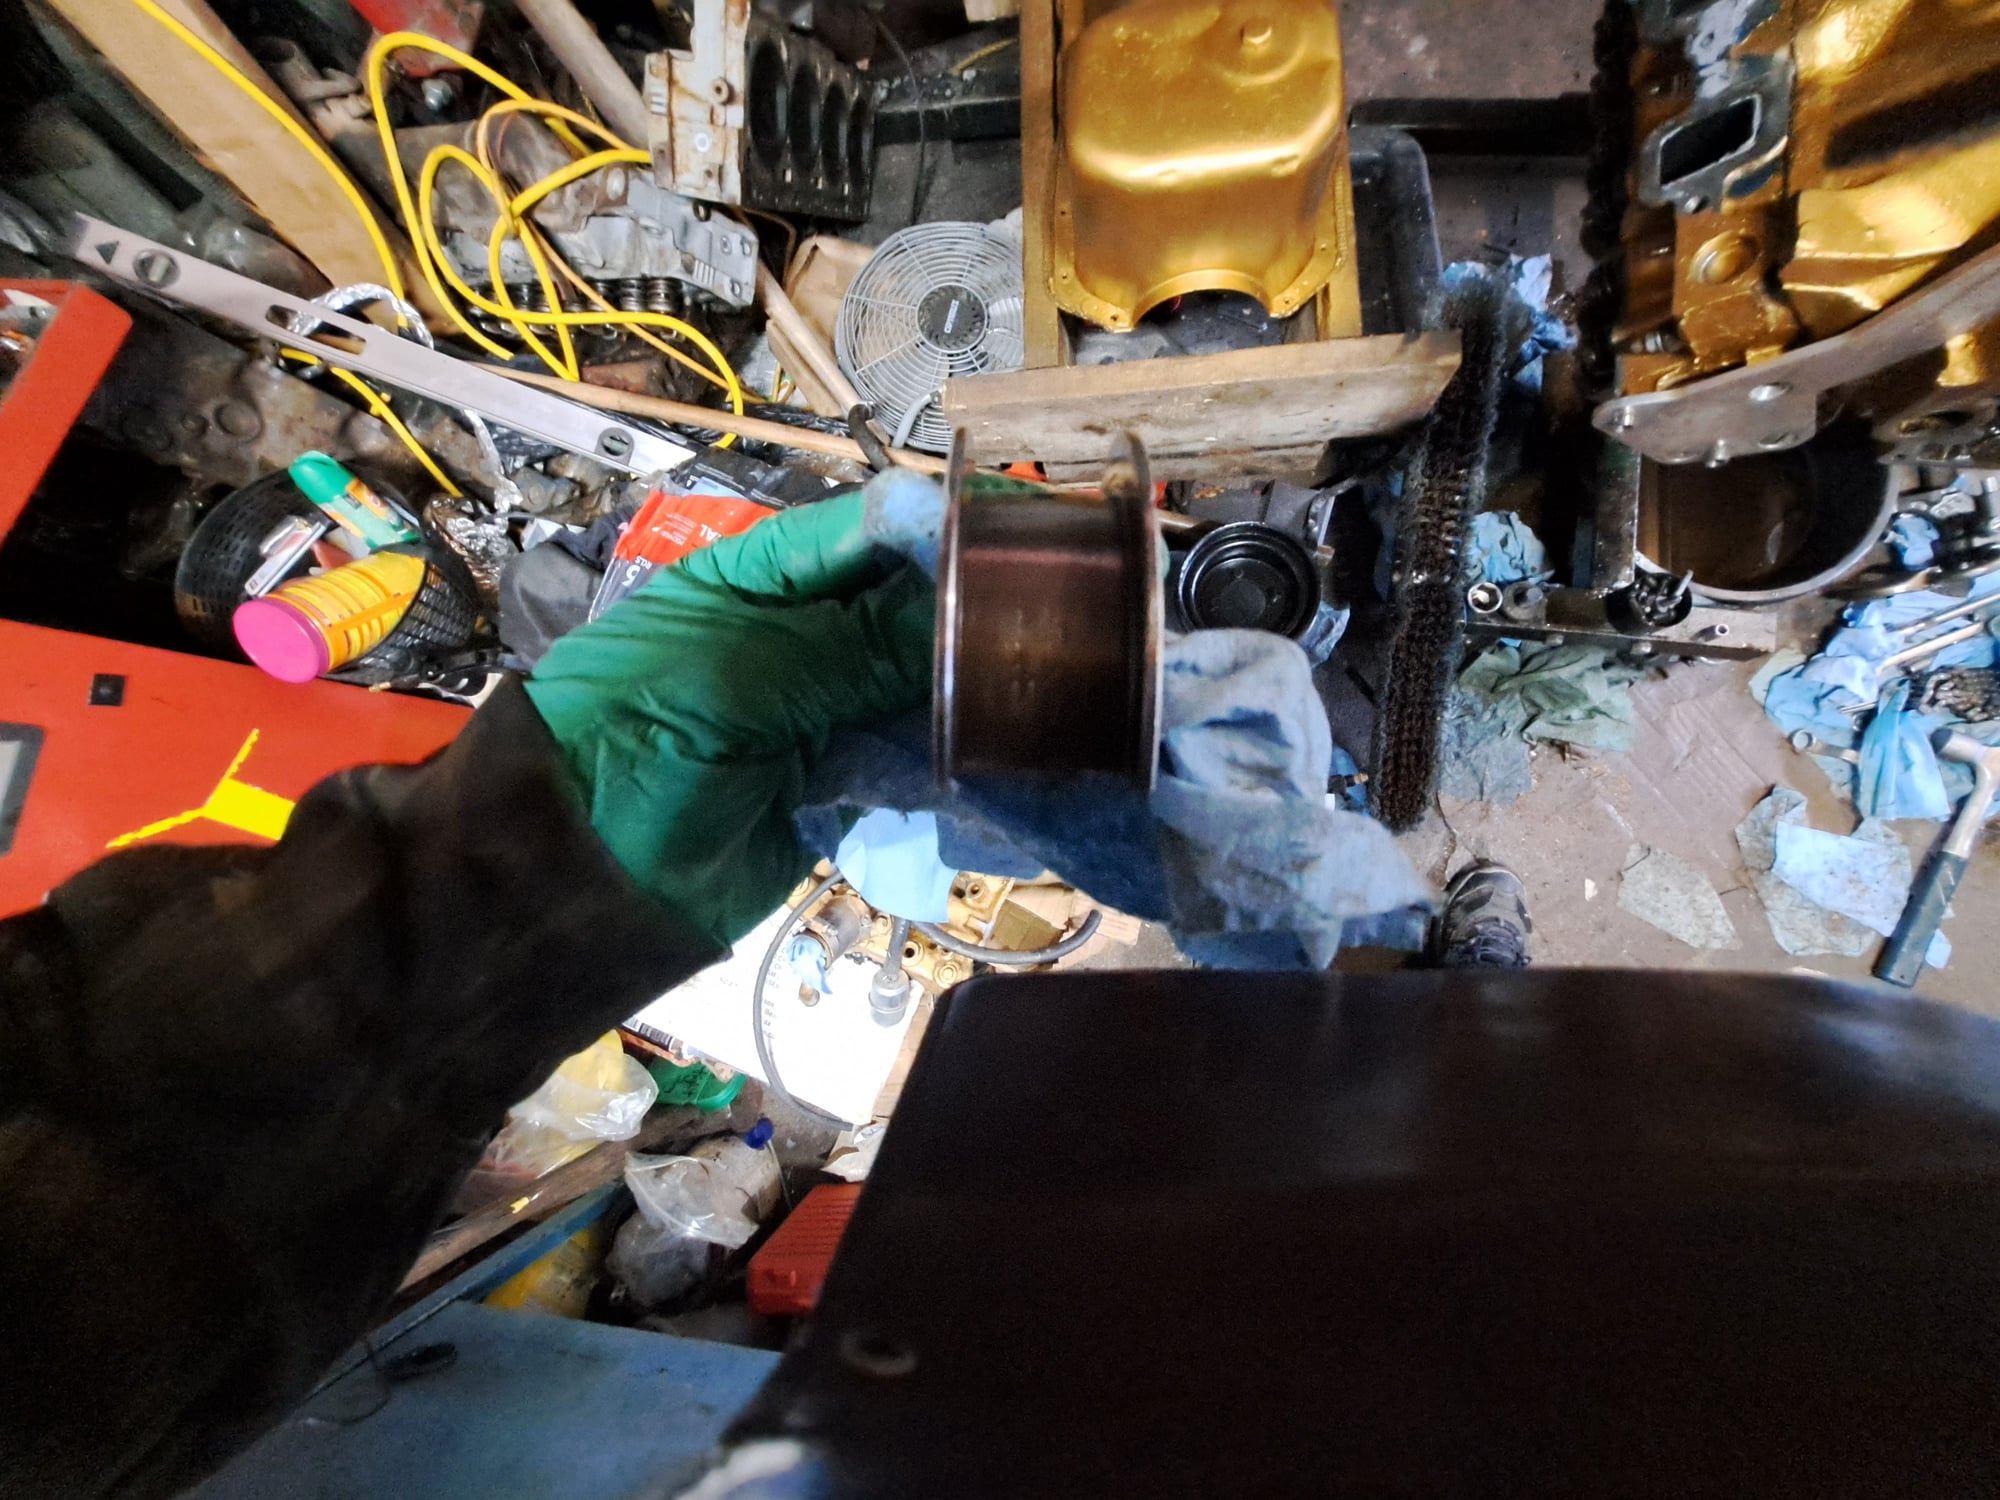
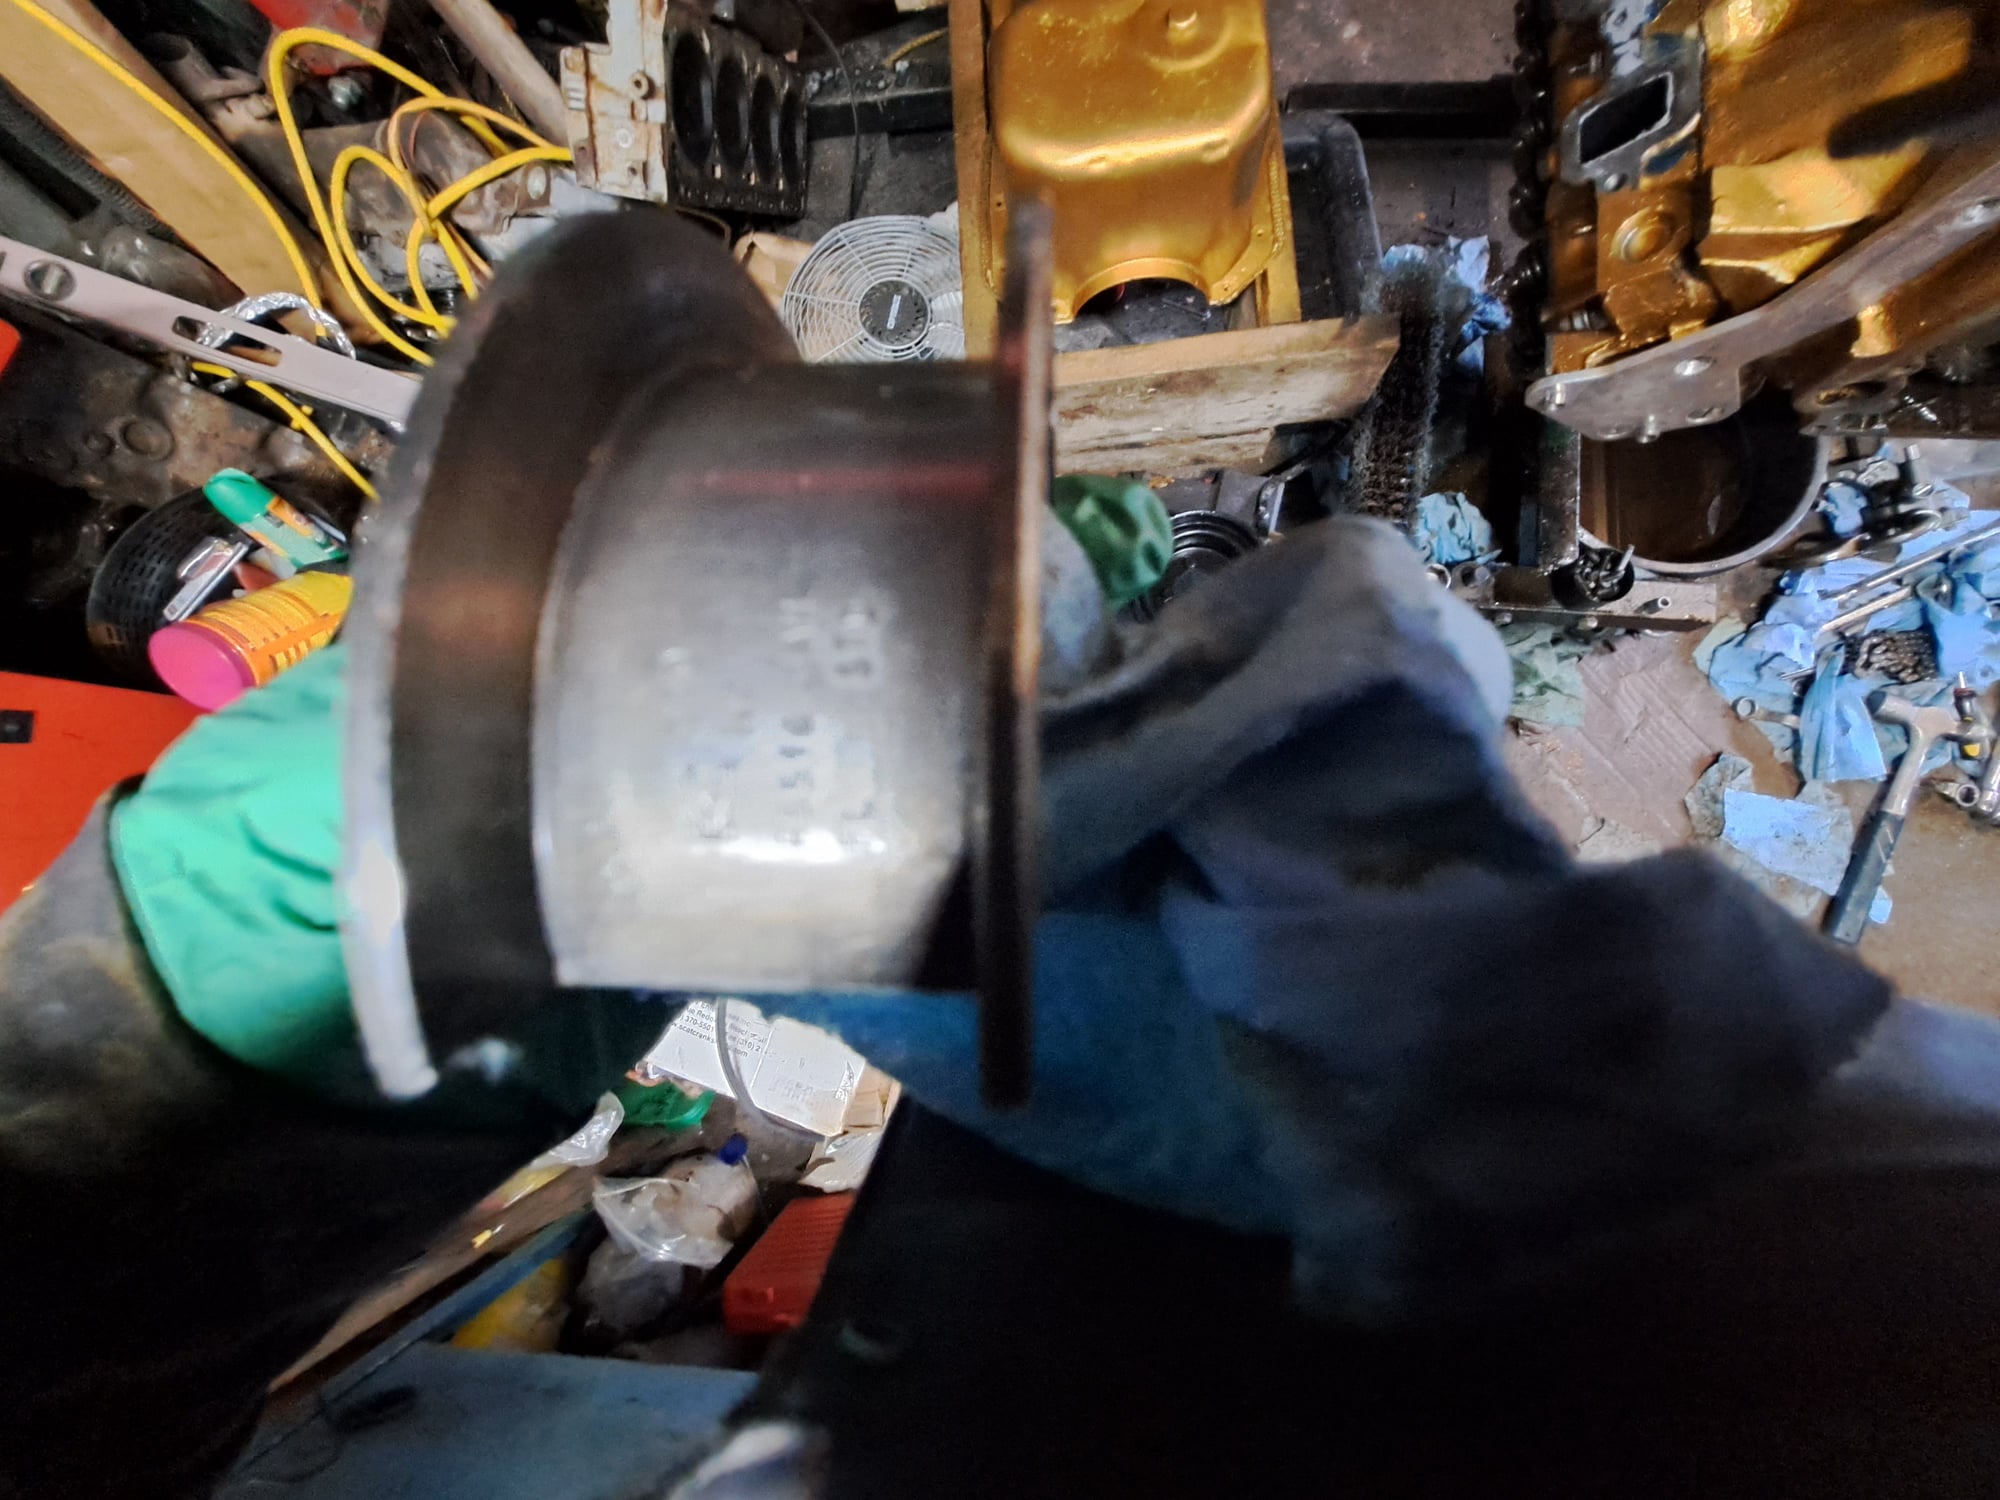
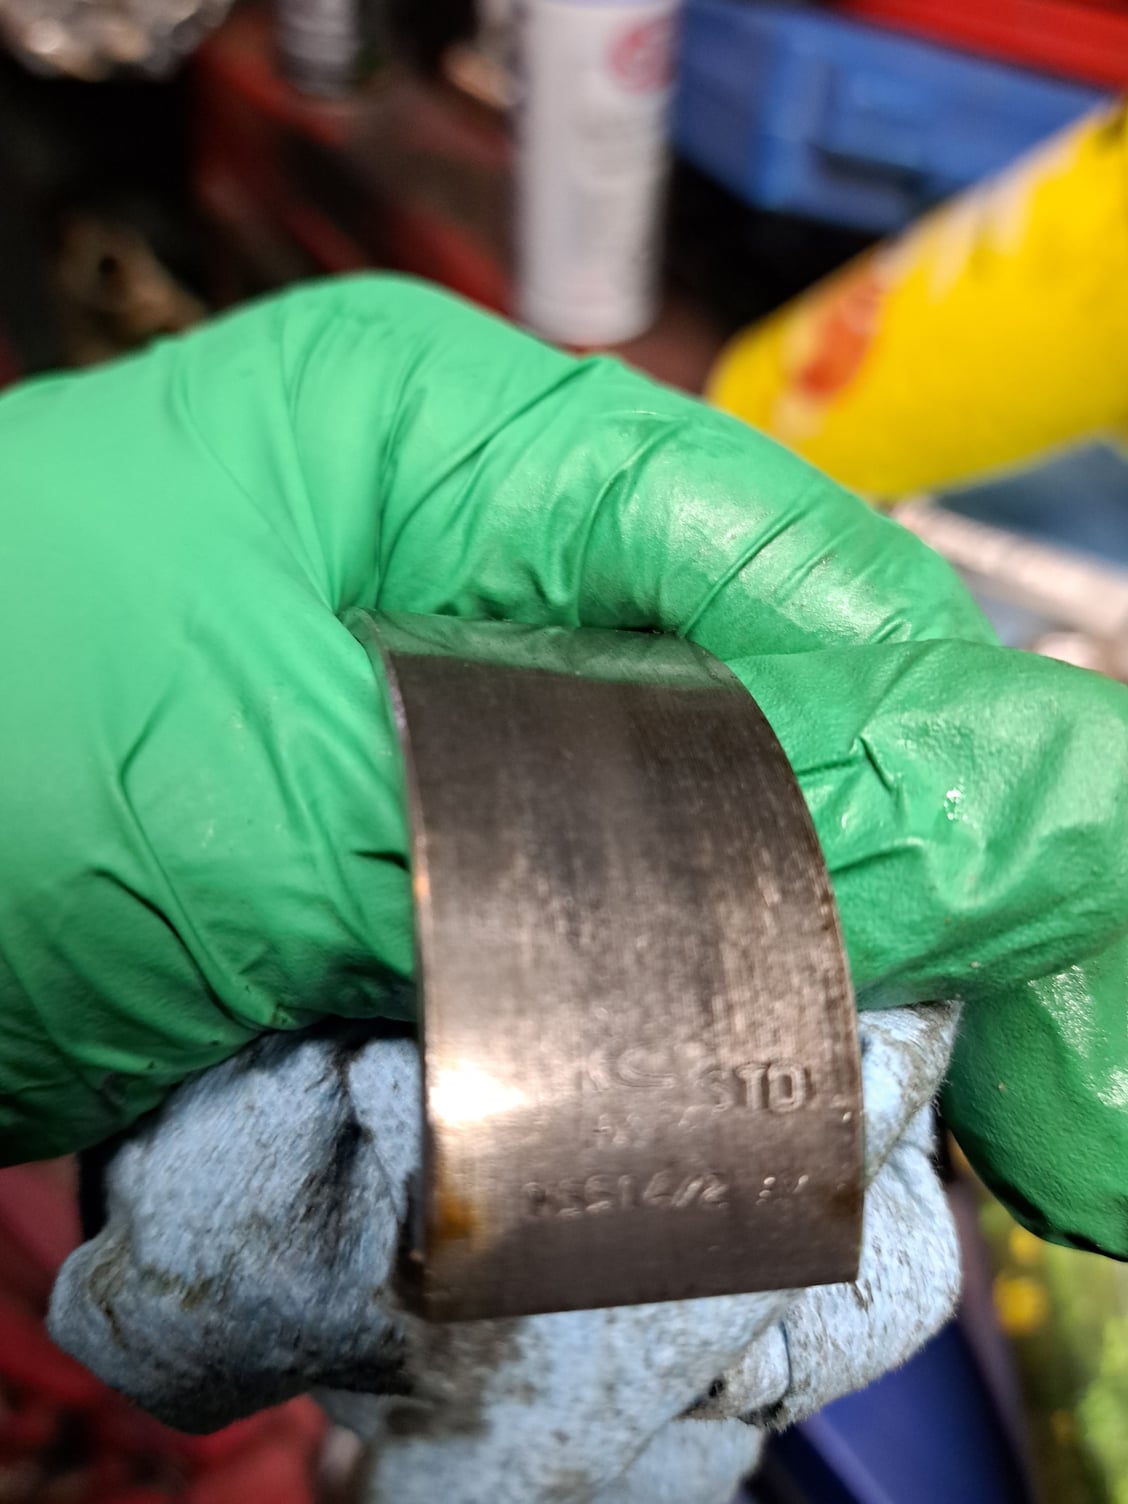
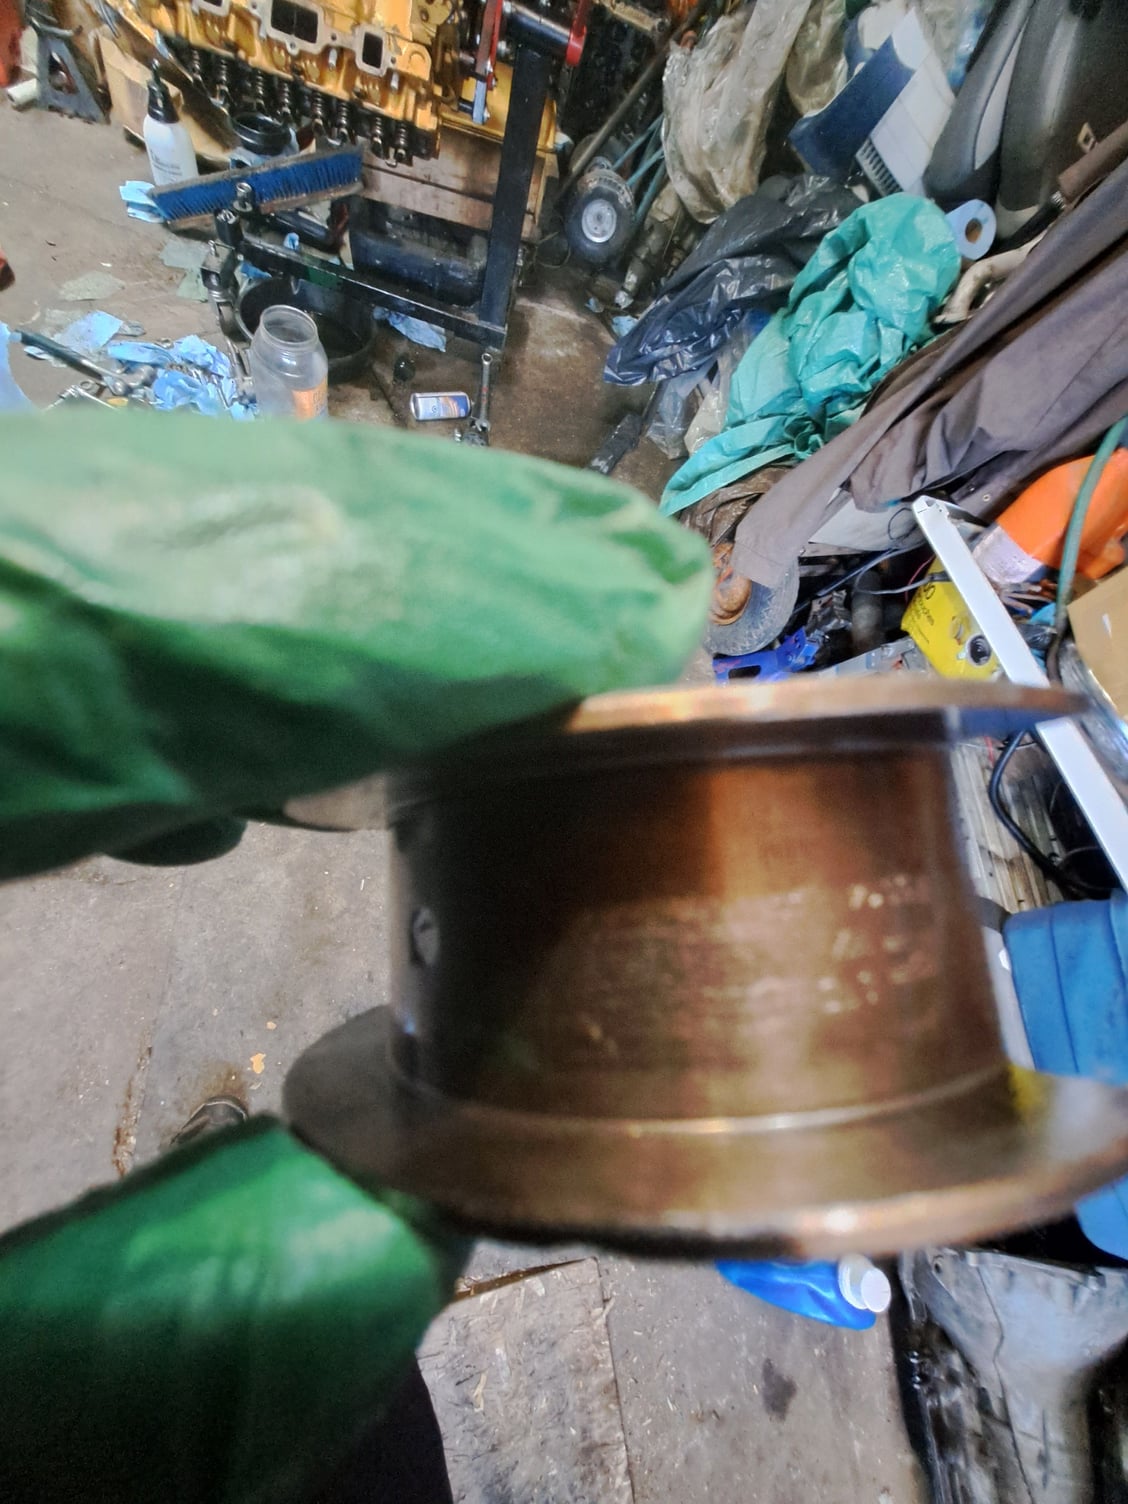
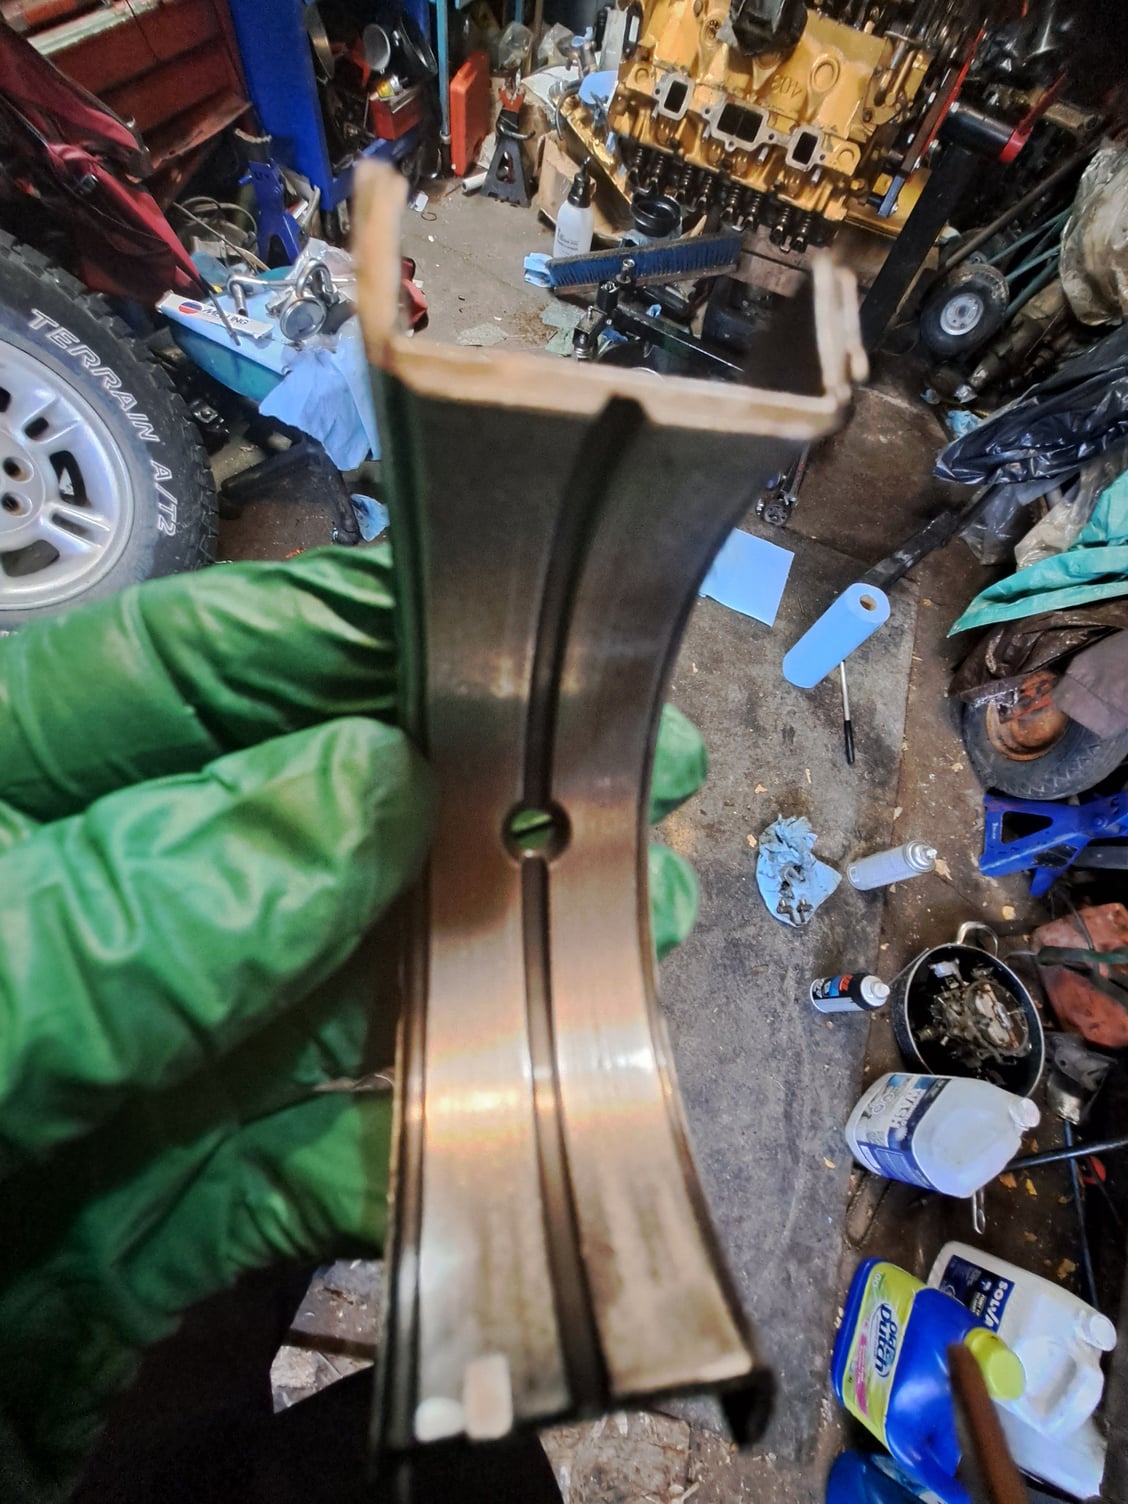
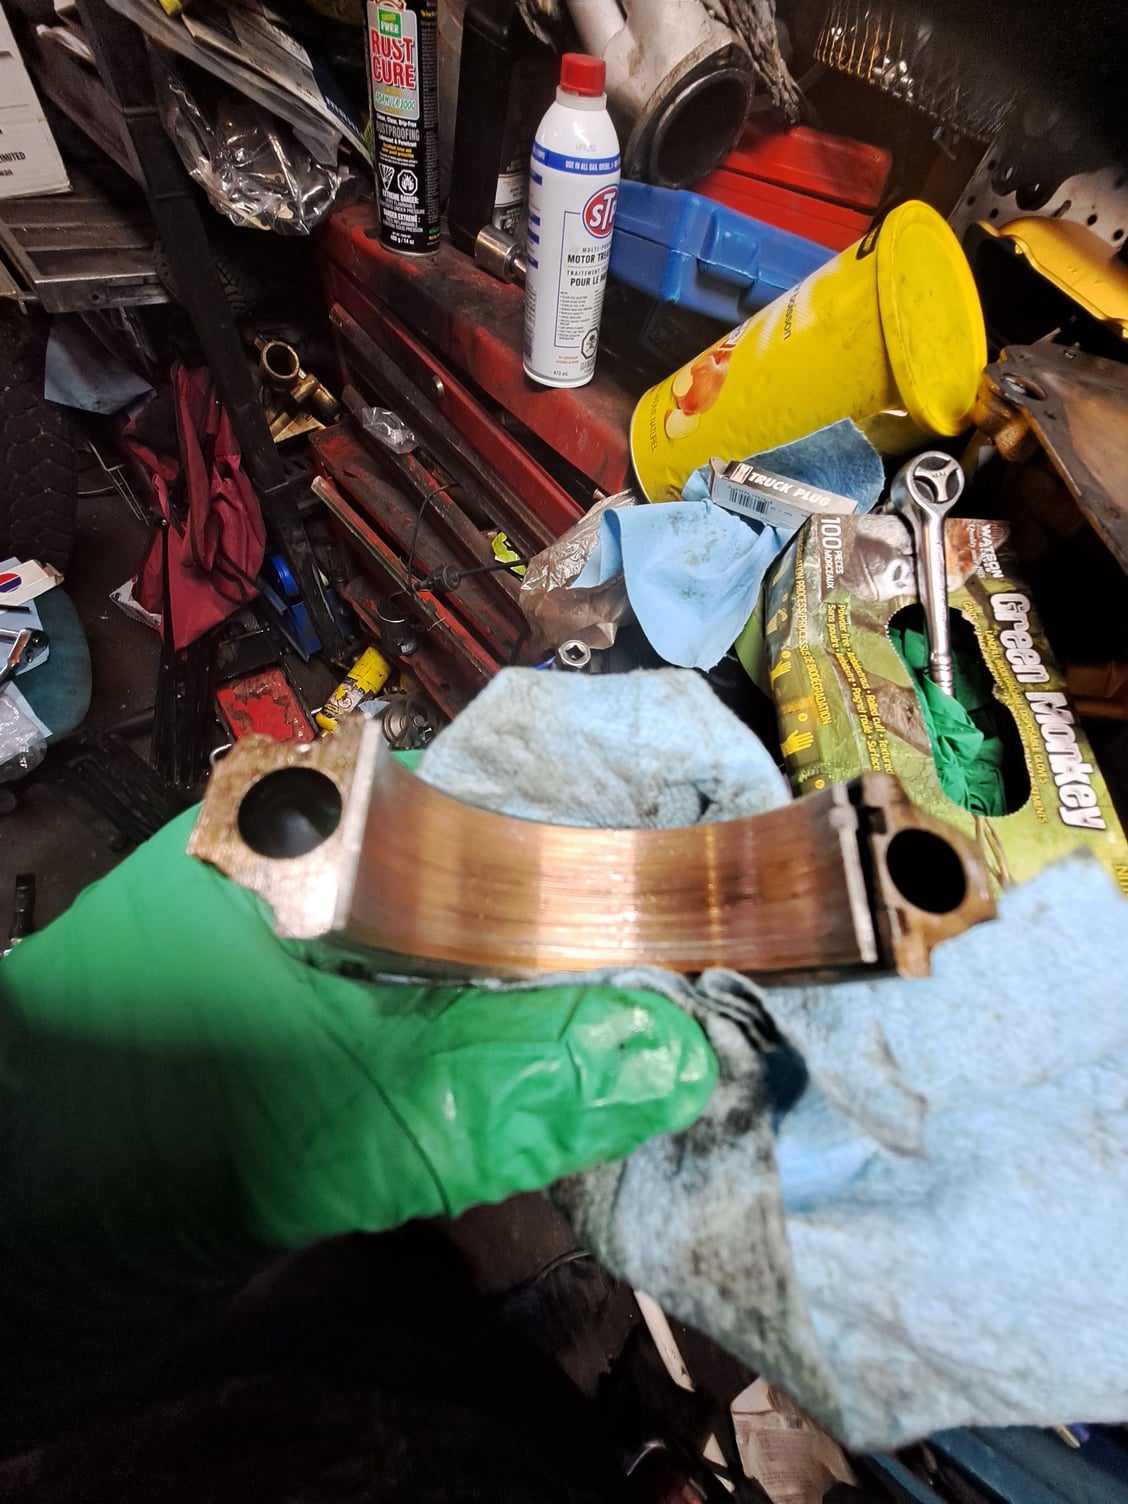
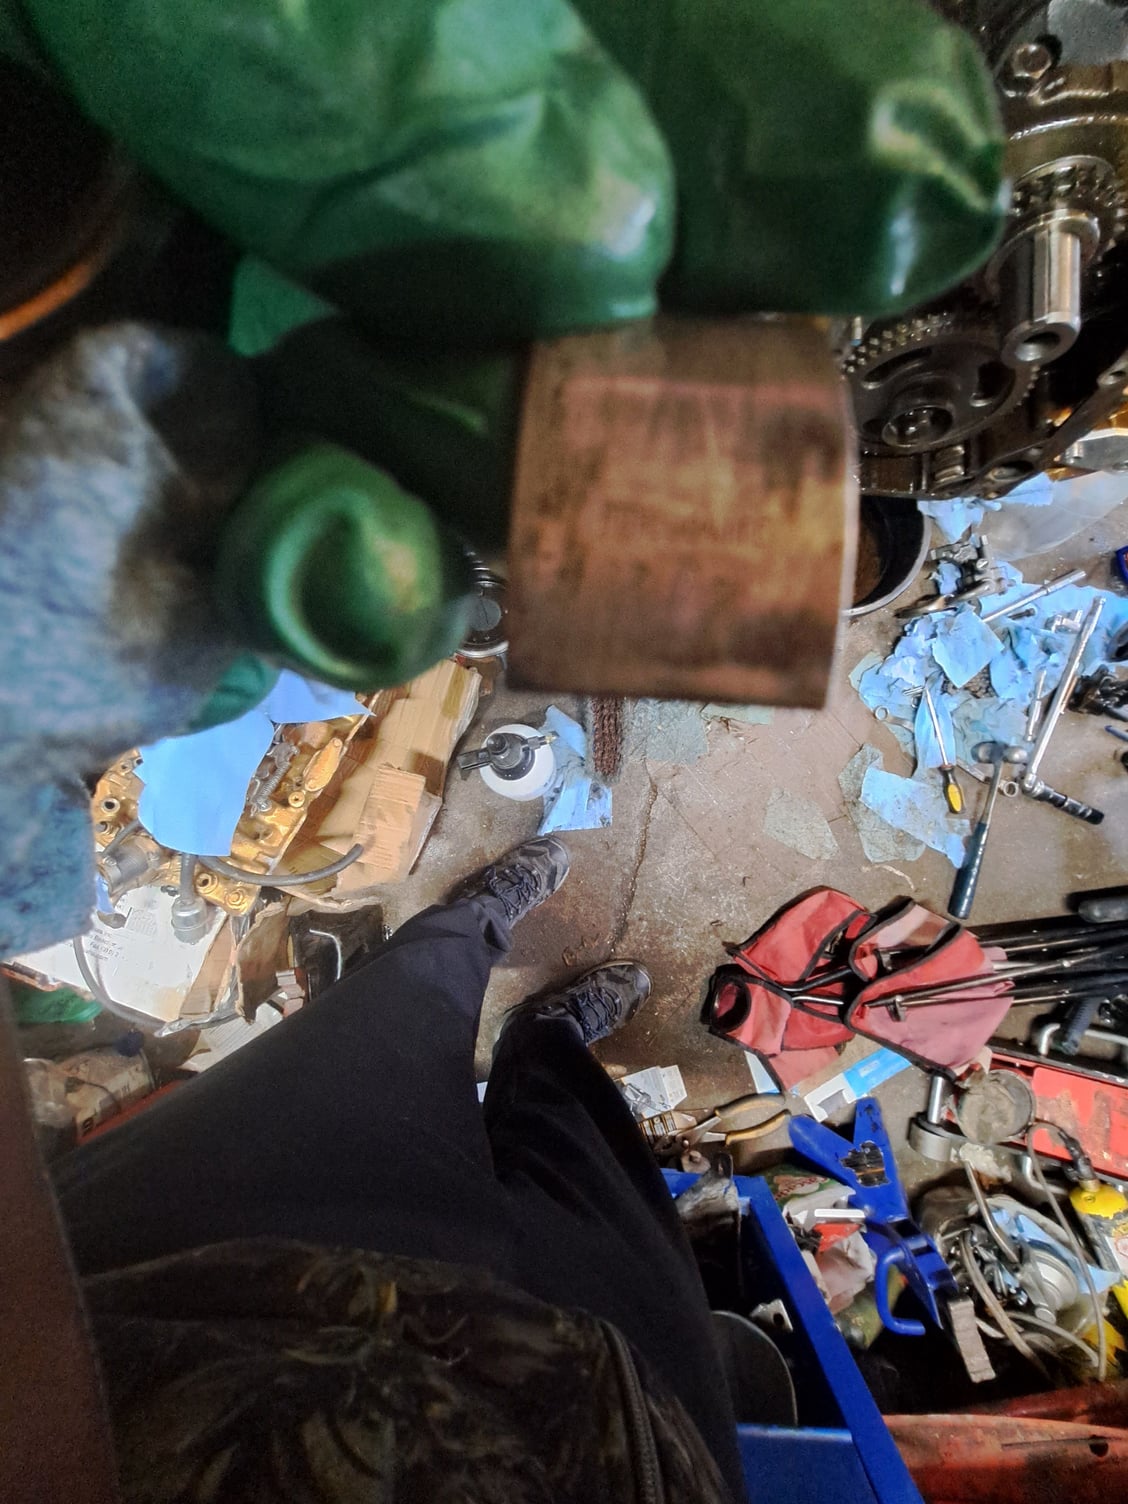
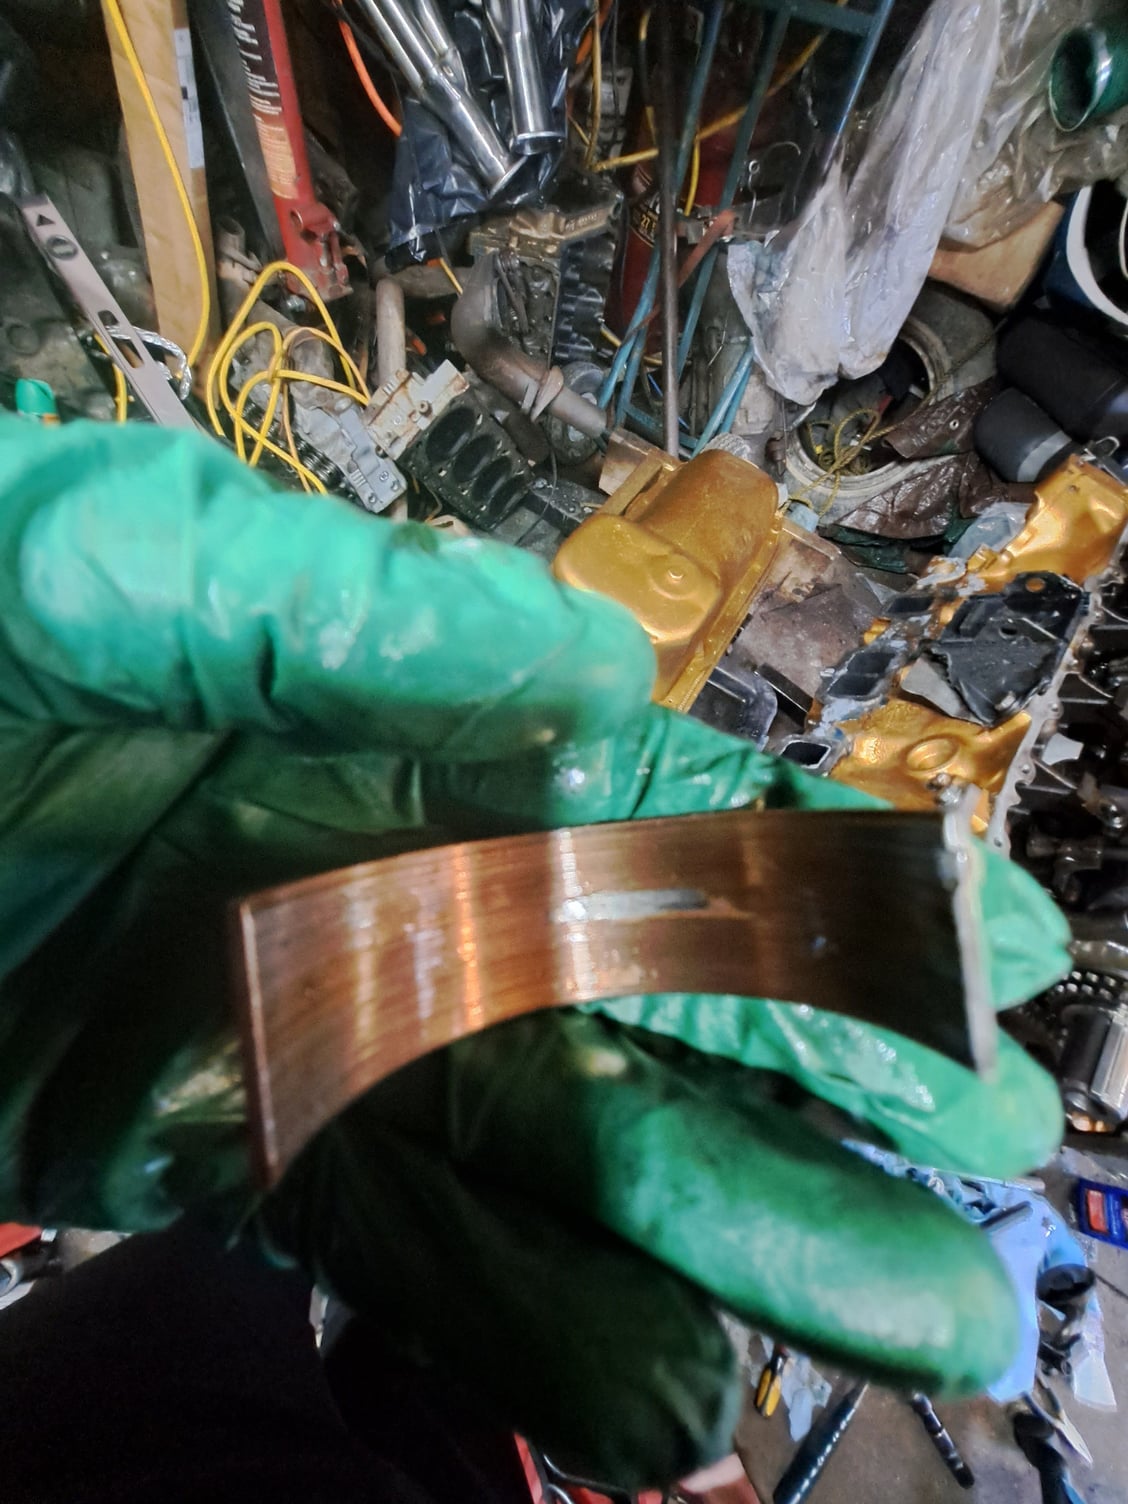
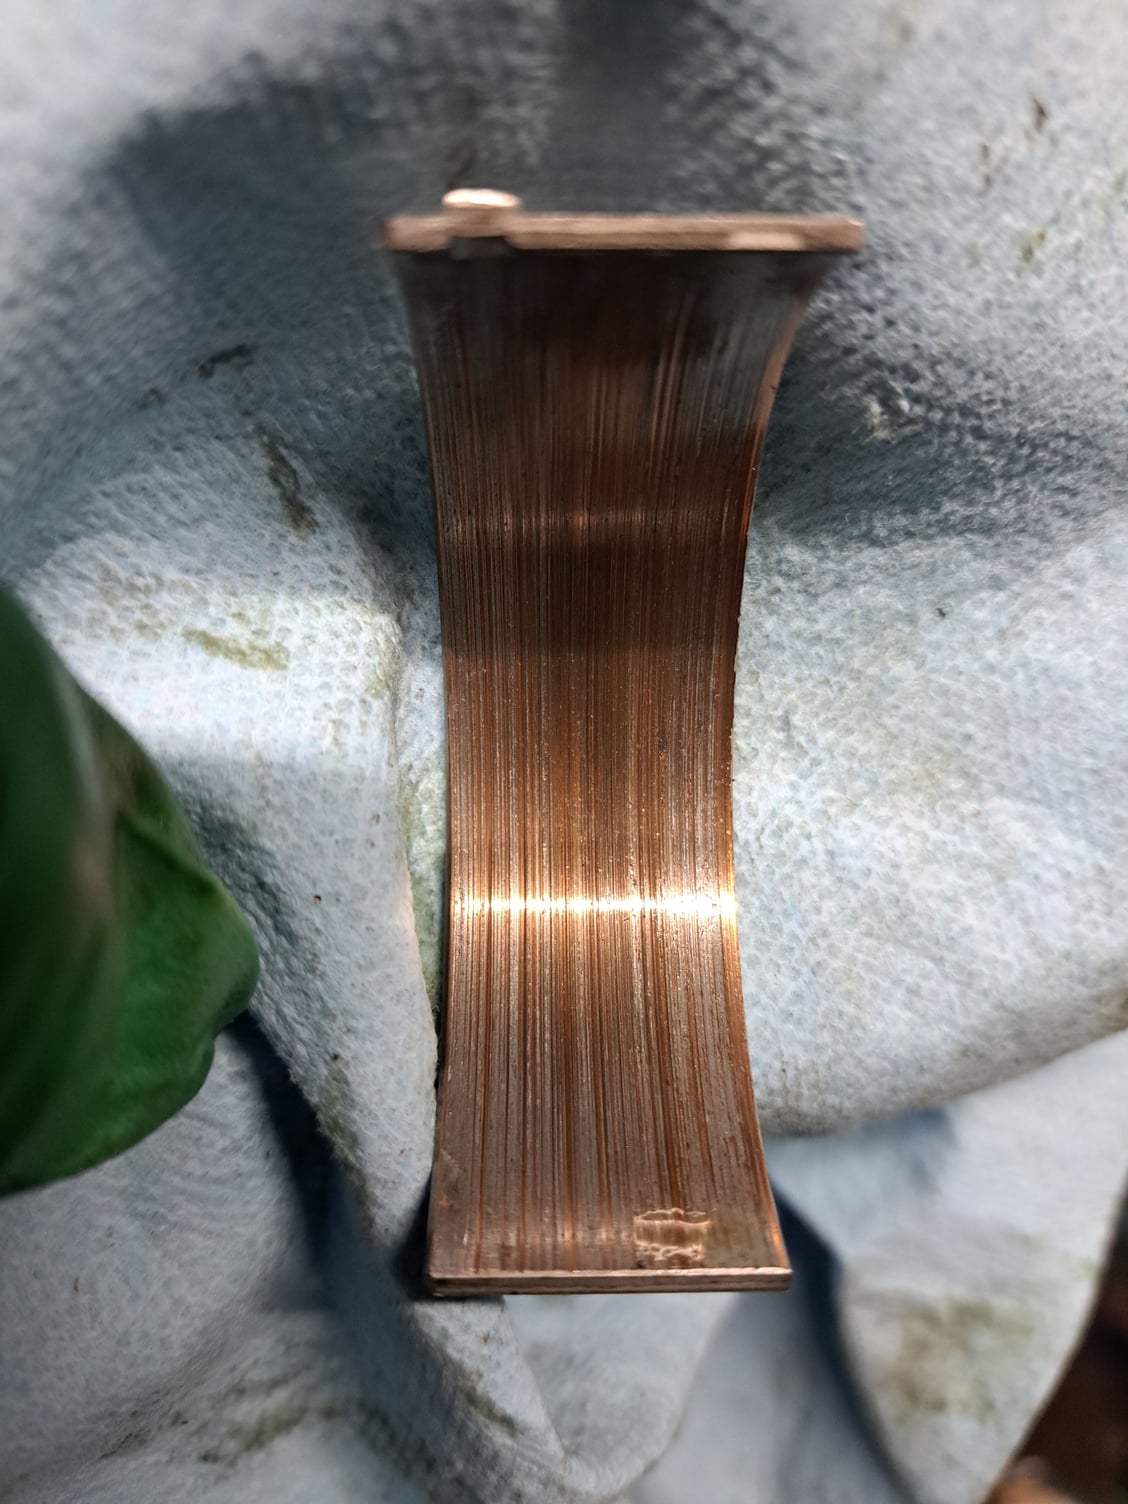
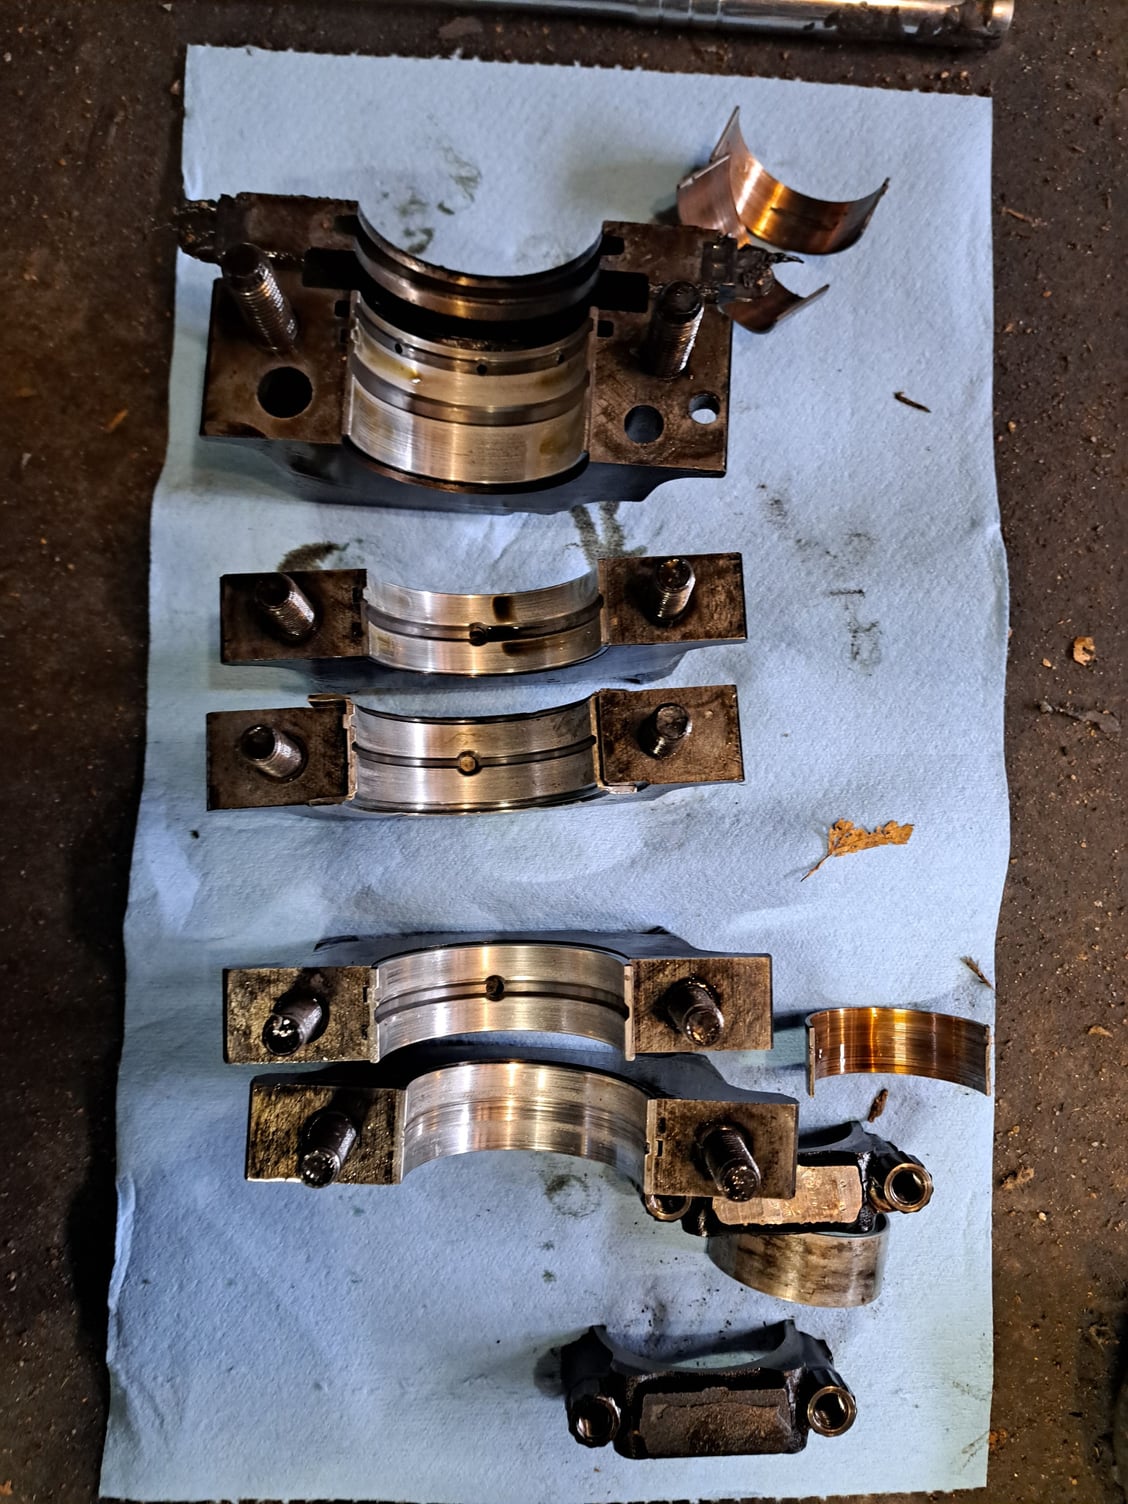
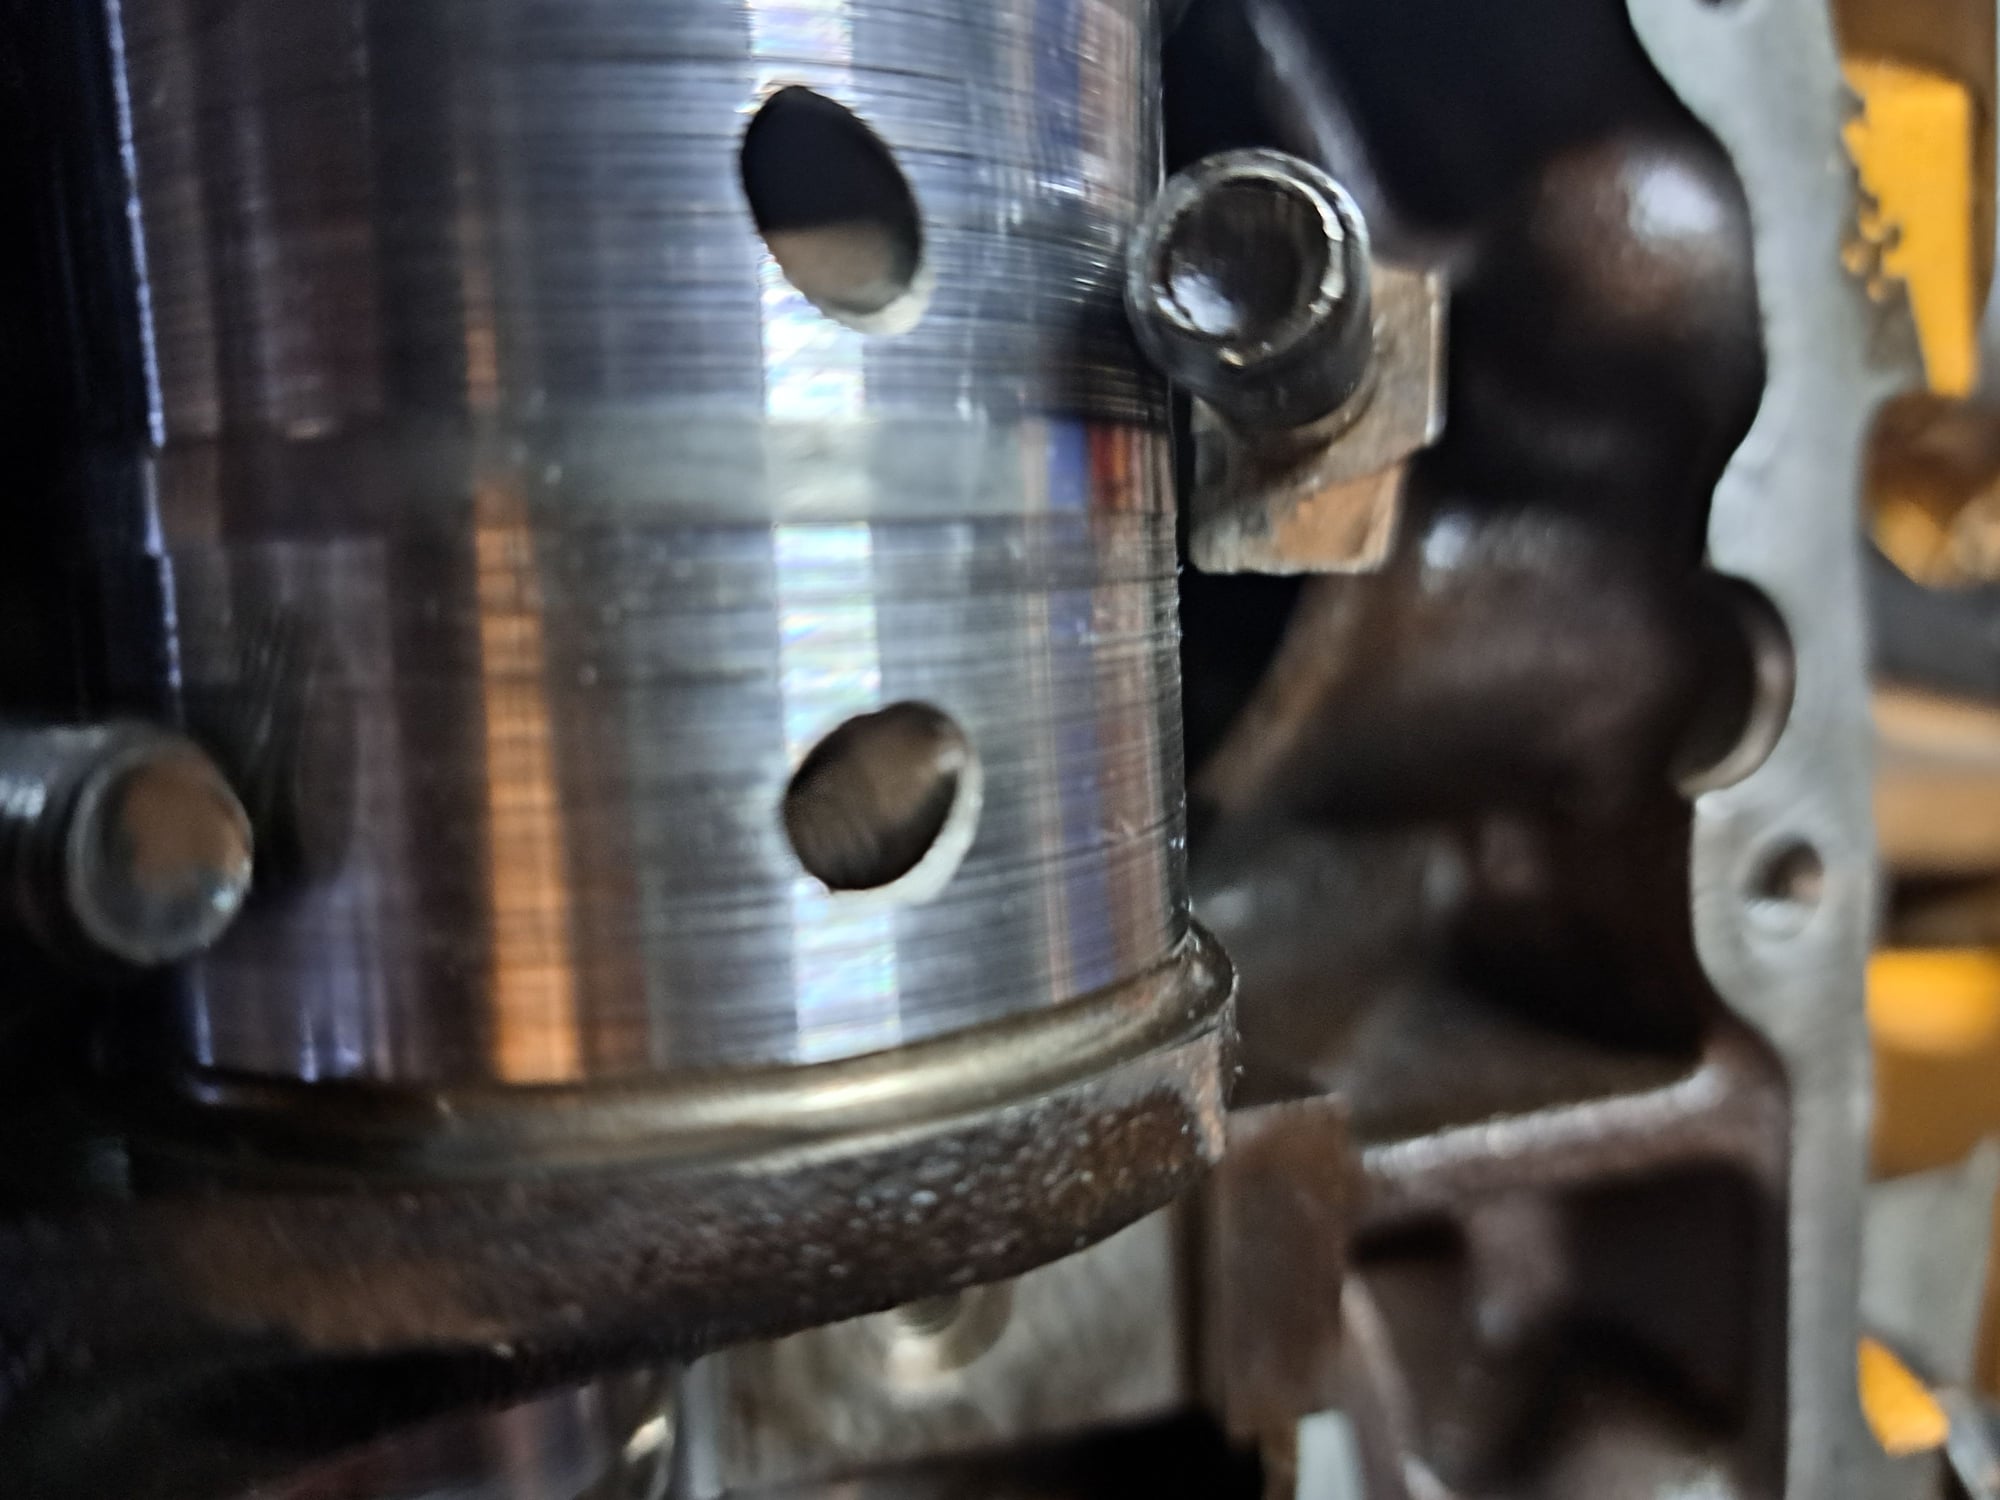
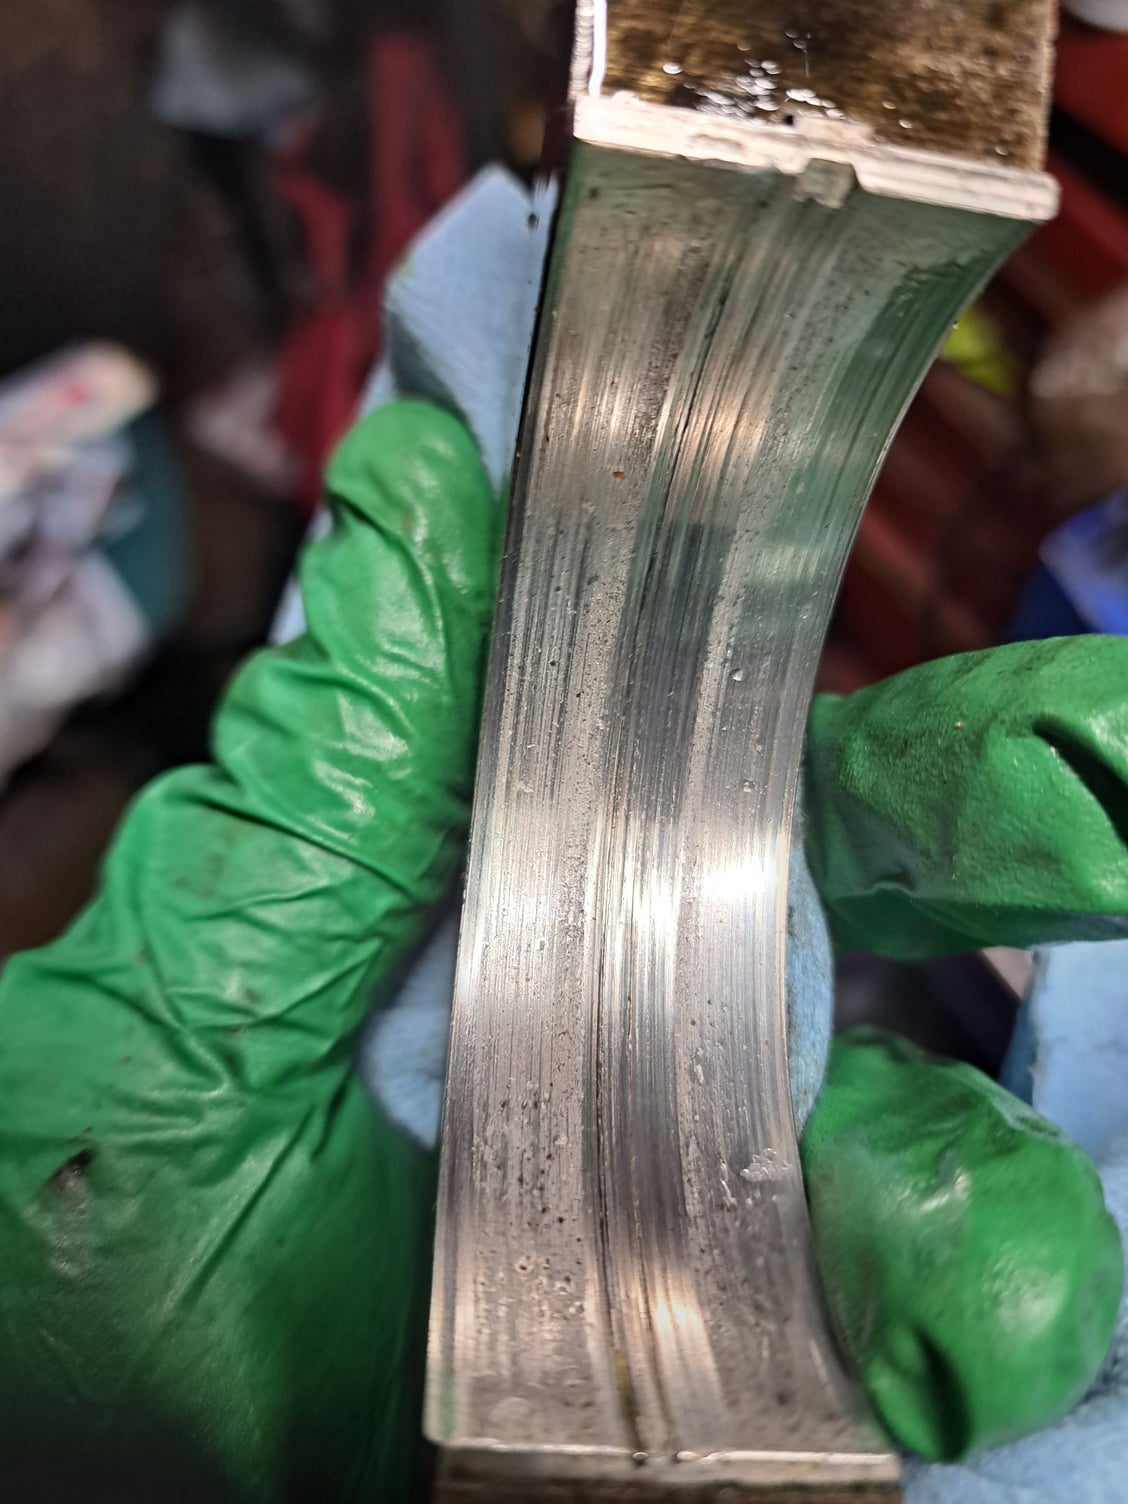
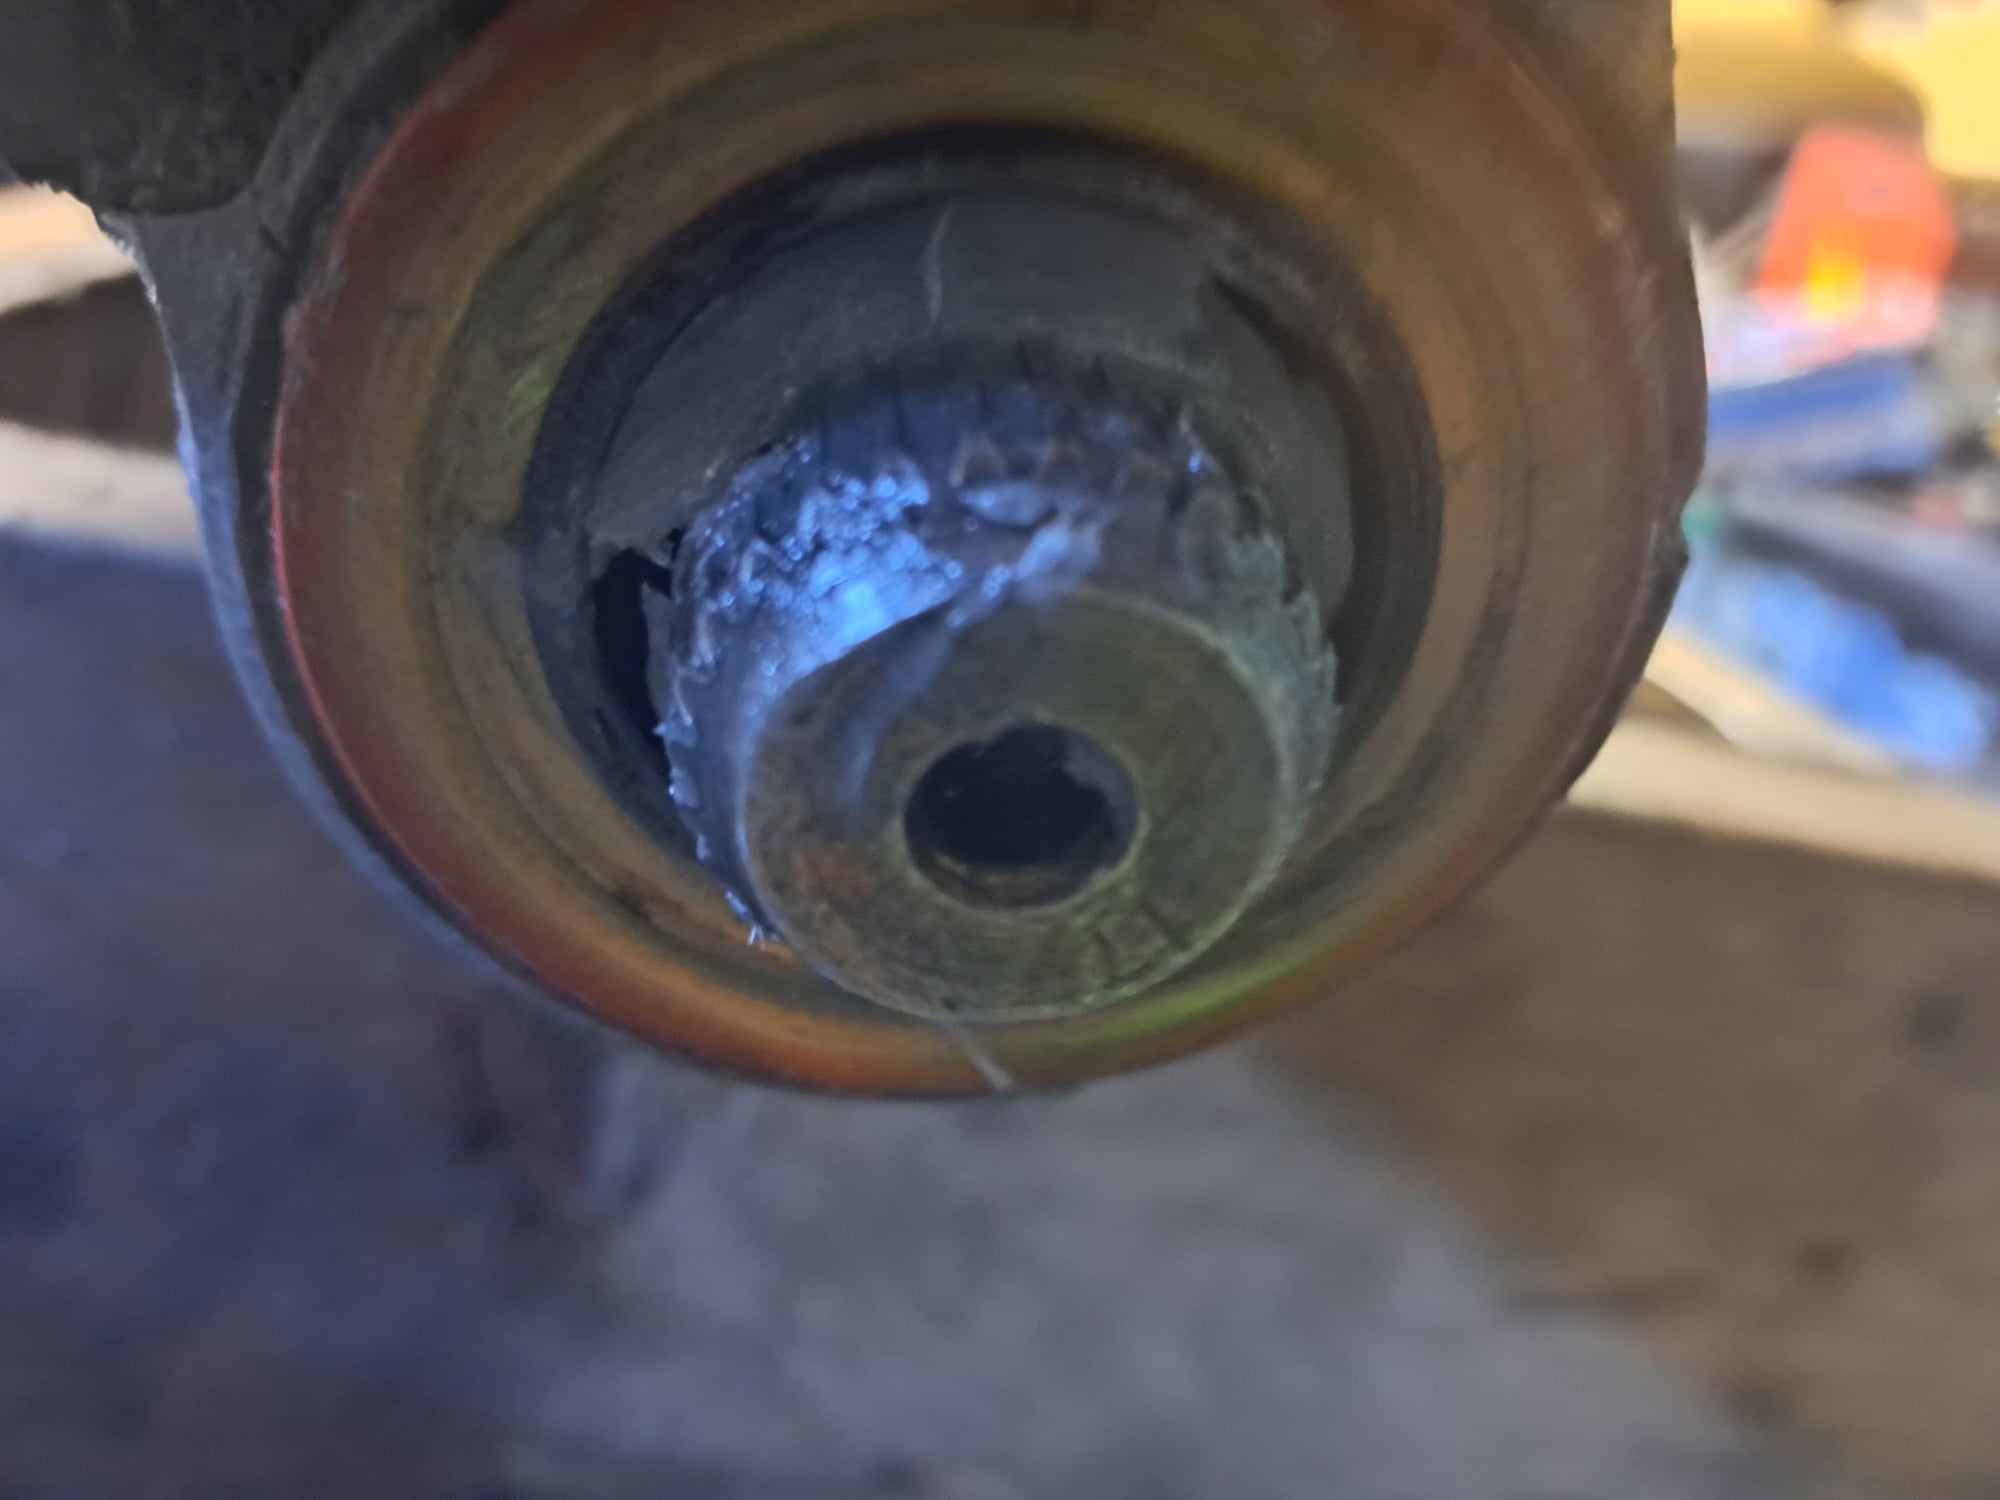
Well, good and bad. The main bearings look the same as when I popped them to add a rubber rear main seal, not terrible. I never popped the rod bearings but I assumed they were fine. I think they were fine but either the extra compression and or detonation killed them. Just over 9 to 1 compression 91 non ethanol gas. It only has a 20 degree vacuum can on it and I added a mechanical stop on the HEI mechanical advance. I will back that down 10 degrees. On fire up there was too much silver filings in the Lucas Hotrod 10W30. I assumed it was the used 204/214 cam heading south, nope. The rod bearings aren't spun on 1 and 2 but definite copper. Both rod and mains are standard but the mains were apart for sure. Clean out and new bearings with a new oil pump🤷♂️. In the new year, I will contact machine shop about the 358 in the new year, hopefully on their to do pile.
New standard rod and main bearings in place and everything torqued. New standard volume oil pump with stiffer pink spring and new pickup installed. Timing set put back in and torqued, cam was degreed. Timing cover, oil pan and balancer installed. Touched up VHT Gold Metallic paint on lower end. Cleaned up the intake rails, it will stay off till the motor is in car for clearance. Next will be the 2004R upgrades.
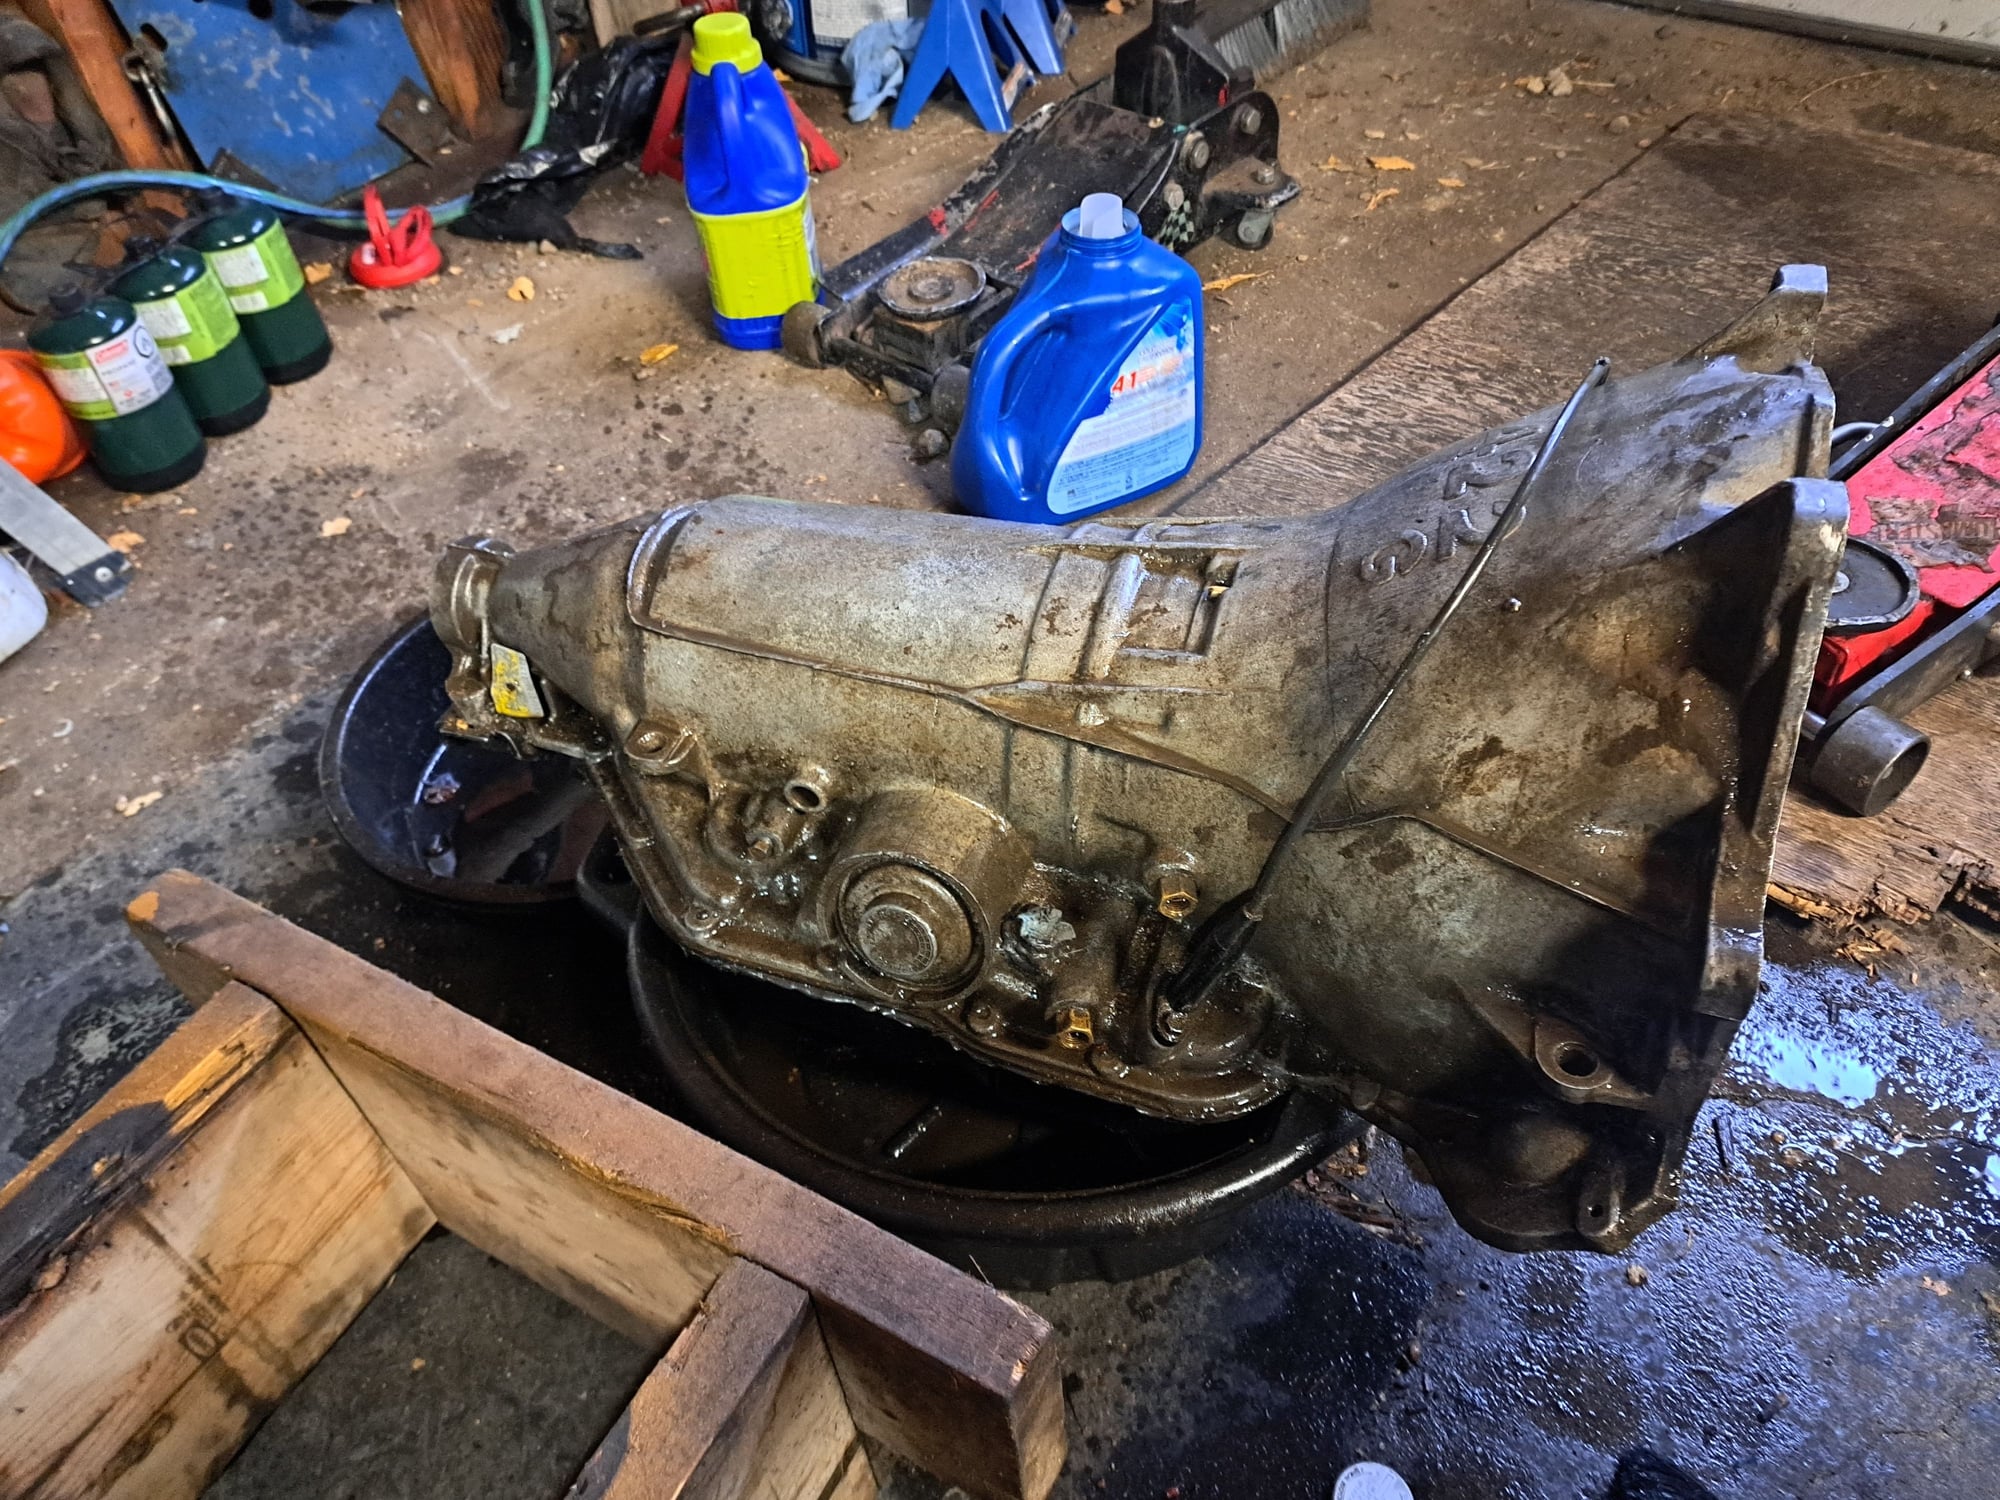
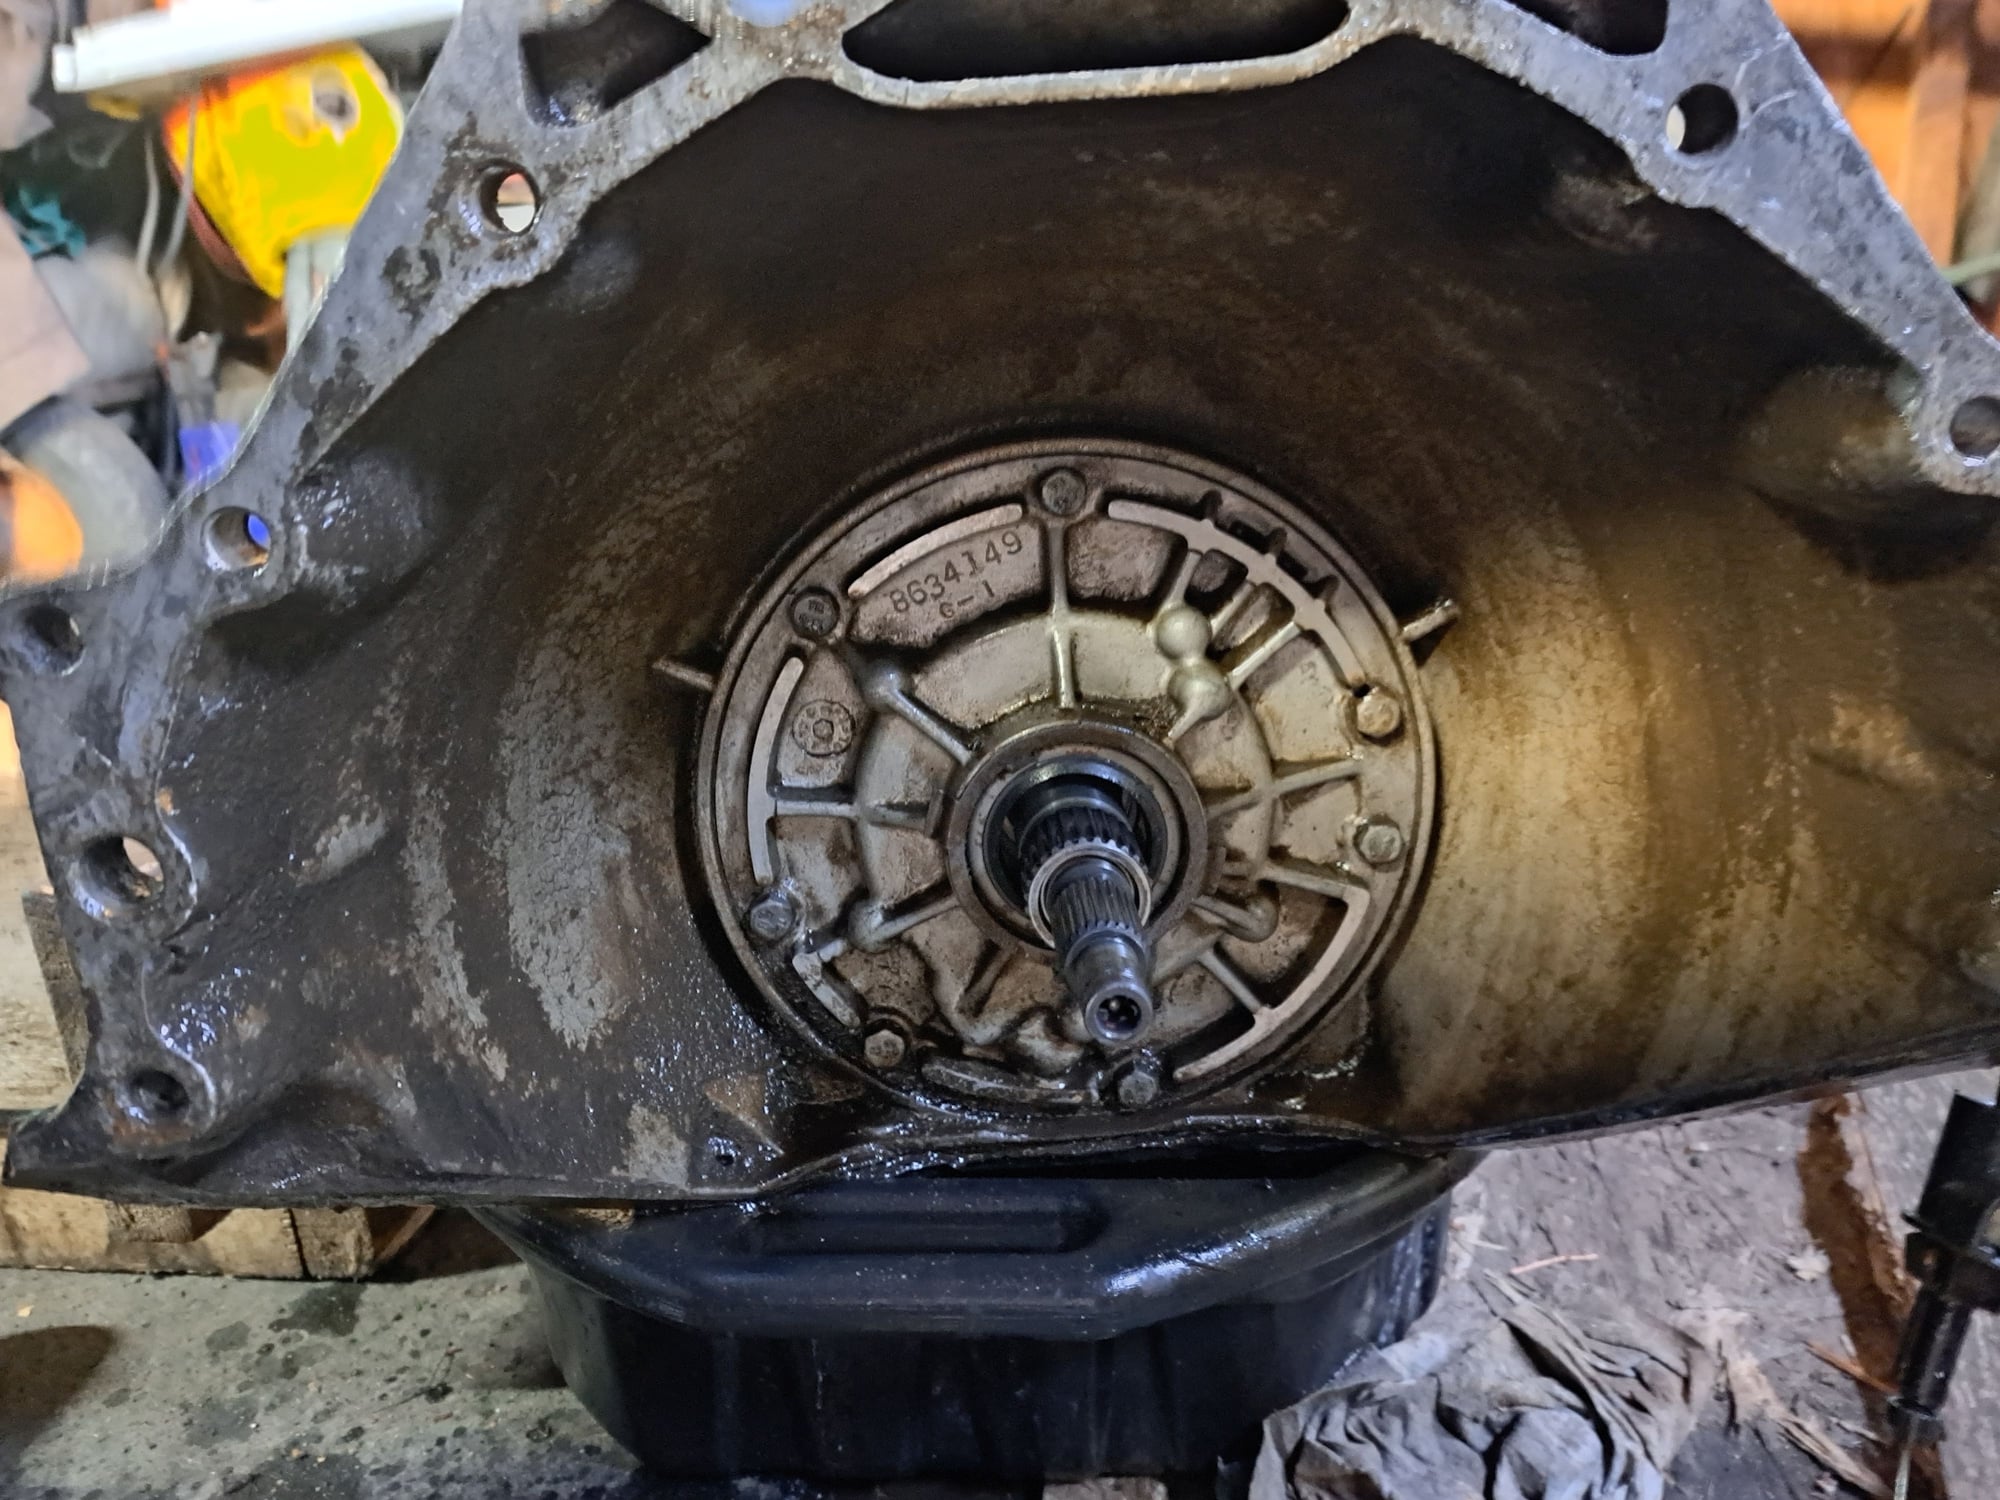
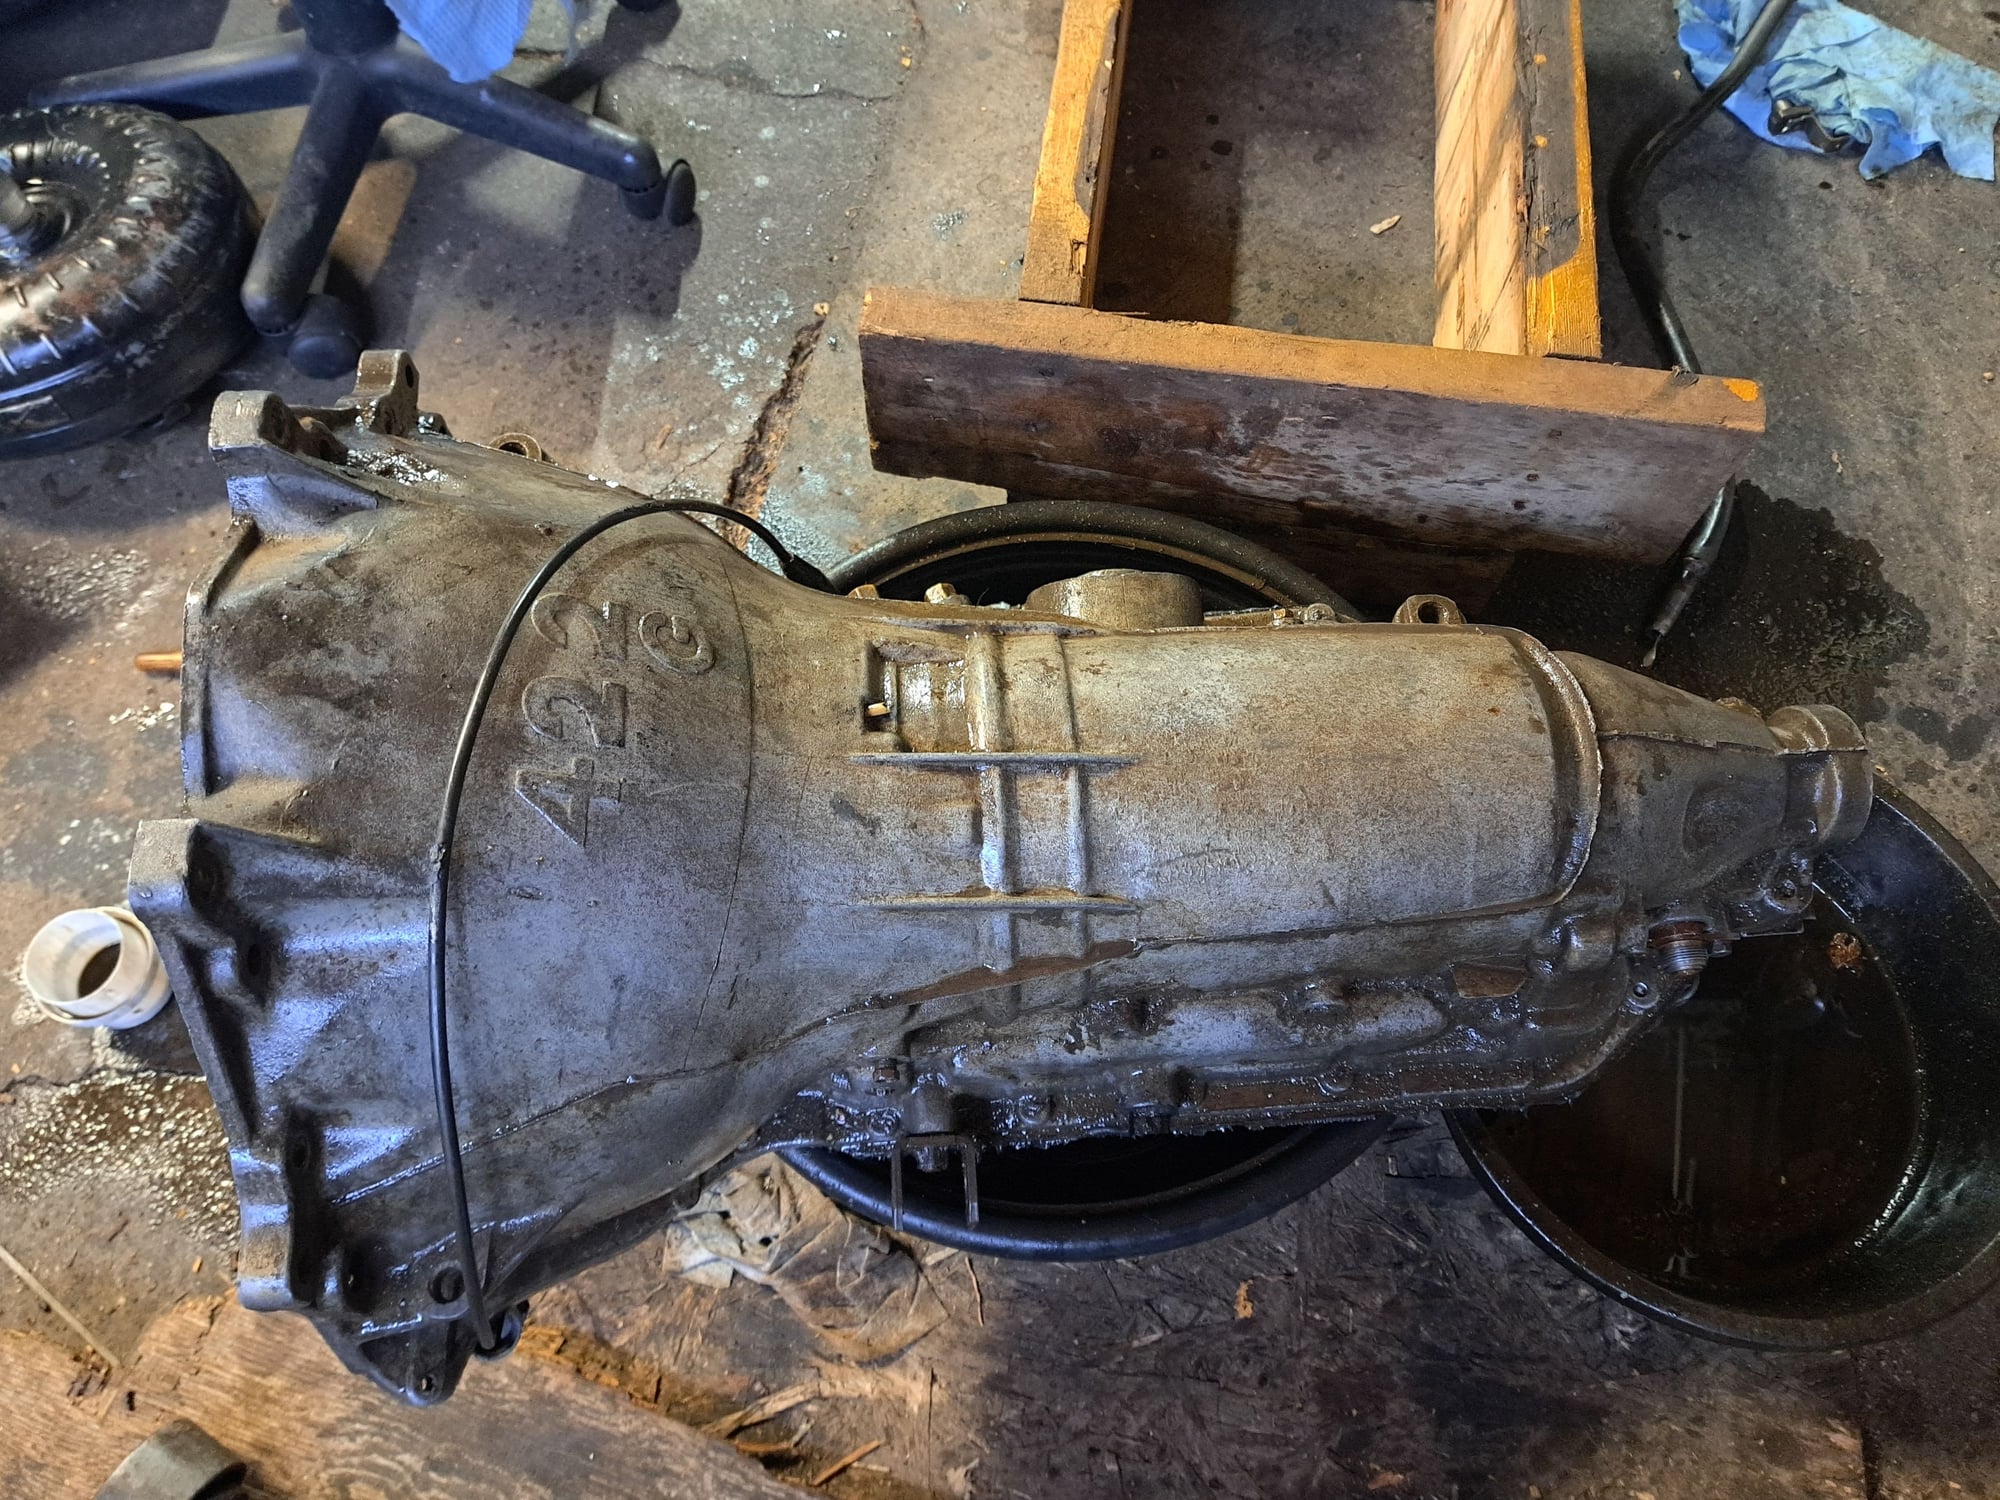
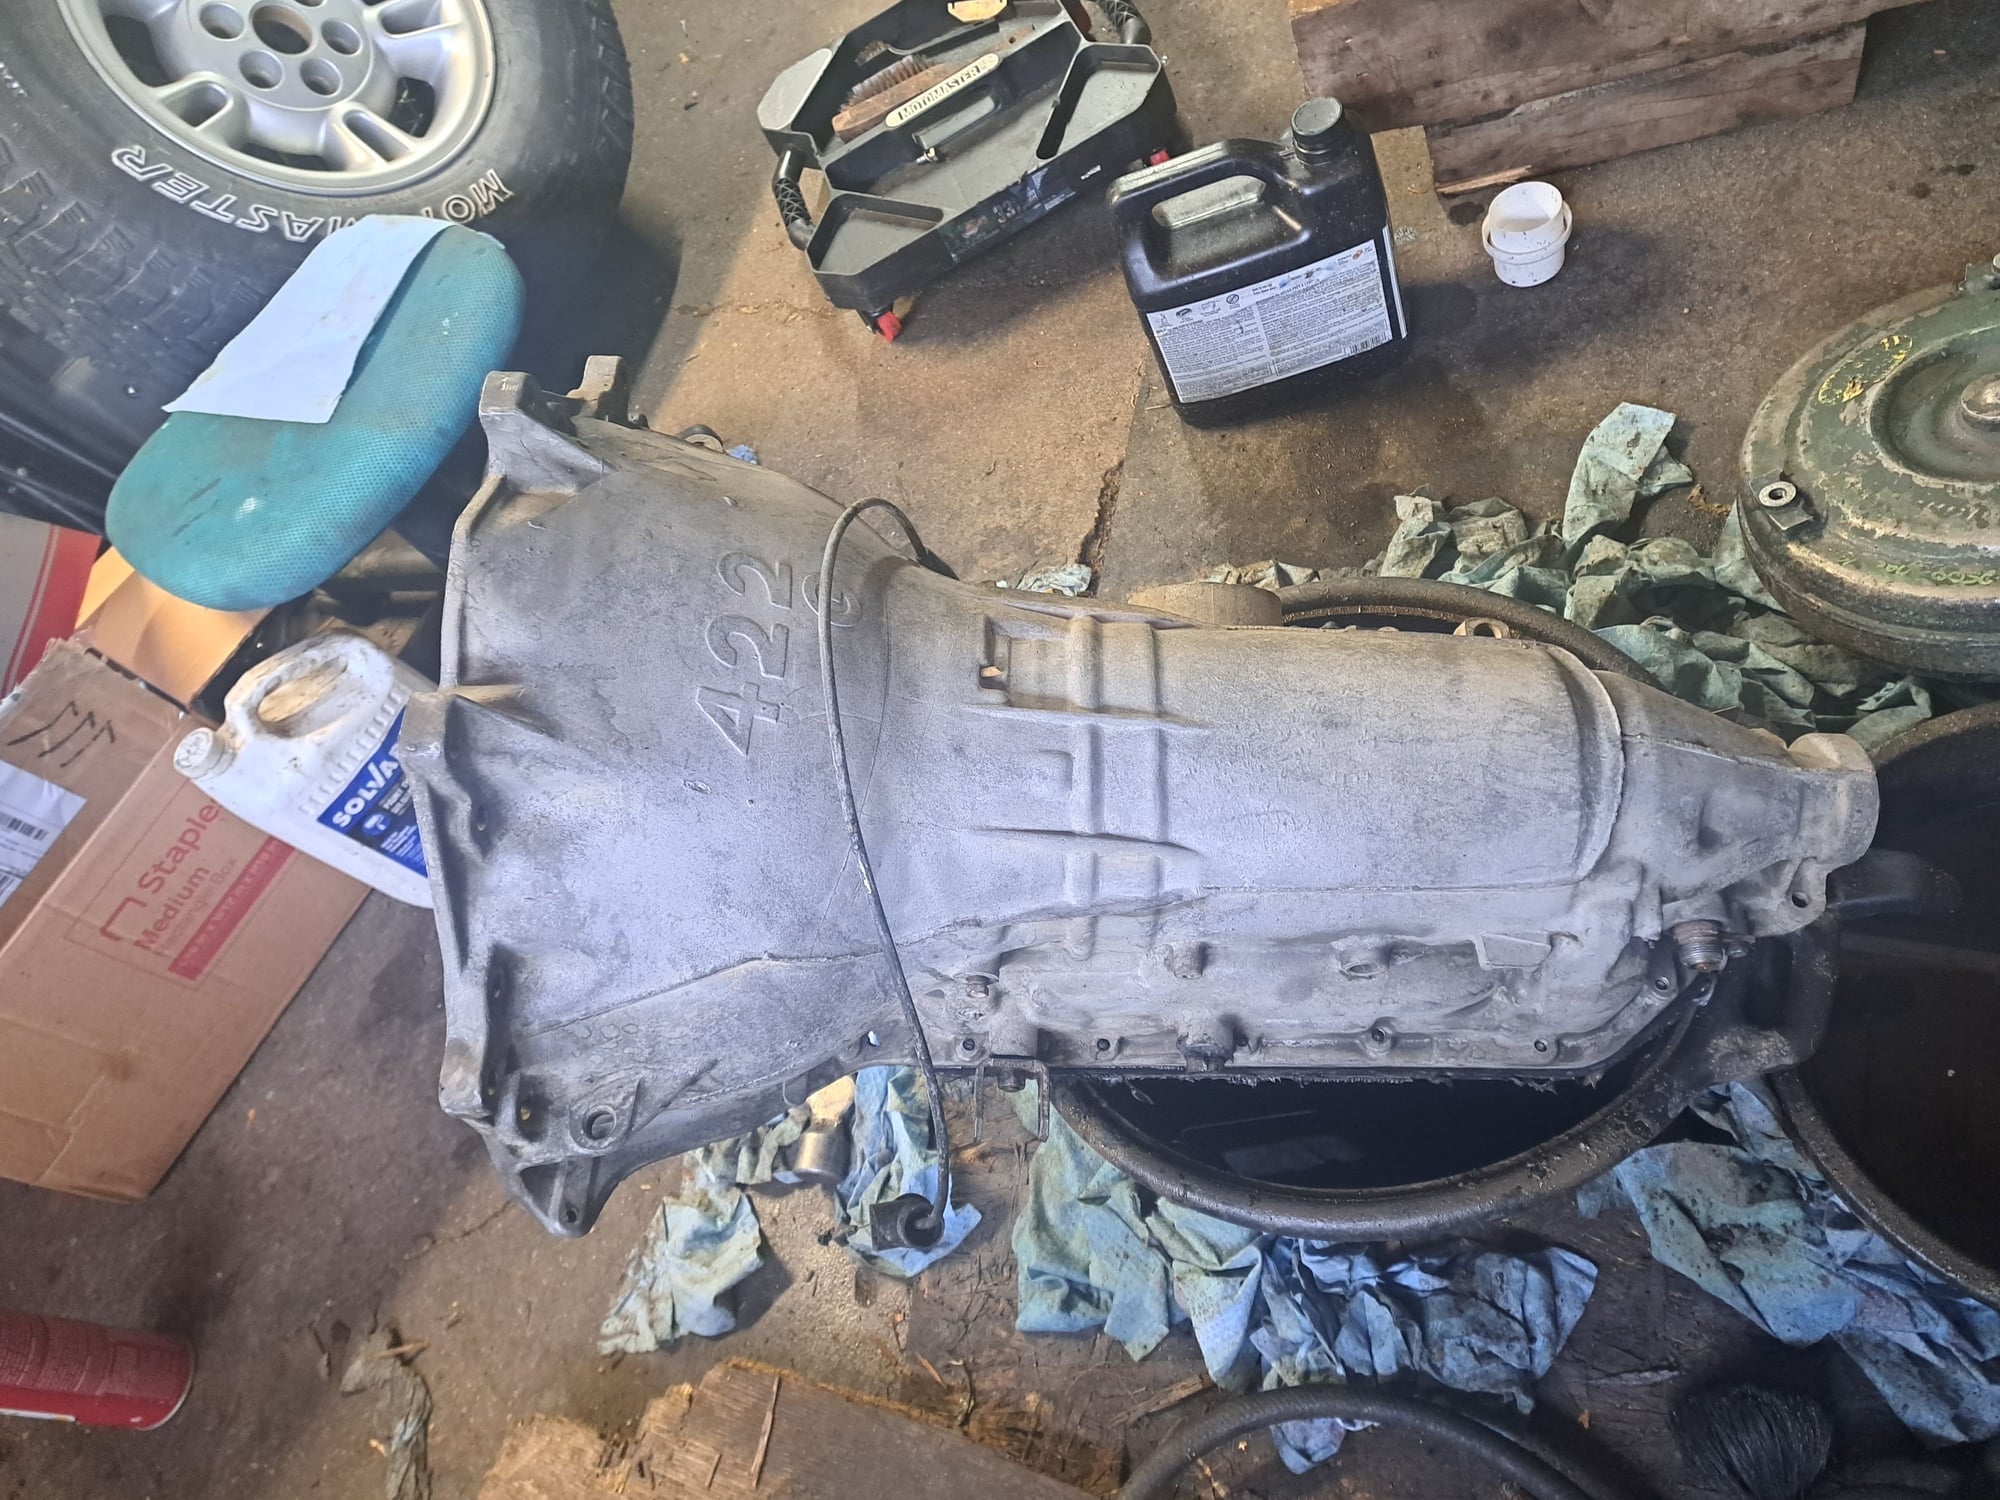
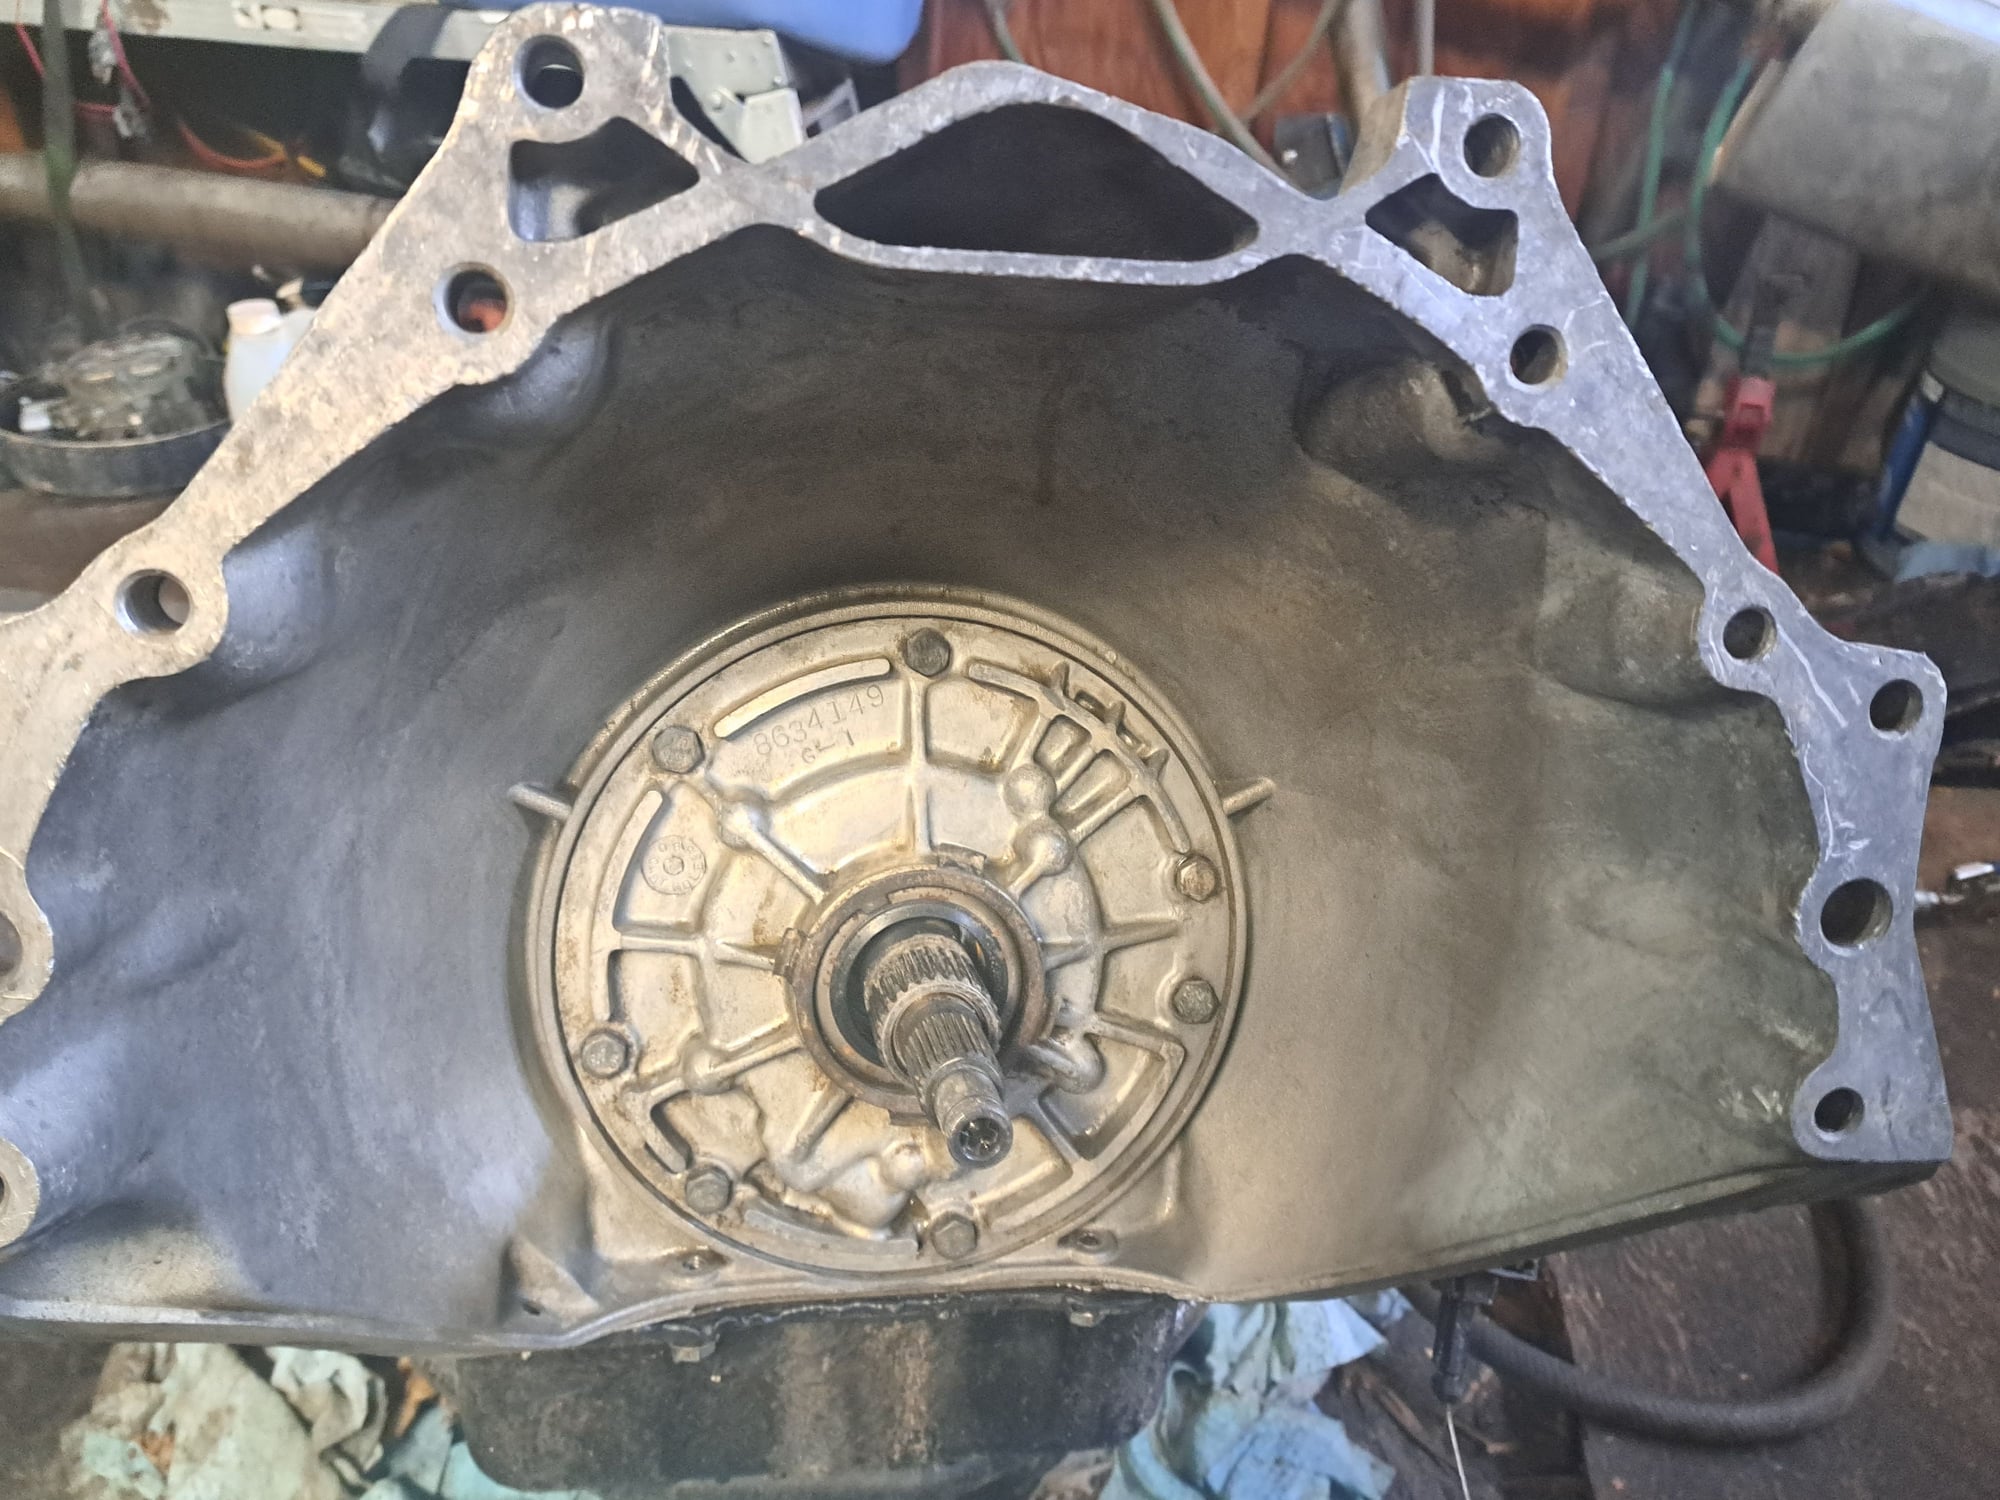
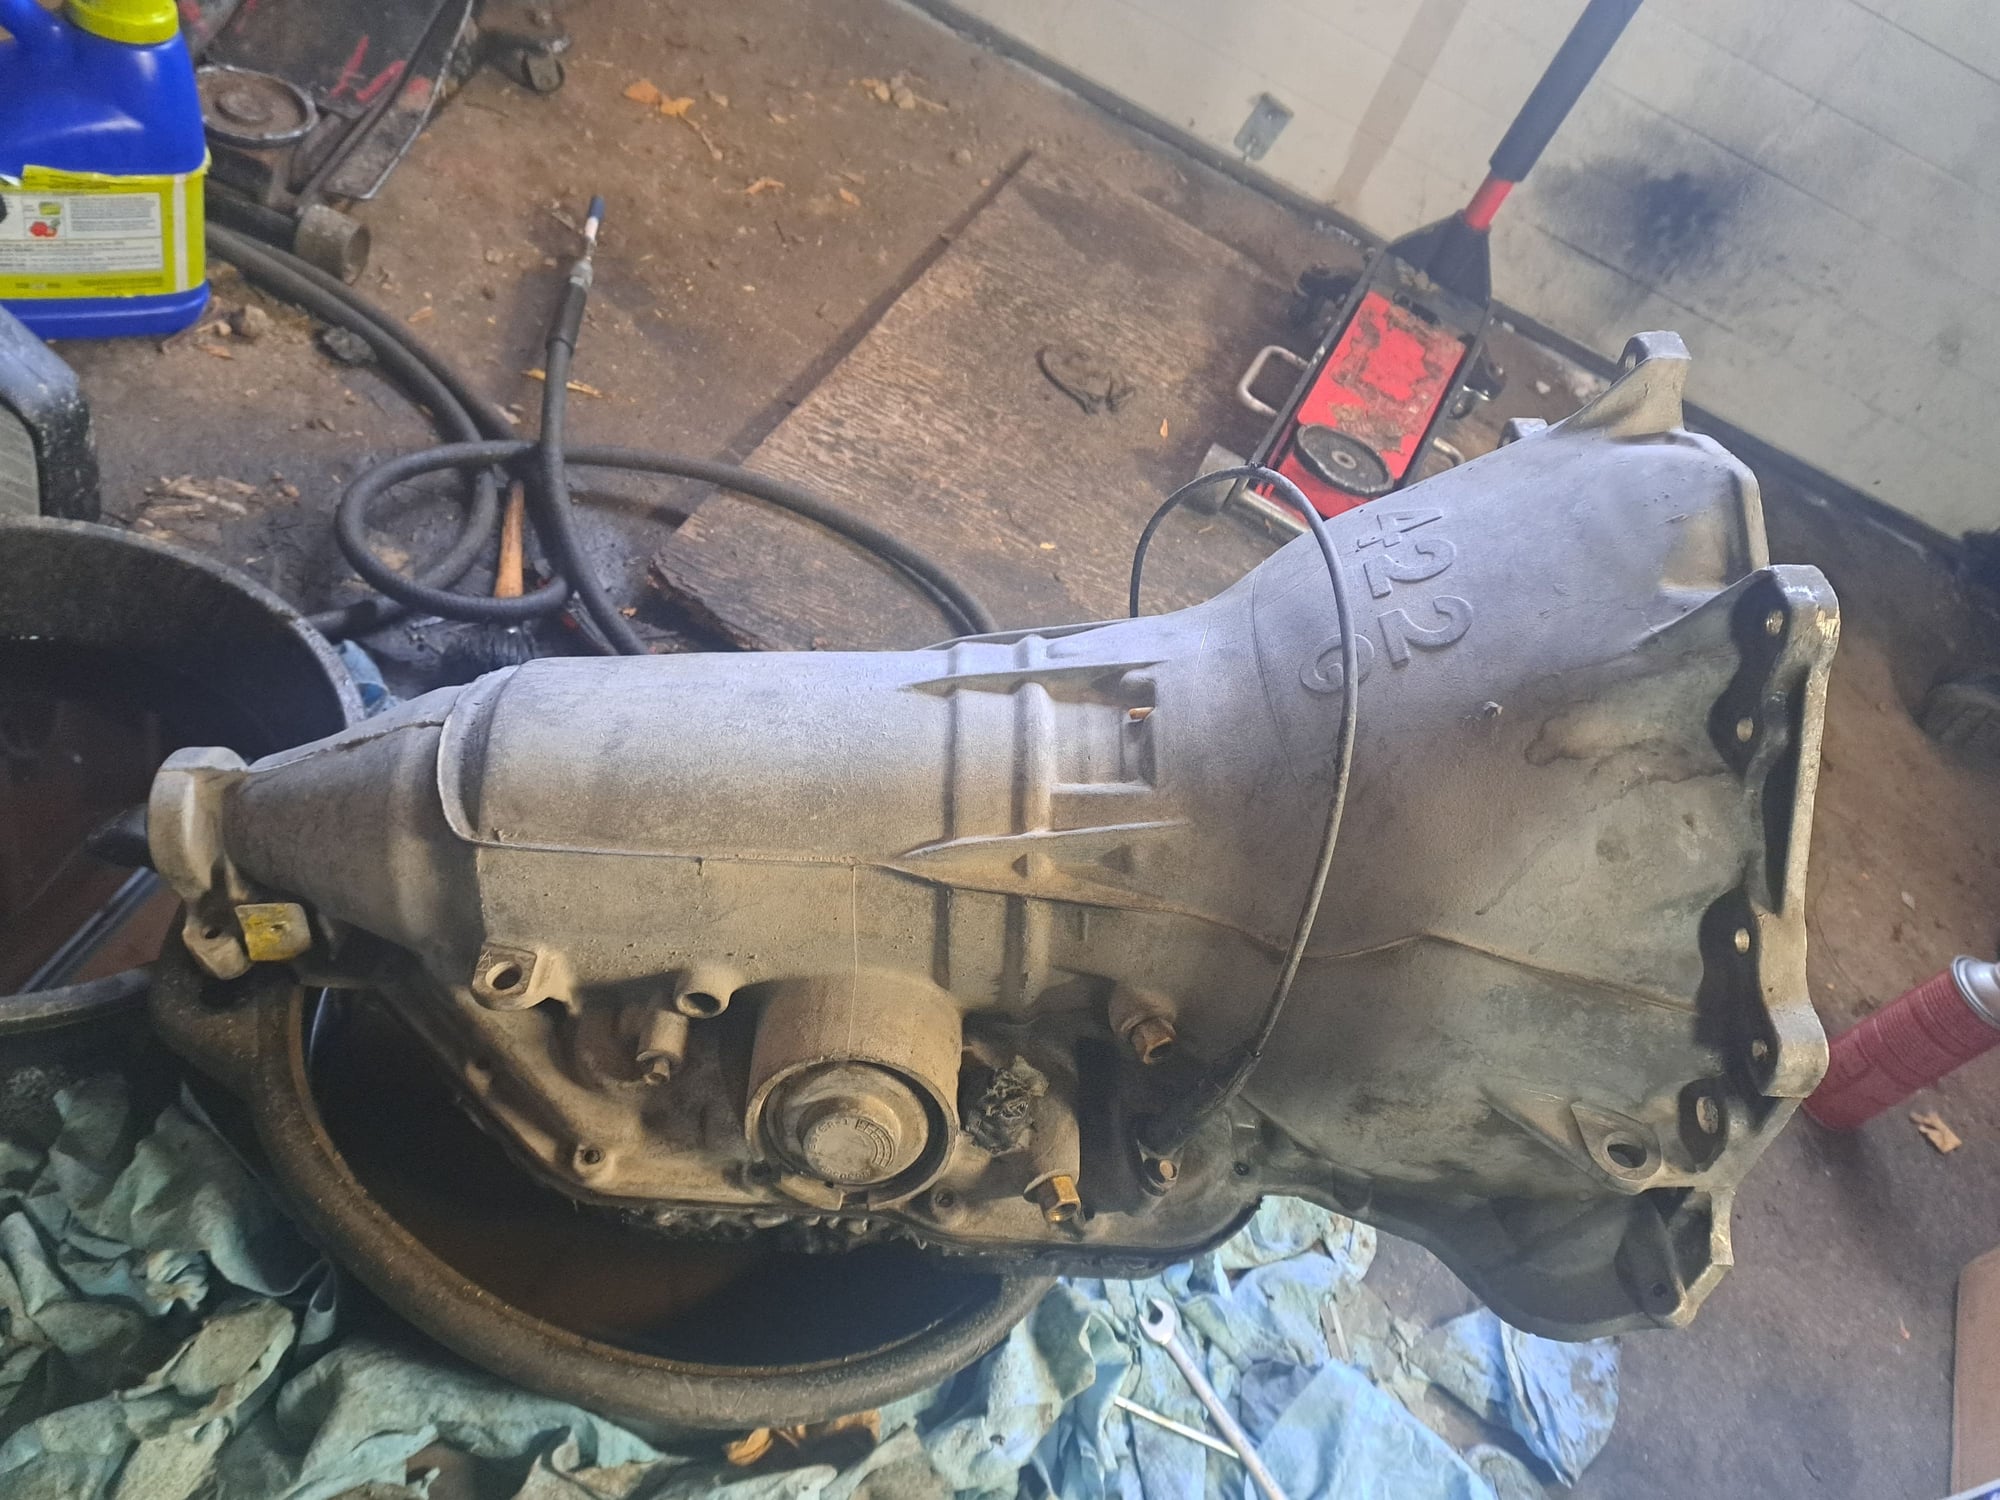
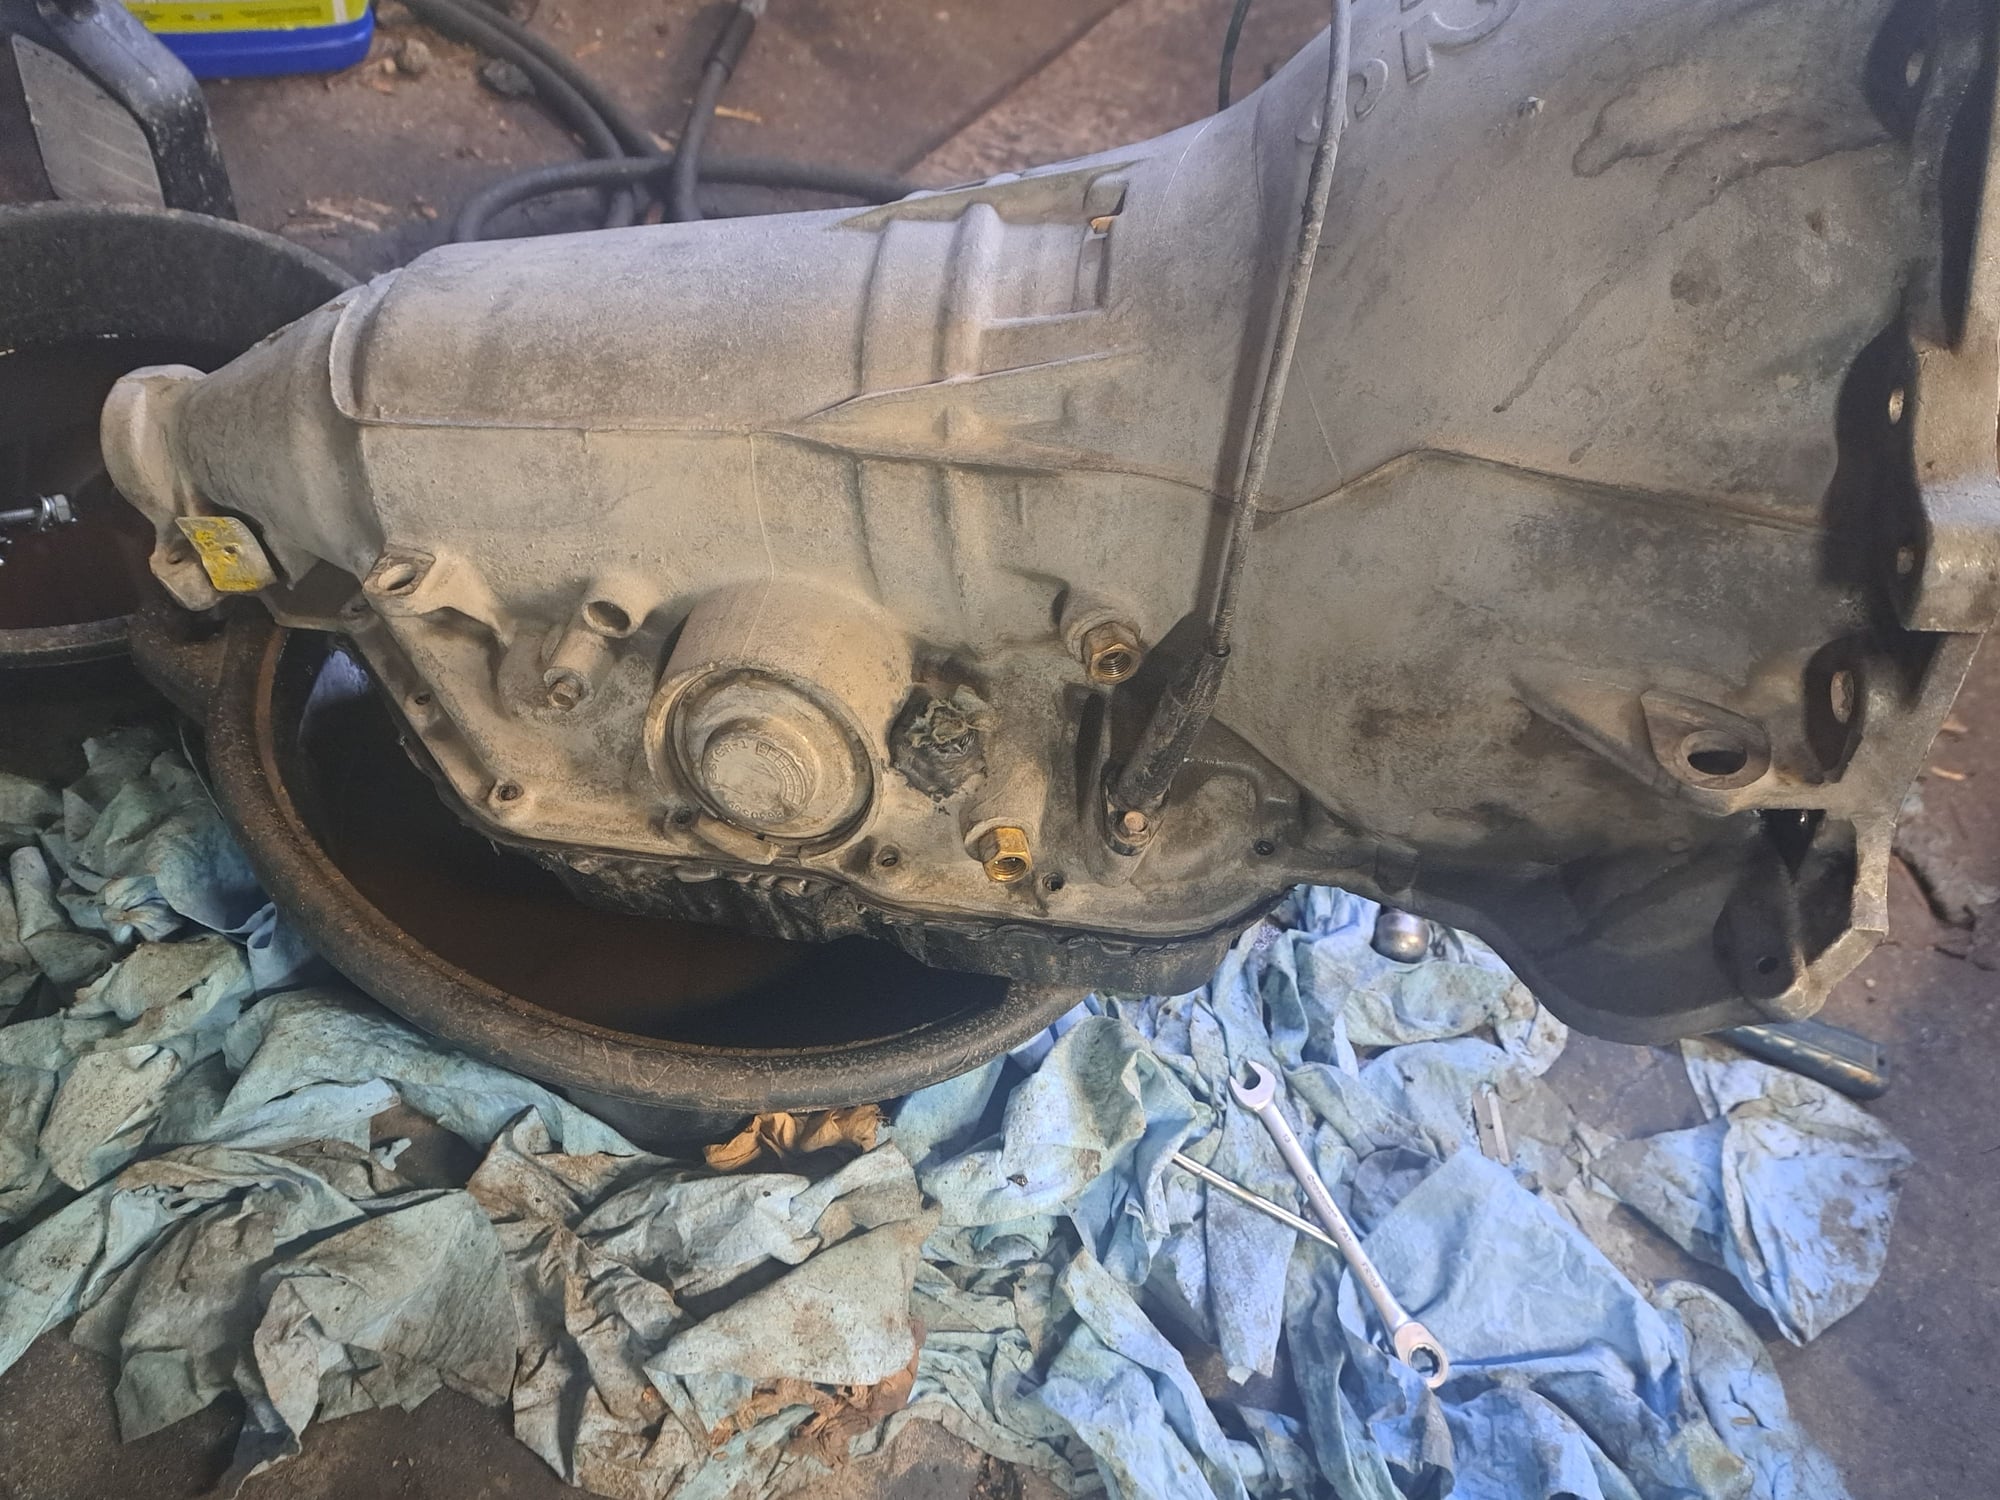
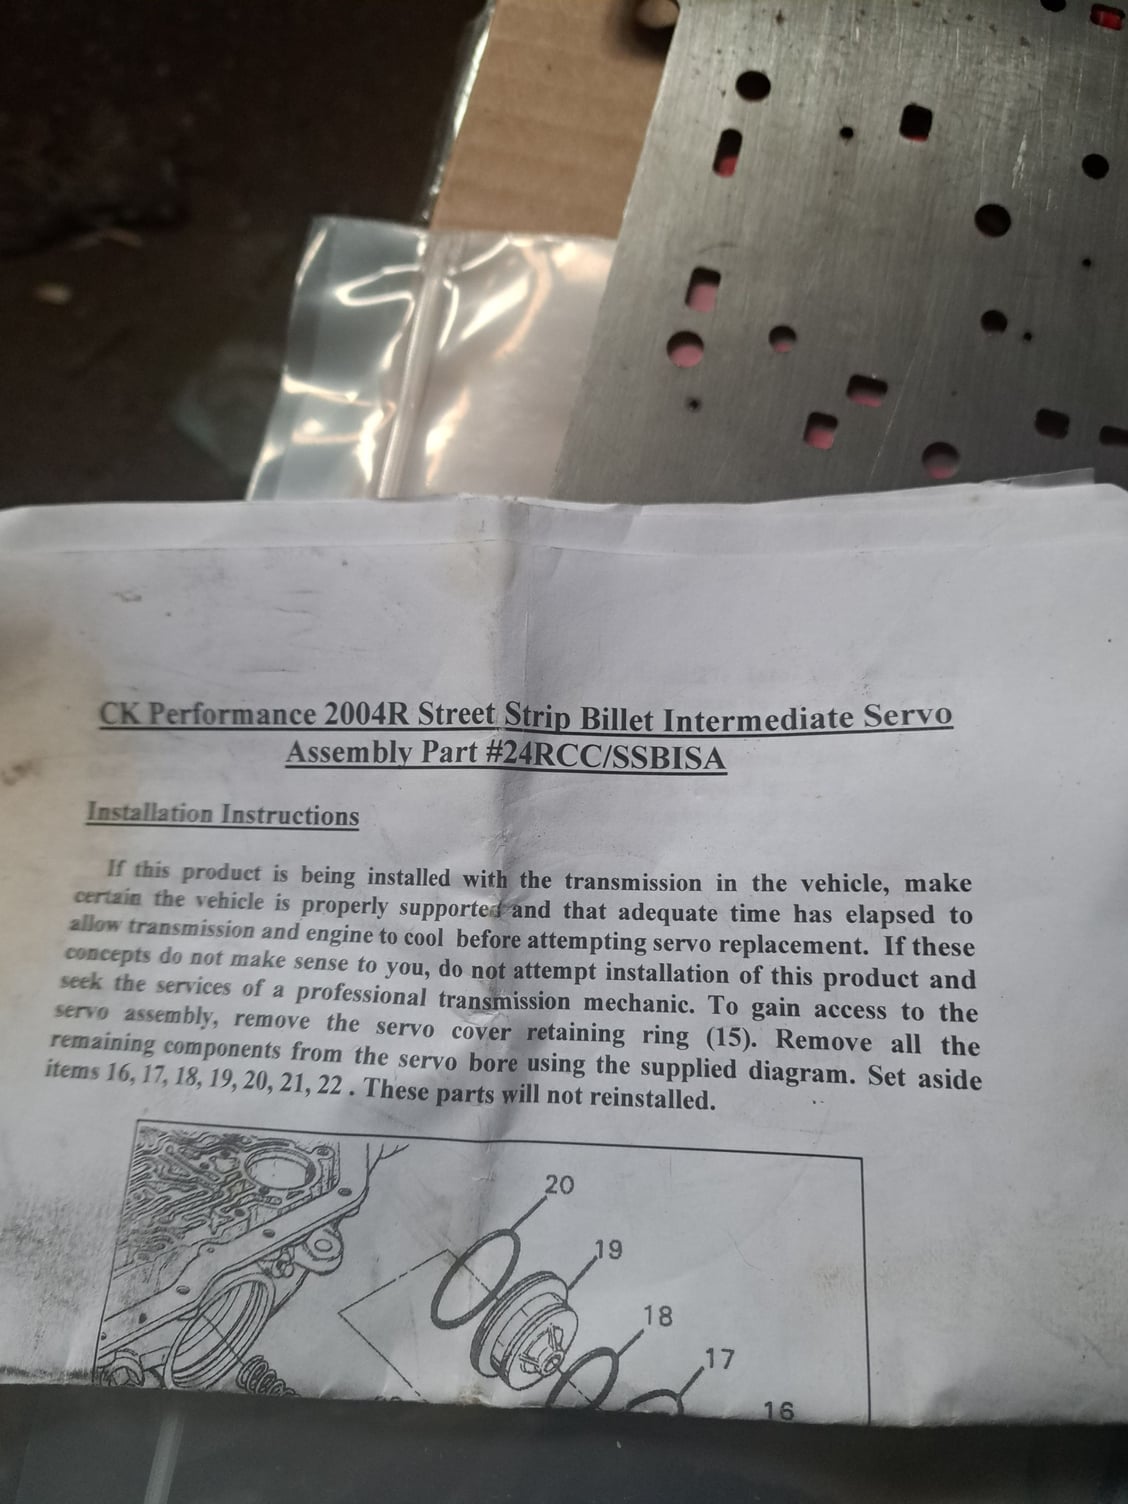
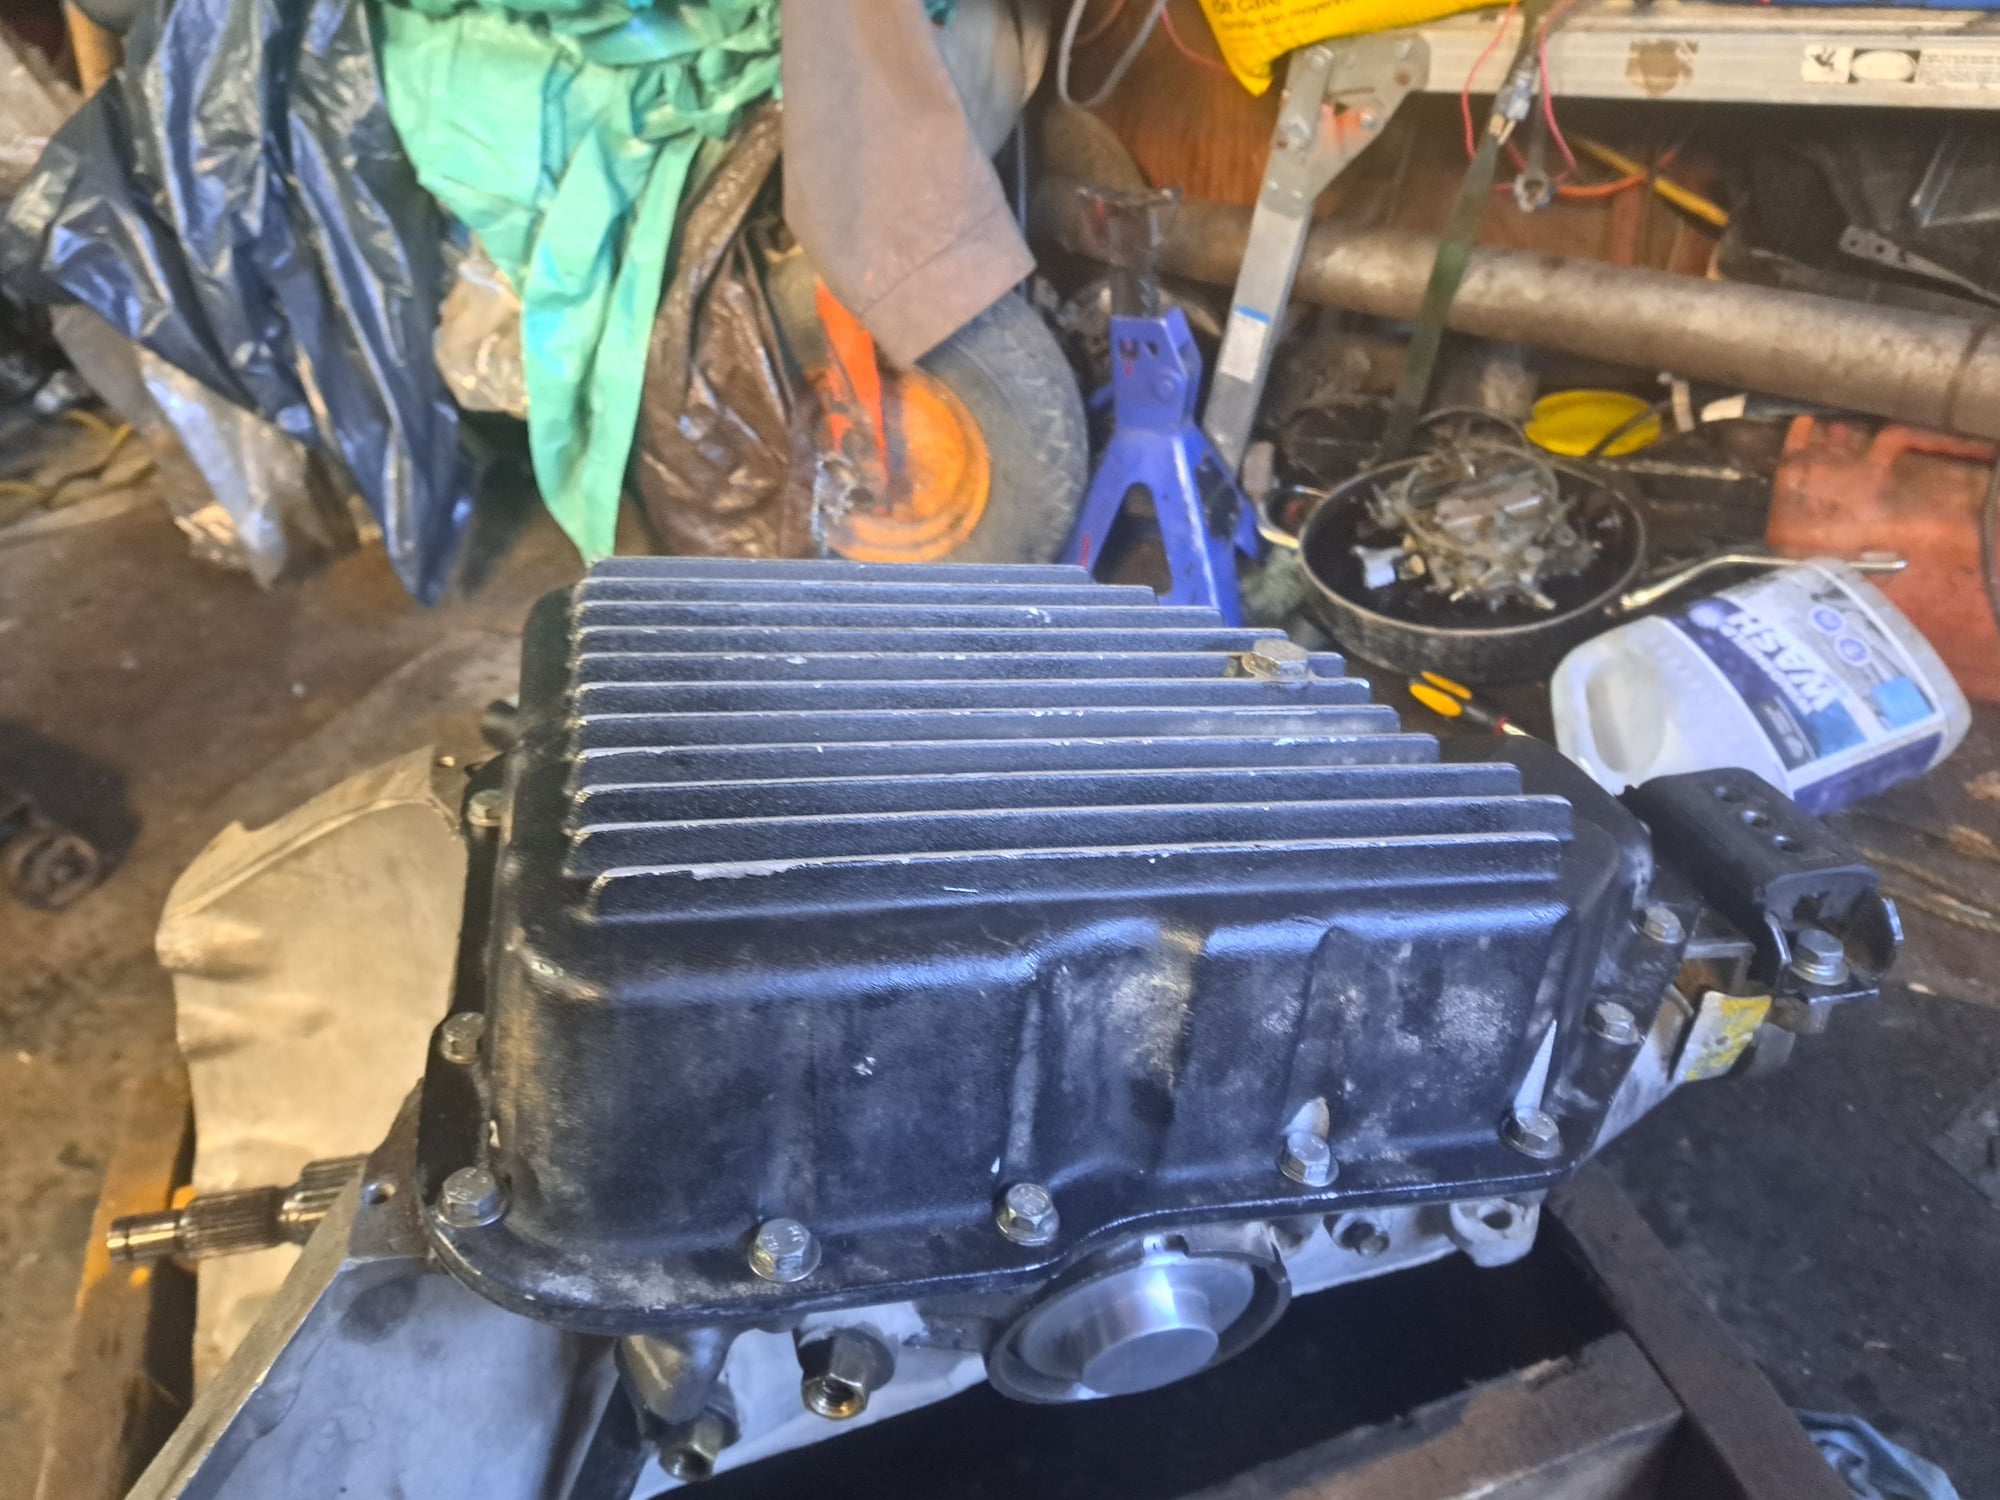
So the 2004R was a bit greasy, mostly gravel and grease. We have many unpaved roads up here. I just hit it will solvent that Spray Nine Grez-Off, using a screw driver in crevices, a parts cleaning brush and brass bristle brush on the outside of the case. Then compressed air and CRC Brake Kleen. The pan is discoloured inside, so even less clutch material than it appears. I was running .555" boost valves from CK in the stock pump, 195ish PSI in foward gears. Hopefully the CK pump puts out 50 psi more. Now ready to start tearing into it!
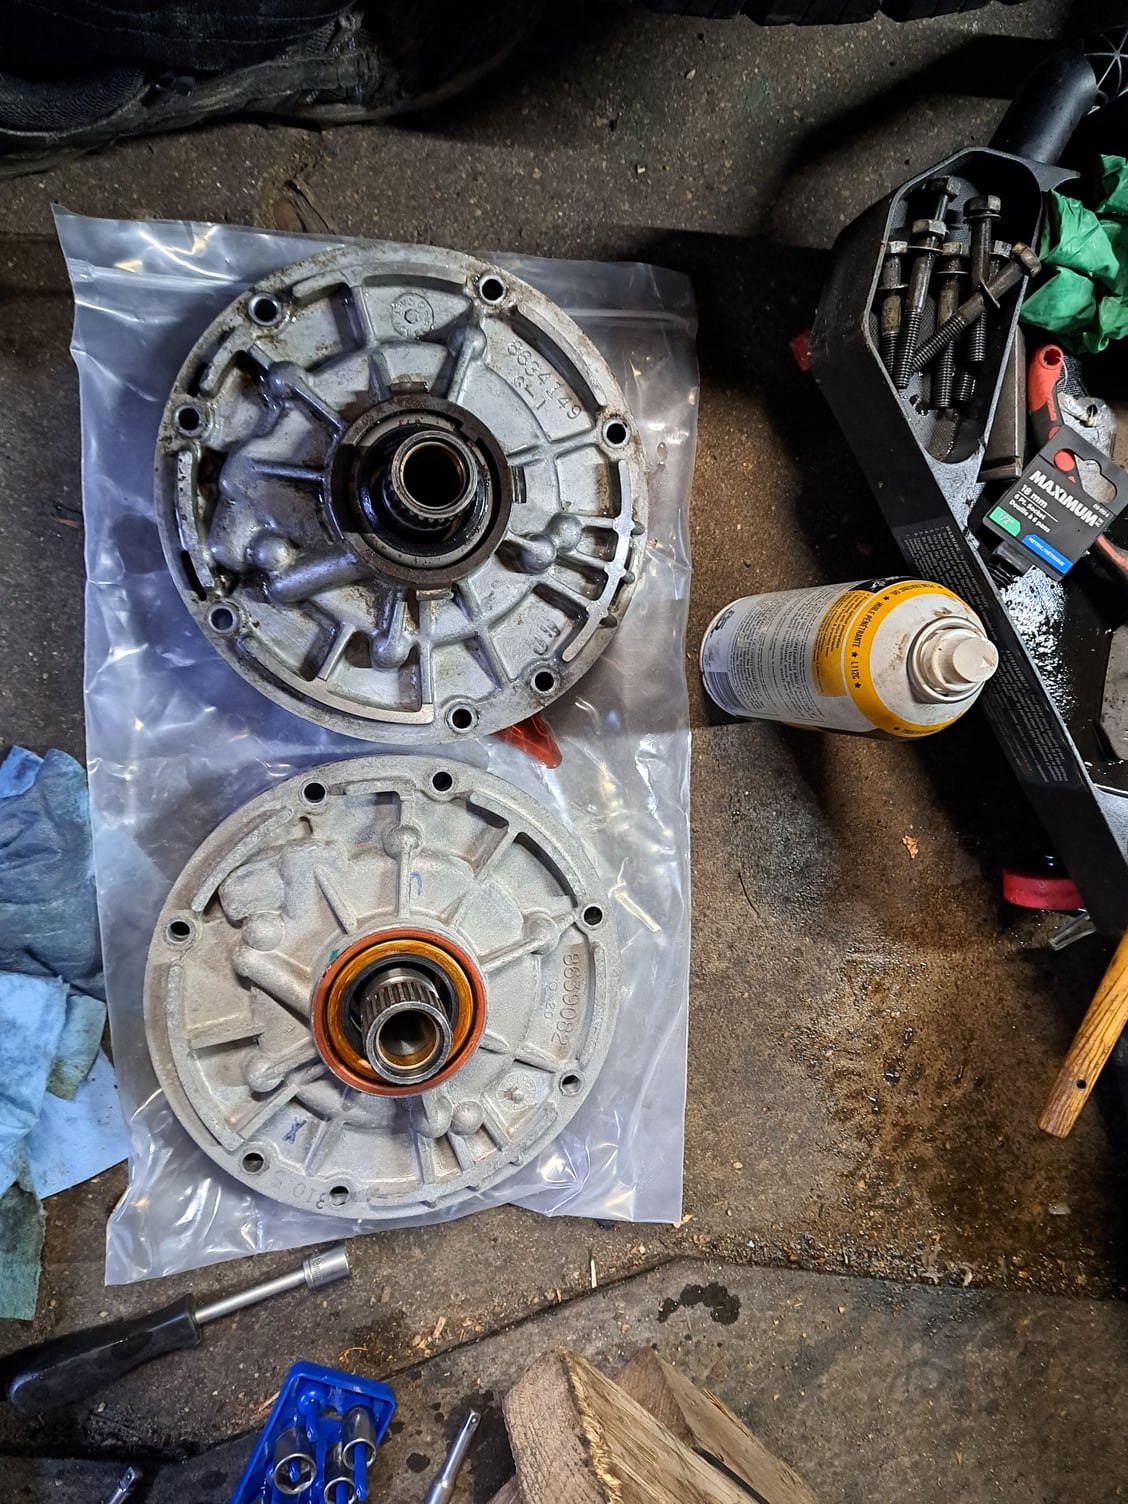
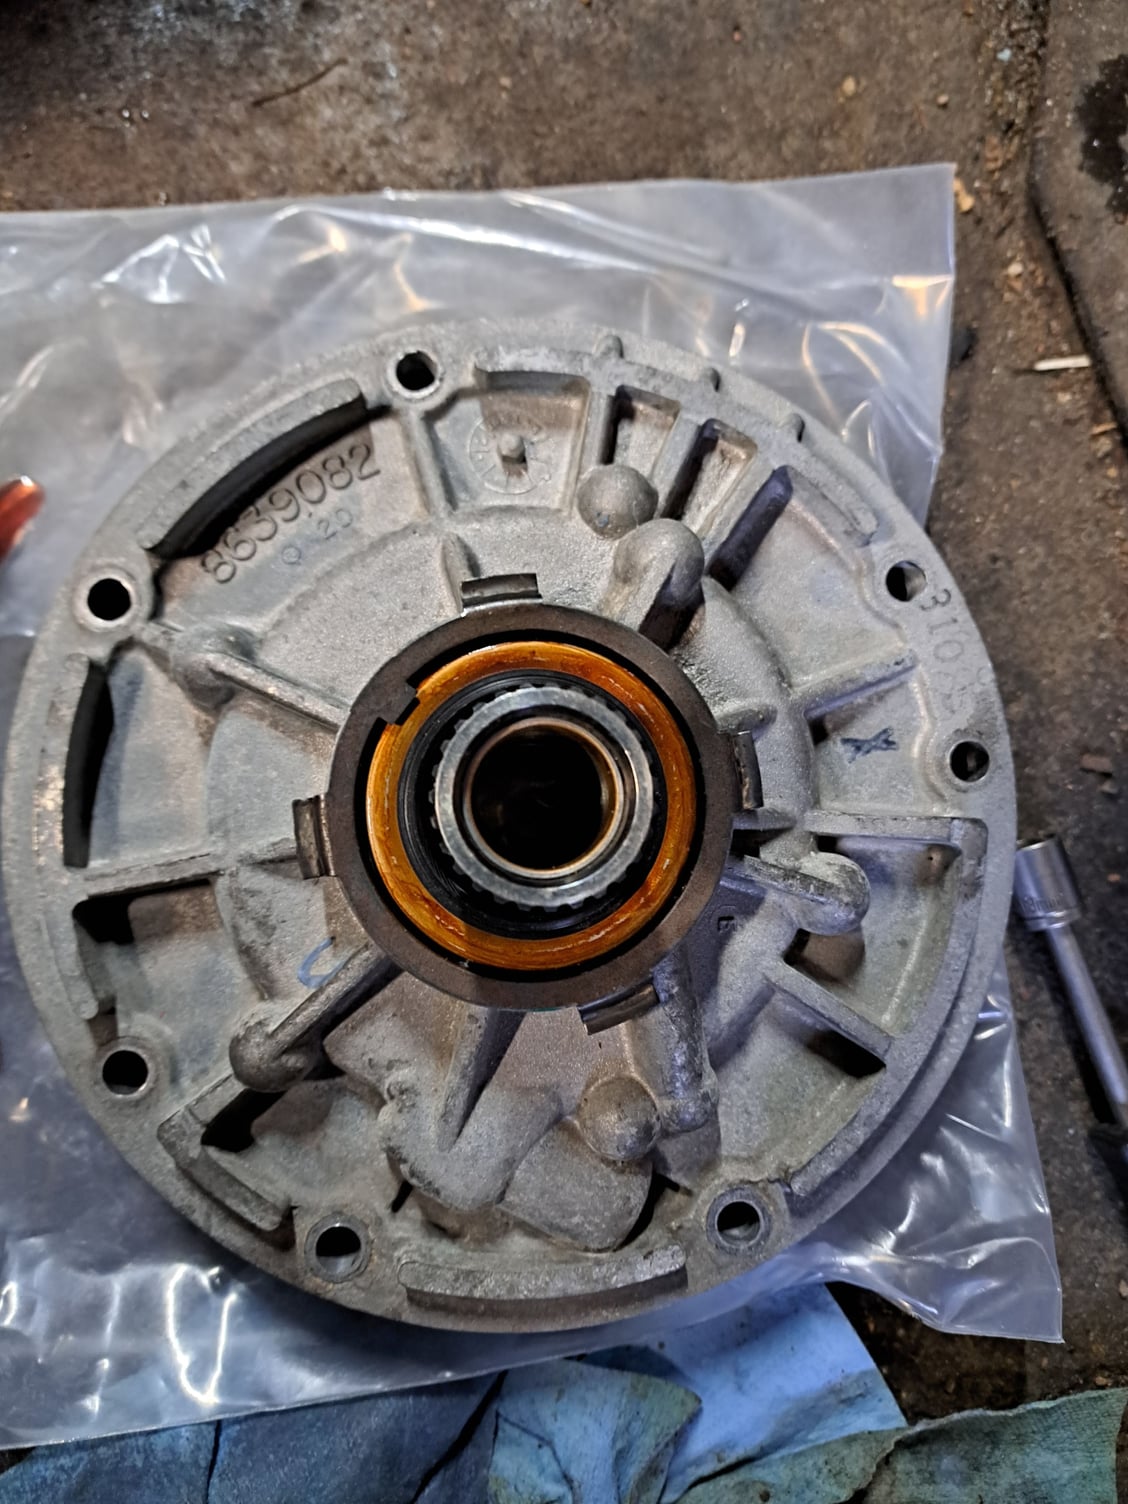
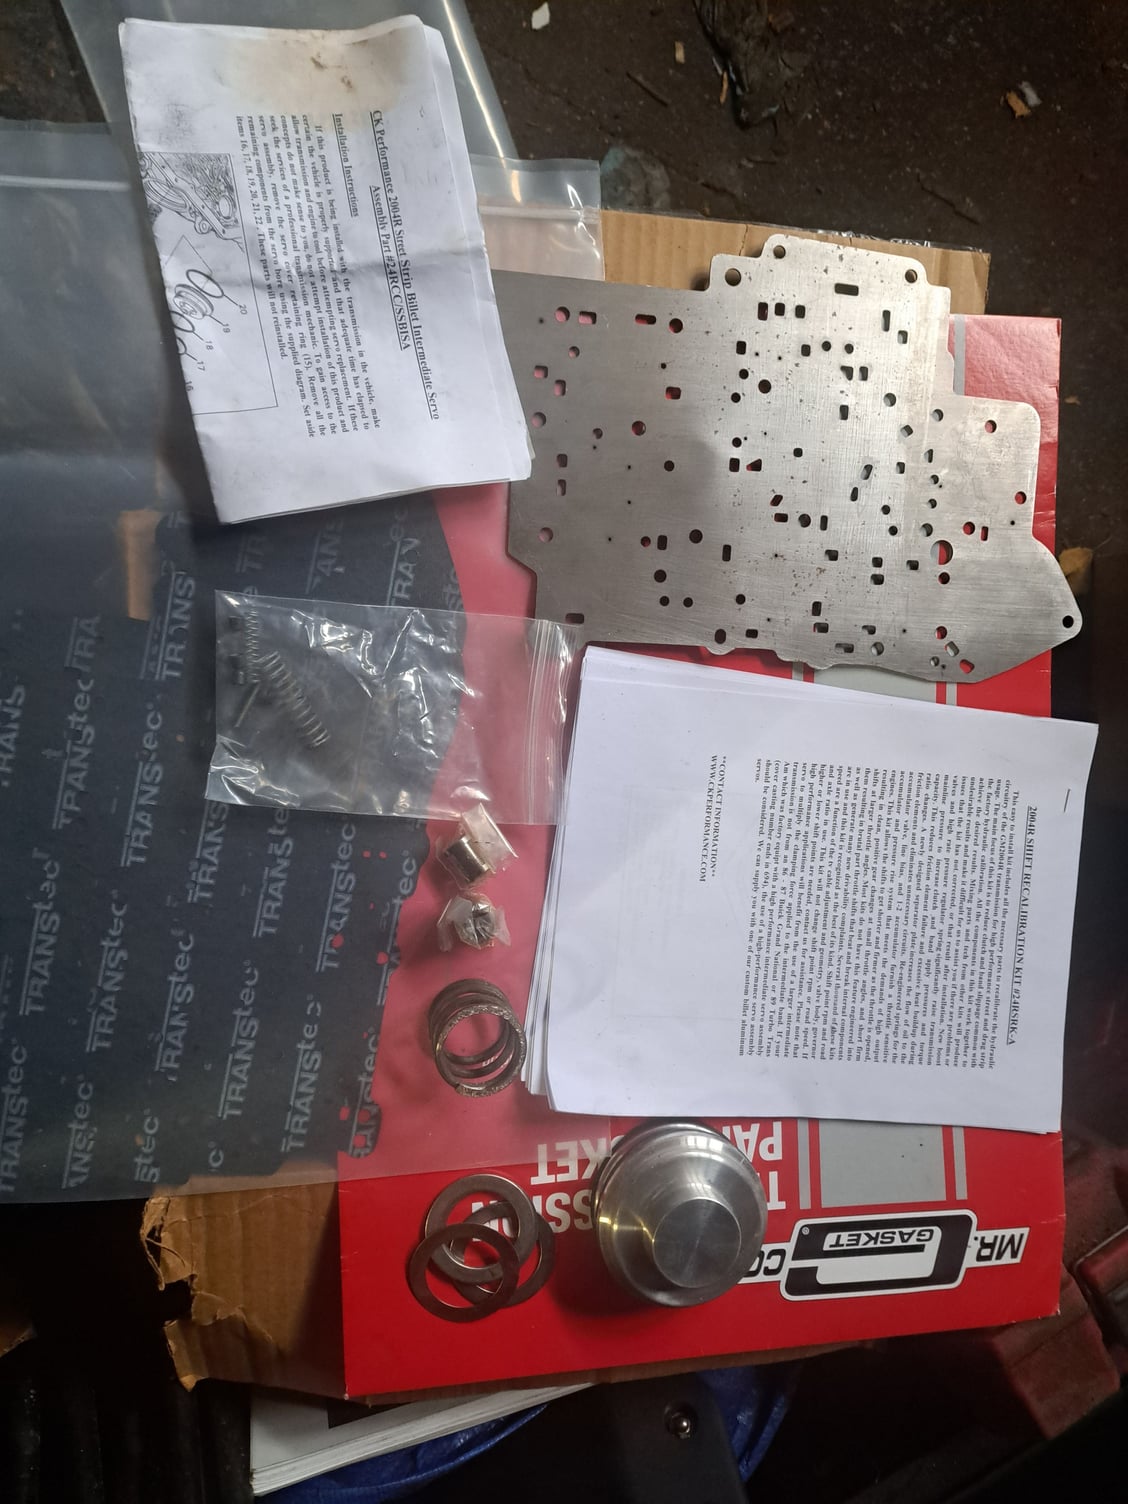
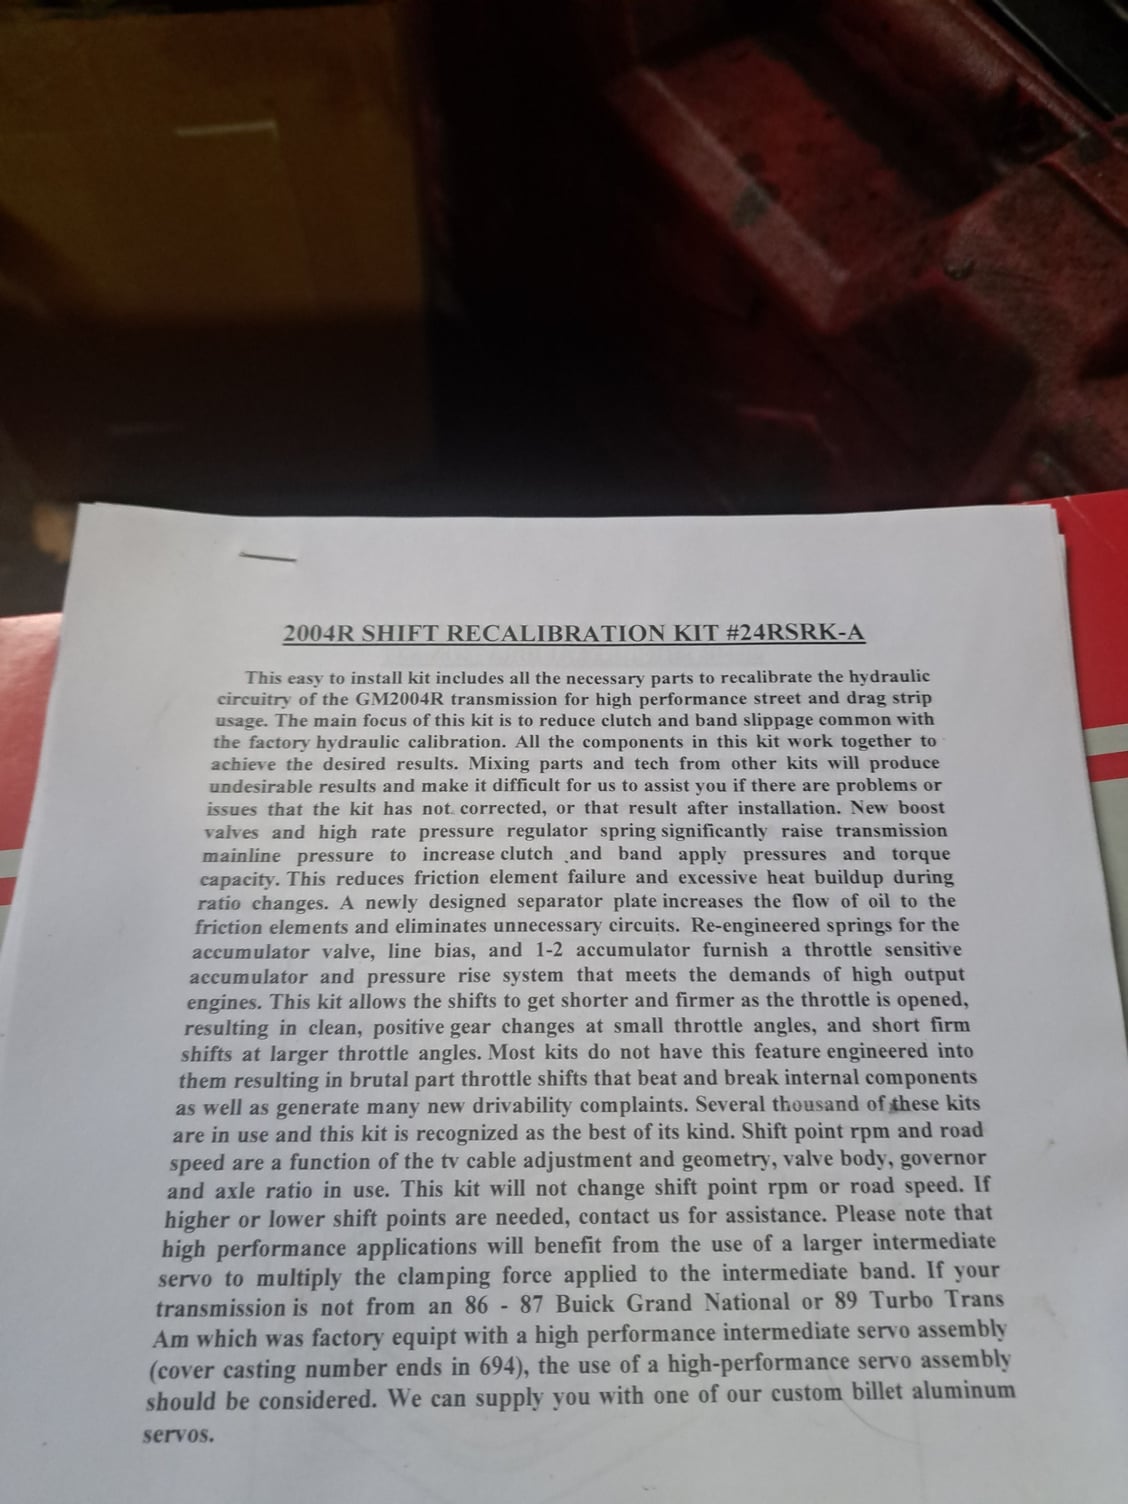
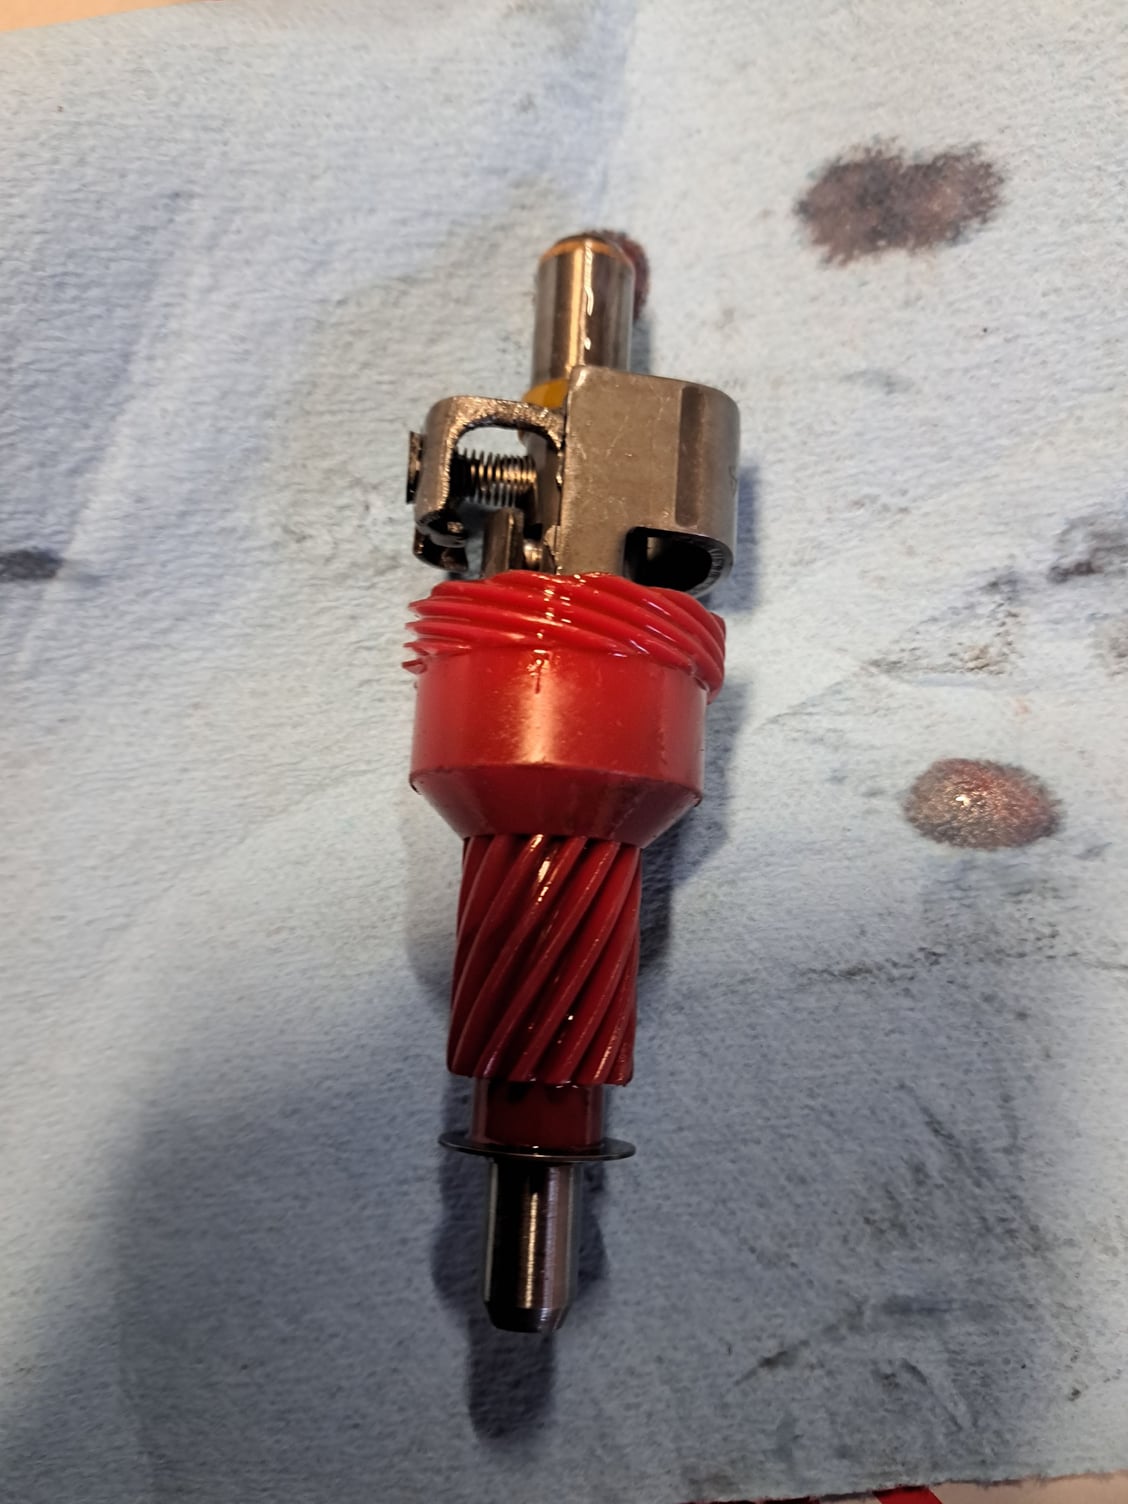
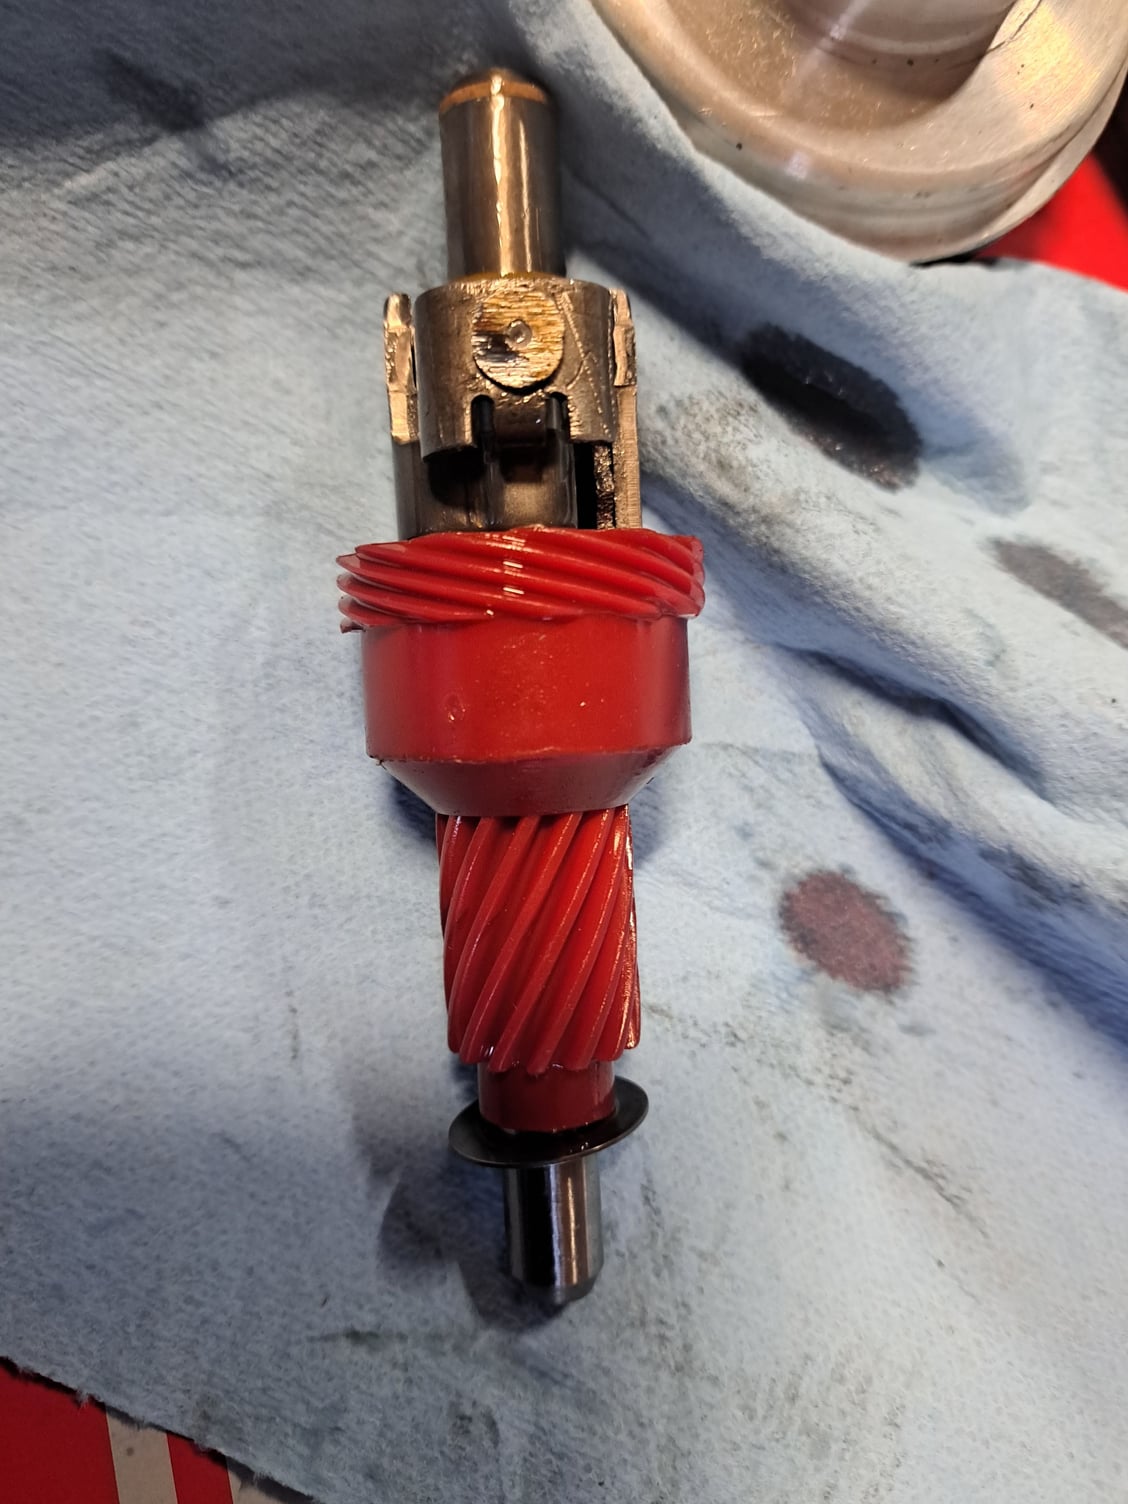
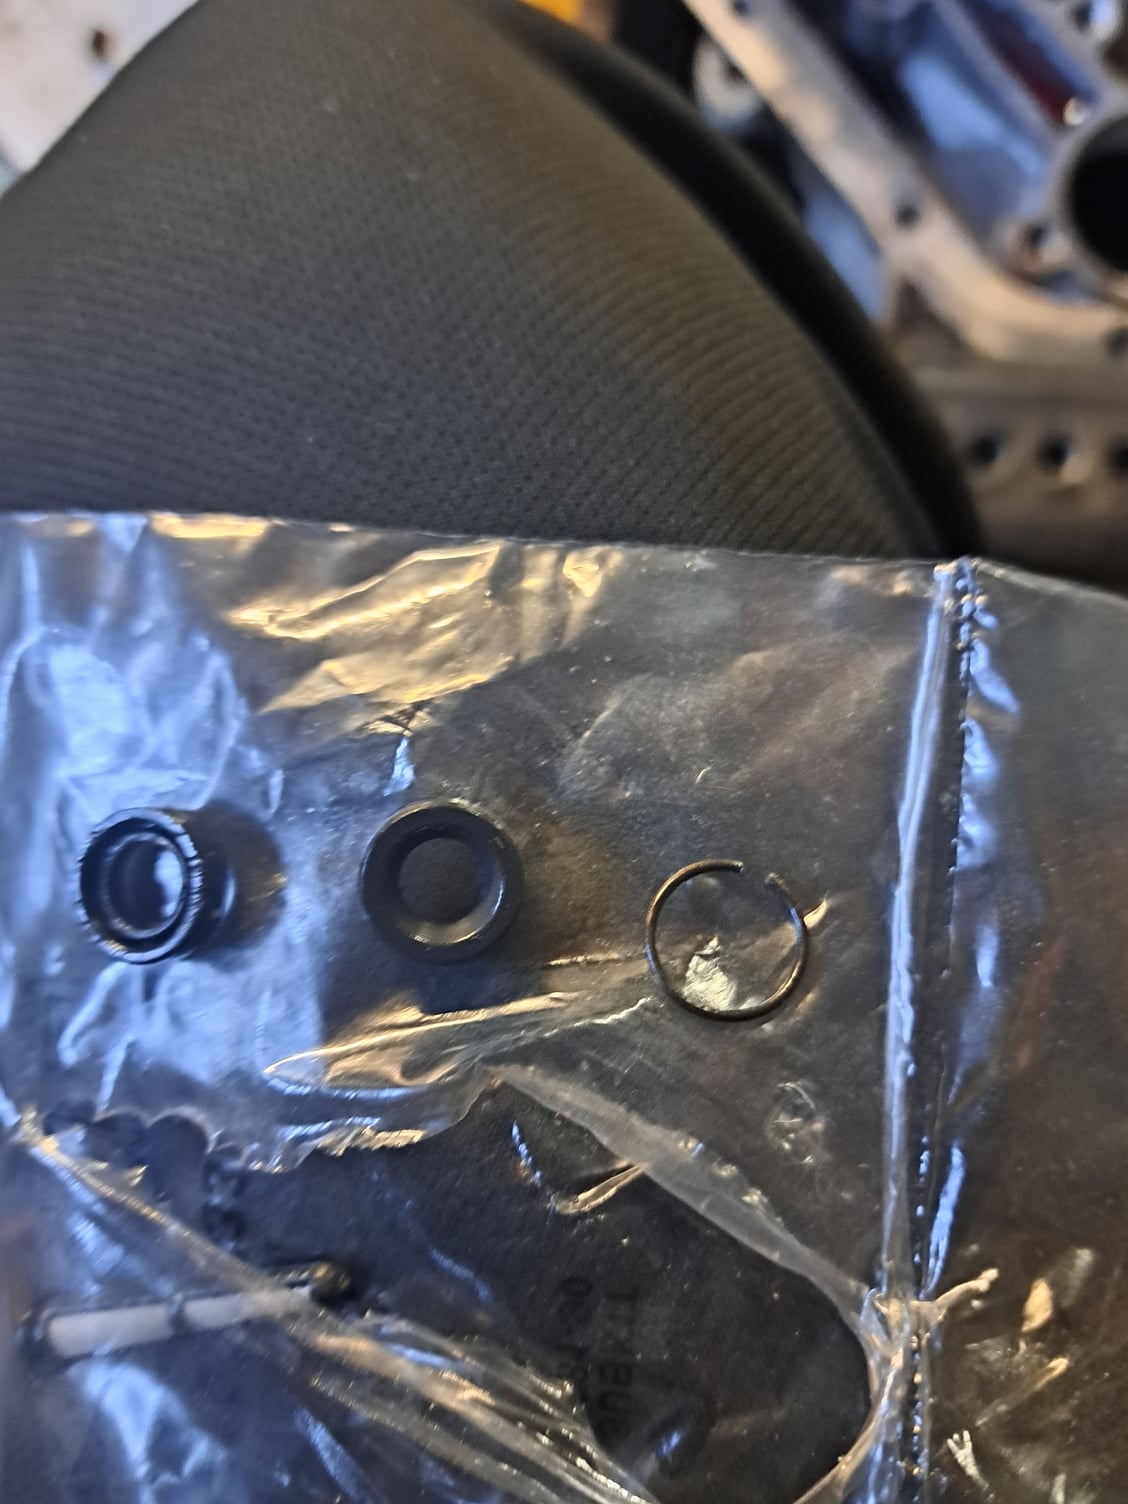
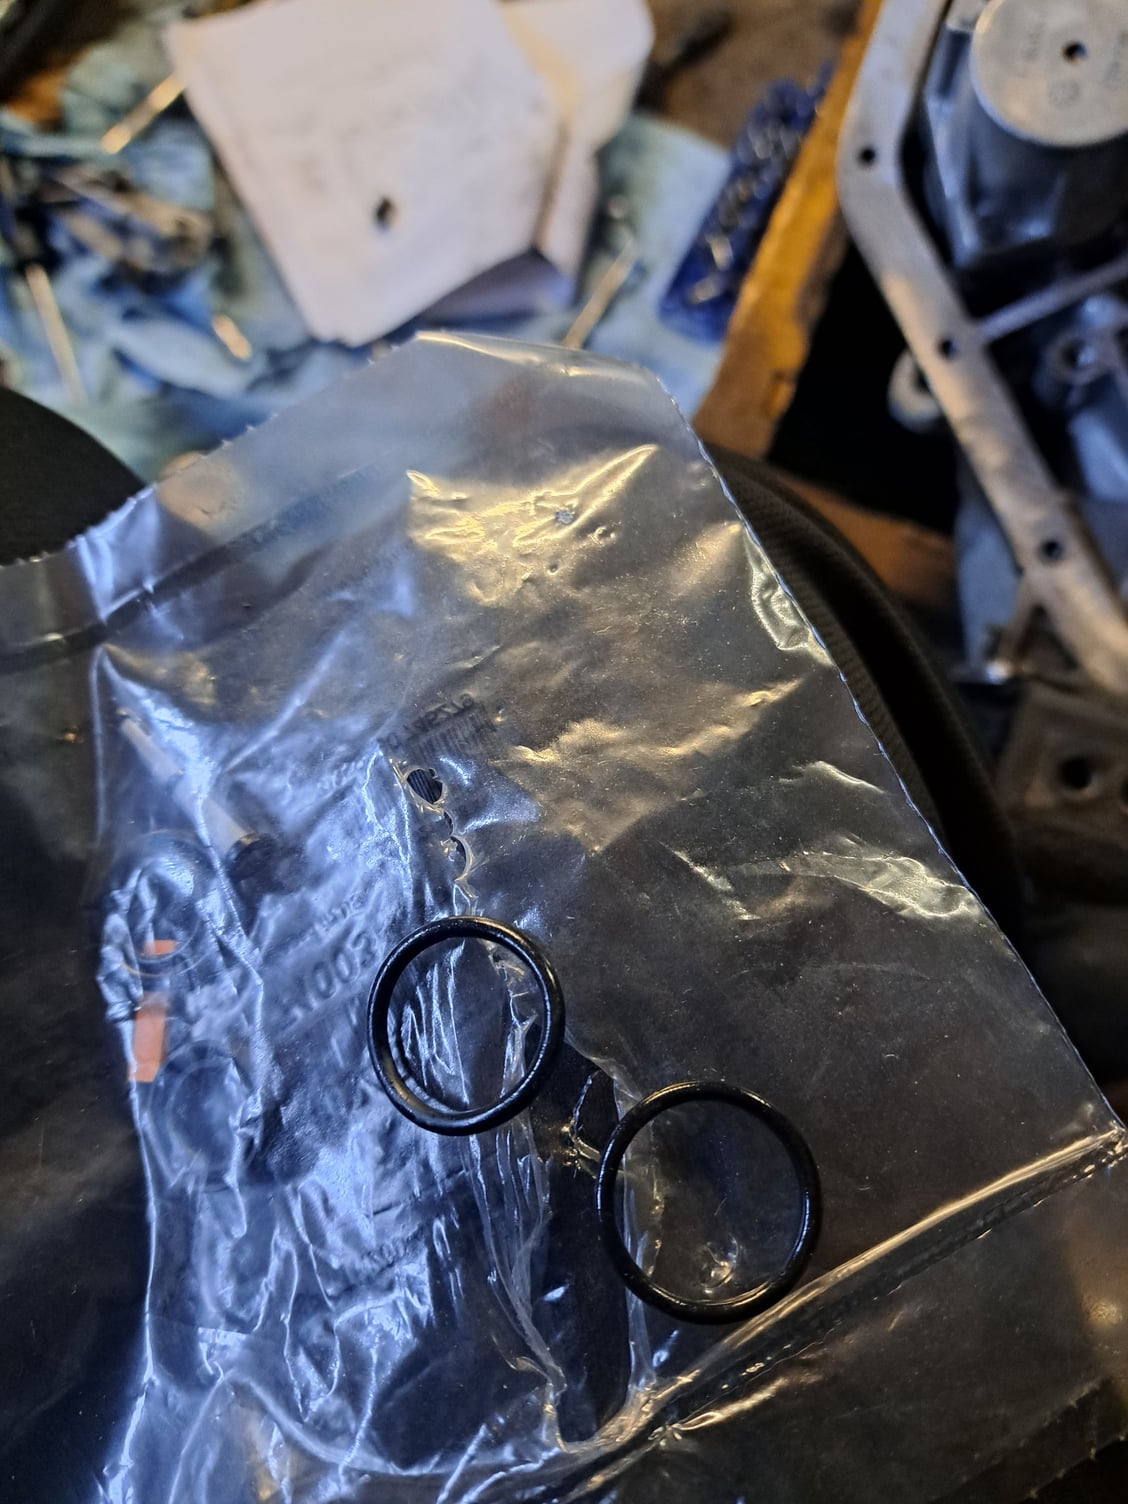
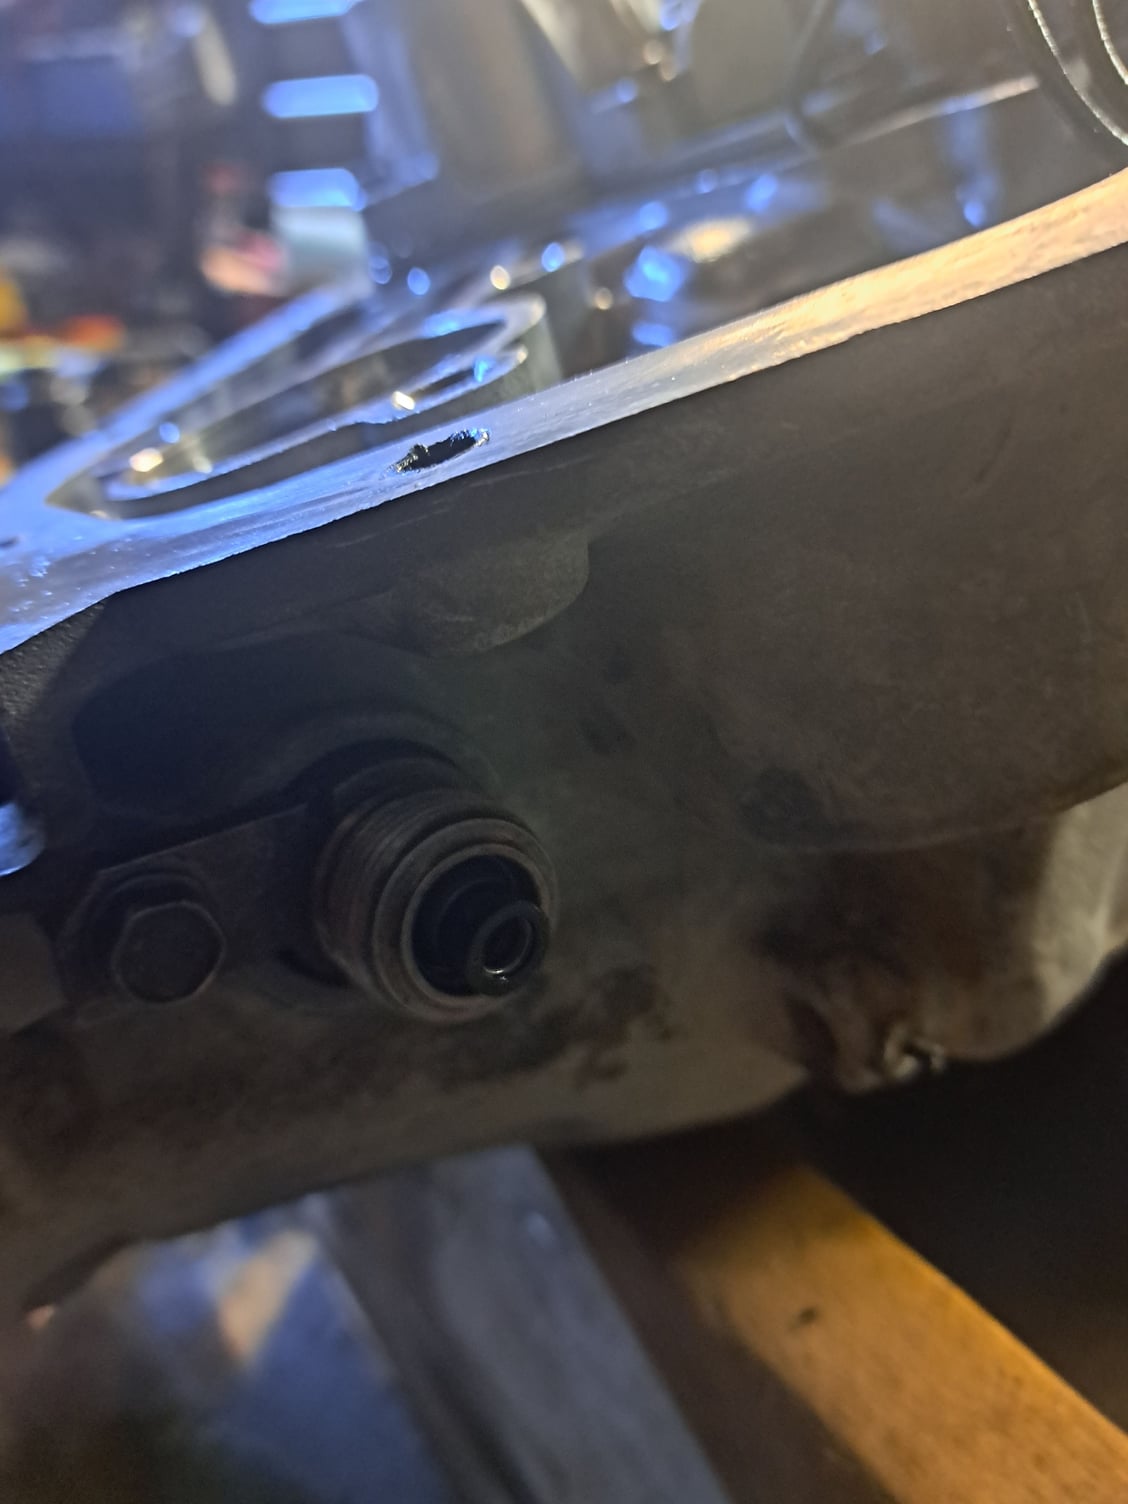
So I got the CK pump installed. I added the seal retainer off the orginal pump. I used Vaseline to lube the O ring around the pump plus position and hold the plastic washer behind the pump. I started installing the CK Performance shift kit. It has very few parts. Basically a new line bias and accumulator spring. Plus the removal 3-2 control valve spring, a cup plug takes its place at the opposite end. I also plugged both ports the accumulators as instructed and have removed all parts of the accumulators per the instructions. Only the 3-4 is removed on lower output motors. I plan on using a 1/8" bit, .125" to drill the seperator plates, good for 350 HP. The 9/64", .146" is a bit bigger than .140" recommended for 400+ HP per the instructions.
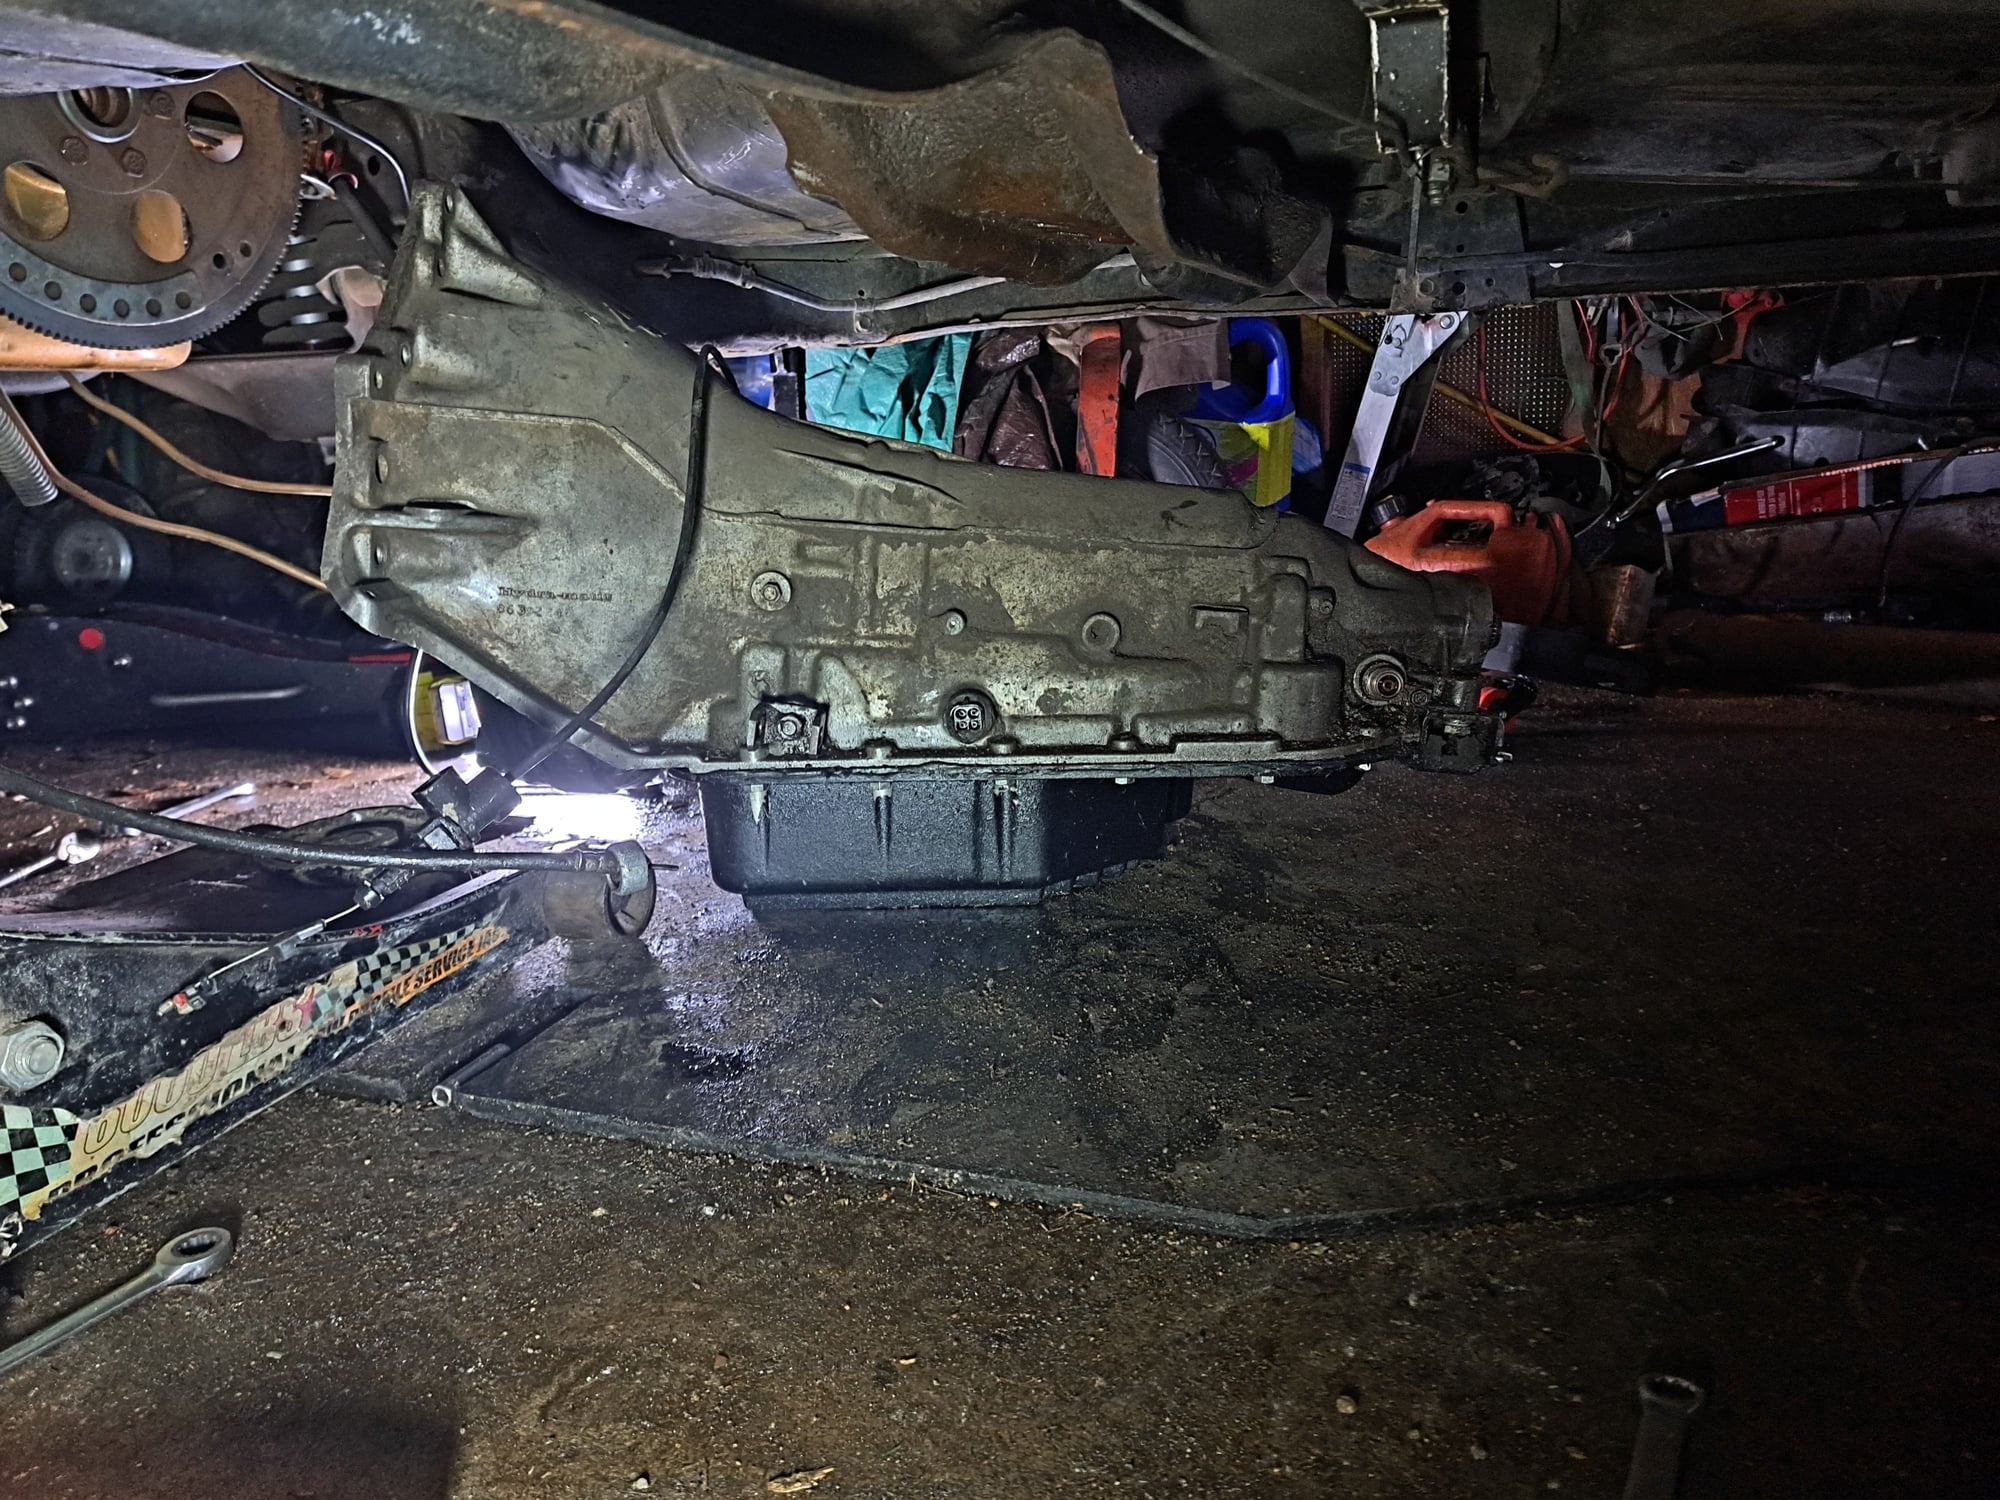
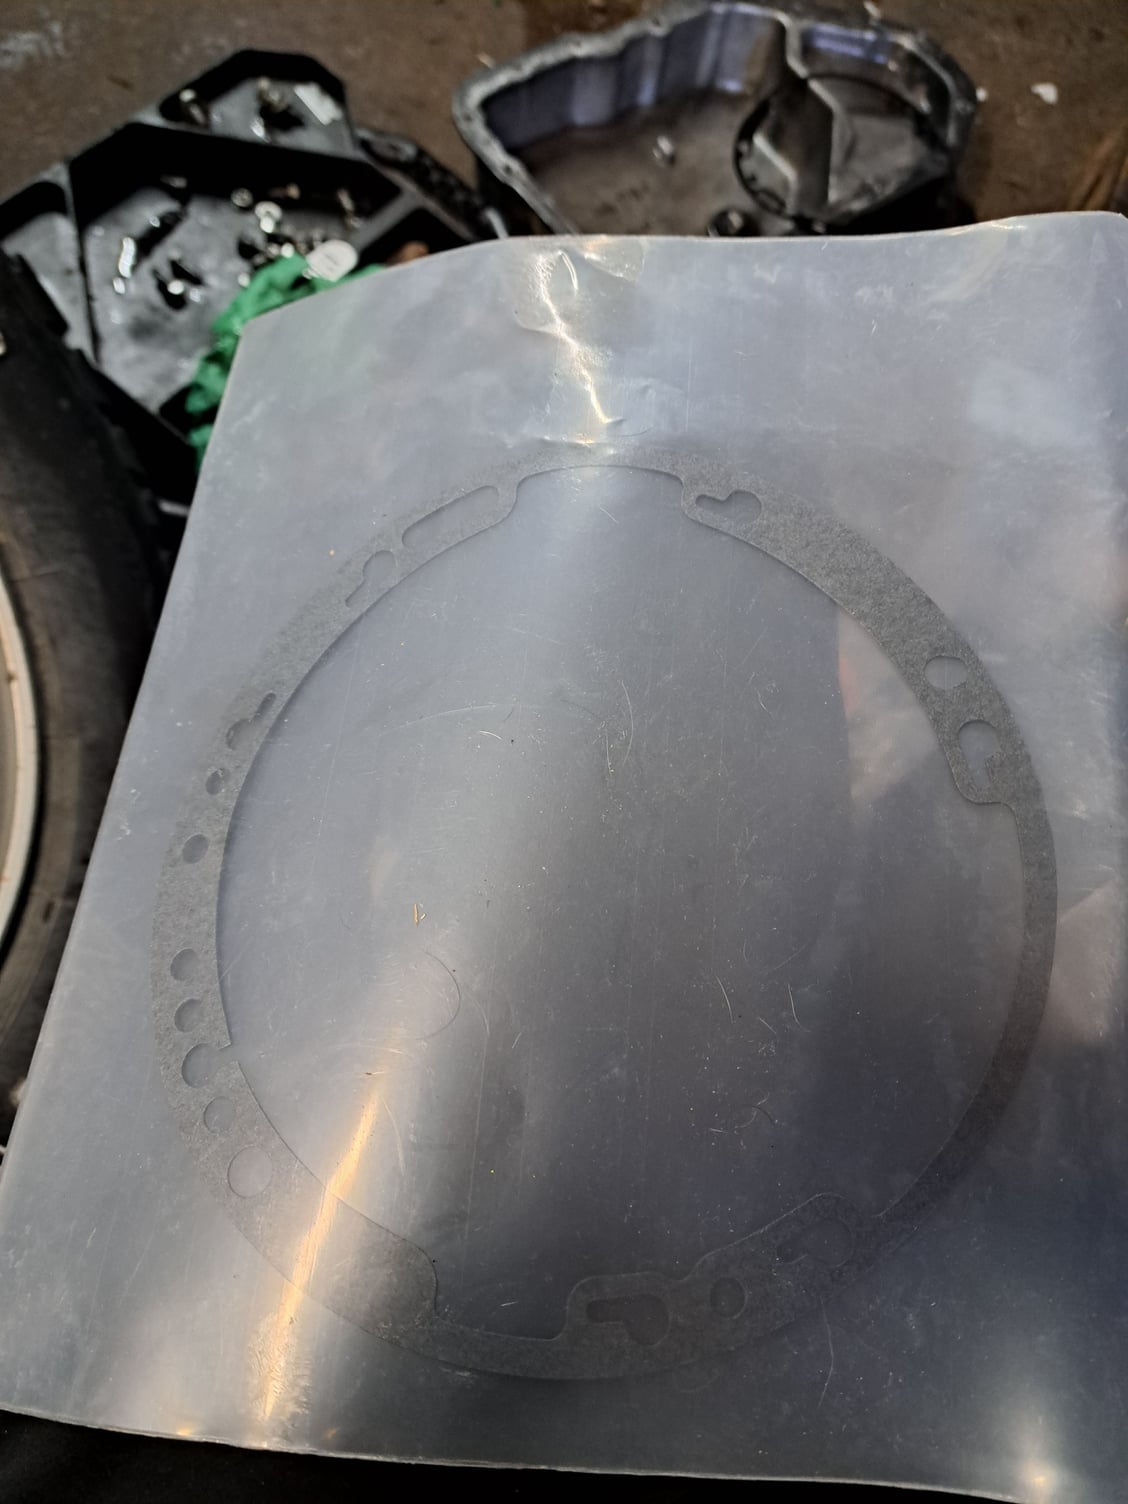
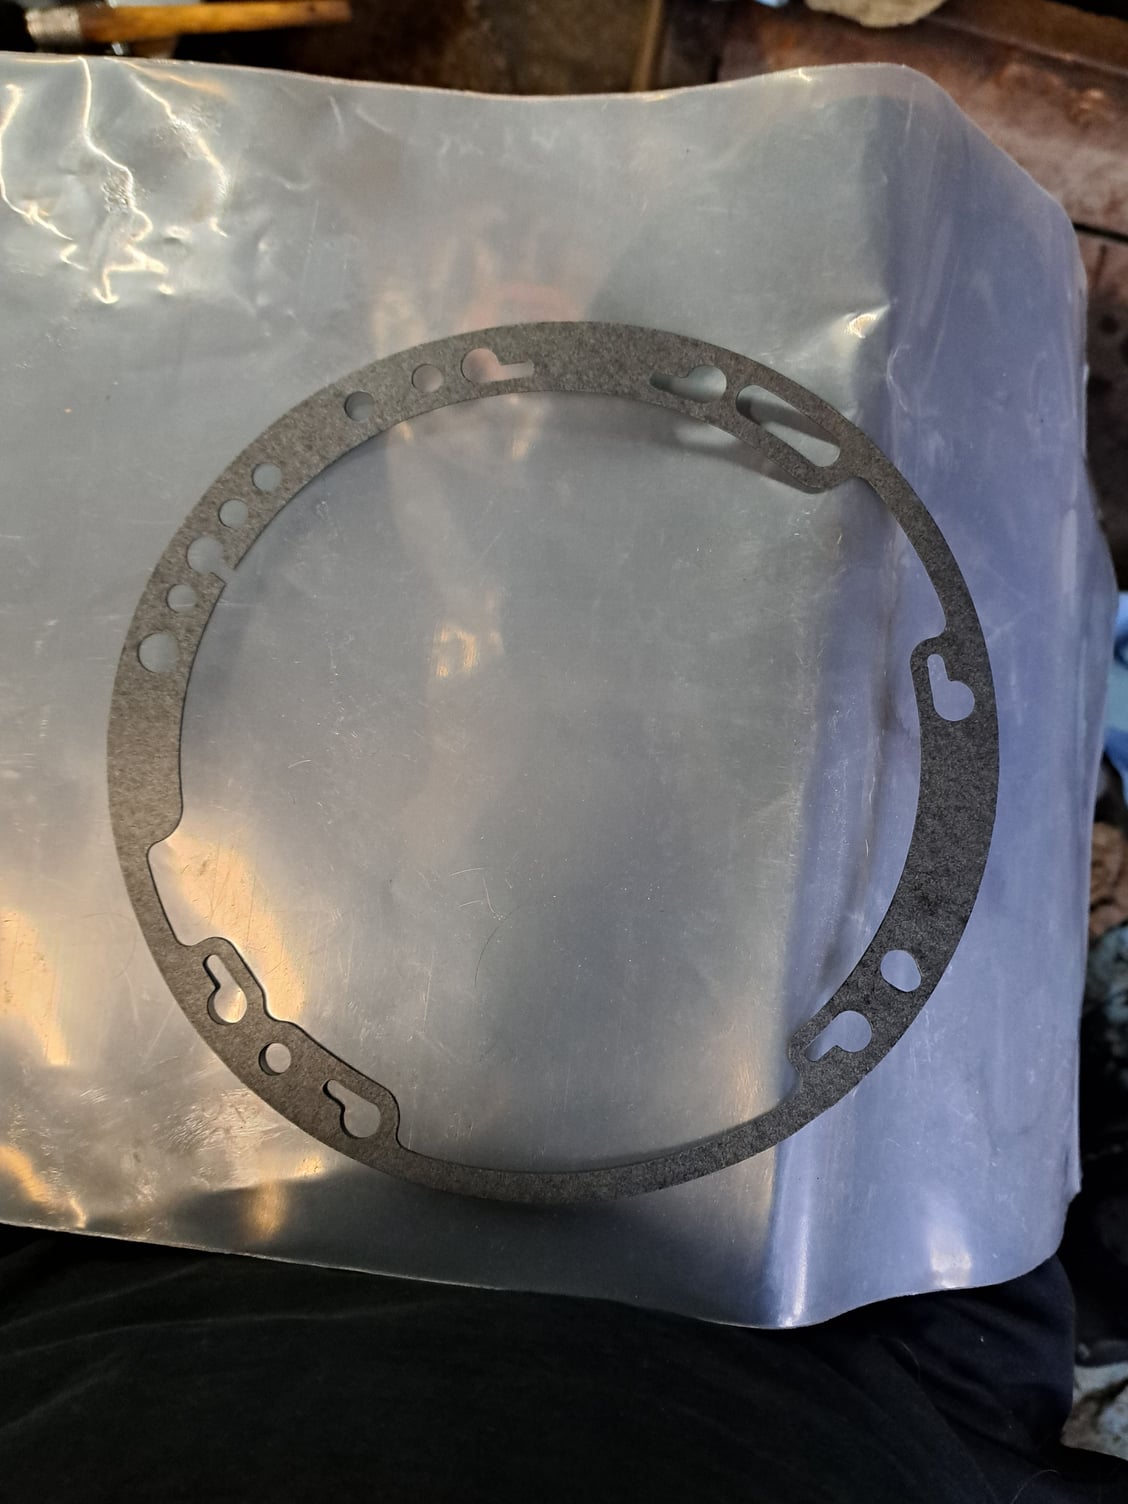
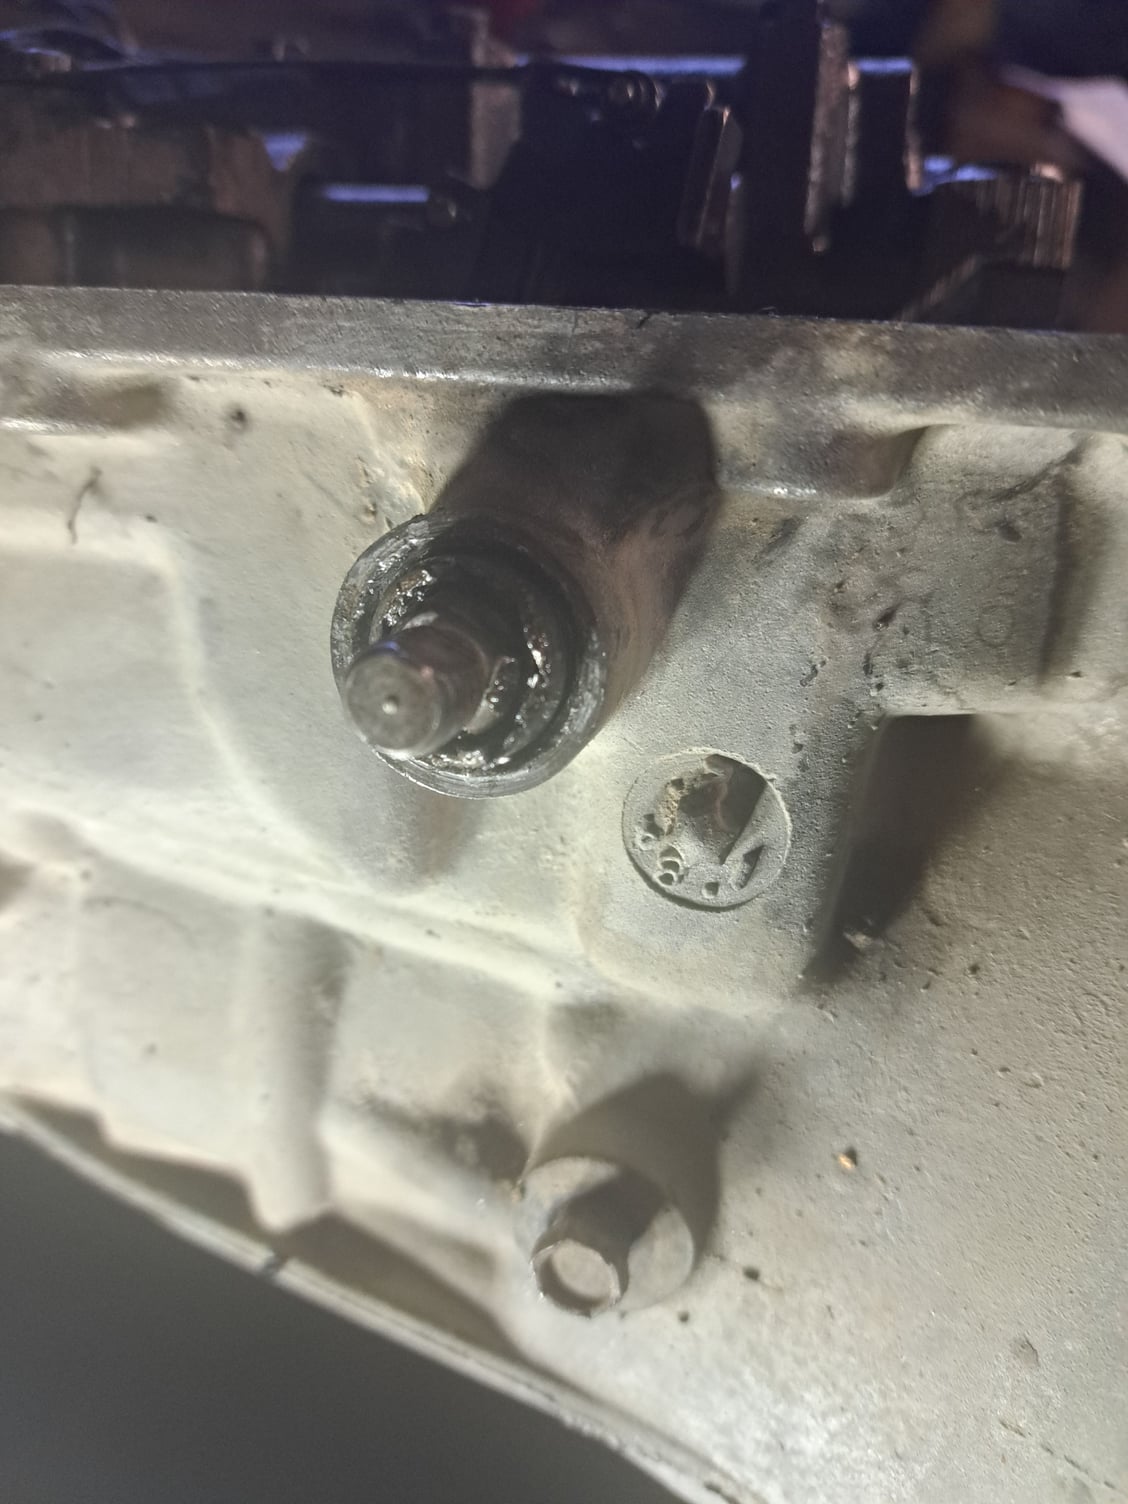
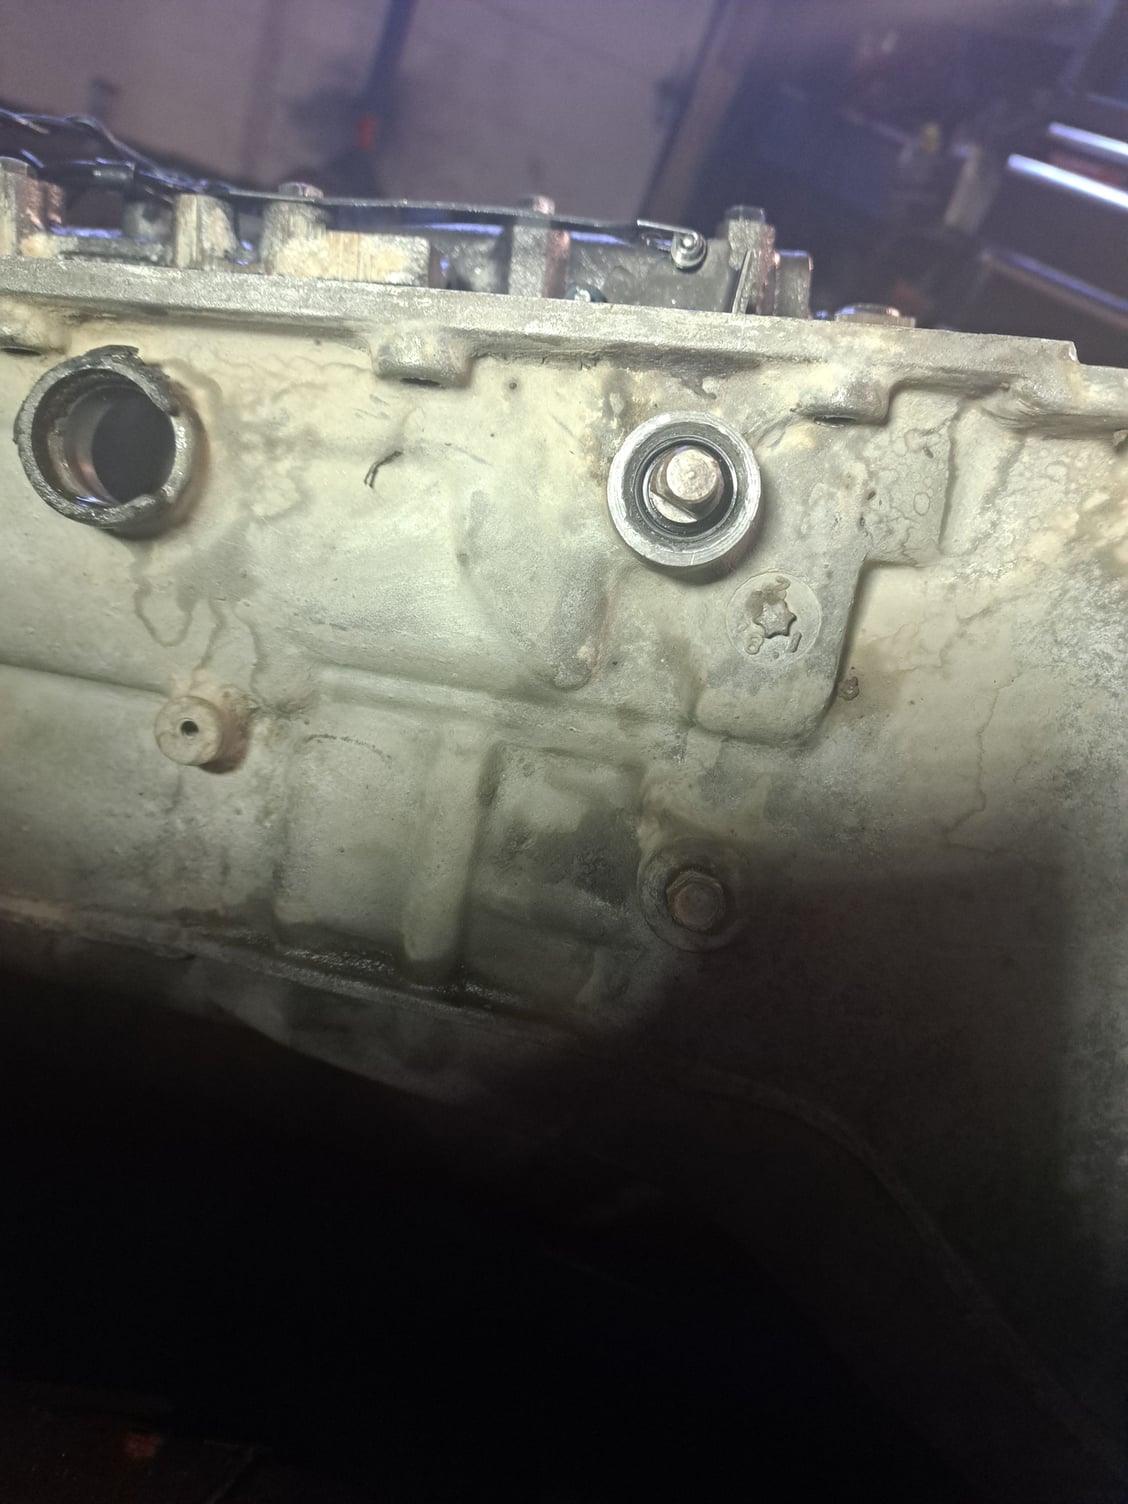
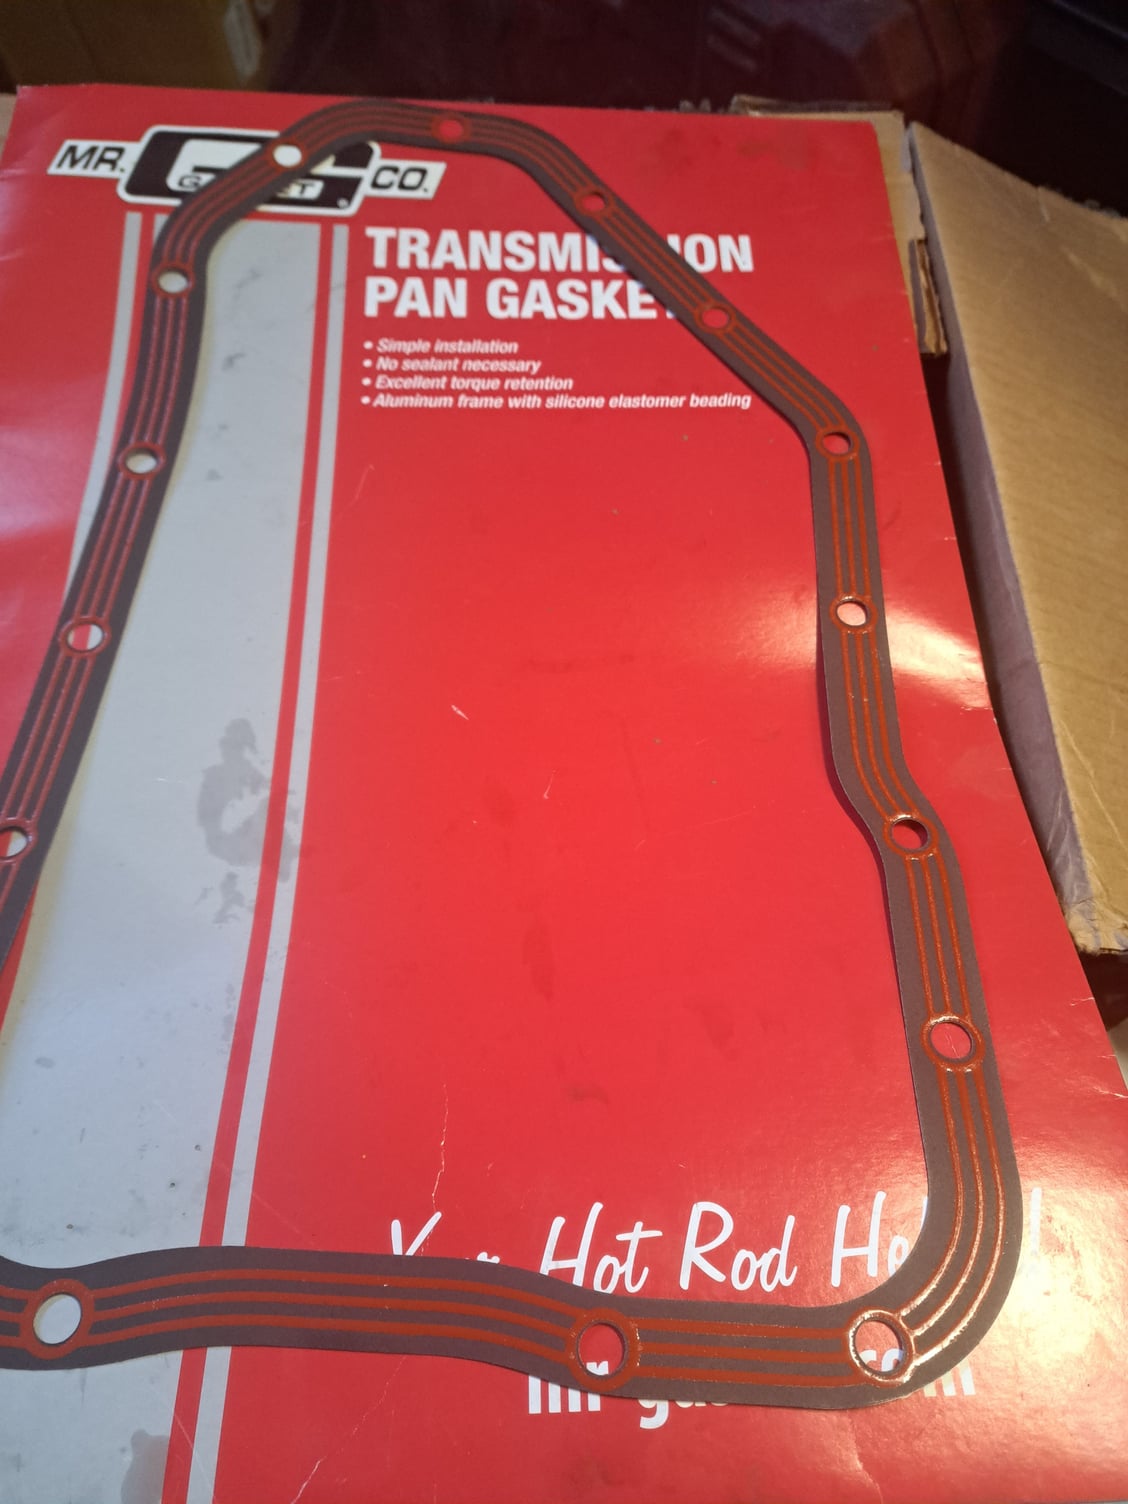
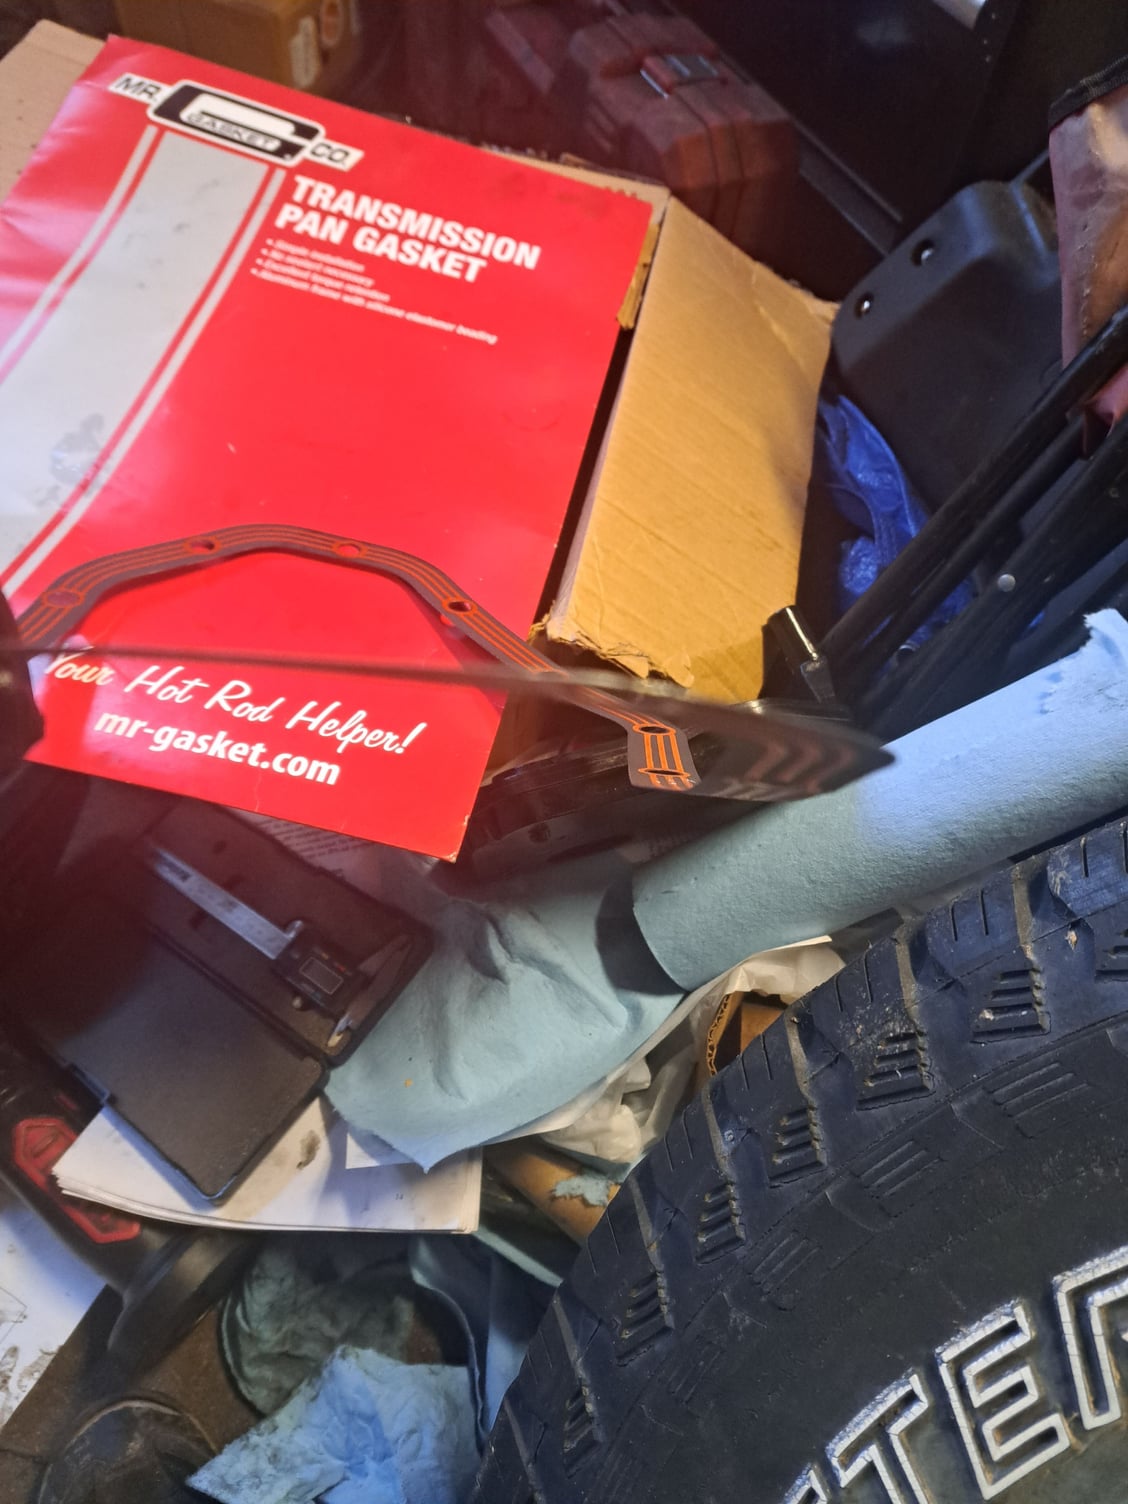
The CK Performance shift kit and servo is installed. They get you to shorten the front part of the pin about 1/4". They also say to make sure there is .100" minimum of servo movement between the cover and snap right when depressing the cover, there was that much, trimmed an old brass feeler gauge and bent it in there to measure. I grabbed a used lock up connector out of the trans outside and installed a new O ring. New O ring and seal where the cable goes in the bullet. New rear seal and selector shaft seal. Tricky to get out, a 9/16" socket installs it. A new Mr.Gasket pan gasket, metal with composite material and sealing beads. Very thin and needed trimmed to clear the 4L60E filter. So all new outer seals on the trans. The car is in the shop and the 403 on the mounts.
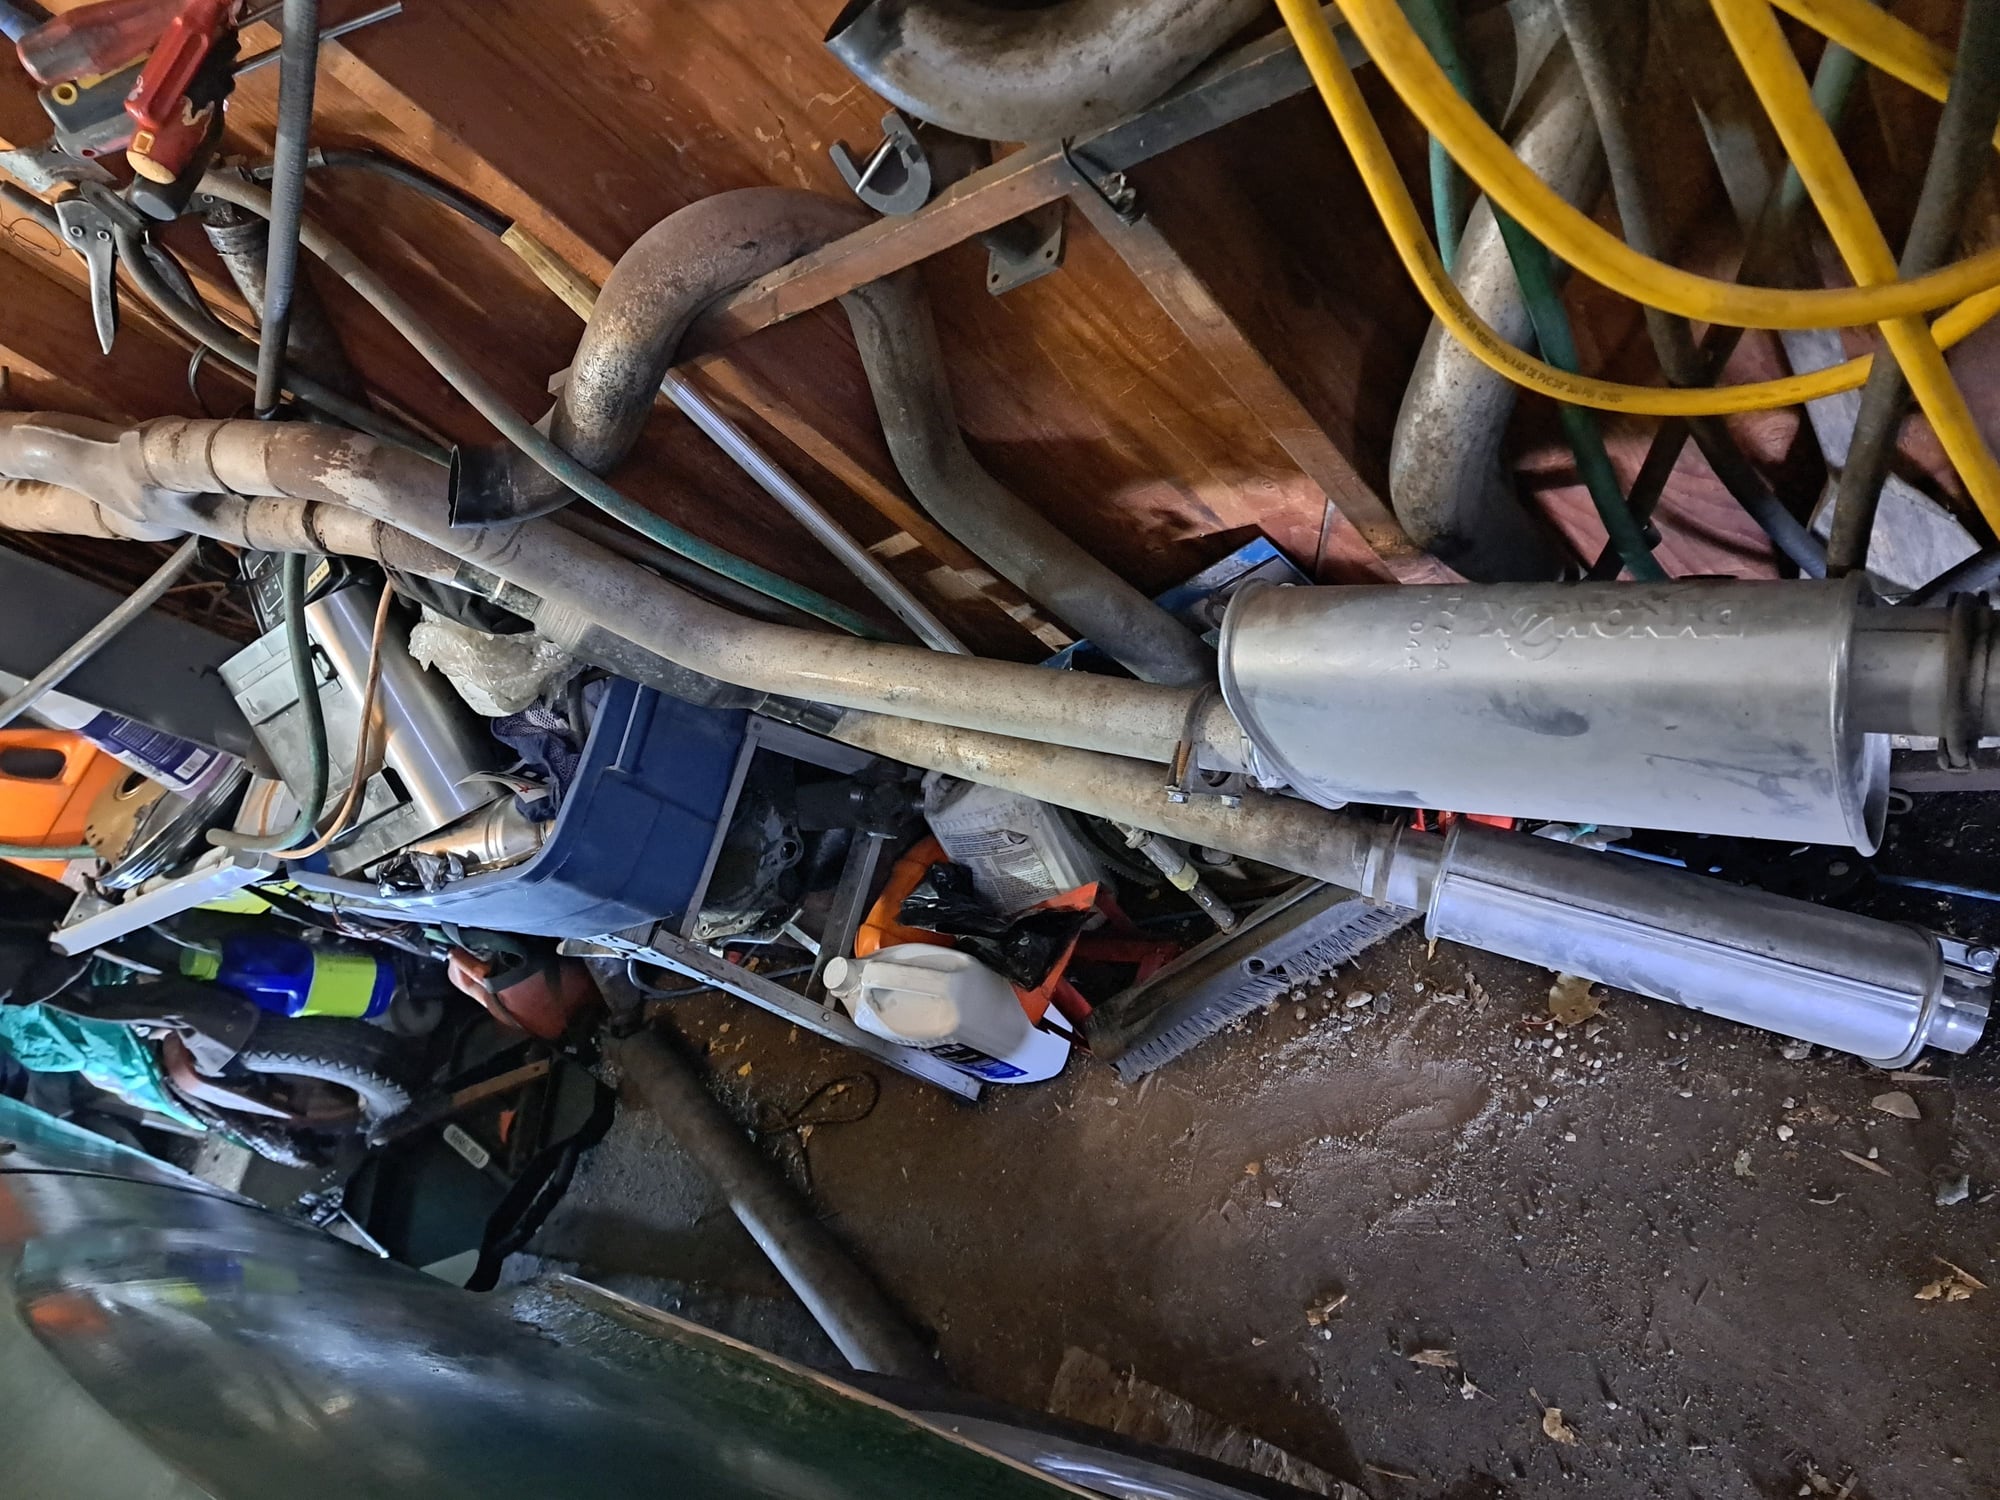
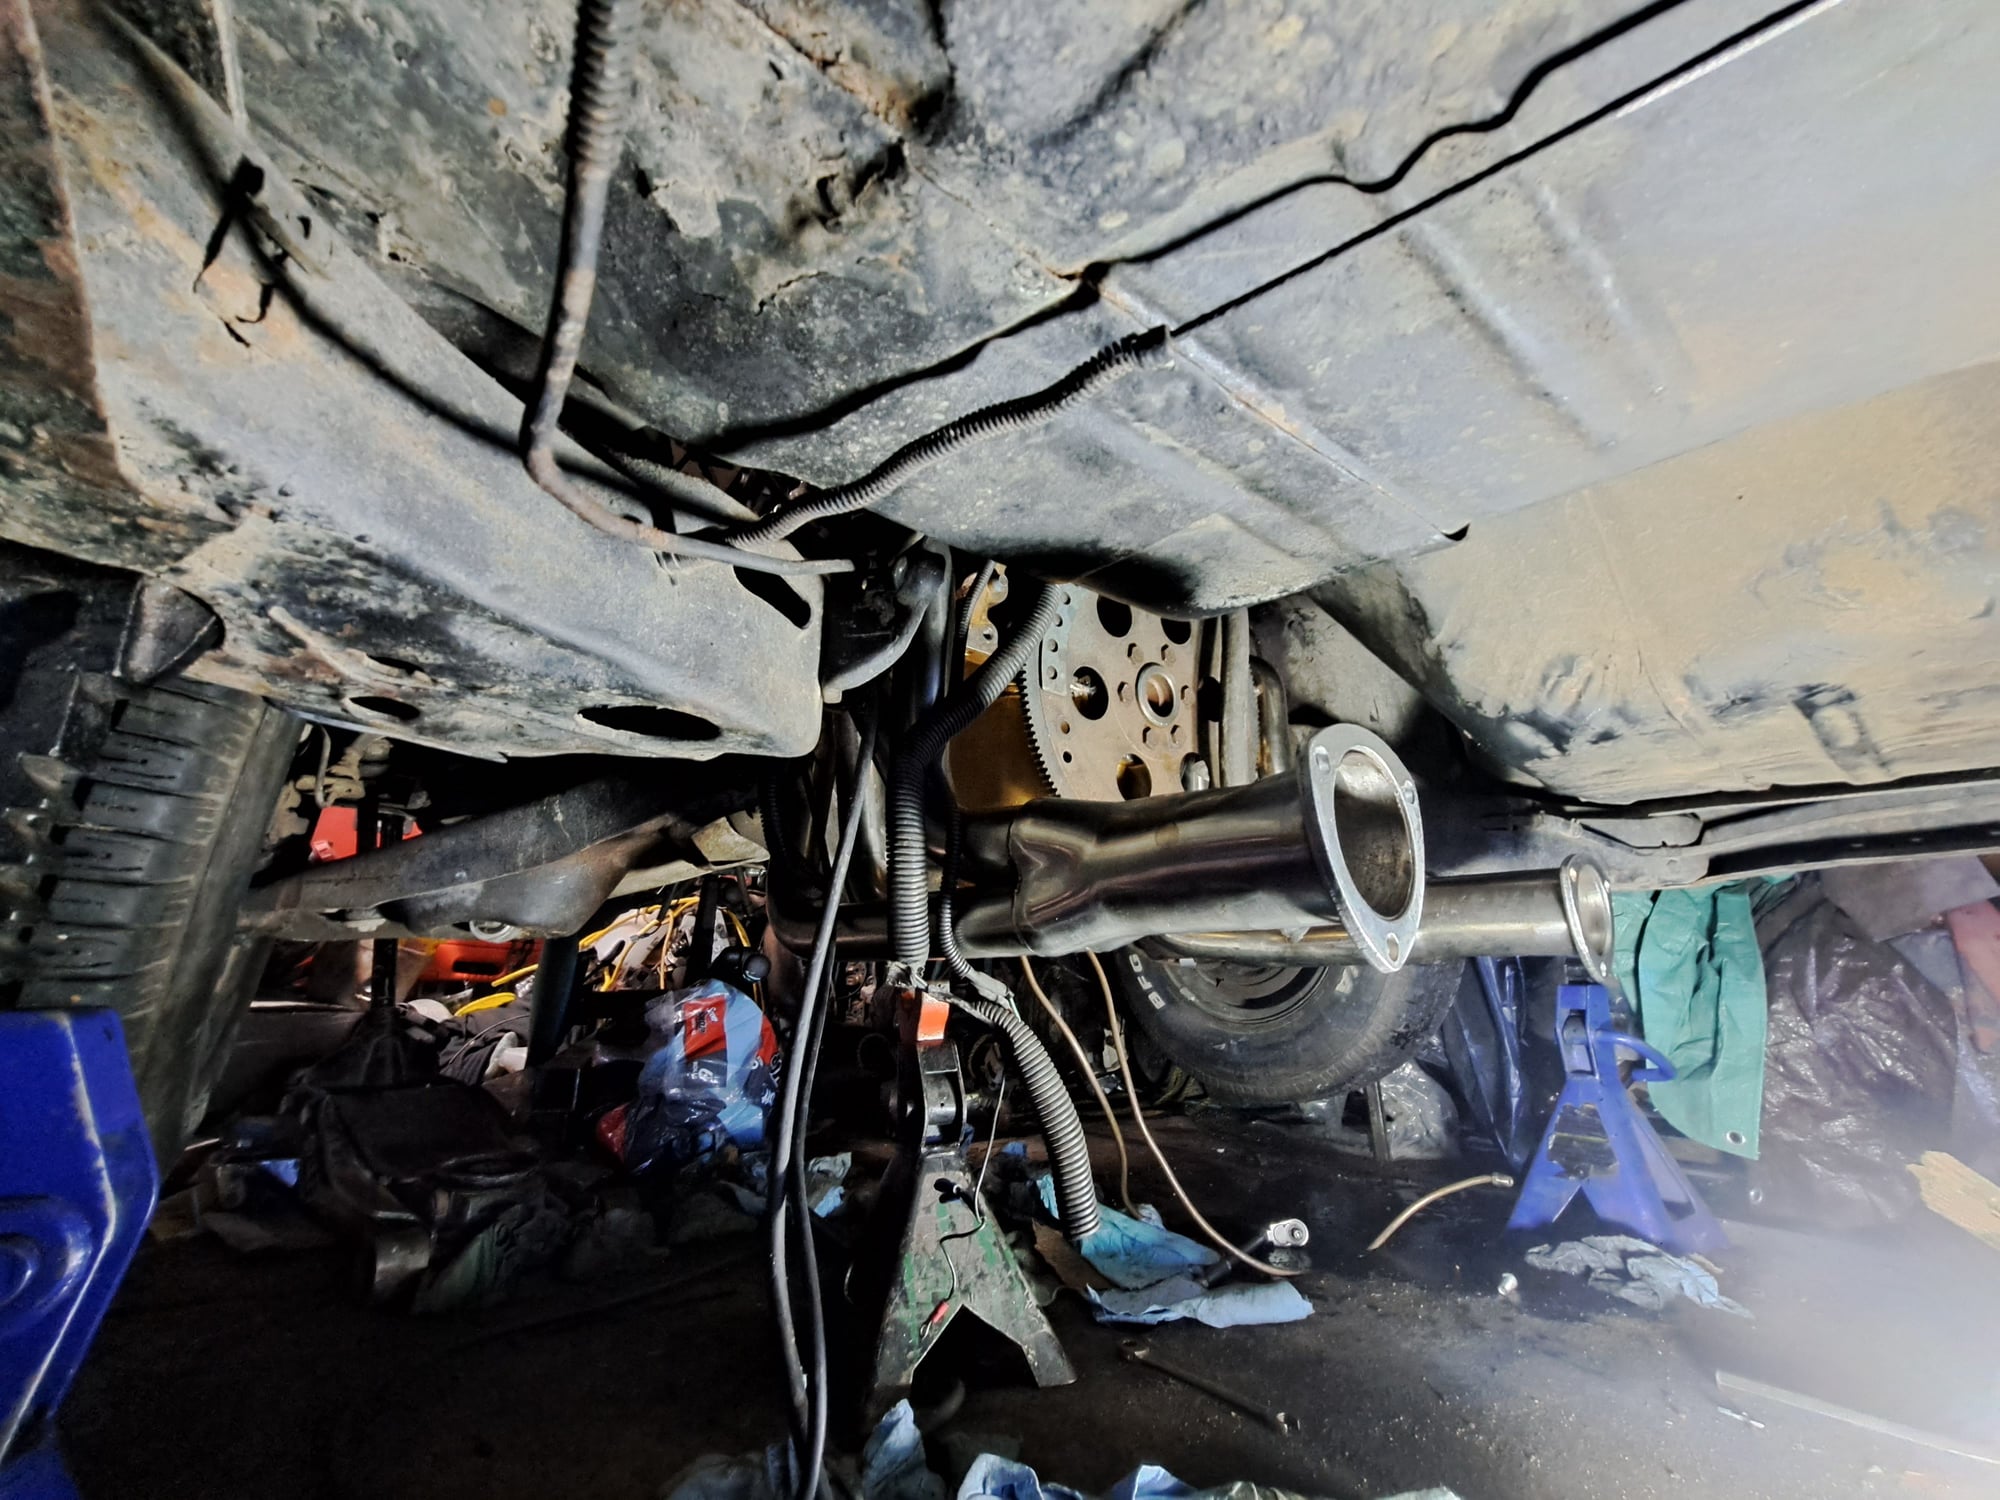
I was glad, I didn't put in the cross motor mount bolts to install the full length stainless headers. Tilting the motor back and forth helped. I was going use Cooper exhaust gaskets with Optimum Grey around the ports already set up. They didn't line up like I wanted them to. Instead I used the gaskets that came with the headers, metal clad paper gaskets. I will probably use my new Copper collector gaskets, already covered with Optimum Grey. The Drivers side was a real pain and just clears the motor mount. Good thing both new mounts have the factory tin shields in place. The passenger side only needed the oil filter adapter removed and it went right in. It looks the full size Baldwin B9 will fit on and clear with some space. The collectors look like they will line up nicely. It only took 3+ hours🫣.
GBodyForum is a participant in the Amazon Services LLC Associates Program, an affiliate advertising program designed to provide a means for sites to earn advertising fees by advertising and linking to amazon.com. Amazon, the Amazon logo, AmazonSupply, and the AmazonSupply logo are trademarks of Amazon.com, Inc. or its affiliates.
This site uses cookies to help personalise content, tailor your experience and to keep you logged in if you register.
By continuing to use this site, you are consenting to our use of cookies.