1970 Olds Cutlass S Rat Rod Style

Oct 14, 2008
8,819
7,766
113
Melville,Saskatchewan
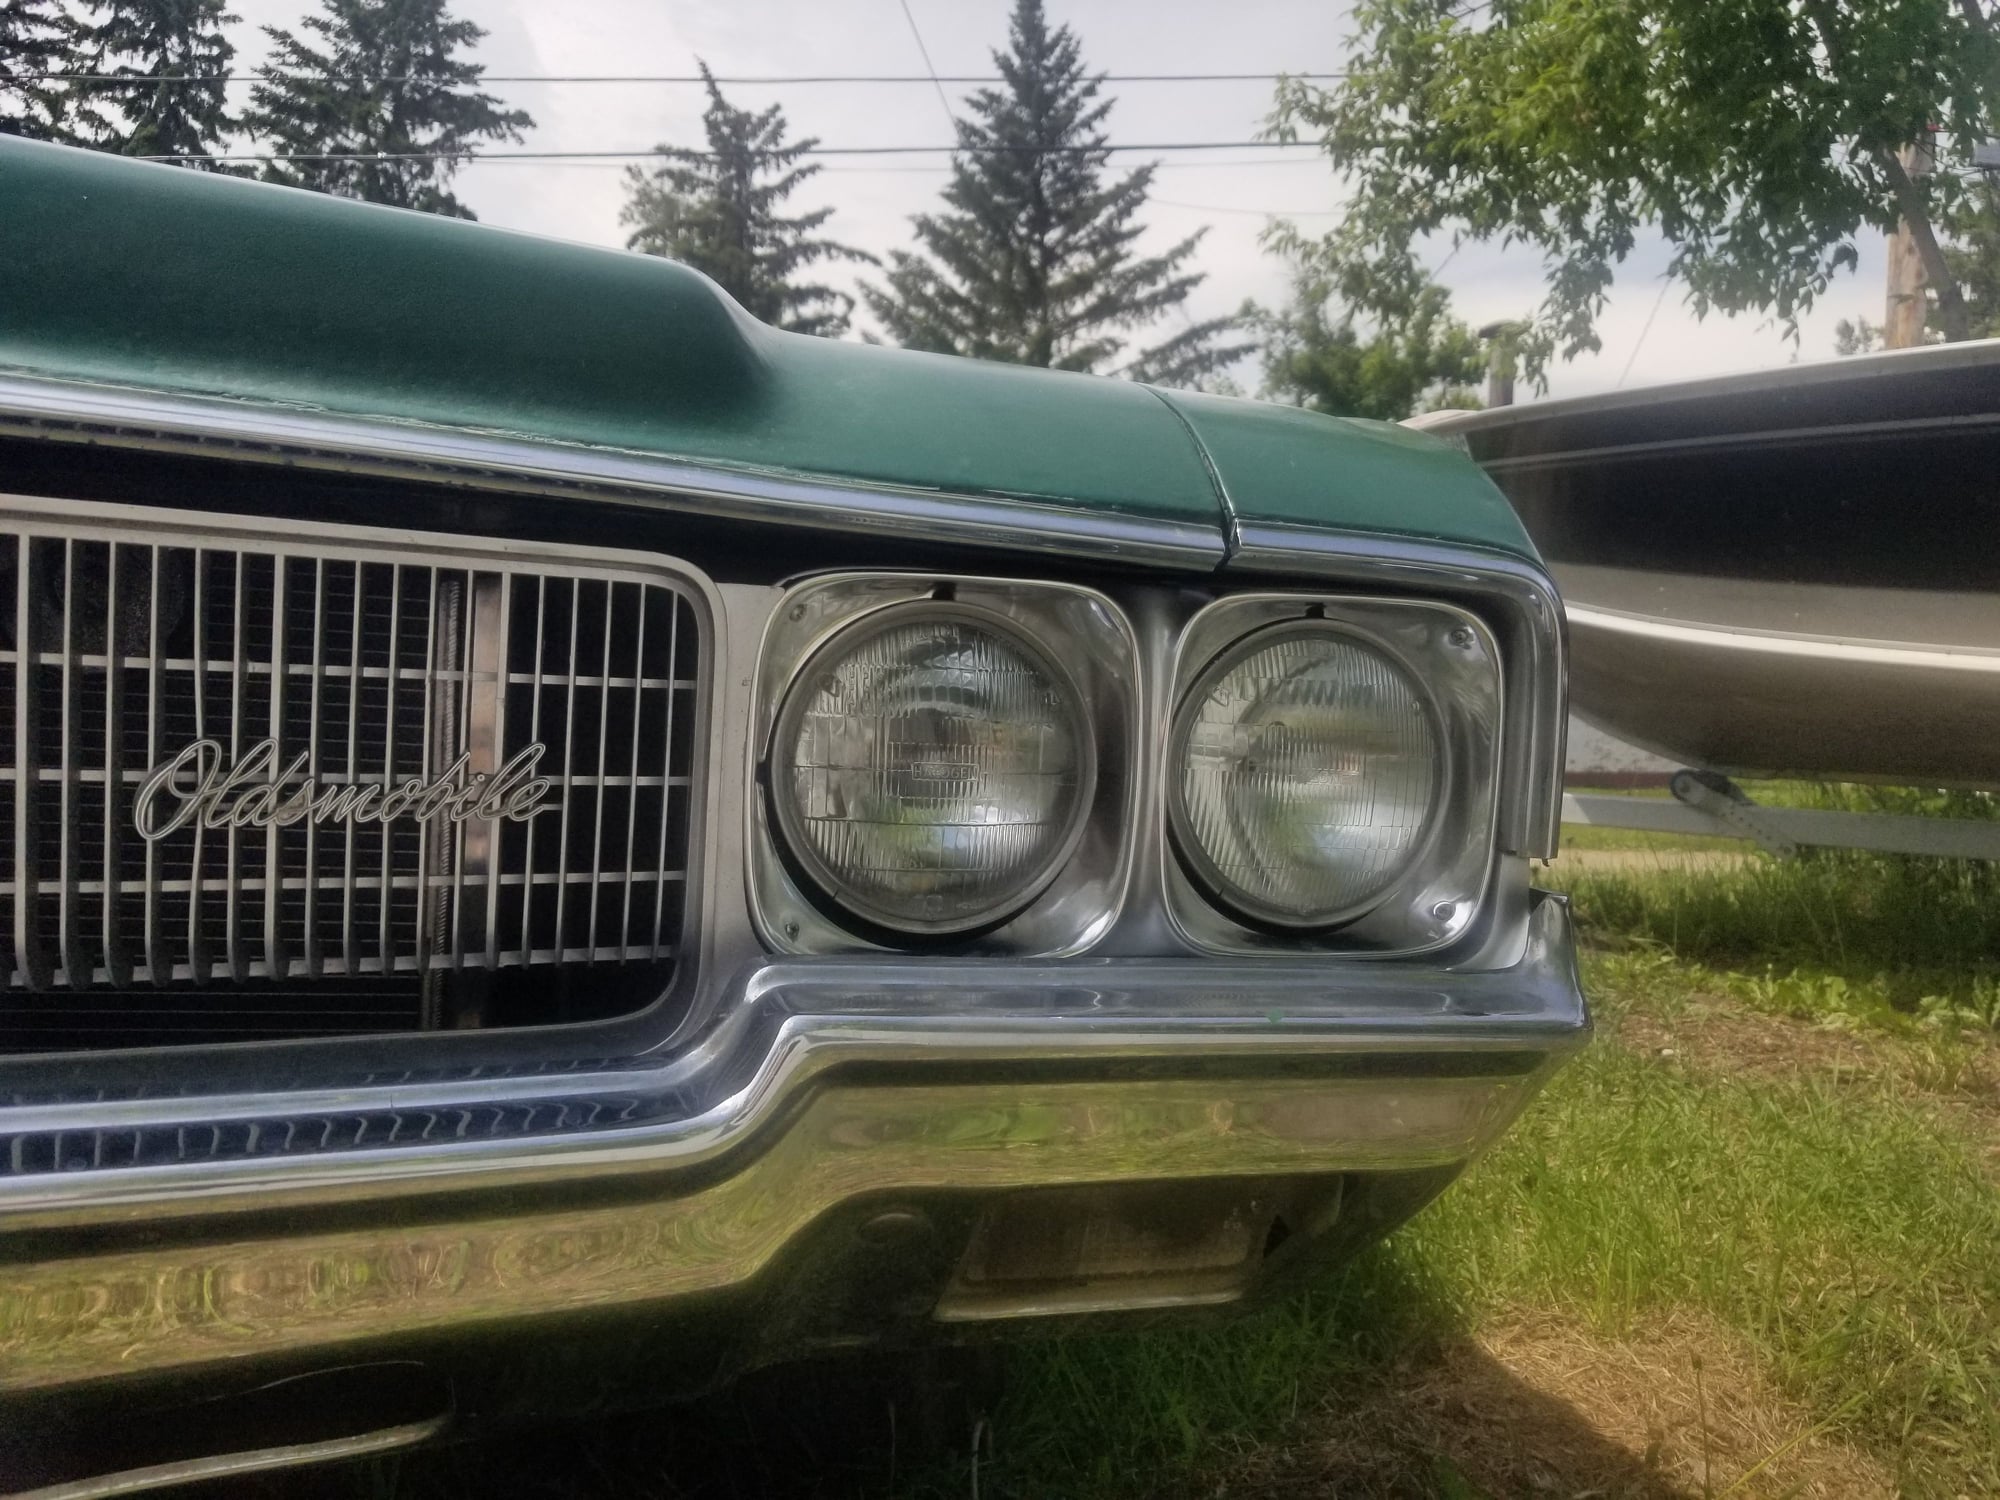
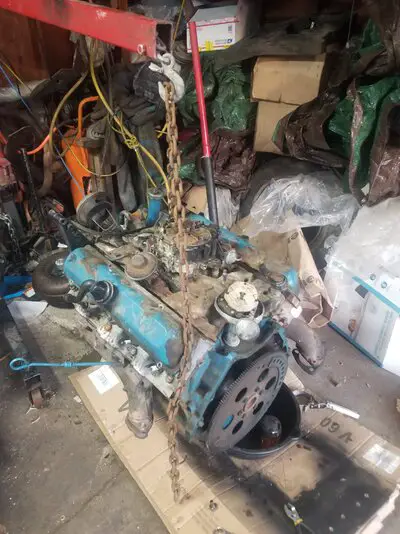
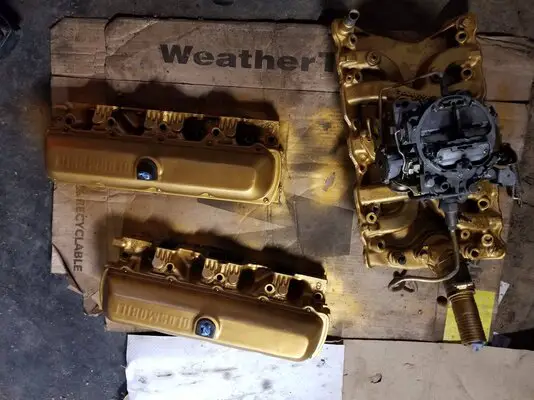
So I got my wideband O2 sensor installed. This Qjet is very rich, it was idling like ***** now I know why. Idle was around 11 about 2.5 turns out on the mixture screws. With the choke on, high 10's! Part throttle was maybe 12. I turned the mixture screws one turn out, high 12's. I turned in the mixture screws a half turn out. I turned the APT in another two turns, I will test on the way to work tomorrow.
 
  • Like
Reactions: 3 users
Oct 14, 2008
8,819
7,766
113
Melville,Saskatchewan
Better again, high 12's with the choke on. Idle was low 13 to 14. Part throttle was 13's to a low 15. I turned in the mixture screws another 1/4 turn and the APT another turn. Idle is perfect mid 13 to mid 14's. With the choke on, high 12', very low 13's. Part throttle was unchanged. I tried one more turn on the APT, need to see if it makes any difference.
 
  • Like
Reactions: 3 users
Oct 14, 2008
8,819
7,766
113
Melville,Saskatchewan
The adjustment made a slight difference, should be good. I got tired of the 2 year old aluminum/plastic leaking, it got to point when I put coolant in, ut came out just as fast at the seem on the passenger side! The new rad is good but the Dorman plastic over flow is leaking, not very old. I will probably get this one.
screenshot_20220610_065701_amazon_shopping_c31f312cf053aa5520c70d1556c5e2208cf3adc5.jpg

I bought 4 core mounts but Thornton only sent one set. So I hammered the bottom saddles till the rad dropped in and drilled out the top spot welds and replace the top with the 4 core saddles.
20220609_154919_3a21d56a3c850a3449518fdad8ad6384e3d7f0c3.jpg

I finally received my front KYB shocks. I will try and get them in Saturday after work. I have a weeks holiday and will assemble the 350 short block!
 
  • Like
Reactions: 6 users
Oct 14, 2008
8,819
7,766
113
Melville,Saskatchewan
So I changed the front shocks from what looked like factory shocks to the KYB shocks. I was happy when my Daughter's boyfriend pointed out the big Made in Japan on the new shocks. The passenger side came right out and went right in. Of course no new bottom bolts, so the factory shouldered bolts were reused and torqued to the factory 25 ft/lbs spec. The top 10 ft/lbs spec is tough to do. The factory had a thin top lock nut, on top of the regular nut. The KYB also included two nuts along with the rubber top bushings and thick clamp washers. The driver's side didn't go so smooth. The top and first bottom bolt came right out. The second snapped the factory clamp nut. I could not get a 1/2" wrench on it, not even a stubby wrench, due to the coil spring in the way. I ended up feeding a 1/4" drive 13mm socket, since it fit better and a 6" long extension with straight jawed vice grips. The ratchet wouldn't fit, the vise grip barely fit between. It worked to remove the bolt and install the new shock on the driver's side.
20220612_122410.jpg
20220612_122423.jpg
20220612_122800.jpg
20220612_143031.jpg
20220612_143045.jpg
 
Last edited:
  • Like
Reactions: 6 users
Oct 14, 2008
8,819
7,766
113
Melville,Saskatchewan
Didn't it have clip on nuts on the lower controll arms?
It sure did, till one snapped off. This is a 52 year old car and pretty sure those front shocks were the originals. The bolt wasn't super rusted or tight. Not sure why it snapped off, maybe the clip corroded enough? Probably using my cordless impact just put too much sudden twist and snapped it. Either way in place, hopefully for the rest of the 70S life.
 
  • Like
Reactions: 1 users
Oct 14, 2008
8,819
7,766
113
Melville,Saskatchewan
The new headlight plastic surrounds and bezels came in. A PIA for my Wife to pick up from RPM, couldn't go in and only accepted cash or an Etransfer. Two hours later she had them🤔. I also had to get a couple of new speed nuts for the bezel screws. Yes the passenger side fell off driving around town due to the broken down plastic🤗.
Before
20220617_175309_b8353d77e521040be53823ef246290d4e6b07016.jpg

20220617_175322_2655c632370c9f8faffd7f19f354c74f40eb2ce2.jpg

After
20220619_122817_c20be2affbe838d51e388eae6dd418ca6a15cda0.jpg

20220619_122823_11eef255100e03be49866839672da6eb89b568b3.jpg
 
  • Like
Reactions: 4 users
Oct 14, 2008
8,819
7,766
113
Melville,Saskatchewan
Pretty sure I have a line on a good 403. With my 65cc #6 heads with the 2.07" intake valve, bowls opened with upgraded springs with .042" Felpro gaskets should be right at 9 to 1. I also have the 204/214 cam and double roller timing set. I already have all the gaskets as well. I also received all my 2.5" stainless exhaust parts to work with the full length stainless headers. Yes, these are straight through, Flowmaster stainless mufflers. I still plan on some assembly of the 358 after picking up, gasketingz head swapping, painting and installing the 403 first.
20220622_165425.jpg
20220622_165436.jpg
20220622_165455.jpg
20220622_165513.jpg
 
  • Like
Reactions: 5 users
Oct 14, 2008
8,819
7,766
113
Melville,Saskatchewan
So I went and got the 403, very clean on the outside. I also got the short tail 350 on it for $400. He let me take any of the parts. I took the 6 blade clutch fan and triple pulleys. I also got a very nice trans dust cover. The intake and carb aren't stock for this motor. It is off his 79 Custom Cruiser wagon that had a carb fire. Fairly minor, the carb looks salvageable for a rebuild. The guy mentioned he was told the 4A heads were rebuilt. The main caps are marked with yellow dots, pretty sure the whole thing was apart at some point. The timing chain was also replaced. I pulled all the caps to get the rope rear main seal out. The bearings look decent. I am going to use the Canton pan and pickup with the purple spring in the Melling high volume oil pump. Then clean and install the 204/214 cam in the same spot, since I degreed it in the 350. Then clean and install the #6 heads with 2.07" intake valves and the Performer intake. I will also install the new stainless exhaust.
20220625_201136.jpg
20220625_201138.jpg
 

Attachments

  • 20220625_201051.jpg
    20220625_201051.jpg
    1.2 MB · Views: 57
Last edited:
  • Like
Reactions: 5 users
Oct 14, 2008
8,819
7,766
113
Melville,Saskatchewan
It looks like this motor came from a 1977 Buick orginally. I cleaned everything up and painted VHT Gold Engine Metallic on the 62 and 64cc, what they actually measured #6 heads and the Performer intake. I painted the Serpentine accessories VHT Black Engine Metallic. The Anchor 2261 motor mounts fit perfectly, torqued to 80 ft/lbs. The piston I measured was .025" in the hole. That means I will be just over 9 to 1 compression with the .042" Felpro head gaskets. I need to bend a new fuel line from the pump to carb, I have NiCopper 3/8" line to use. I will get the 350 out, make sure the 204/214 cam looks OK from it and put it in the same place. I may just clean up one of the stock oil pans and save the Canton pan and pick up for new motor, still deciding. It would mean another Melling High volume oil pump and drive shaft for the new motor, not the end of the world. I do want to make sure everything fits with the full length Stainless headers. I realize that will require moving the brake proportioning valve. I also will install the new Powermaster starter. Although the red no name mini has worked perfectly.
20220629_061643.jpg
20220629_061715.jpg
 

Attachments

  • 20220629_064719.jpg
    20220629_064719.jpg
    1.2 MB · Views: 55
Last edited:
  • Like
Reactions: 5 users

GBodyForum is a participant in the Amazon Services LLC Associates Program, an affiliate advertising program designed to provide a means for sites to earn advertising fees by advertising and linking to amazon.com. Amazon, the Amazon logo, AmazonSupply, and the AmazonSupply logo are trademarks of Amazon.com, Inc. or its affiliates.

Please support GBodyForum Sponsors

Classic Truck Consoles Dixie Restoration Depot UMI Performance

Contact [email protected] for info on becoming a sponsor