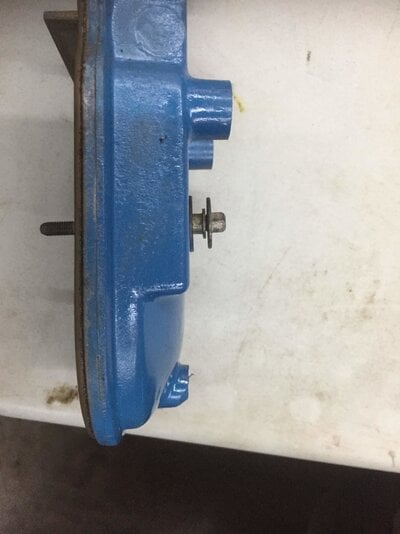
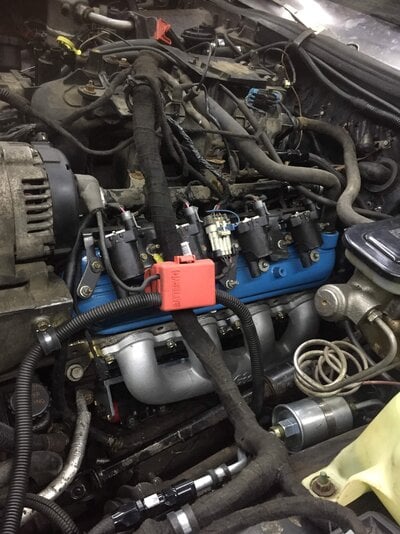
1980 Grand Prix LS swap

Status
Not open for further replies.

Winkernod

Greasemonkey
Sep 13, 2018
139
259
63
London Ontario
So before I installed the engine I thought I would be smart and try to make more clearance for the HVAC box and modified the mount for the coils. It did help but not enough to warrant the work.
 

Attachments

  • IMG_1630.jpg
    IMG_1630.jpg
    421 KB · Views: 285
  • IMG_1631.jpg
    IMG_1631.jpg
    583.1 KB · Views: 301
  • Like
Reactions: 1 user

Winkernod

Greasemonkey
Sep 13, 2018
139
259
63
London Ontario
Fun day!! Engine goes in. lots of clearance for the PS box but not even a 1/4 inch for the HVAC. I felt that was way too close so then I pulled the engine out and pulled the mounts and elongated the holes forward about a 1/4 inch. dropped the engine back in with much better clearance. I did end up with a 1 inch crack in the housing.
IMG_1607.jpg
 
  • Like
Reactions: 1 users

Winkernod

Greasemonkey
Sep 13, 2018
139
259
63
London Ontario
Next major step was to do the fuel. dropped the tank and this is where I really realized how clean this car was I did the full meal deal with the tank, sending unit and in tank pump
 

Attachments

  • IMG_1563.jpg
    IMG_1563.jpg
    369.5 KB · Views: 269
  • IMG_1568.jpg
    IMG_1568.jpg
    1.1 MB · Views: 289
  • 56548245644__5691228A-131A-4C15-A847-089D3B80DB76.jpg
    56548245644__5691228A-131A-4C15-A847-089D3B80DB76.jpg
    773.9 KB · Views: 308
  • IMG_1590.jpg
    IMG_1590.jpg
    412.7 KB · Views: 266
  • Like
Reactions: 3 users

GroceryGetter83

LS Mafia
Supporting Member
Sep 18, 2018
676
2,406
93
Tampa, Florida
Which sending unit did you purchase?
 

Winkernod

Greasemonkey
Sep 13, 2018
139
259
63
London Ontario
The Holley transmission crossmember and adapter pieces was an interesting hour as I could not find any well done instructions, but finally got it so it fit and worked.
 

Attachments

  • IMG_1645.jpg
    IMG_1645.jpg
    591.2 KB · Views: 256
  • IMG_1648.jpg
    IMG_1648.jpg
    609.4 KB · Views: 269

Winkernod

Greasemonkey
Sep 13, 2018
139
259
63
London Ontario
Which sending unit did you purchase?
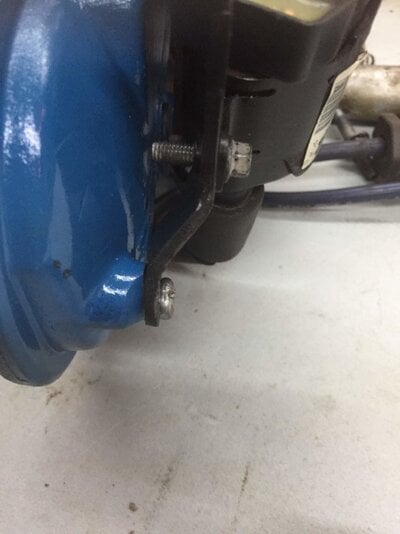
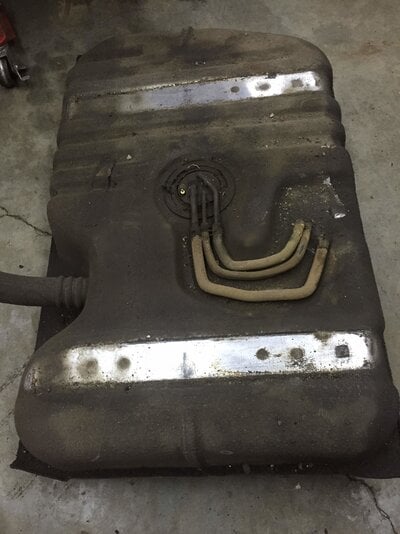
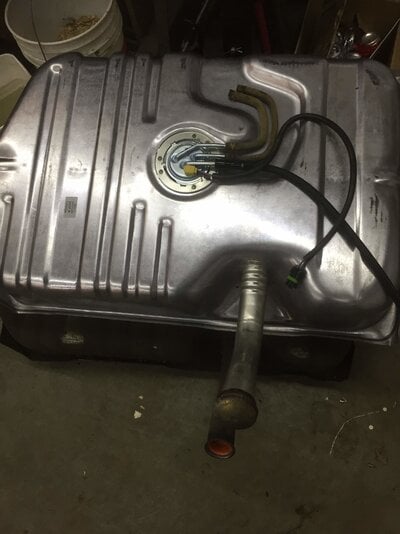
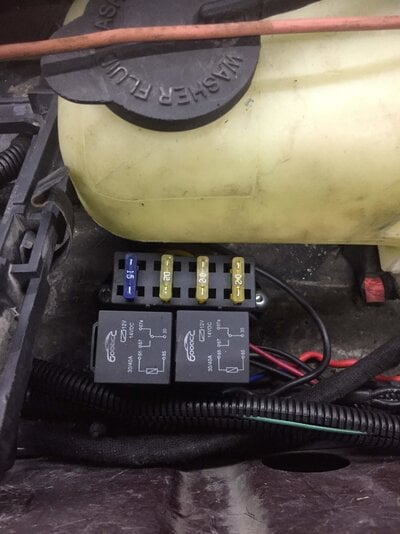
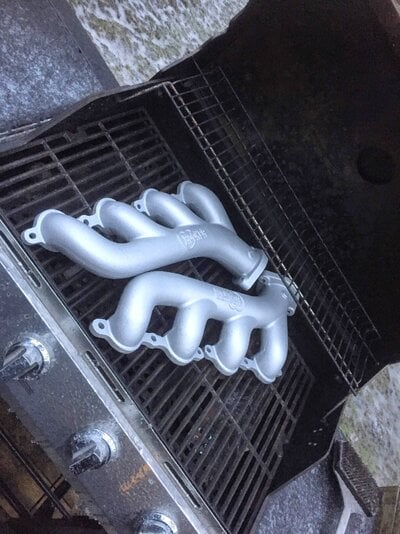
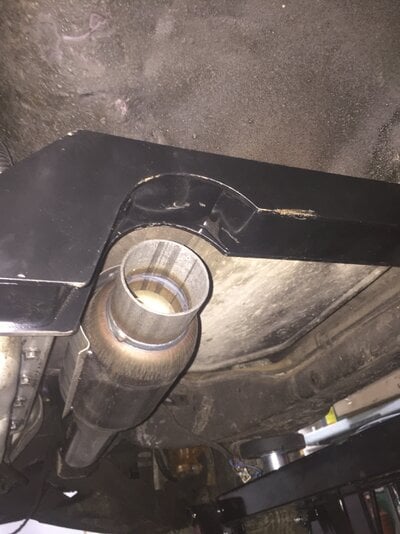
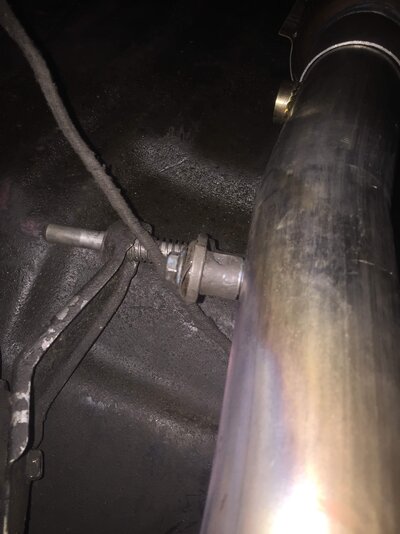
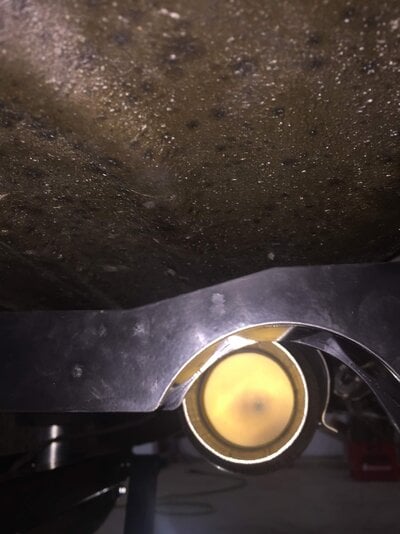
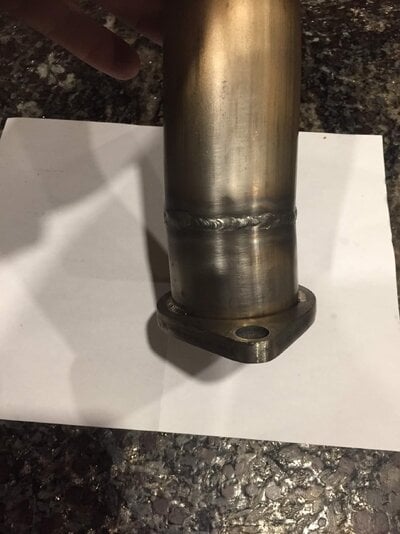
I guess this would be a good spot to give a list of parts used

Holley Parts:

302-2 oilpan
7122104 clamshells
12643 LS engine mount
71221015 engine mount
12644 trans crossmember
12655 mount bracket
12647 trans mount
8501 exhaust manifolds
70701317R LS swap adapter pipes

SPI fuel tank

GM 306C fuel tank
FG156A sending unit
255 aftermarket fuel pump (walbro knockoff)
6AN fittings and nylon braided HP hose (amazon)


cooling

CU162 spi aluminum rad
C71324 Lower rad hose (88-91 Dakota 3.9L as best I can tell) trimmed as needed on both ends
12551708 3 wire coolant sensor

Amazon

85668 4 circuit fuse block
5 pin 30/40 amp relays with pigtails
wiring loom harness adhesive fabric tape
misc 6AN fittings
 
  • Like
Reactions: 2 users

Winkernod

Greasemonkey
Sep 13, 2018
139
259
63
London Ontario
All though this build wiring wiring wiring!! Every time i went out to work on the car I tried to do at least one thing electrical so that it wasn't too intimidating. Most wasn't too bad. I am building this car to be a good reliable turnkey summer cruiser that anyone can drive. So with that said I didn't need to go heavy duty on the cooling. so just an SPI rad, trimmed down the fan shroud to mount it with ( for now, I will watch if it is not solid enough), 2001 Concorde dual 6 blade fans setup with the fans setup to come on one at a time controlled by the ECM.
 

Attachments

  • IMG_1825.jpg
    IMG_1825.jpg
    703.5 KB · Views: 298
  • IMG_1826.jpg
    IMG_1826.jpg
    783.6 KB · Views: 290
  • IMG_1827.jpg
    IMG_1827.jpg
    1 MB · Views: 300
  • Like
Reactions: 1 users

Winkernod

Greasemonkey
Sep 13, 2018
139
259
63
London Ontario
Working on the exhaust was in interesting adventure. First pic is baking a rattle can coating on the manifolds (kinda an experiment to see how good this stuff is) I installed the manifolds on the car then went to put the adapter pipes on and could not get the bolts started well then got one to start and put a socket on it and got real tight real fast so took the manifolds off and found that the holes were tapped with M9x1.5 but the bolts were a M10x1.5 . I then ran the M10 tap though with no troubles so the hole was drilled to proper size but not tapped to correct size. With that looked after put manifolds back on and put the right hand adapter pipe on and put a small cat on it and it all lined up beautifully. The left side was not as as fun. it did not line up with the notches in the cross member and did not allow clearance with the cross shaft for the column shifter. I called Holley and talked with them only to realize there was a disclaimer that there are some fitment issues. So i have just finished giving the pipe a little nip and tuck but haven't installed it yet
 

Attachments

  • IMG_1714.jpg
    IMG_1714.jpg
    1.3 MB · Views: 275
  • IMG_1778.jpg
    IMG_1778.jpg
    789.3 KB · Views: 287
  • IMG_1792.jpg
    IMG_1792.jpg
    444.6 KB · Views: 289
  • IMG_1780.jpg
    IMG_1780.jpg
    364 KB · Views: 263
  • IMG_1837.jpg
    IMG_1837.jpg
    193.1 KB · Views: 226
  • Like
Reactions: 1 users

Winkernod

Greasemonkey
Sep 13, 2018
139
259
63
London Ontario
I think that brings me up to date. Next moves are to finish the trans cooler lines, block the hole in the intake where the EGR pipe went in, get the driveshaft shortened, pick up the new tires, sandblast and paint rims,
 
  • Like
Reactions: 1 user
Status
Not open for further replies.

GBodyForum is a participant in the Amazon Services LLC Associates Program, an affiliate advertising program designed to provide a means for sites to earn advertising fees by advertising and linking to amazon.com. Amazon, the Amazon logo, AmazonSupply, and the AmazonSupply logo are trademarks of Amazon.com, Inc. or its affiliates.

Please support GBodyForum Sponsors

Classic Truck Consoles Dixie Restoration Depot UMI Performance

Contact [email protected] for info on becoming a sponsor