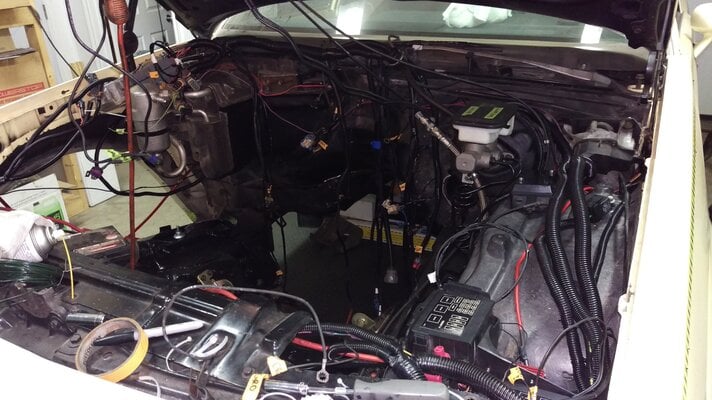
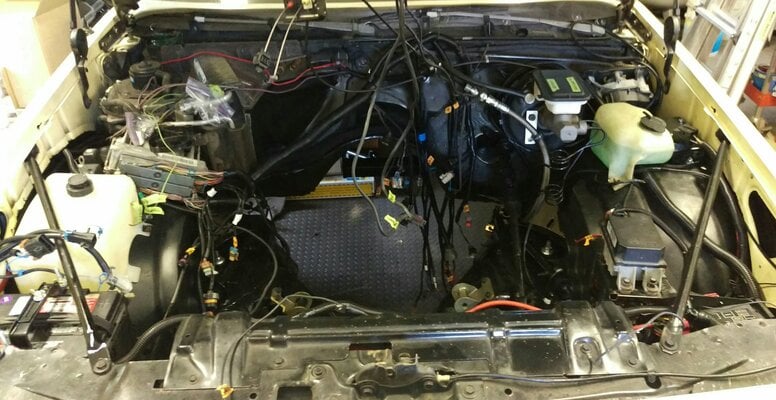
Finished up the engine harness, and finished looming the rest of the wiring (less the stuff along the fire wall. Next I need to pull the inner fenders/fender liners out of the donor car. Once I am done that I should be able to move along to the mechanicals again very soon.
1980 Pontiac LeMans Station Wagon - G-T-faux (stuck with it, and can't shake it... like a bad case of herpes)
- Thread starter motorheadmike
- Start date
You are using an out of date browser. It may not display this or other websites correctly.
You should upgrade or use an alternative browser.
You should upgrade or use an alternative browser.
- Status
- Not open for further replies.
Well I pulled the brown turd '81 Lemans parts car into the garage today and got to tearing into it. I got both virgin plastic fender liners out. They looked like they had been Rhino-lined the grime was so thick, it actually chipped off it was that old. I soaked them both in WD-40 (because mineral spirits) and set them out in the sun for an hour; and then went at them with the pressure washer and a scraper. After they had dried it time for more scrapping and more WD-40 - using my old wool Army socks really helped work the last of the goo off.
I will say this: I am glad I bought a complete unmolested parts car.
Because I have no idea what car the fender liners that came in the wagon were out of... but, it sure wasn't a Lemans. Anyway, it looks like wire and accessory management will be much improved with these non-hacked up liners in place - plus the amount of crap tossed up in the fenders will be greatly reduced.
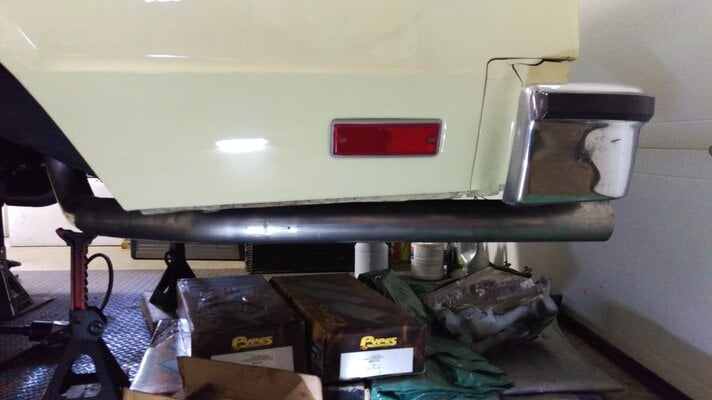
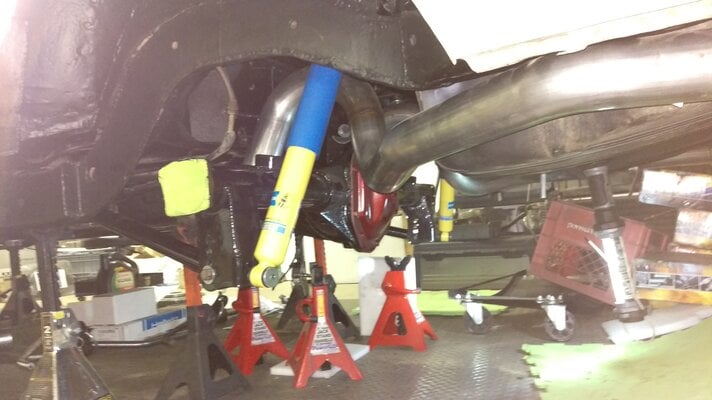
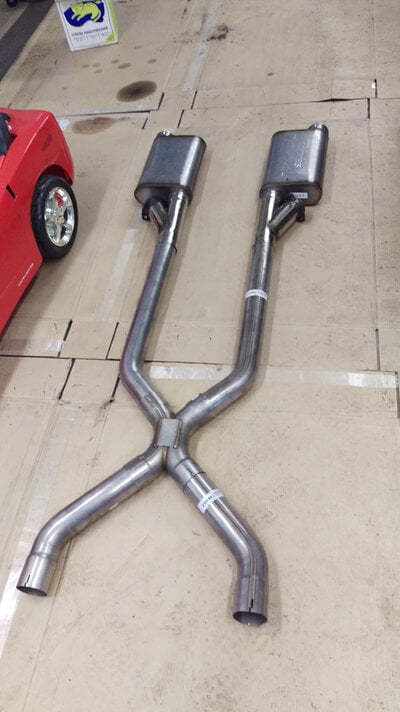
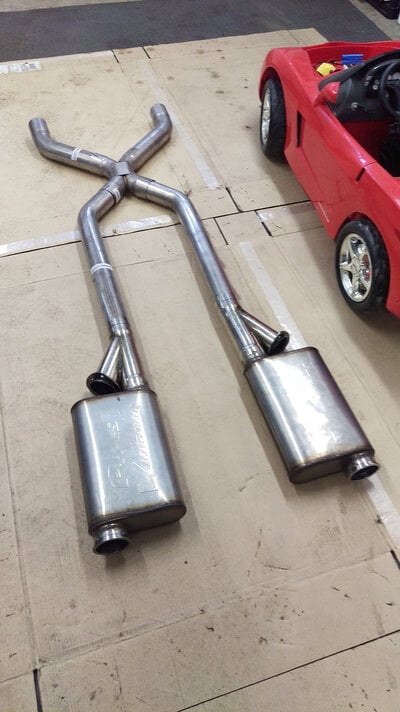
Hung the tailpipes... getting the MCSS hangers off my Monte and onto the wagon was a long and frustrating process. The Pypes exhaust seems to fit the wagon really well around the gas tank and the spare tire well.
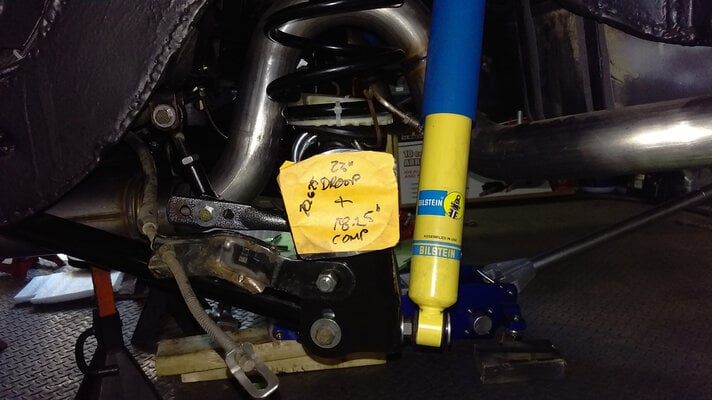
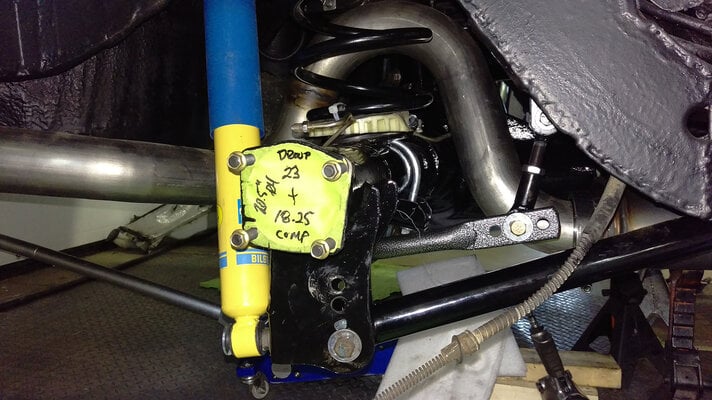
Then the UMI Roto-joint control arms went in, followed by the Bilsteins, and finally the S60. I will put the backing plates on the axles soon and load it all up. I will need to set up the e-brake cables and run the solid brake lines to the flex hoses.
I am just grateful for the freed-up floor and shelf space.
Attachments
Well, let's just say that I have a "Strange" issue that is likely the nail in the coffin for this car making Drag Week - I'll know for certain on Monday. In the meantime I kept plugging along on other things - like the exhaust.
Attachments
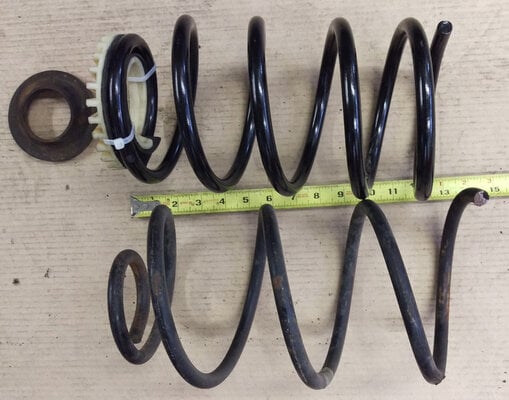
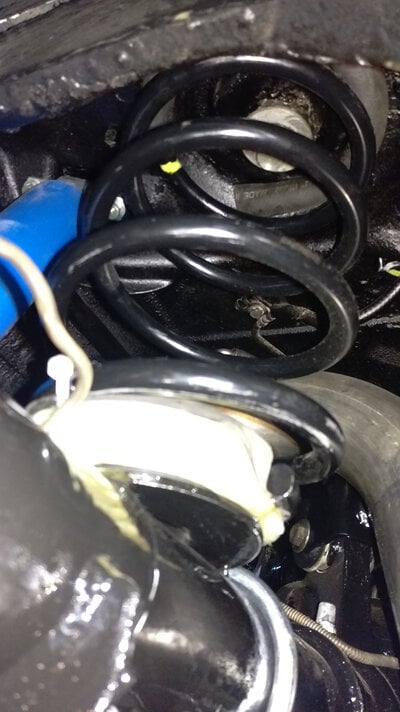
Made a little more progress on the wagon's S60 install (nothing ever truly bolts in: http://ls1tech.com/forums/gears-axles/1838550-strange-s60-assembly-questions.html) but, the wedding rings got pressed on today - which means that I can stab the axles in. In the meantime I have been working on the brackets for the e-brake cables and caliper hard/flex lines. As well, I figured out how to get the front Matrix/Vibe springs to work using the upper strut mounts from a TrailBlazer (just happened to have a spare pair), stock G-body pigtail insulators, and a little bit of heater hose. The picture is the new springs compared to a stock cut spring from my MCSS (28" ride height); both are at 13" free height. Installed and the weight of the wagon on the springs it is right in the middle of the suspension travel. Works for me. As for the weight jacker setup, I will put in coil-over springs as helpers later on.
Attachments
Last edited:
Somebody needs to take this project off of pause.
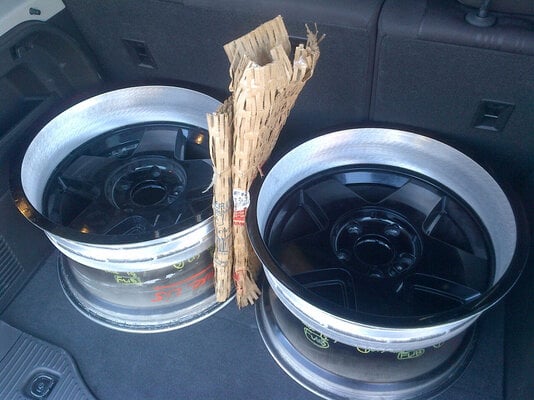
The rear wheels, the Ronal R15s, are in Windsor with my brother ready to go to WeldCraft in Michigan for widening. Aiming for a final size of 17x11 for mounting the 345/40R17 Toyo TQ drag radials on.
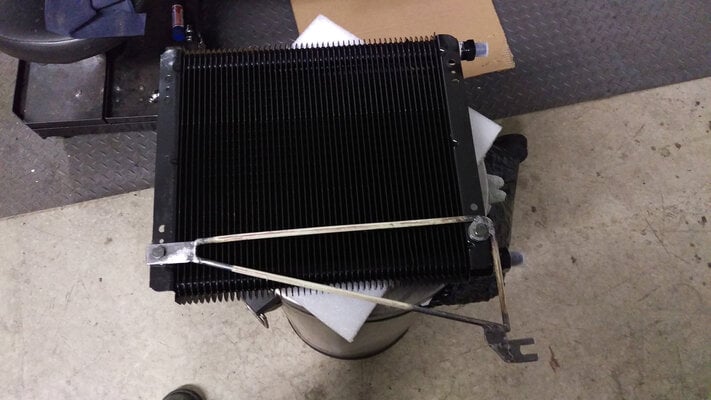
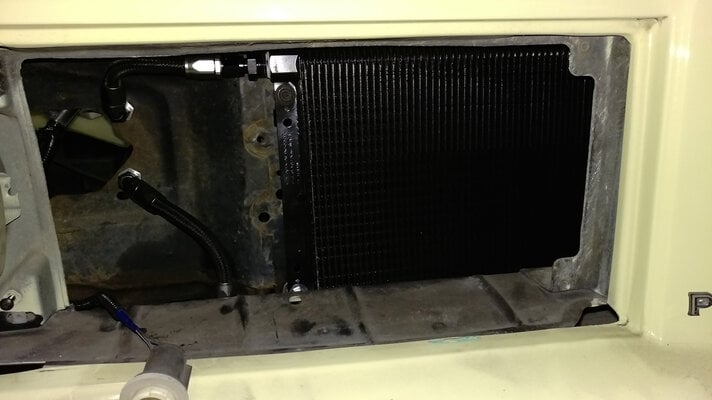
Managed to get this idea out of my head and into reality. -6AN bulkheads, and a cantilever bracket using factory holes in the core support to get that pesky B&M transcooler mounted.
Attachments
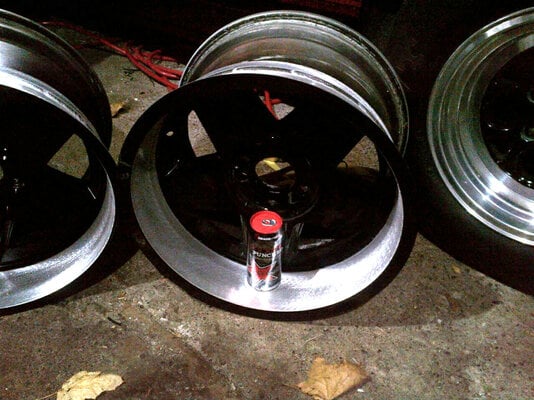
My brother just picked up my wheels from Weldcraft. These might be (?) the only set of 17x11 R15s in the world. The only reason these could be widened to the outside is because they are a "reverse mount" style wheel and have a non-stepped lip. I kind of want to polish/powdercoat the lips now vs. respraying them all black. Cost is a factor, as is time - I should probably just work toward getting the 345s mounted and the wagon on the ground and running.
Turns out that the lip is almost 4" deep.
Turns out that the lip is almost 4" deep.
Attachments
Last edited:
mike, great to see you are still at it ! Will you starting a for sale thread on whats left of the cadaver ?
liquidh8
Comic Book Super Hero
- Status
- Not open for further replies.
Similar threads
- Replies
- 2
- Views
- 878
- Replies
- 3
- Views
- 185
GBodyForum is a participant in the Amazon Services LLC Associates Program, an affiliate advertising program designed to provide a means for sites to earn advertising fees by advertising and linking to amazon.com. Amazon, the Amazon logo, AmazonSupply, and the AmazonSupply logo are trademarks of Amazon.com, Inc. or its affiliates.


