1980 Pontiac LeMans Station Wagon - G-T-faux (stuck with it, and can't shake it... like a bad case of herpes)

Status
Not open for further replies.
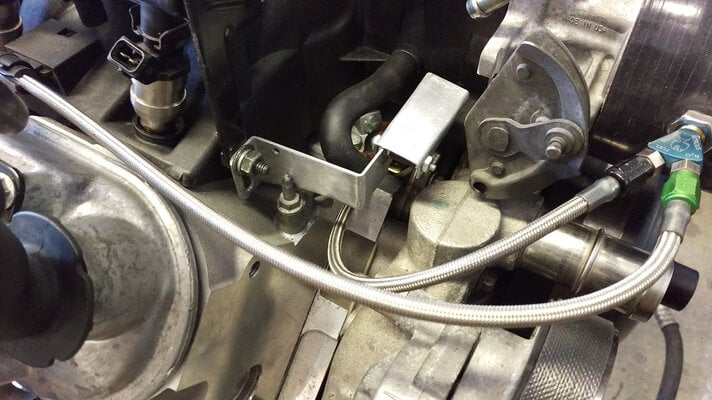
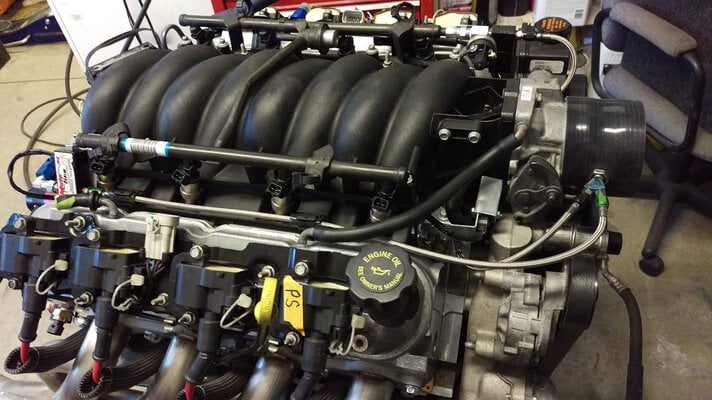
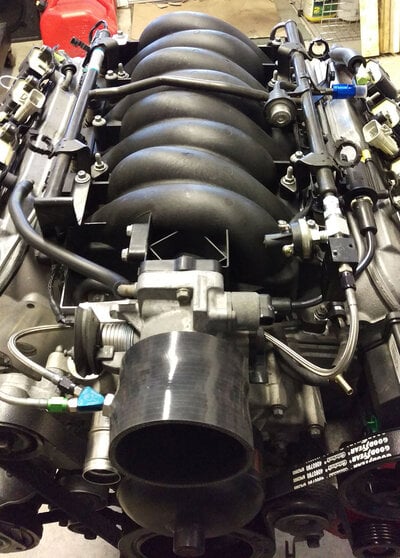
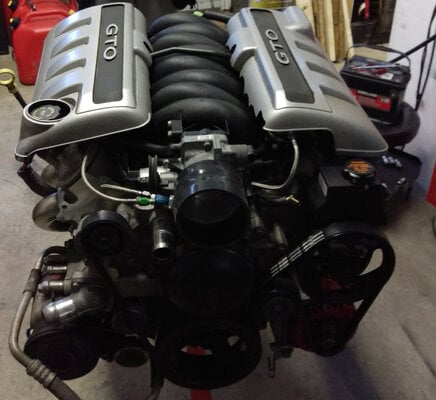
And that is pretty much it - the engine is built; except that I have to measure for and order some pushrods. The last thing I had to finish up was the nitrous kit. The goal here was to install all of the components on the intake itself (short of a few relays); just in case I need to remove it from the engine (to say install it into the car).

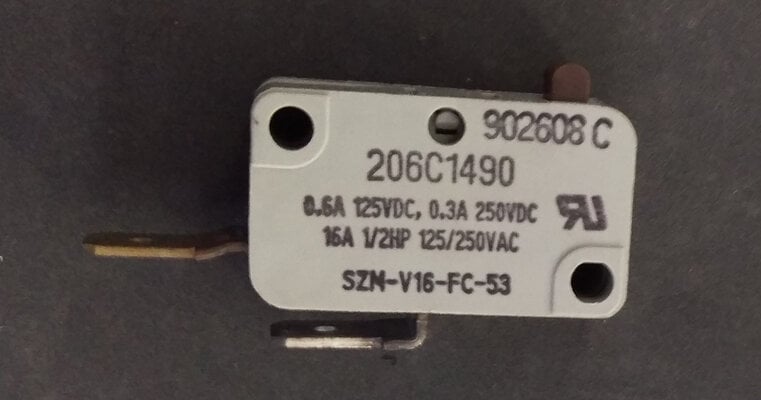
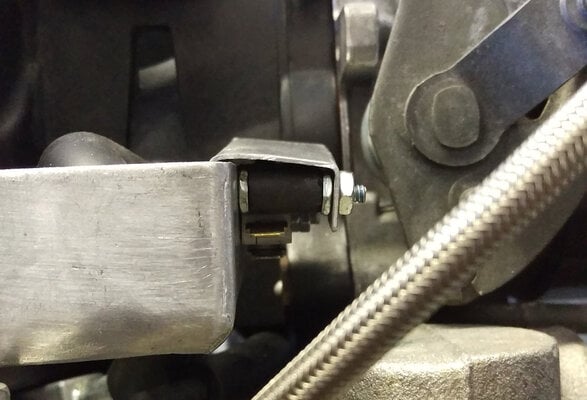
Unfortunately the old dishwasher I salvaged the micro-switch from didn't have a lever arm installed... so I made one and integrated it into the bracket. The WOT micro-switch is connected to a fuel pressure safety switch, which is connected to an RPM window switch - because safety first.

I would really like to set the purge up to bleed out of the unused antenna hole in the fender.
 

Attachments

  • switch1.jpg
    switch1.jpg
    357 KB · Views: 267
  • switch2.jpg
    switch2.jpg
    332.3 KB · Views: 233
  • switch3.jpg
    switch3.jpg
    401.9 KB · Views: 255
  • nos1.jpg
    nos1.jpg
    344.7 KB · Views: 244
  • nos2.jpg
    nos2.jpg
    329.2 KB · Views: 224
  • nos3.jpg
    nos3.jpg
    304.7 KB · Views: 244
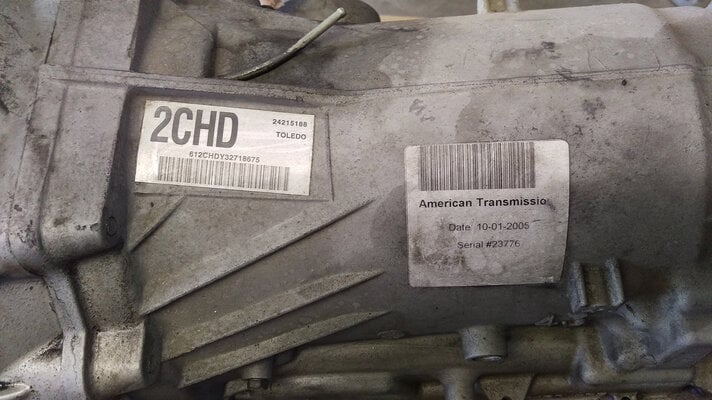
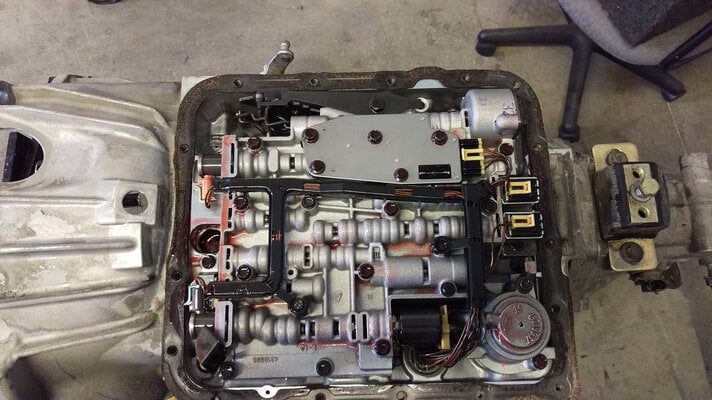
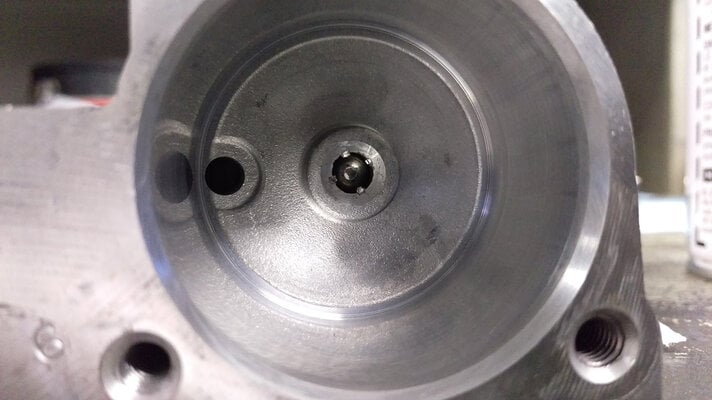
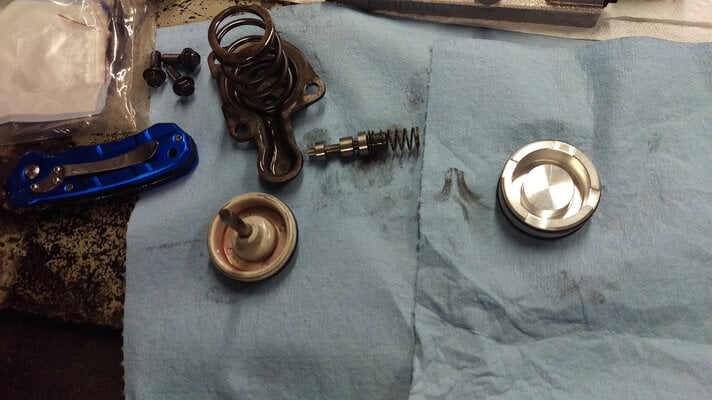
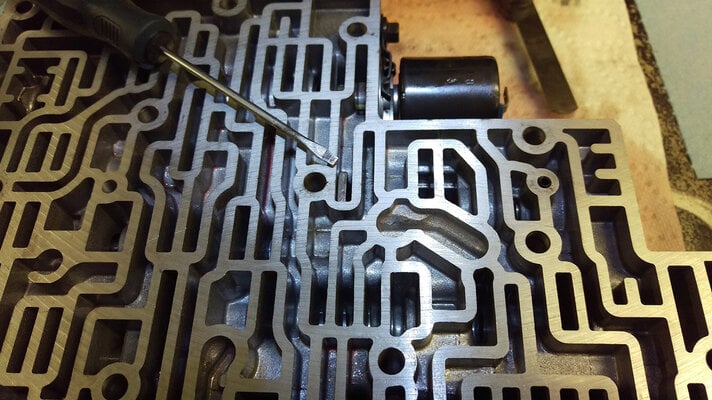
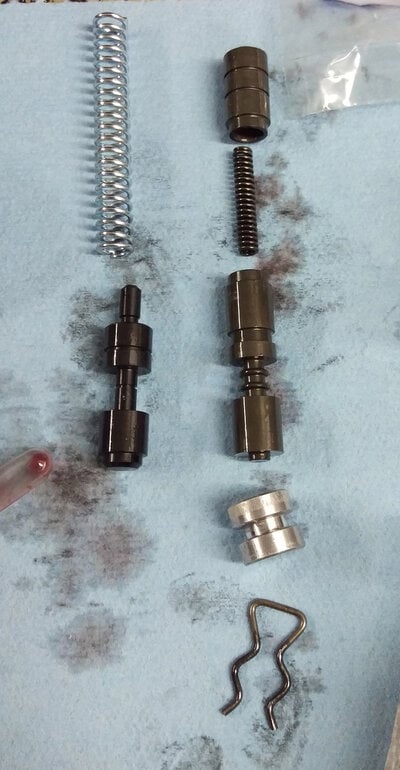
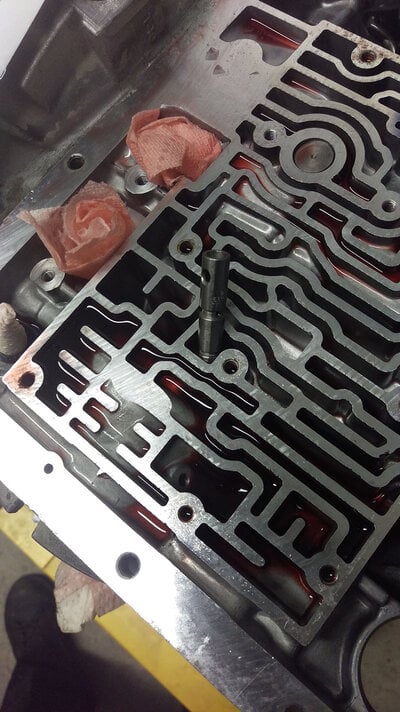
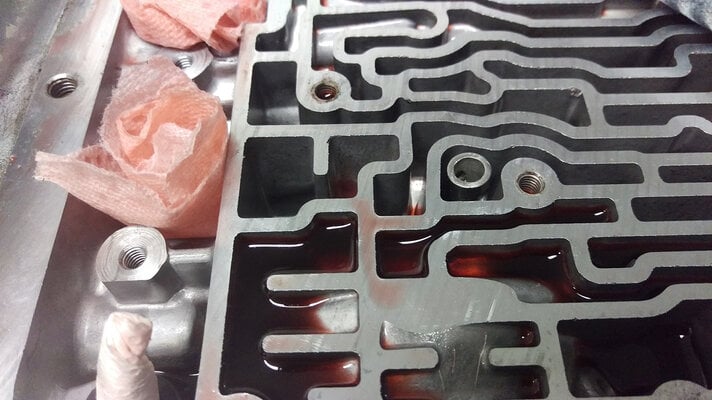
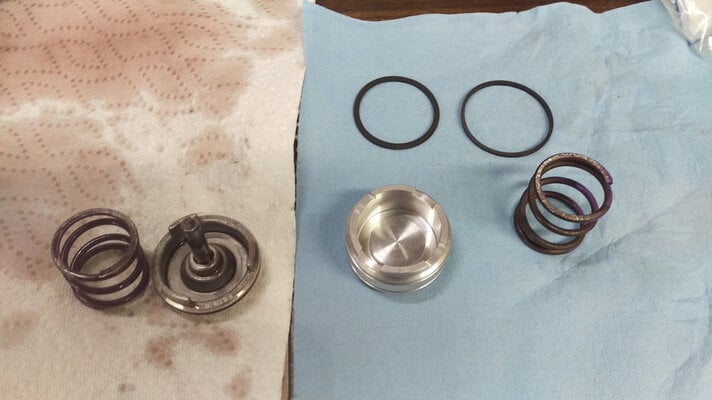
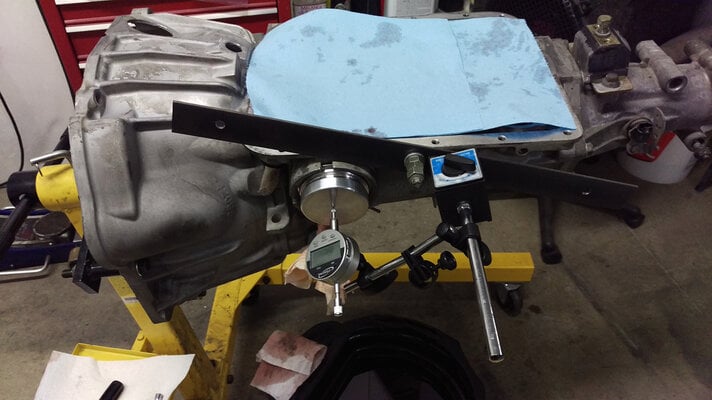
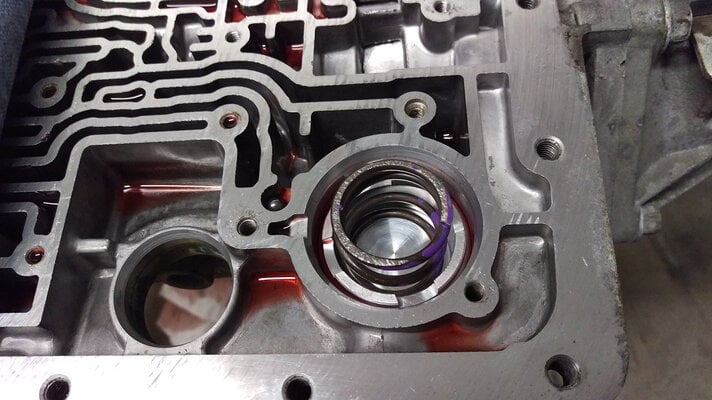
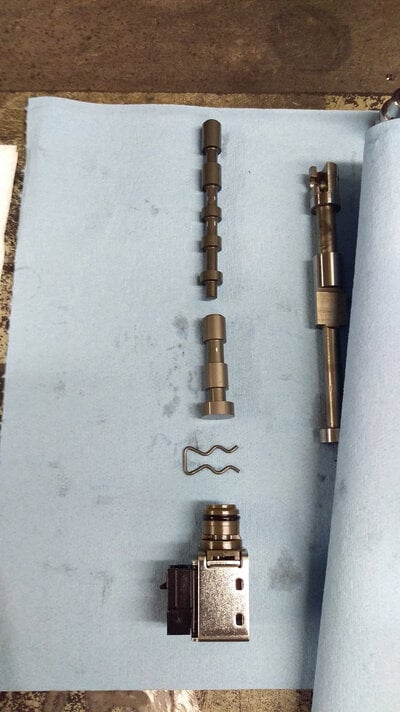
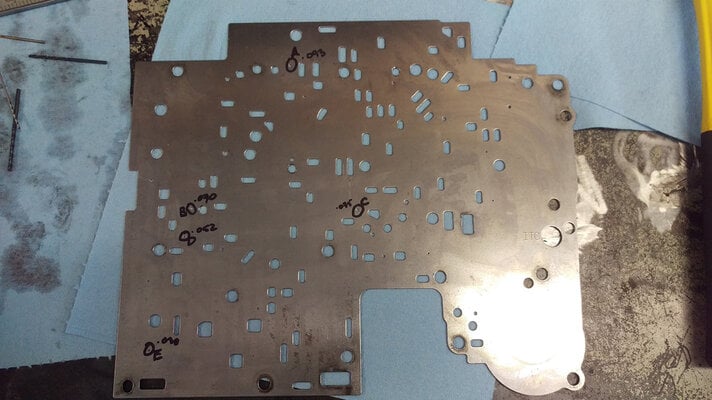
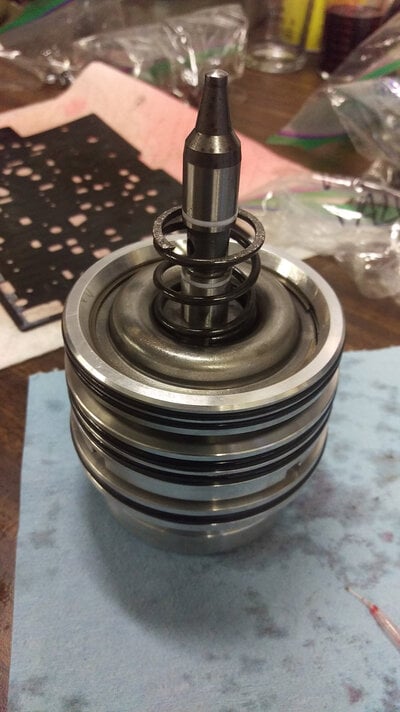
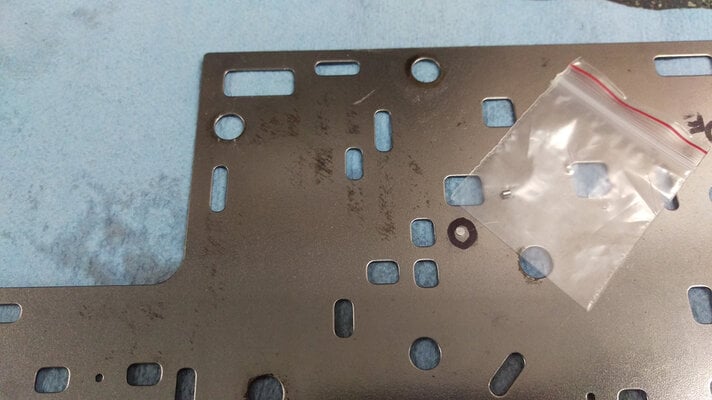
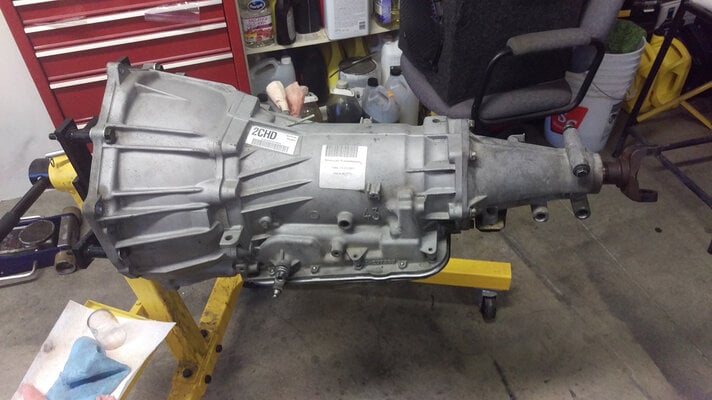
Tore into the trans (out of 2002 Tahoe - go figure) and started to install some parts from Sonnax:

Performance Pack (HP-4l60E-01)
2nd and 4th Gear Super Servos (779911-03K and 77767)
2-3 Shift Valve (77754-41)

The instructions are pretty straight forward, but still leave a little bit to be desire from a clarity stand point if you have never done this before. The most I have ever done with a transmission to this point was install them, swap a converter, and change out a servo. So this was new territory for me. To help anyone along here are a bunch of photos to augment the instructions.

I disabled the PWM function of the TCC, so now it should work just like an ON/OFF switch (like an old school TCC trans).

Plus, there is a Coan 3200 stall, single disc, converter waiting to go on.
 

Attachments

  • 1.jpg
    1.jpg
    324.5 KB · Views: 222
  • 2.jpg
    2.jpg
    345 KB · Views: 230
  • 3.jpg
    3.jpg
    308 KB · Views: 241
  • 4.jpg
    4.jpg
    372.2 KB · Views: 242
  • 5.jpg
    5.jpg
    368.3 KB · Views: 217
  • 7.jpg
    7.jpg
    240 KB · Views: 236
  • 8.jpg
    8.jpg
    289.9 KB · Views: 220
  • 9.jpg
    9.jpg
    373.5 KB · Views: 218
  • 10.jpg
    10.jpg
    306.4 KB · Views: 223
  • 11.jpg
    11.jpg
    325.9 KB · Views: 212
Few more.
 

Attachments

  • 12.jpg
    12.jpg
    298.1 KB · Views: 215
  • 13.jpg
    13.jpg
    257.9 KB · Views: 210
  • 14.jpg
    14.jpg
    371.9 KB · Views: 231
  • 15.jpg
    15.jpg
    244.2 KB · Views: 215
  • 16.jpg
    16.jpg
    325 KB · Views: 202
You might want to consider putting in the Sonnax input shaft/drum assembly. My 5.3 with bolt ons was pulling the input shaft out of the stock drum. The Sonnax piece is expensive but nearly bulletproof. A common 4l60/65/70 failure is to blow the snap ring out of the input drum that secures the clutch pack. The Sonnax drum has a bolt on cover.
sox-77733-10k_yj.jpg

I also recommend the beast sun shell.
 
You might want to consider putting in the Sonnax input shaft/drum assembly. My 5.3 with bolt ons was pulling the input shaft out of the stock drum. The Sonnax piece is expensive but nearly bulletproof. A common 4l60/65/70 failure is to blow the snap ring out of the input drum that secures the clutch pack. The Sonnax drum has a bolt on cover.
View attachment 59079
I also recommend the beast sun shell.

I appreciate the advice! I am well aware of the problem areas (http://www.tbssowners.com/forums/4l70e-transmission-help/209153-blew-up-my-rpm-level-5-today.html) and potential solutions of the 4L60E family of transmissions, however I am only doing the minimum to keep this trans alive for awhile with the added power. There is no way I am investing that kind of time and money into a failure prone platform - especially in a used transmission. When this fails, and it will, I am going to put either a 4L80E or TH400/GV unit in its place.

That being said this transmission took a pretty healthy beating (drags, auto-x, shameless burnouts) from us from 2007 to 2013 before Natasha's Camaro was parked (and later parted out).


That and if I keep adding things to this project it will never be finished, and I really want to crawl back out of rabbit hole I fell down...
 
Last edited:
Spent most of the day shoveling heavy wet snow.

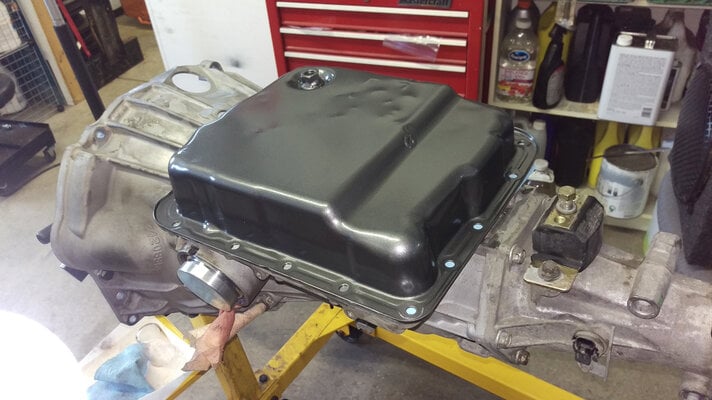
But, I did manage to get the transmission pan stripped and painted. Somewhere down the line a goon threw black paint on the pan and it was flaking off at the slightest touch. I scuffed it up, grabbed some primer and some gunmetal wheel paint; but, man is it still ugly.

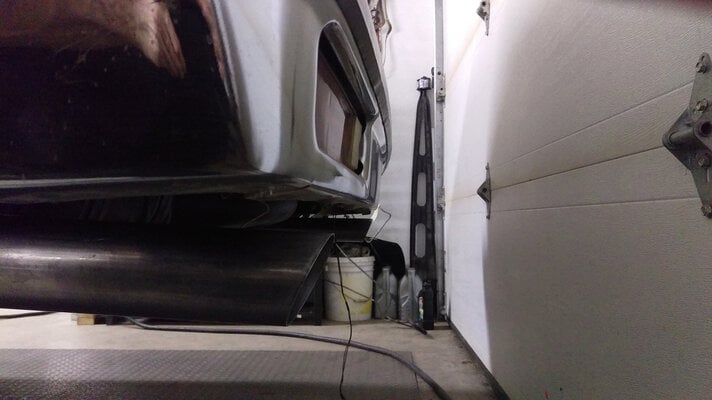
And I finally put on my man-pants and cut the exhaust tips. A long sawzall blade and slight touch-up with a hand-file later, and I could breathe a sigh of relief. Done. Once the engine and trans goes in I can start laying out the whole system - for some reason I love building/fitting exhaust systems.

You know you have a good wife when she runs to the transmission parts to store to pick up your order. But, then mentions how "two gaskets" and a "little thing" don't look like they are "worth $70". She's a keeper.
 

Attachments

  • 17.jpg
    17.jpg
    342.6 KB · Views: 203
  • 1.jpg
    1.jpg
    292.6 KB · Views: 224
Not a lot was accomplished but, a BIG box in the project was ticked:

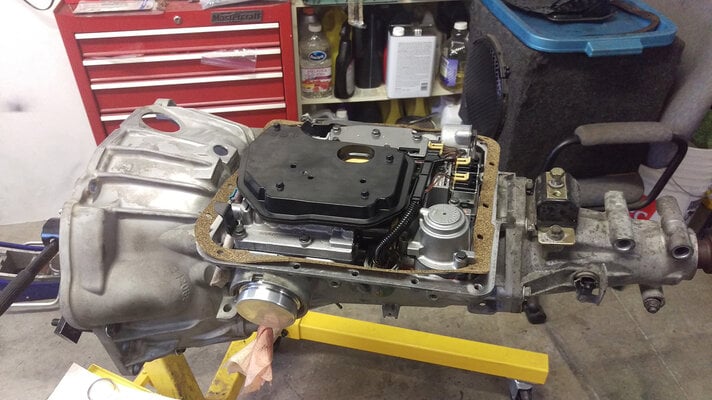
The trans was buttoned up today with the Sonnax 2-3 Shift valve being the last piece. I used the Sonnax "plastic" balls in all of the case and VB locations. I saturated the filter element with some fluid to avoid a dry start up (do the same thing with an oil change). Hopefully this thing works well for a while. Just have to top it off with some Amsoil ATL.

For reference the details on the internal tweaking of the 4L60E is documented here: http://ls1tech.com/forums/automatic-transmission/1856669-4l60e-shift-kit-advice-needed.html
 

Attachments

  • 18.jpg
    18.jpg
    405.7 KB · Views: 216
  • 19.jpg
    19.jpg
    342.6 KB · Views: 227
  • Like
Reactions: Longroof79
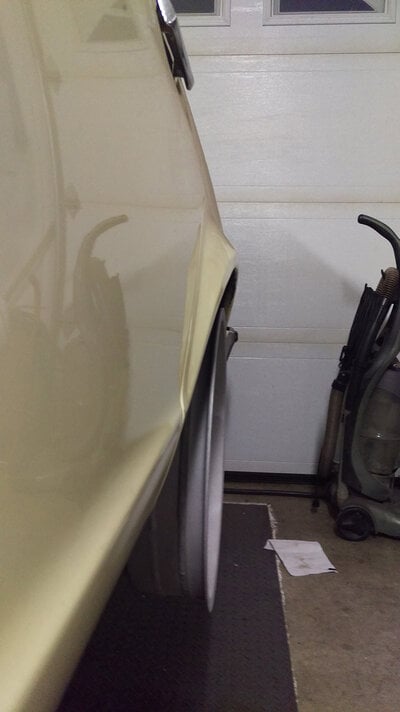
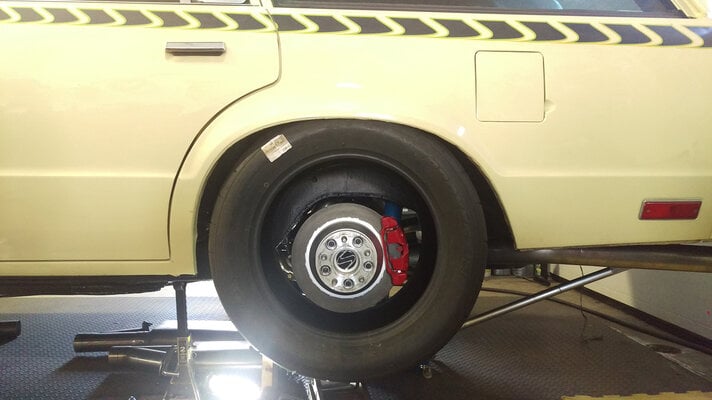
Speaking of jobs that require manning up, and a lot of manpower: Today I rolled the rear inner fender lips. Which is much preferred method to chopping them out to avoid cutting side walls. It also preserves the stock spot welds, and strength and integrity of the sheet metal.

It will tuck (squeeze) the 345s now.

I also mocked up the 17x11s to suit. Added a 1/8" spacer behind them to see how far out I can safely bring the wheels and still have full engagement on the studs/lugs. There is 1.5" minimum clear around the rim on the inside - and by my calculations for mounted section width I only need 1.25" to the inside and outside.

Next up: paint the hoops and mount the buns.
 

Attachments

  • 3.jpg
    3.jpg
    244.9 KB · Views: 221
  • 4.jpg
    4.jpg
    290.9 KB · Views: 230
Status
Not open for further replies.

GBodyForum is a participant in the Amazon Services LLC Associates Program, an affiliate advertising program designed to provide a means for sites to earn advertising fees by advertising and linking to amazon.com. Amazon, the Amazon logo, AmazonSupply, and the AmazonSupply logo are trademarks of Amazon.com, Inc. or its affiliates.

Please support GBodyForum Sponsors

Classic Truck Consoles Dixie Restoration Depot UMI Performance

Contact [email protected] for info on becoming a sponsor