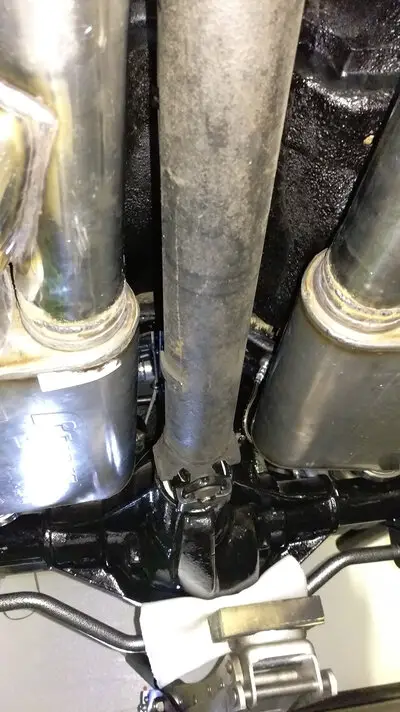
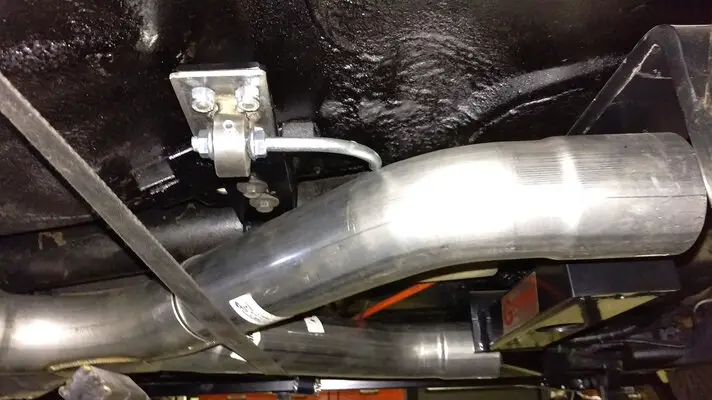
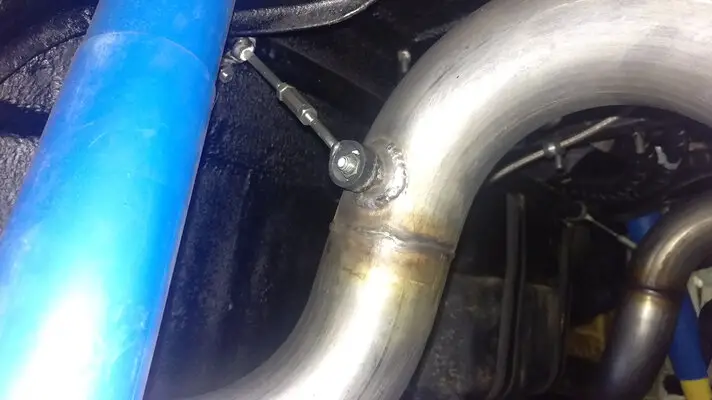
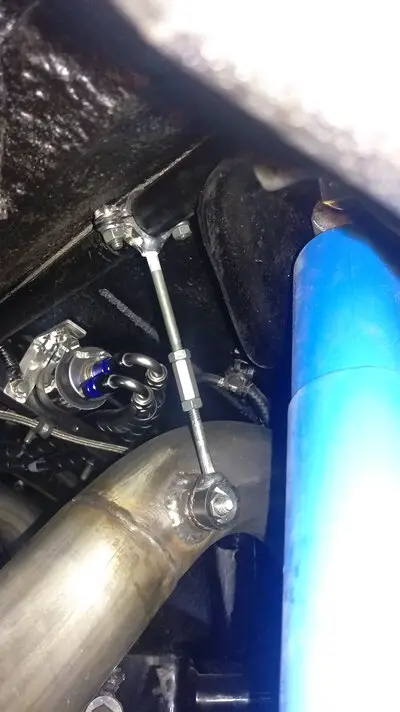
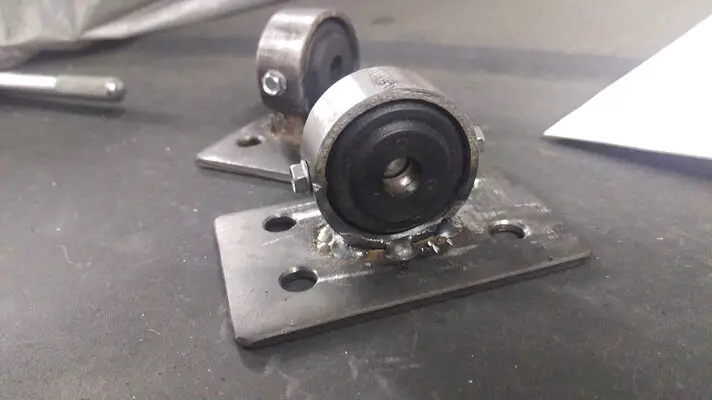
The cat back portion of the exhaust is fitted and hung. I swear I will never buy another Pypes exhaust - the lack of hangers has left a lot to be desired thus far. Next time - Hooker all the way. At any rate it is in and solid now thanks to some backyard engineering and sheer ignorance.
1980 Pontiac LeMans Station Wagon - G-T-faux (stuck with it, and can't shake it... like a bad case of herpes)
- Thread starter motorheadmike
- Start date
You are using an out of date browser. It may not display this or other websites correctly.
You should upgrade or use an alternative browser.
You should upgrade or use an alternative browser.
- Status
- Not open for further replies.
I have the flu, and that gave me the time to finish this.
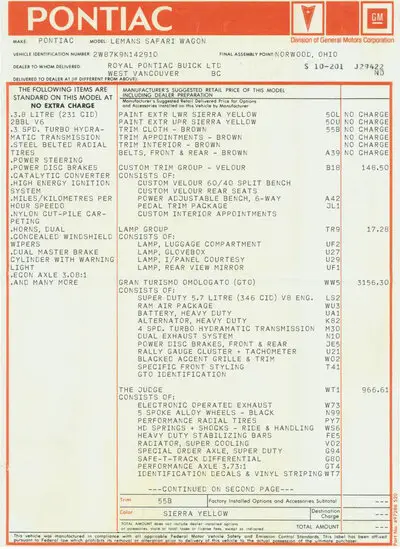
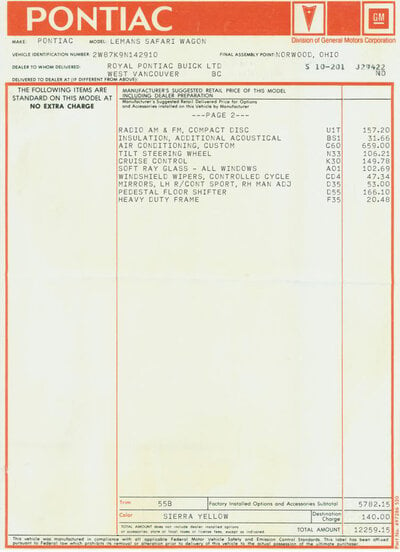
I figured since the car is just a "what if" I figured it should have a back story.
The dealership I used as a start was a high-performance Pontiac group from West Vancouver, BC that made its own line of specialty models (think, a Canadian Yenko) called Royal (Conroy) Pontiac (http://www.ic.gc.ca/app/opic-cipo/t...=eng&status=OK&fileNumber=0287547&extension=0) which shut down in 1981. The time line fits the age of the car. Royal used Beaumonts (aka Chevelles) and dubbed them Cheetahs. So why not a Judge, right? The interesting thing about most Canadian Ponchos is that they used Chevy power.
I dug through lots of resources looking for regular and GTO/Judge RPOs to create a believable (passable?) window sticker. In truth, it is a giant rectal pluck (albeit an accurate one), but if I age the paper and laminate it should make for a nice conversation piece at the local car show.
Attachments
Almost a month between updates? What gives?! Life mostly.
Most of the last few weeks where spare time was made available to me have been spent tweaking and tinkering with many of the parts I had previously installed (like the rear suspension, exhaust, wiring up the cutouts, and other less than exciting things). Fortunately there is still lots more of that to go - so I will never get bored.
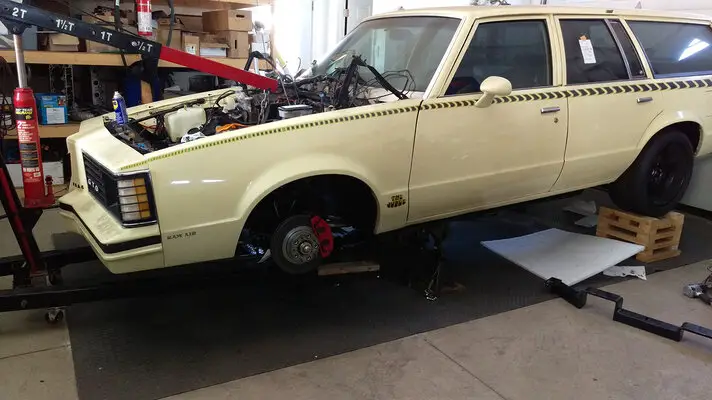
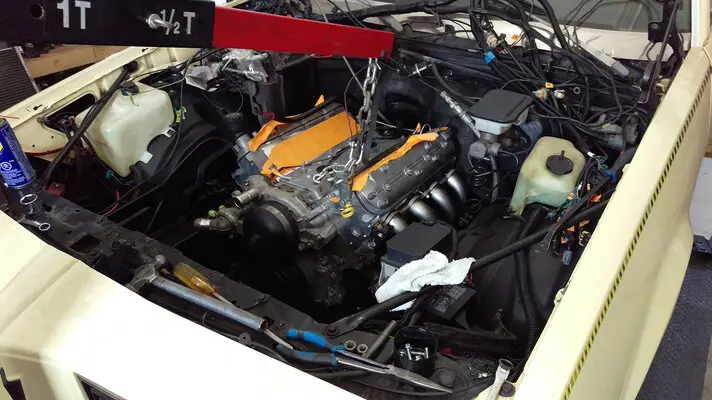
I've been putting off installing the engine for about a month believing that my brother would be dropping by for a visit. Nope - he was sent to China by the US auto industry to sort out the Chinese (he is THAT guy). Spring is coming and I wanted this off my plate... so I threw the car up on the wheel cribs. Grabbed Natasha to help ditch the hood. Reorganized the garage so I could approach the car over the DS fender. Bolted the engine and trans together (had exactly .125" set back for the converter to flex plate, this Coan and Hughes assembly fit way better than the Yank and CAT units I used in the TBSS which I had to shim the crap out of to get into spec). Dropped the nose of the car toward the floor and got to stabbing the drive train and headers in. Found out that the 1" set back engine mounts made the G-Force cross member fit like total poop - going to chop it up to suit (set it back an inch and drop it down a 1/8" or so). Somewhere around 2 AM it was all in, went inside to eat some yogurt, and watch some AvE on the YouTubes.
Oh, and the Hooker headers fit great with the Moroso mounts and Car Shop set back plates!
Attachments
Last edited:
what headers are you running?
Hooker Blackheart 1-7/8" stainless: https://www.holley.com/products/ls_...omponents/exhaust_systems/parts/70101306-RHKR
Cost almost as much as the car, but fit amazing.
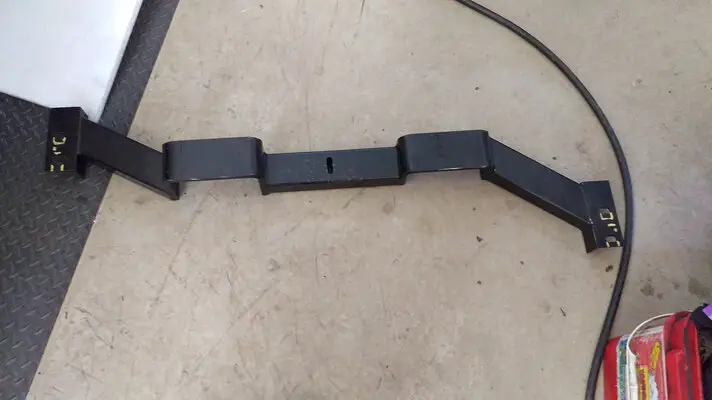
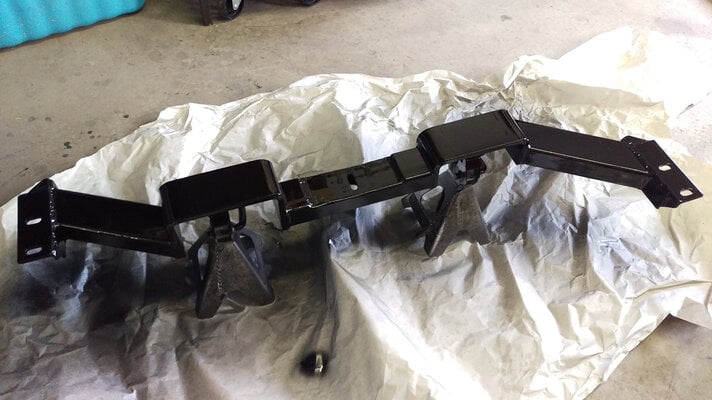
I forced myself to modify the crossmember in the evenings this week. Reason being that when the engine and trans assembly went in last week the back of the trans pan butted up against the crossmember because of the 1" setback, and the Energy Suspension mount would not sit on it. Fair enough.
I cut and moved the flanges 1" to account for the need, and added some gussets; also moved them 1/4" up, which effectively dropped the crossmember removing the interference with the floor pan (because using a jack to reshape the floor as per the installation instructions is just a shitty concept). Further to this I sectioned the transmount surface down about 1/4". All of this allowed the crossmember to be fit easier into the chassis, the nearly 2" tall transmount to be used, and got the floorboard clear allowing me to reinstall the PS heat shielding (and avoid cooking Natasha's feet with header and cat heat).
Right now the driveline angle is sitting at 4* down - which is workable.
Attachments
Nice work!I forced myself to modify the crossmember in the evenings this week. Reason being that when the engine and trans assembly went in last week the back of the trans pan butted up against the crossmember because of the 1" setback, and the Energy Suspension mount would not sit on it. Fair enough.
I cut and moved the flanges 1" to account for the need, and added some gussets; also moved them 1/4" up, which effectively dropped the crossmember removing the interference with the floor pan (because using a jack to reshape the floor as per the installation instructions is just a shitty concept). Further to this I sectioned the transmount surface down about 1/4". All of this allowed the crossmember to be fit easier into the chassis, the nearly 2" tall transmount to be used, and got the floorboard clear allowing me to reinstall the PS heat shielding (and avoid cooking Natasha's feet with header and cat heat).
Right now the driveline angle is sitting at 4* down - which is workable.
UG I want a Lemans so bad....🙁
I want one that runs and drives. 😉
Nice work!
Thanks!
- Status
- Not open for further replies.
Similar threads
- Replies
- 2
- Views
- 878
- Replies
- 3
- Views
- 184
GBodyForum is a participant in the Amazon Services LLC Associates Program, an affiliate advertising program designed to provide a means for sites to earn advertising fees by advertising and linking to amazon.com. Amazon, the Amazon logo, AmazonSupply, and the AmazonSupply logo are trademarks of Amazon.com, Inc. or its affiliates.


