1984 Oldsmobile Cutlass Supreme Brougham

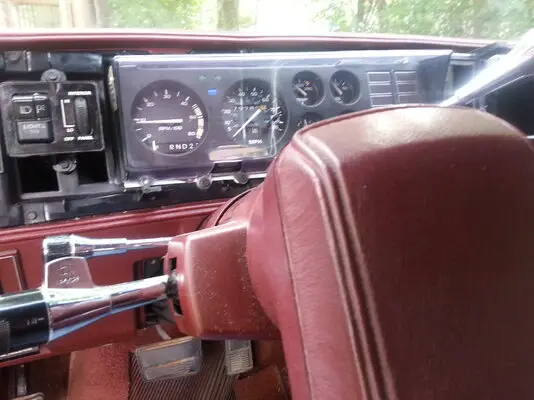
And then, re-arranging the cluster. You have to be careful ---- the wires for the cruise-control speed censor may complicate things if they are not well tucket behind.


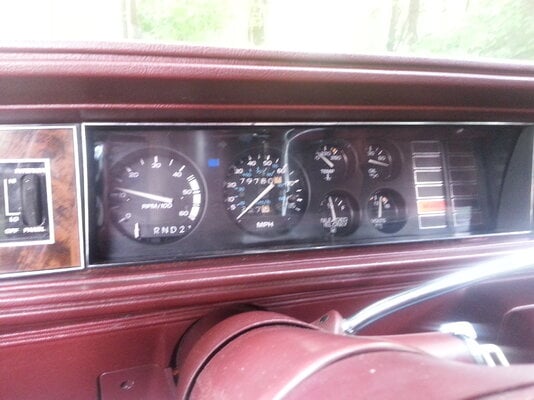
I had to drill a hole in the clear plastic bezel -- because the one I had bought on ebay was not good enough.

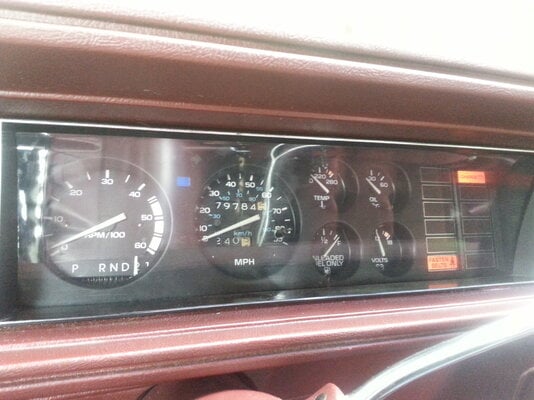
And this is the final setup. Happy... :
 

Attachments

  • 20130909_153130.jpg
    20130909_153130.jpg
    2 MB · Views: 2,433
  • 20130909_155246.jpg
    20130909_155246.jpg
    2.1 MB · Views: 2,461
  • 20130909_161407.jpg
    20130909_161407.jpg
    1.9 MB · Views: 2,535
Cluster looks good -- short of having the proper reset knob on the trip odometer... but that's a detail (for now... until I get annoyed!).

The other thing is that now - I have everything in miles - guessing that the speedometer is Ok and will give me the right data to evaluate fuel economy -- which is at the center of my project.
 
gdouaire said:
So this is the swap, the old and the new:


I followed the usual link, very well done -- http://tech.oldsgmail.com/eint_rallye_swap.html

The first step was to add the green and blue mica to get the correct color for the turn signal and high beams:


The next one was to adapt a "PRNDL" indicator to my cluster, as the one I bought on ebay did not have any. I shopped for an indicator by size, finally settled for a Citation "PRNDL". I drilled holes and used mini-screws to fasten everything together. I used some leftover aluminium bracket to make sure the stuff stayed in place:


I used LED bought online - very cheap - to replace the original bulbs. LED's are polarized -- need to test them to make sure you are connecting them OK - + on + and - on -.
Question
Why did you have to drill holes to make the indicator stay in place? I have an indicator that I'm adding to my rallye cluster too but I haven't installed yet. I thought their was a place where it could be bolt with 2 7mm screws without any mods...
Also, how did you attach the clip that connects to the tiny cable to the column?
 
littlerascle59 said:
Question
Why did you have to drill holes to make the indicator stay in place? I have an indicator that I'm adding to my rallye cluster too but I haven't installed yet. I thought their was a place where it could be bolt with 2 7mm screws without any mods...
Also, how did you attach the clip that connects to the tiny cable to the column?

I used a Chevrolet Citation PRNDL - custom fit... maybe a different unit would have been easier. A stock Cutlass unit is a direct bolt-on like you said.

I my case, for the cable, I recycled the one from the non-rallye cluster and it worked fine.
 
RunAwayNJ said:
Which LED bulbs are those you got on ebay? - I've been looking and can't seem to find the right ones.

These are the ones I used:

http://www.ebay.ca/itm/400548135561?ssP ... 1497.l2649

They work fine and have proper intensity. The polarity is a bit tricky -- looks like the side with the long terminal is negative, and the positive side has a short terminal, but sometimes the length are almost equal. Need a 9v battery to test to make sure you get them right. These will fit perfectly in the OEM sockets - that's what I used.
 
And a note on these LED's - you can't "dim" these... adjusting the intensity of the cluster light does nothing at all. I can live with it.
 
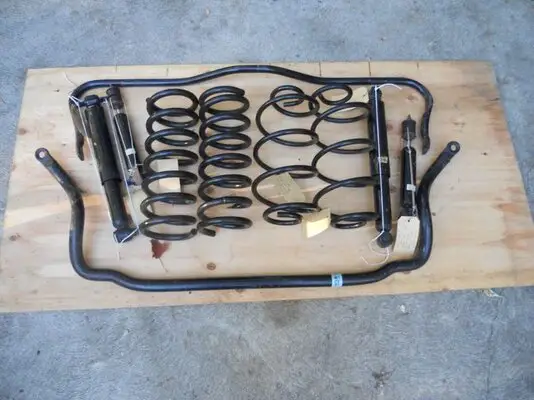
Today, more spending - got a full used suspension kit for a 1987 GN for my Cutlass...

And when we say "used", I mean barely used. All of it for 400$.


Original ad description:

1987 Buick Grand National suspension parts removed when it had about 1100 KM on it. Parts included as follows: front and rear sway bars with factory stickers, 4 coil springs and 4 Delco-Bilstein OEM gas shocks. Will fit all 1979 thru 87 Buick Regal 2 door coupes. Fits same year Chevrolet Monte Carlo, Malibu and El Camino models. Parts are in excellent condition. If you are restoring a Grand National or want enhanced handling, this is a nice set-up. $425.00 for all indicated
 

Attachments

  • $T2eC16RHJGMFFo3(,N54BSIVLGDUUw~~48_20.JPG
    $T2eC16RHJGMFFo3(,N54BSIVLGDUUw~~48_20.JPG
    82.4 KB · Views: 1,175
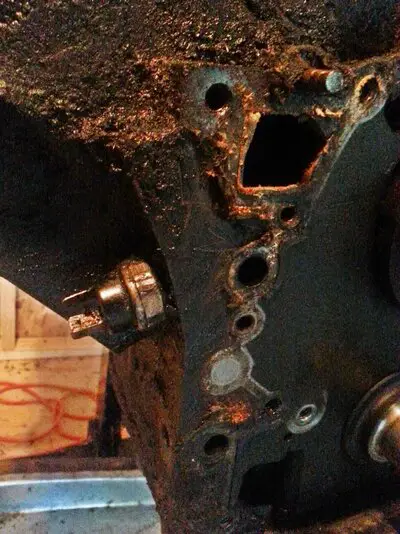
I used my spare engine to check for the clearance of the oil pressure gauge - planned to use a 90o 1/8 NPT fitting.


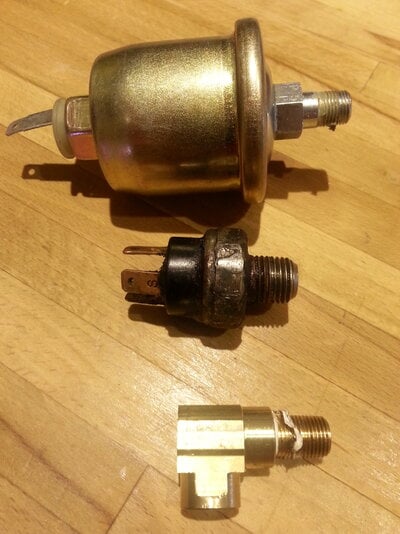
However, found out the stock sensor (center in image below) has different thread - looks like 1/4 NPT, but I'm no expert. The sensor they sold me on eBay (left) looks like a thing that would fit a SBC engine. whatever. In need of a 1/4-1/8 reducer. On the right, is the 90o fitting to clear the block. Was looking for a 45o but hardware stores don't carry them.


Furthermore - was curious about these 3 wires on the stock oil sensor -- left it unplugged and everything works fine. Some say it cuts off the fuel pump when the oil pressure is low, but with a mech pump, no clue what that should be doing.
 

Attachments

  • 20130916_162336.jpg
    20130916_162336.jpg
    2.5 MB · Views: 1,106
  • 20130916_171544.jpg
    20130916_171544.jpg
    1 MB · Views: 1,124
oh - this morning, driving with the oil pressure sensor unplugged to test - it looks like keeping this unplugged is interfering with the electric idle operation - it stays on. Will further investigate that. May also be related to the fact that it was very cold this morning.

Either way - a 1/4 NPT tee + 1/4 to 1/8 reducer could solve the issue, running the gauge sensor + the old switch in parallel.
 

GBodyForum is a participant in the Amazon Services LLC Associates Program, an affiliate advertising program designed to provide a means for sites to earn advertising fees by advertising and linking to amazon.com. Amazon, the Amazon logo, AmazonSupply, and the AmazonSupply logo are trademarks of Amazon.com, Inc. or its affiliates.

Please support GBodyForum Sponsors

Classic Truck Consoles Dixie Restoration Depot UMI Performance

Contact [email protected] for info on becoming a sponsor