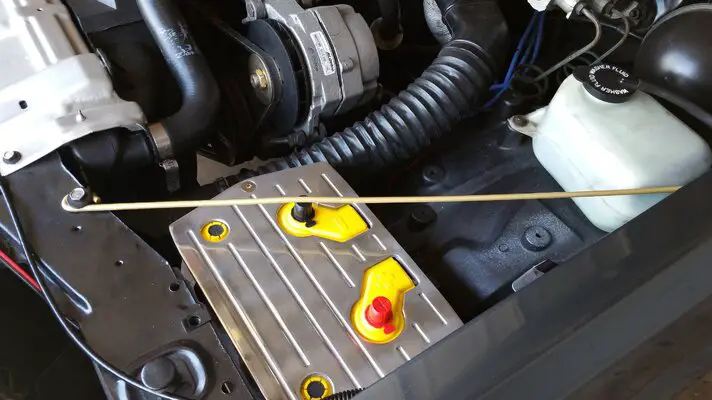
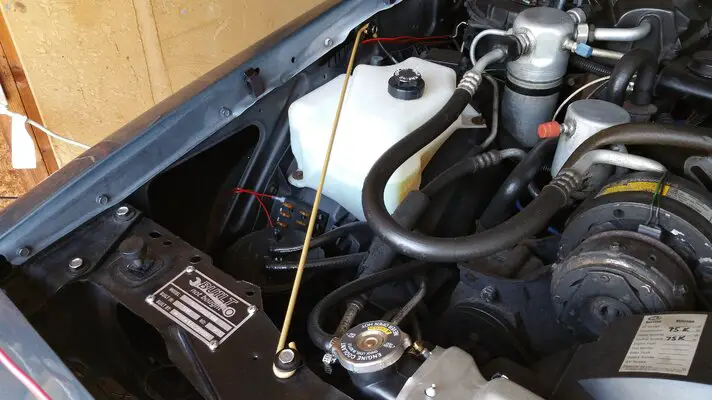
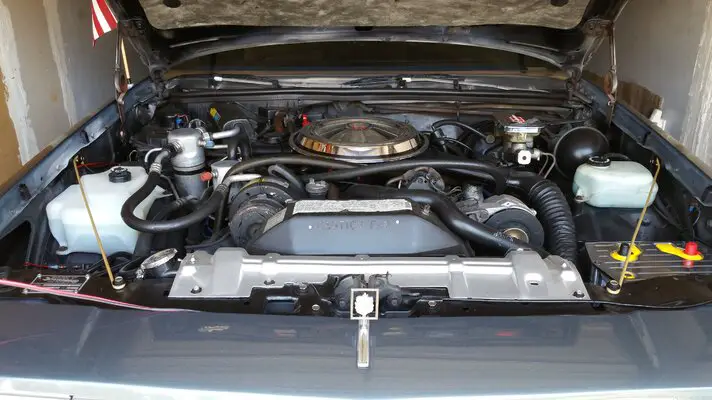
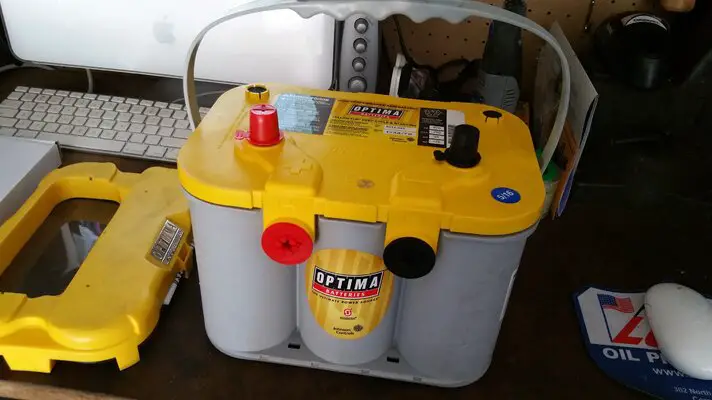
Got another project out of the way tonight - removed the old battery and installed a new Optima yellowtop and billet hold down tray. Here is the "before picture" and the new battery:
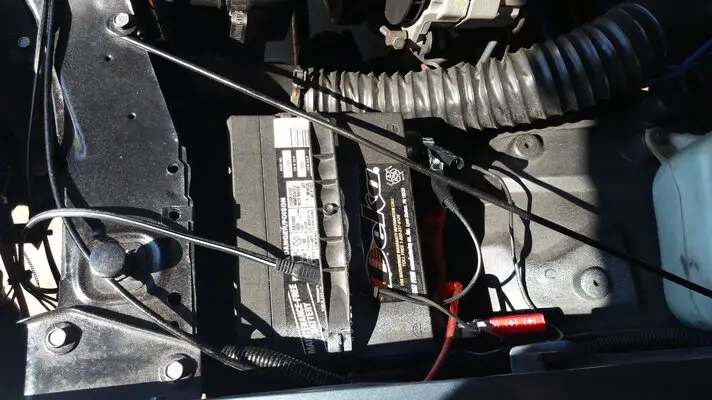
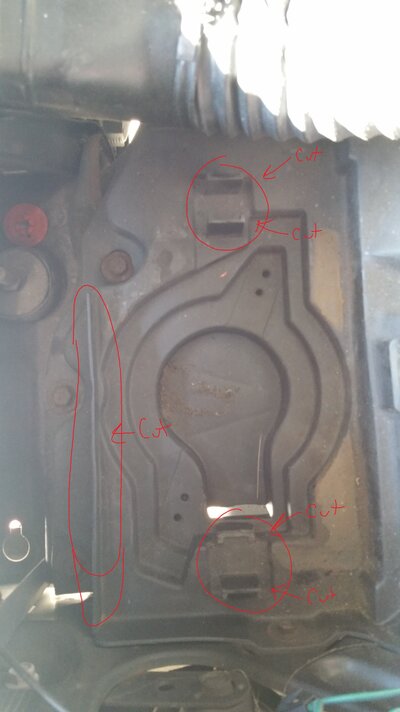
After I removed the old battery, I had to make some modifications to the battery tray to fit the billet holder. If you are not getting a billet holder the Optima battery fits right in the tray, and comes with the puck adapter holddown. Here are the modifications I had to make:
Then it's time to line up the tray and drill the mounting holes:
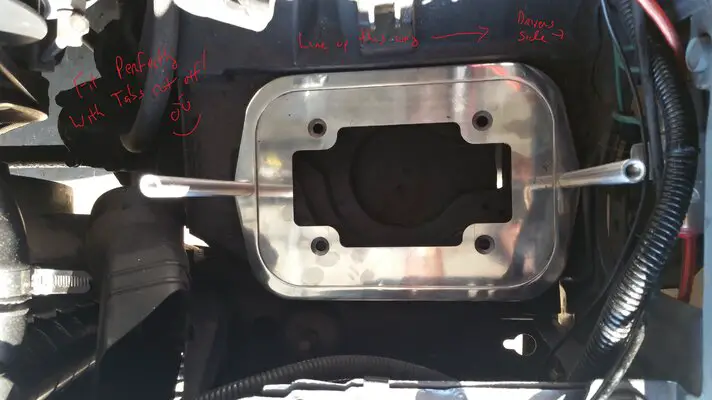
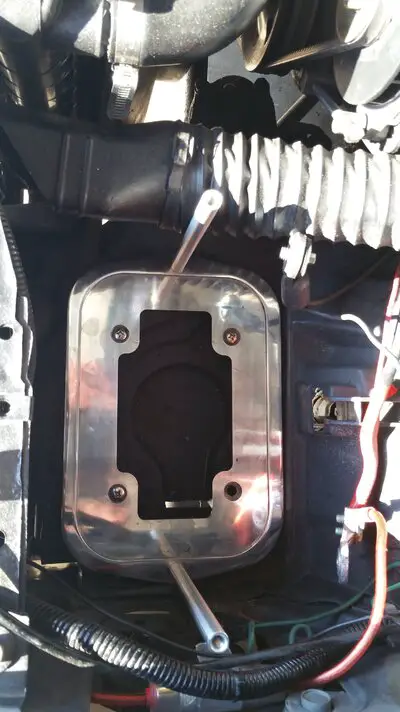 Bolted in place. It's much sturdier than before!
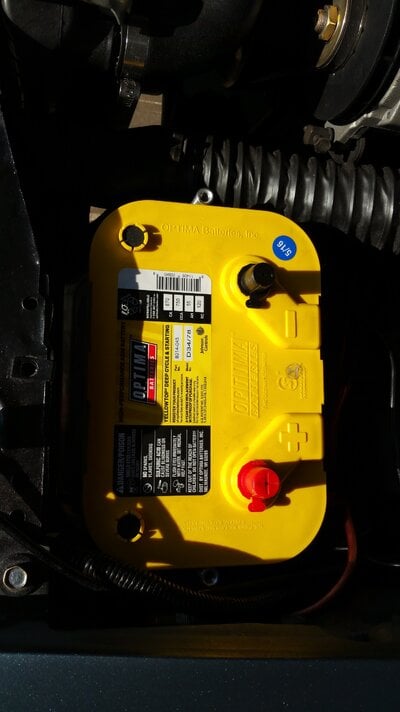
Next time to lower in the battery. After it's in, you can push down on the plastic handle and it can be removed. I saved it so the battery can be removed easier in the future.
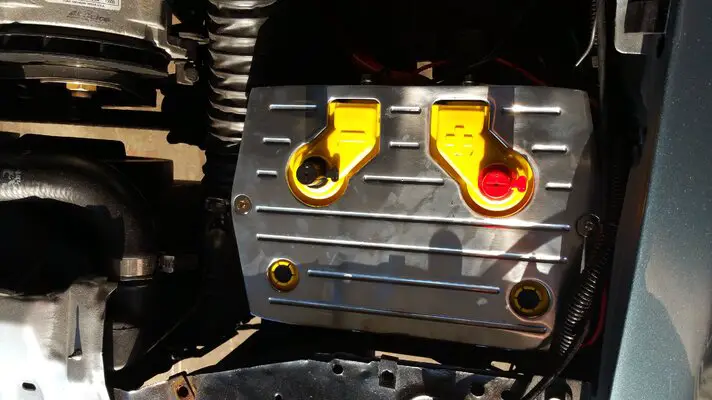
Next I put the cover to the tray on and screwed it into place:
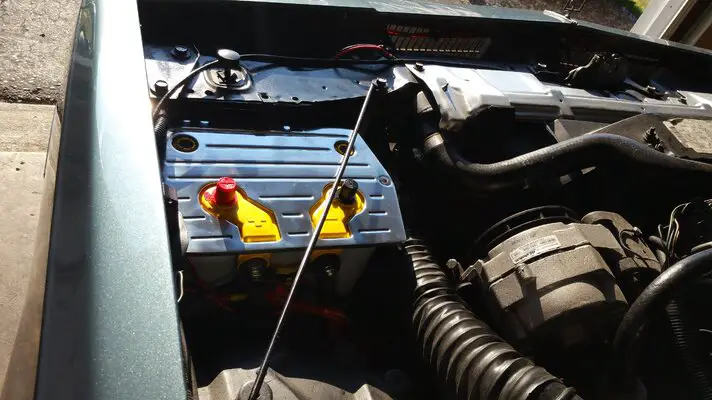
Then it's time to connect the battery cables. I hard wired in the pigtail for the charger as well so I don't have to use the clamps.
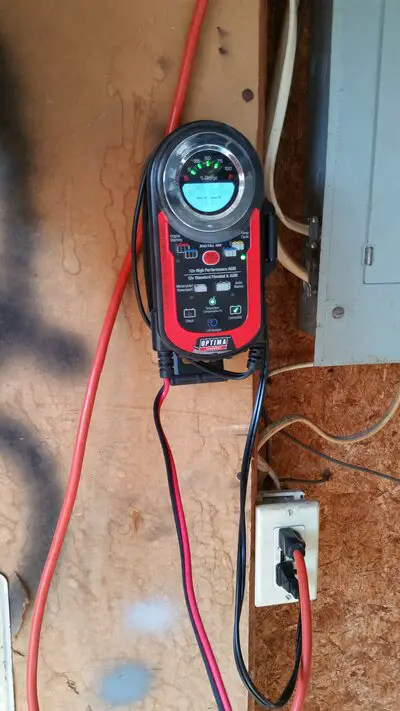
And the final, mounted my new Optima charger to the wall and plugged it in to charge it up. The battery came 50% charged.
And it's done. If you are interested in the billet tray, here is the Ebay link to the one I purchased:
http://rover.ebay.com/rover/1/711-5...0001&campid=5335822911&icep_item=281867643697
I also got a battery a size larger than the fitting guide. It actually fit in perfectly and there is plenty of room on the sides and on top. The whole project took about an hour and was pretty painless.


After I removed the old battery, I had to make some modifications to the battery tray to fit the billet holder. If you are not getting a billet holder the Optima battery fits right in the tray, and comes with the puck adapter holddown. Here are the modifications I had to make:

Then it's time to line up the tray and drill the mounting holes:

 Bolted in place. It's much sturdier than before!
Next time to lower in the battery. After it's in, you can push down on the plastic handle and it can be removed. I saved it so the battery can be removed easier in the future.

Next I put the cover to the tray on and screwed it into place:

Then it's time to connect the battery cables. I hard wired in the pigtail for the charger as well so I don't have to use the clamps.

And the final, mounted my new Optima charger to the wall and plugged it in to charge it up. The battery came 50% charged.

And it's done. If you are interested in the billet tray, here is the Ebay link to the one I purchased:
http://rover.ebay.com/rover/1/711-5...0001&campid=5335822911&icep_item=281867643697
I also got a battery a size larger than the fitting guide. It actually fit in perfectly and there is plenty of room on the sides and on top. The whole project took about an hour and was pretty painless.


