BUILD THREAD 1986 Oldsmobile 442 Build
- Thread starter RunAwayNJ
- Start date
You are using an out of date browser. It may not display this or other websites correctly.
You should upgrade or use an alternative browser.
You should upgrade or use an alternative browser.
- Status
- Not open for further replies.
I think I've reached the point where I am temporarily all "modded out", with the exception of finishing the trunk project. Anything else I need to do now is waiting on the engine rebuild first, and then the body work and paint. We installed a new alternator last week as the old one died last Friday night, but otherwise I am at a standstill. I can't finish the trunk yet as what I am planning may interfere with some body work, so it needs to wait. So far the rest of the season, no more work, just enjoyment. The plan is to do tires, shocks, struts, and gas tank in October, Engine rebuild in November, and paint/body work in early March 2014. That will spread things out enough to save up some money to do it all.
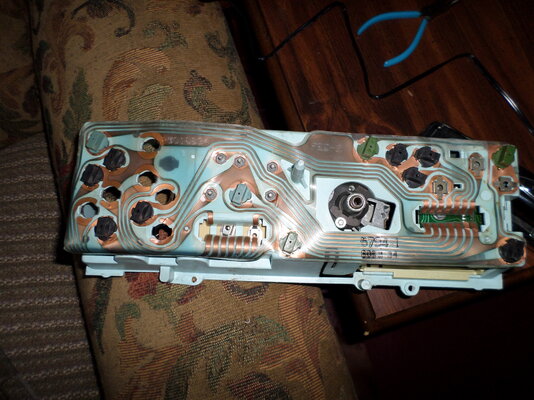
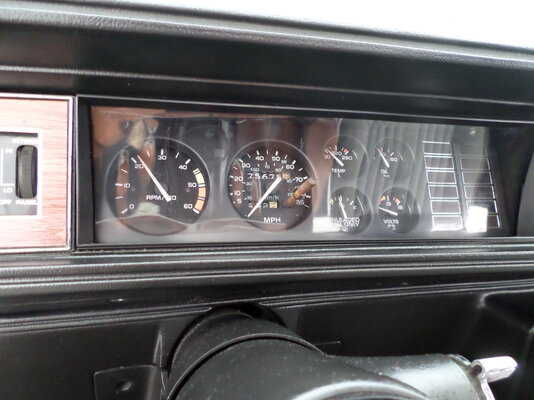
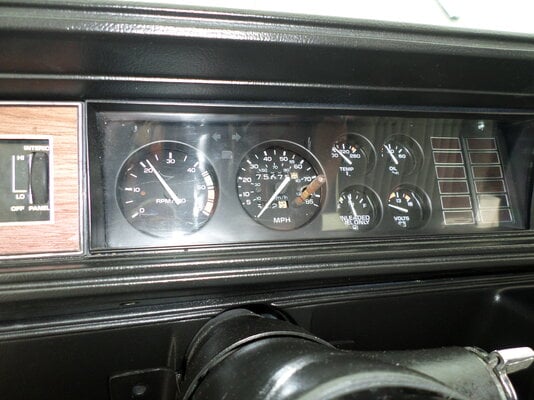
Well I actually found another mod to do - fix the gauge cluster (again) ! Since the car show was rained out for today, I thought I'd tackle this project. It took about 3 hours of on and off work, much less than I had imagined. The first step was to remove the gauge cluster - instructions can be found here:
http://tech.oldsgmail.com/eint_cluster.php
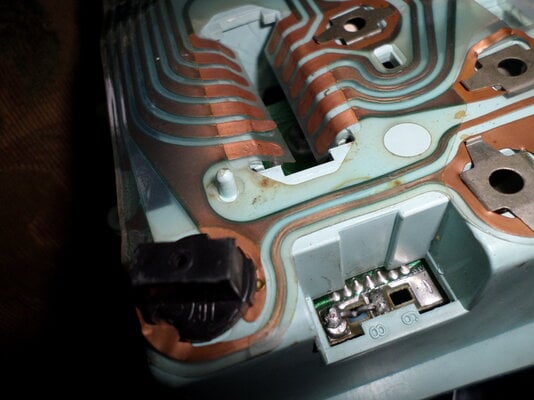
The next step was to fix the erratic tach. There is a guide to doing it, which is posted here:
http://tech.oldsgmail.com/eint_tach_fix.php
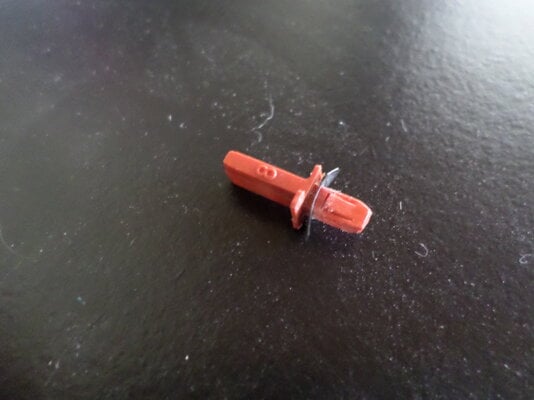
It was actually quite simple. I followed the instructions and had the new wire soldered on in a few minutes. One of the pictures below will show you the jumper and how much play is in it.
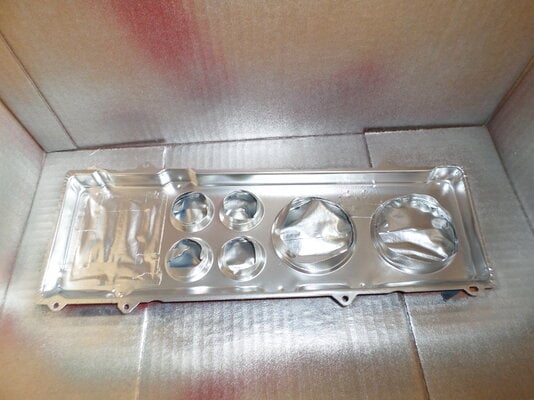
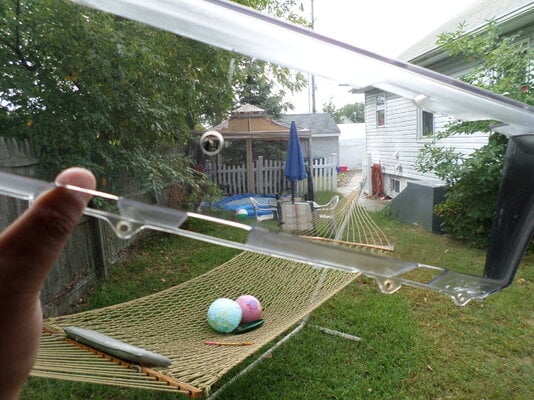
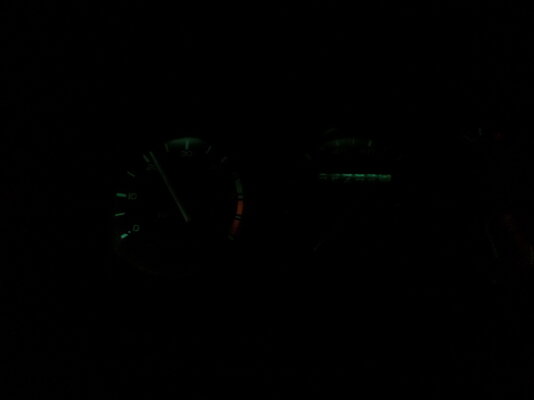
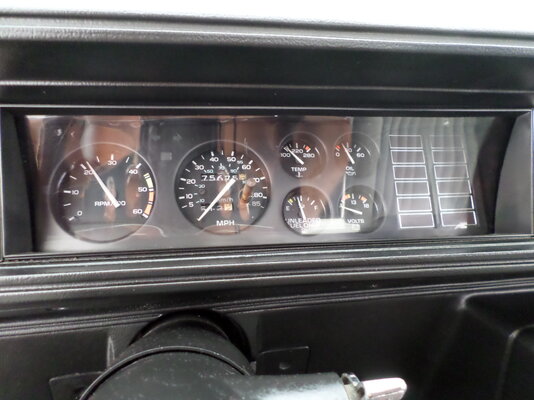
Next up I replaced all the bulbs with blue backlighting and new clear bulbs for the info lights. Removed and separated the clear cover from the cluster and cleaned and polished the clear section - you can see right through it now. I painted the rear of the black cluster plate chrome to help reflect some of the backlighting. Put it all back together and into the car. Once I ran it the tach was noticeably different. It used to jump around and read high. It now works perfectly. If anyone is having tach issues I highly recommend this fix! I'll post up some pictures later of the gauges lit up at night - it's still too bright out here!
Attachments
Here are some pictures of the finished gauge cluster project. The night pictures don't do it justice, probably the camera, but the blue lights are nice and bright. It came out pretty good, and the chrome paint on the back seems to make a little difference. I'm pretty happy with the outcome, the best part being fixing the tach. Now it reads properly and doesn't jump around.
Attachments
Ordered a few more things today off of Ebay to get installed - the liner for the hood and a new brake pedal cover. I'll also be picking up the new shocks and Hotchkis front and rear sway bars next week, along with a new fuel tank. If all goes well I'll get some paint work done after work this week on the hood so I can install the liner when it comes. After saying I was modded out I've found some little odds and ends kind of mods to get done before the big work begins over the winter.
-83MONTESS- said:Holy crap how do you see the gauges at night?
The picture doesn't do it justice, I think it was the camera. They actually are pretty bright.
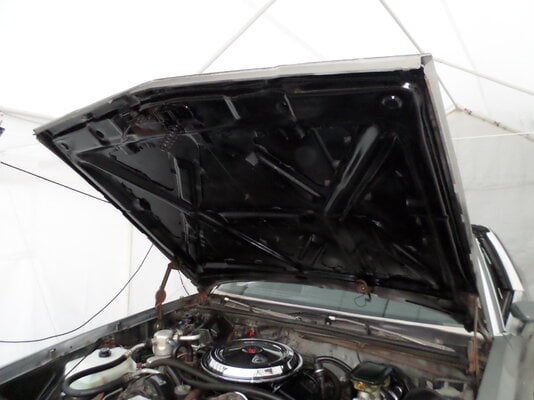
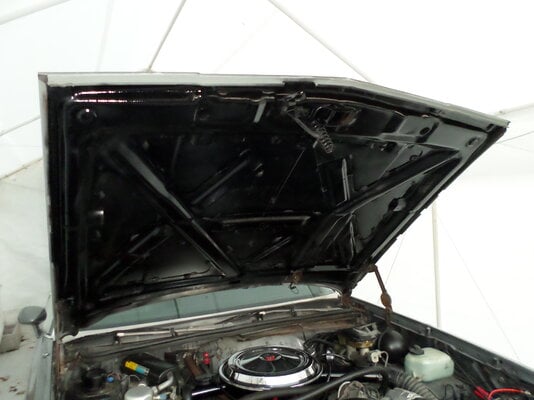
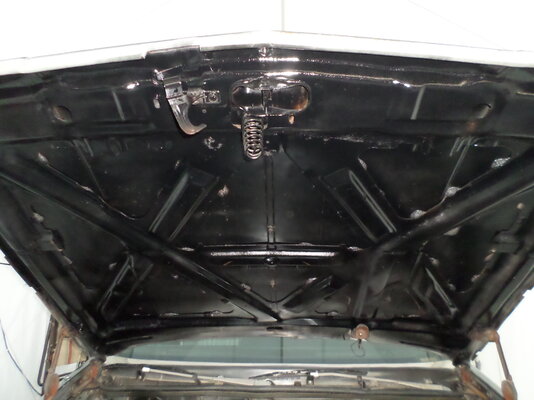
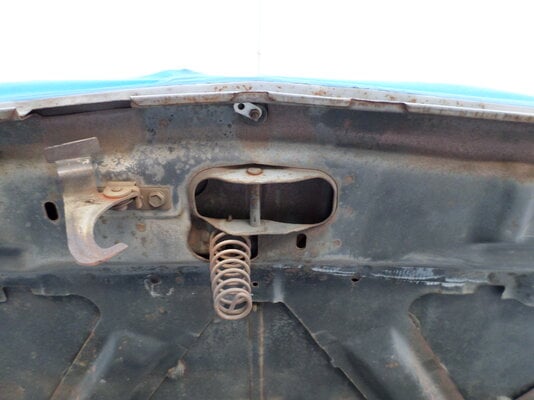
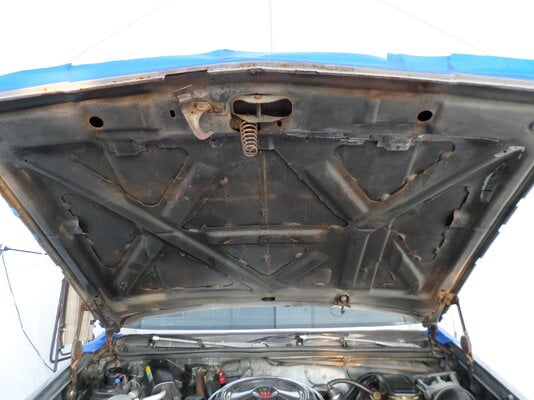
I took some time tonight to paint the underside of the hood. I ordered the liner off Ebay and it should arrive within the next day or so which made this the best time to get this paintwork done. I taped everything off and threw a tarp over the engine and sealed that down with tape as well. Did some light sanding to remove surface rust. Sprayed the sides gray to keep with the color of the car. Next up sprayed 3 coats of gloss black and 2 coats of clear on the underside. Once it was all dry pulled the tape and it was all done - for now. Once my liner comes from Ebay we will get that in. I am probably going to get the Olds Rocket logo airbrushed on it first if time (and bank account) permit.
Attachments
- Status
- Not open for further replies.
Similar threads
- Replies
- 2
- Views
- 72
- Replies
- 0
- Views
- 86
- Replies
- 5
- Views
- 342
GBodyForum is a participant in the Amazon Services LLC Associates Program, an affiliate advertising program designed to provide a means for sites to earn advertising fees by advertising and linking to amazon.com. Amazon, the Amazon logo, AmazonSupply, and the AmazonSupply logo are trademarks of Amazon.com, Inc. or its affiliates.


