BUILD THREAD 1986 Oldsmobile 442 Build

Status
Not open for further replies.
85442 said:
Hi, just wondering if you want to sell the factory gray steering wheel?

I actually still have the factory grey steering wheel. It's in sorta-decent driver condition. It could use a paint refresh as it's peeling a bit and the leather wrap is fading a bit. I'll send you some better pictures and if you are interested feel free to make an offer + shipping. It's not horrible, but really not show-worthy but could easily be brought back to life. I just wanted wood grain or else I would have kept it and re-finished it.
 
Speak of the devil - the guys at Maaco texted me over a picture of today's progress. Looks like I'll be getting her back tomorrow! Lookin' good!
 

Attachments

  • Paint 3.10.14.jpg
    Paint 3.10.14.jpg
    493.6 KB · Views: 1,111
Re: 1986 Oldsmobile 442 Build - With Bonus fresh paint!

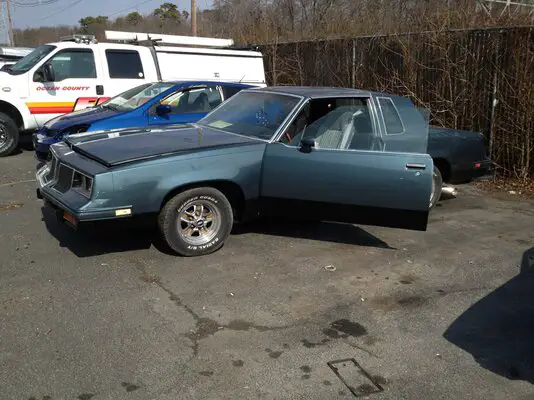
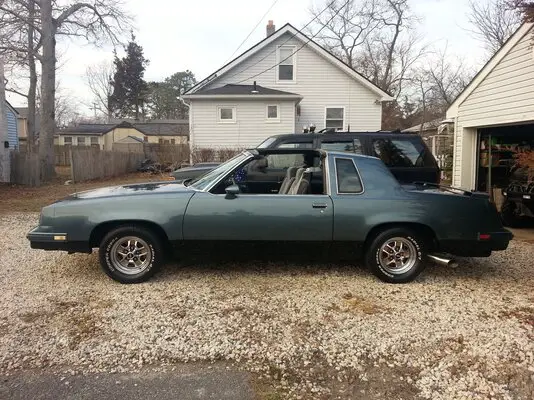
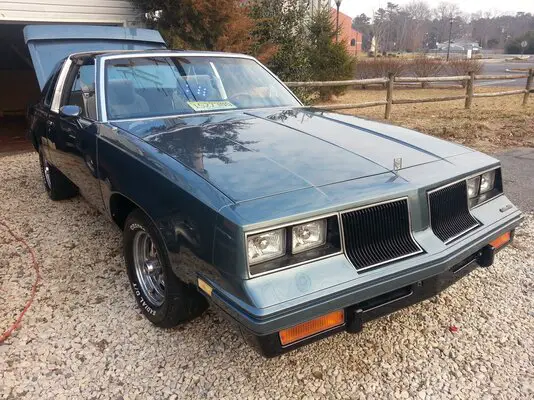
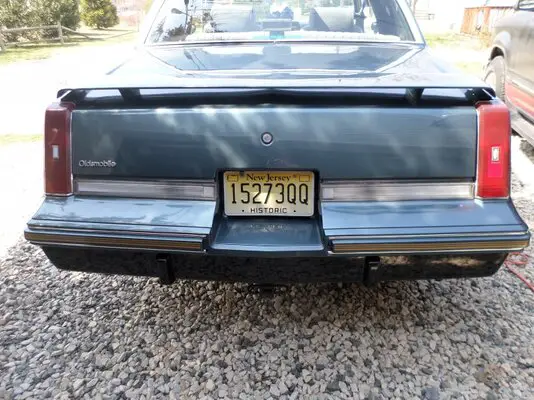
Well I picked the 442 up from paint about 2 hours ago. I have to say for what I paid I am very happy with the job. That being said, there is some finishing work I need to still, well, finish. There is some primer where it doesn't belong, and I need to re-paint the headlight bezels as there is some primer splash on them, and they put the Oldsmobile logo on the wrong side on the trunk. But the truth is, that is where I saved $2500 to $3000, so I can fix it myself and live with it. The paint job itself is gorgeous - they really did good work. Once my bank account gets replenished I'll order the 442 stripe kit and put that on, again I chose to do it myself to save some money and I have striped cars before so it won't be too hard.

So the bottom line, Maaco or not? I know that if I sent it to my local shop it would have cost me $6500 to $7000. It also would have looked like it just came off the assembly line. For the money, Maaco did a good job, a really good job. It's not perfect, but I did not expect it to be. For $7000 I would have. The almost not noticeable problems (that are noticeable to me) I can fix, and actually look forward to it. Would I have them paint another car? Yes, I would. Unless I win the lottery, then the local body shop gets it.

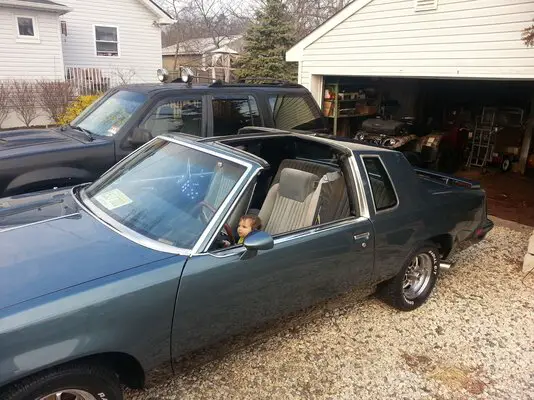
The best part of today - driving home with the T-tops out and the windows down! And seeing my daughter happy sitting behind the wheel - priceless.

Next project - 442 striping, cleaning the overspray, cleaning the engine (It's pretty dusty now under there), and getting new tires (and winning the lottery)
 

Attachments

  • 2.jpg
    2.jpg
    345 KB · Views: 949
  • 3.jpg
    3.jpg
    777.1 KB · Views: 977
  • 4.jpg
    4.jpg
    606.8 KB · Views: 951
  • 1.jpg
    1.jpg
    725.6 KB · Views: 987
RunAwayNJ said:
gp02a0083 said:
just wanted to give some helpful advise being you are putting the time and money into it. Yah the side windows I understand, but they could have both been removed in about an hour or less. I'd just follow up on those edges with clear coat to lock in the paint edges so you don't have it peeing back on you. I would also take a razor blade and clean up the gap's in the 1/4 extensions to the 1/4 panels, Many Many people leave these on to make painting easier. From the pictures it looks like the shop on rt. 88 or the one in beachwood. Also wait a few months to really buff the paint (even tho most shops do this right out of the booth), allow it plenty of time to cure.

Thanks! It is the shop on Rt 88. I know I would have some more finish work to do myself, but it simply came down to budget. I'll have it back tomorrow so I'll get some pictures up. In person it looks great, and for what I paid I am very happy. All the overspray you see on the side windows, that was me from my pitiful attempt at body work. I figured I'd clean it up when they were done painting. From what I could see there is no overspray or problems from their work.

BTW - Chic-fil-A starts up first Saturday in April. Let me know if you will make it out to any of them and I'll try to get out there and meet up.

Yah I just need to get a new battery and fix my transmission leaks, either way I'll try to be there for the first show. I've been too busy with a vintage dirtbike restoration and have neglected my cutty.
 
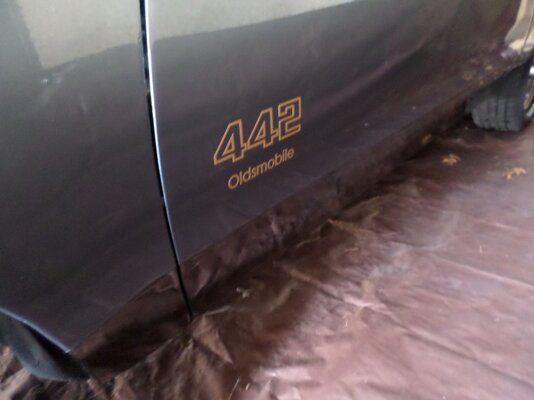
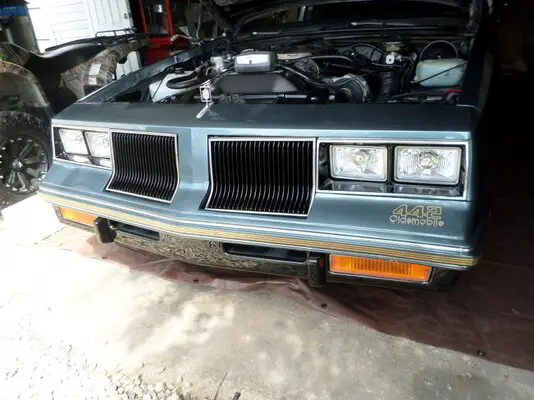
We finally had a nice warm day here in NJ - it hit almost 80 degrees! I took advantage of the warm weather and installed the chrome bumper trim and gold stripe kit. I decided to do something a little different with the stripes. Rather than do the sides and wheel wells, I only put the stripes on the front and back bumpers. For the sides, I used the 442 and Oldsmobile logos only, and put the 442 logos on the front bumper and rear trunk. I went for the less is more approach and I like it. As far as paint and exterior go, I'm finally done.

Next projects include finishing the blue LED lighting inside and in the engine area and then brake paint. Probably throw a tune up in there and rebuild the carb while I'm at it.
 

Attachments

  • side.jpg
    side.jpg
    84.9 KB · Views: 872
  • back.jpg
    back.jpg
    169.2 KB · Views: 864
  • front.jpg
    front.jpg
    142.3 KB · Views: 856
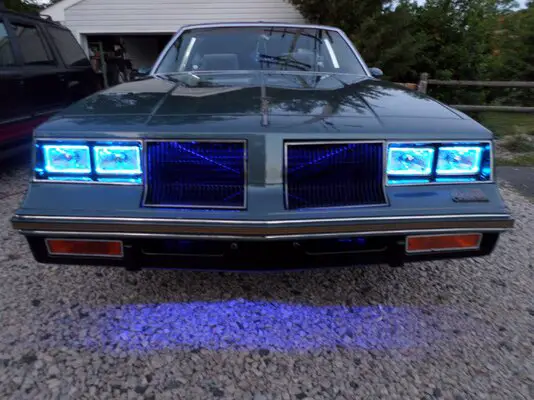
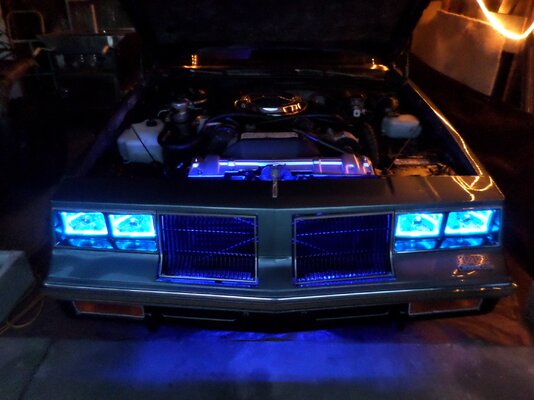
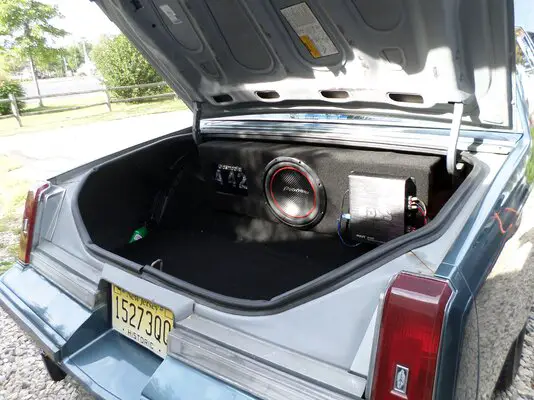
After enjoying the month of May just using the 442 and heading out to as many shows and cruises as I could, we decided to get back to work and do a few small mods over the summer. The first one is the LED backlighting. Last year I did the trunk, and ran the wires and switches to do under the hood and inside the car. I ran a new fuse block under the hood to connect any of the outside lights. I started off by installing four strips under the hood by the grille. I also wired the blue halo lights in to the new block as well. I'm thinking of adding a few more strips on the sides and toward the back of the motor, and I may do some under the car as well (strictly for use at shows). I also ran the wires for inside the car so hooking the lights up should be easy. Finally got to use them in the dark tonight!
 

Attachments

  • build2.jpg
    build2.jpg
    835.1 KB · Views: 746
  • build1.jpg
    build1.jpg
    651 KB · Views: 787
Looks sweet man! Wish mine looked this good lol 😀
 
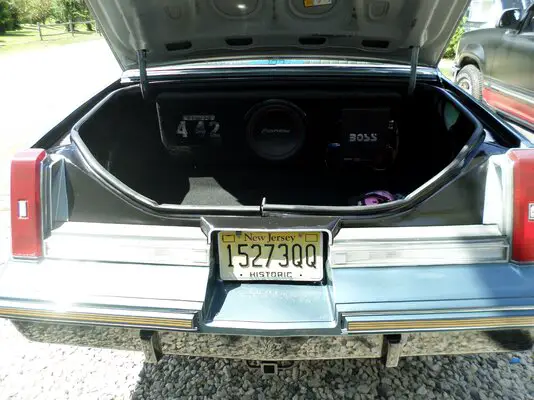
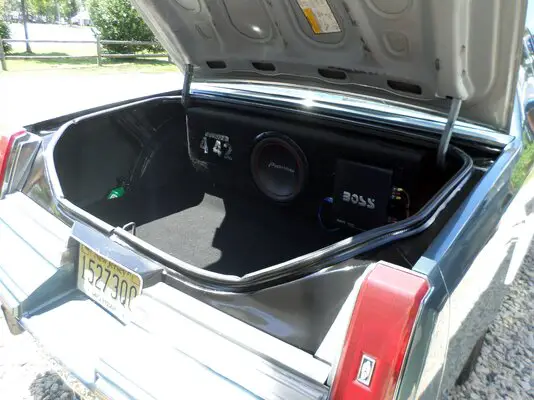
I have not really touched the car or done any mods for what seems like months now. Instead, we decided to just drive it and use it. Been to some shows and cruises, and just had a good time with the car. I finally had a day off from work, good weather, and nothing to do, so I decided to paint part of the car that was bothering me - the lip under the trunk lid.

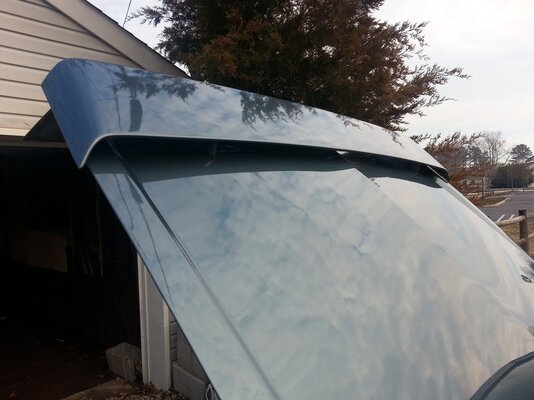
It was still the grey primer from when I got the car. There was some surface rust, nothing too bad. Rather than paint it the same grey as the top color of the car, I decided to paint it the same black bottom color so it stood out a bid when the trunk is open.


Here is what it looked like when I started. A little light sanding and a base of new primer cleaned it up. I sprayed a few coats of GM Gloss black. I used lacquer rather then enamel paint for the first time in my life as I wanted it to be really shiny like the bottom color on the car.


After the black was sprayed on I did a coat of clear and it is good to go. I like the way it looks. You cannot tell when the trunk is closed, but when its open it looks pretty cool.


This week I am finally ordering the Headers, exhaust, and brake kit. Wish me luck!
 

Attachments

  • 1.jpg
    1.jpg
    1.6 MB · Views: 635
  • 2.jpg
    2.jpg
    1.4 MB · Views: 598
  • 3.jpg
    3.jpg
    1.3 MB · Views: 546
Status
Not open for further replies.

GBodyForum is a participant in the Amazon Services LLC Associates Program, an affiliate advertising program designed to provide a means for sites to earn advertising fees by advertising and linking to amazon.com. Amazon, the Amazon logo, AmazonSupply, and the AmazonSupply logo are trademarks of Amazon.com, Inc. or its affiliates.

Please support GBodyForum Sponsors

Classic Truck Consoles Dixie Restoration Depot UMI Performance

Contact [email protected] for info on becoming a sponsor