1987 Monte Carlo SS Build - Aka Project Grown

Status
Not open for further replies.

Pro86tourn

Apprentice
Apr 26, 2020
90
136
33
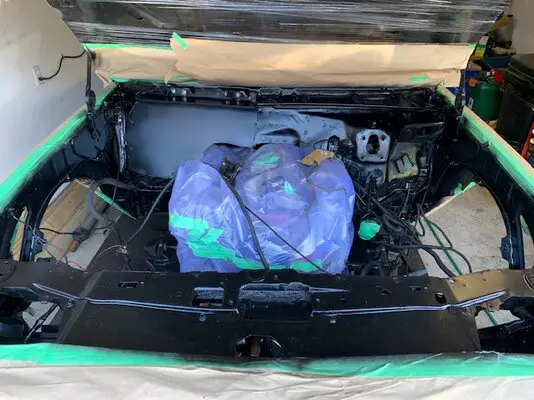
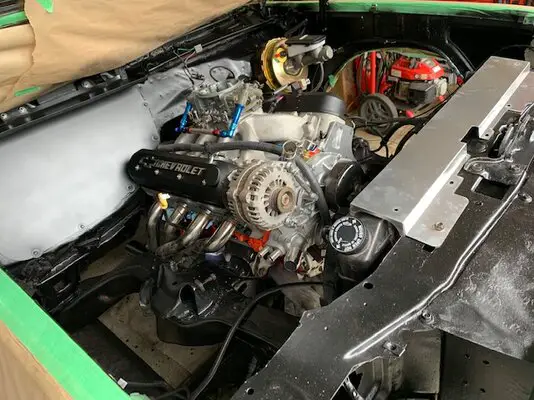
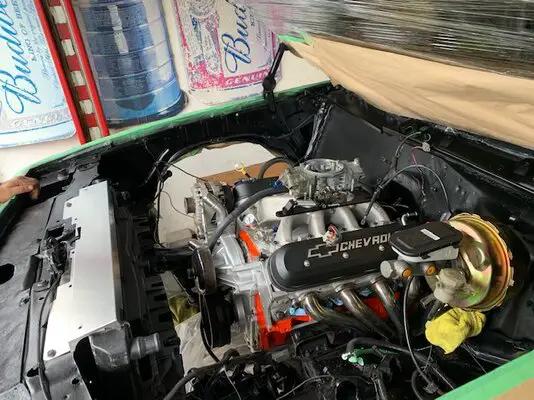
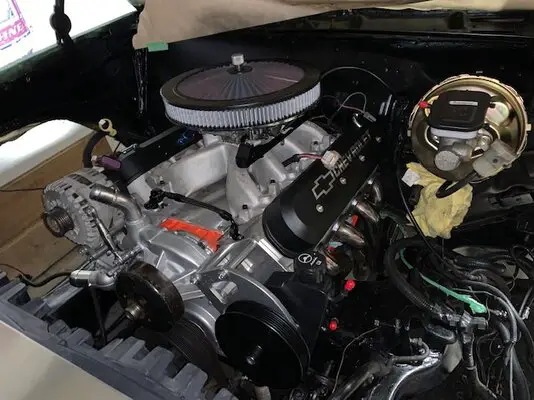
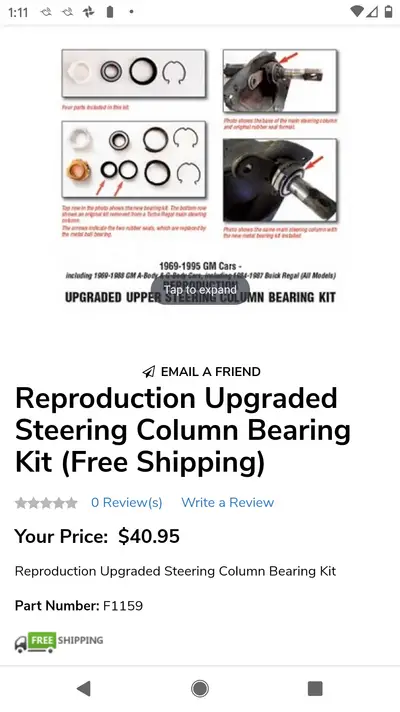
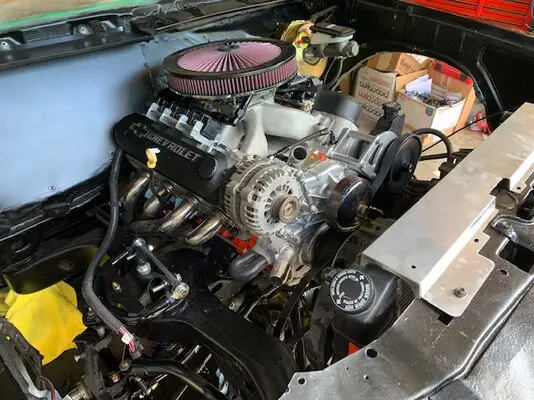
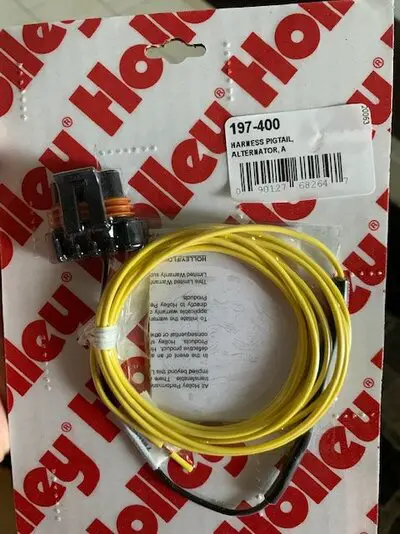
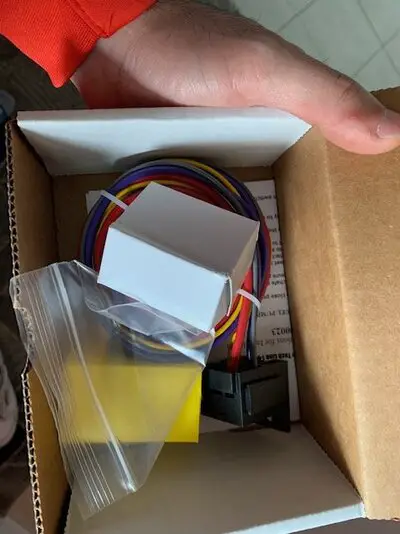
SO got a bunch of goodies in this week.... new fuel tank, steering shaft and bearing, valve covers and a ton of other stuff to put this car back together!

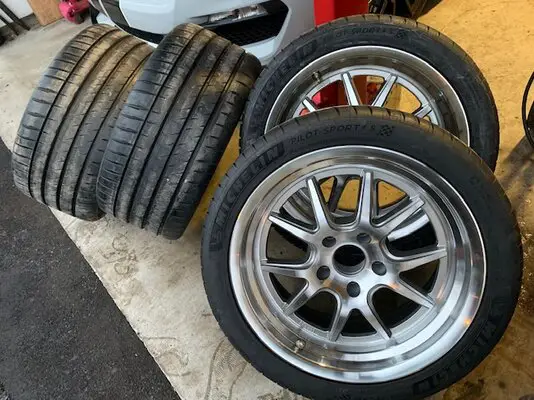
Mounted the new rubber on the rims today Michelin Sport 4s which look great!

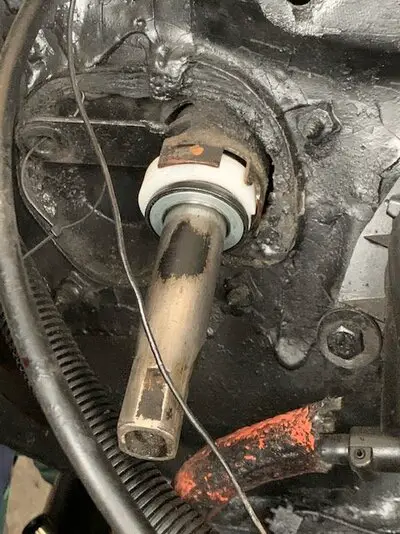
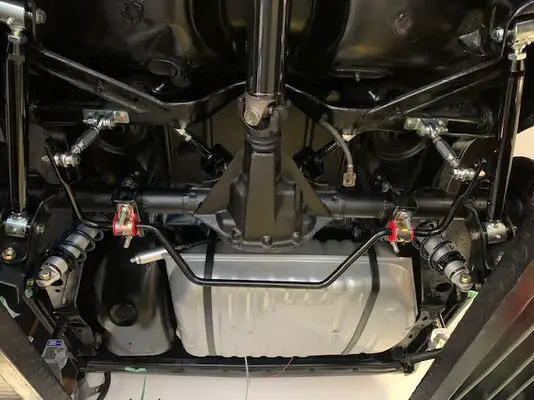
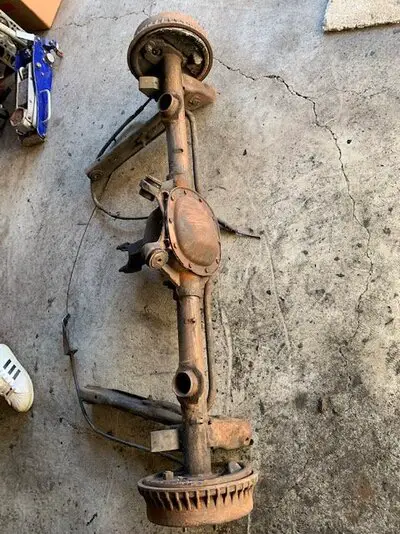
Took out the stock 7.5 Posi ... still undecided which route to go with that!

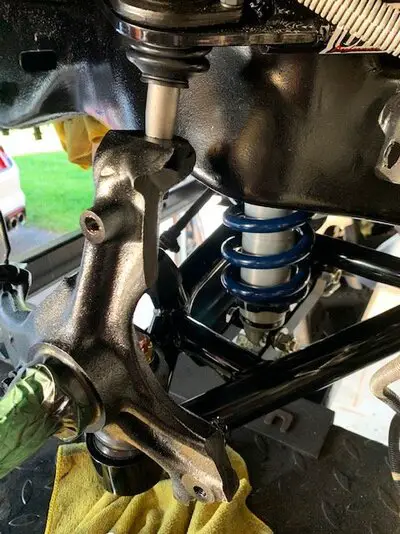
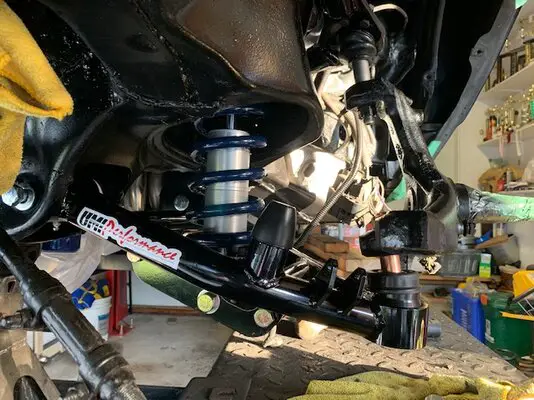
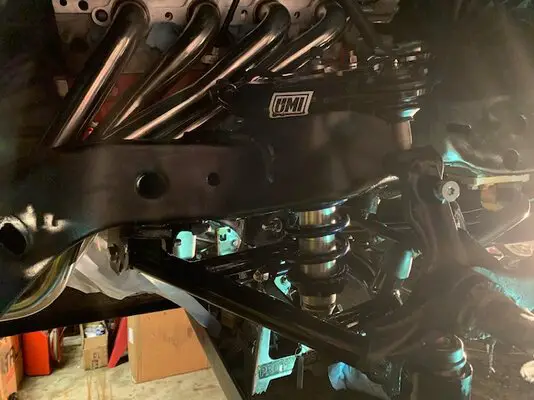
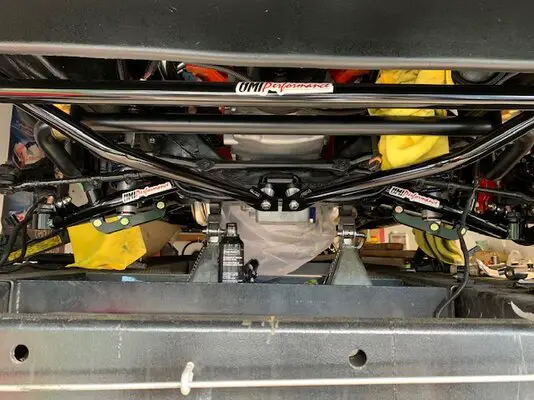
will be finished prepping frame tomorrow and start painting tomorrow and this weekend ...

More updates to come!
 

Attachments

  • 61101083509__31BE98C0-600B-4258-8600-A32B3CEE0B73.JPG
    61101083509__31BE98C0-600B-4258-8600-A32B3CEE0B73.JPG
    63.3 KB · Views: 129
  • 61101084321__F3D65088-8B72-495A-AF63-B6035E452563.JPG
    61101084321__F3D65088-8B72-495A-AF63-B6035E452563.JPG
    80.1 KB · Views: 119
  • 61101085808__0601B4FD-3316-444F-A841-2175BD4C5806.JPG
    61101085808__0601B4FD-3316-444F-A841-2175BD4C5806.JPG
    86 KB · Views: 127
  • IMG_8197.jpg
    IMG_8197.jpg
    55.1 KB · Views: 126
  • IMG_8205.jpg
    IMG_8205.jpg
    71.9 KB · Views: 145
  • IMG_8219.jpg
    IMG_8219.jpg
    91.6 KB · Views: 135
  • IMG_8208.jpg
    IMG_8208.jpg
    108.1 KB · Views: 142
  • IMG_8222.jpg
    IMG_8222.jpg
    132.2 KB · Views: 147
  • Like
Reactions: 3 users

Pro86tourn

Apprentice
Apr 26, 2020
90
136
33
Brief Update - Over the weekend got the entire frame, engine bay coated in Eastwood rust paint/chassis paint. Installed the Upgraded steering bearing and started the engine mock up.

Few Questions - For LS swap into Monte carlo what do you guys use to connect to the temp sensor? Also will the stock Tach work using the MSD 6010?

Will be running all new fuel lines, and making custom rad hoses to fit this week. Still waiting on suspension components but hoping to get the car running soon!
 

Attachments

  • IMG_8232.jpg
    IMG_8232.jpg
    110.6 KB · Views: 152
  • IMG_8240.jpg
    IMG_8240.jpg
    89.2 KB · Views: 151
  • IMG_8261.jpg
    IMG_8261.jpg
    41.4 KB · Views: 168
  • IMG_8245.jpg
    IMG_8245.jpg
    120.8 KB · Views: 160
  • IMG_8244.jpg
    IMG_8244.jpg
    130.1 KB · Views: 154
  • IMG_8268.jpg
    IMG_8268.jpg
    104 KB · Views: 153
  • Like
Reactions: 3 users

Pro86tourn

Apprentice
Apr 26, 2020
90
136
33
Update

Started assembling the suspension and have a few questions I'm hoping to get some help with.

1. The lower ball joint on the UMI control arm is the ball joint cover suppose to be unsecured? Nothing came in the package to secure the dust cover
2. The UMI upper & Lower control arm ball joints are they suppose to not sit flush in the spindle? Just seems off.. The top is suppose to be taller and sit exposed but the lower?
3. IF the ball joints are to sit higher are they to be left exposed? The instructions say to put PVC cover but nothing came in the kit.

Hoping to get the suspension/brakes on the car this weekend & more updates to come!

Thanks guys
 

Attachments

  • IMG_8376.jpg
    IMG_8376.jpg
    89.5 KB · Views: 154
  • IMG_8377.jpg
    IMG_8377.jpg
    128.9 KB · Views: 141
  • IMG_8378.jpg
    IMG_8378.jpg
    81 KB · Views: 160
  • IMG_8379.jpg
    IMG_8379.jpg
    72.7 KB · Views: 147
  • Like
Reactions: 3 users

Tony1968

Royal Smart Person
Supporting Member
Jul 1, 2018
2,313
5,100
113
NW Indiana
I've got UMI's front suspension. The boots just fit snug over the joints to keep grease in and dirt/water out
Something doesn't look right with that much pin sticking out of spindle
 
  • Like
Reactions: 1 users

Pro86tourn

Apprentice
Apr 26, 2020
90
136
33
Update

Got the front suspension in, muscle bar and UMI brace. Also got the Brakes in up front... boy they look great! Also got the rear upper/lower control arms in and the rear end back in the car ... one thing I will stay frustrated me was I paid extra for the UMI hardware but only came with the hardware from the lower/upper control arms and not the hardware to attach to the rear end, upsetting with such a pricey kit.

I will mount up the rear coils tomorrow and put the driveshaft in and get the pinion angle right. Then I will have to figure out where to mount my fuel pump/filter and run lines and put up the new tank.

Slowly but surely the cars coming along!

I put the 7.5 rear in .. it has new post unit and axels I know it won't last but I'm hoping to at least get the season out of it.
 

Attachments

  • 61241202901__BB80F337-12CA-4228-ABB5-C4FF6C9AEDE5.JPG
    61241202901__BB80F337-12CA-4228-ABB5-C4FF6C9AEDE5.JPG
    94.1 KB · Views: 152
  • IMG_8429.jpg
    IMG_8429.jpg
    134.3 KB · Views: 161
  • IMG_8430.jpg
    IMG_8430.jpg
    120.7 KB · Views: 155
  • Like
Reactions: 5 users

mc1984ss

Master Mechanic
May 18, 2020
293
237
43
Great project, nice progress!!!! Is this the steering column bearing you put in?
 

Attachments

  • Screenshot_20200603-131148.png
    Screenshot_20200603-131148.png
    609.2 KB · Views: 137

Pro86tourn

Apprentice
Apr 26, 2020
90
136
33
Little update...

Made my coil re-location brackets, got the rear end buttoned up and started running the fuel lines! getting there!

Also super excited I am having a Pro-Systems carb done for the build ... my Holley worked great but heck, why not? Hopefully it will work great

My real frustration has been with the grease seal for the front Wilwood brakes. Even with the proper tool the seal continues to damage and ive had to order 3 seals now, any idea how to get the seal in without damaging it? The driver side went in with no issues.

Thanks,
 

Attachments

  • IMG_8479.jpg
    IMG_8479.jpg
    128.1 KB · Views: 136
  • 61343977852__381436EA-E555-4798-BA69-ADFBC584A603.JPG
    61343977852__381436EA-E555-4798-BA69-ADFBC584A603.JPG
    101.8 KB · Views: 149
Last edited:
  • Like
Reactions: 1 users

mc1984ss

Master Mechanic
May 18, 2020
293
237
43
Little update...

Made my coil re-location brackets, got the rear end buttoned up and started running the fuel lines! getting there!

My real frustration has been with the grease seal for the front Wilwood brakes. Even with the proper tool the seal continues to damage and ive had to order 3 seals now, any idea how to get the seal in without damaging it? The driver side went in with no issues.

Thanks,

I take it the rubber portion of the seal is what's getting damaged? Is this only happening on one side or both? Is there a lead in chamfer or did a machining step get missed possibly that is damaging the seal upon install? Got a picture?
 
Status
Not open for further replies.

GBodyForum is a participant in the Amazon Services LLC Associates Program, an affiliate advertising program designed to provide a means for sites to earn advertising fees by advertising and linking to amazon.com. Amazon, the Amazon logo, AmazonSupply, and the AmazonSupply logo are trademarks of Amazon.com, Inc. or its affiliates.

Please support GBodyForum Sponsors

Classic Truck Consoles Dixie Restoration Depot UMI Performance

Contact [email protected] for info on becoming a sponsor