

It might just be the pictures but it may be worth checking. The oil pump pickup doesn't look like it goes near deep enough into the pan. I'd hate to see you starve it for oil after you get it running.
BUILD THREAD 78 Malibu "#DtoxBu/Caged Beast"
- Thread starter Bumpin1ohmSS
- Start date
You are using an out of date browser. It may not display this or other websites correctly.
You should upgrade or use an alternative browser.
You should upgrade or use an alternative browser.
- Status
- Not open for further replies.
jrm81bu said:It might just be the pictures but it may be worth checking. The oil pump pickup doesn't look like it goes near deep enough into the pan. I'd hate to see you starve it for oil after you get it running.
Thanks for looking at that bro. That was my concern as well. The pickup/filter came with the 8 qt pan as a combo. It said this pickup was to be used with the Melling M-55HV pump. Im not used to this style of pickup or oil pan. I have a miloden(sp?) pan and pickup on my Elco's 350. Its the normal round pickup/filter that's angled down a lil into the pan. This pickup attached to the pumps bolt and it didnt look low enough. I took the pan and sat it next to the pickup and the pickup filter sat a tad higher than the bottom of the pan. I measured the pan from the mounting surface to the bottom and it came in right at 7". Then i measured where the pickup sits in relation to the pan. I measured (on the pickup/filter side) from the blocks mating surface for the pan to the bottom of the filter. Came in at 6 1/8". Just under an inch higher than the bottom of the pan..Bare with me as I'm new to all this. lol. Heres a couple pics I "tried" to snap while holding the pan...
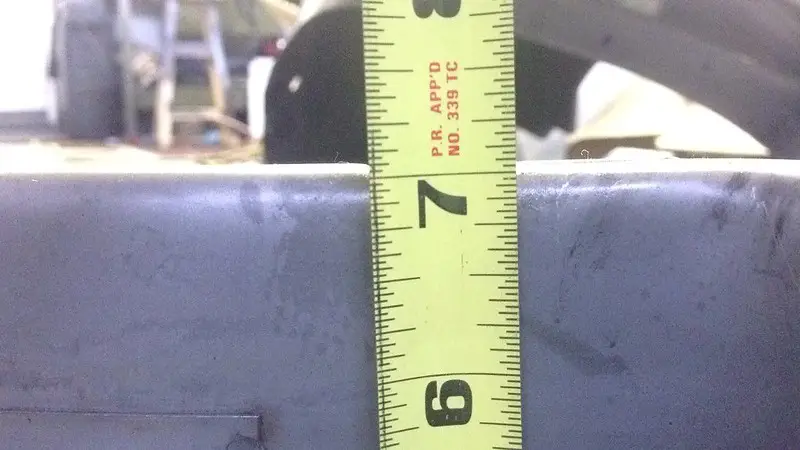
Pan depth came in at 7"(mating surface to bottom of pan)
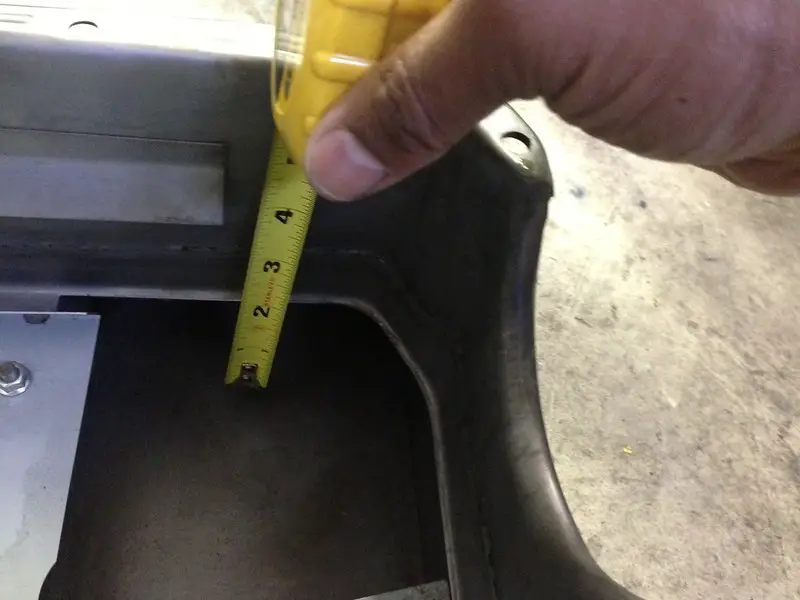
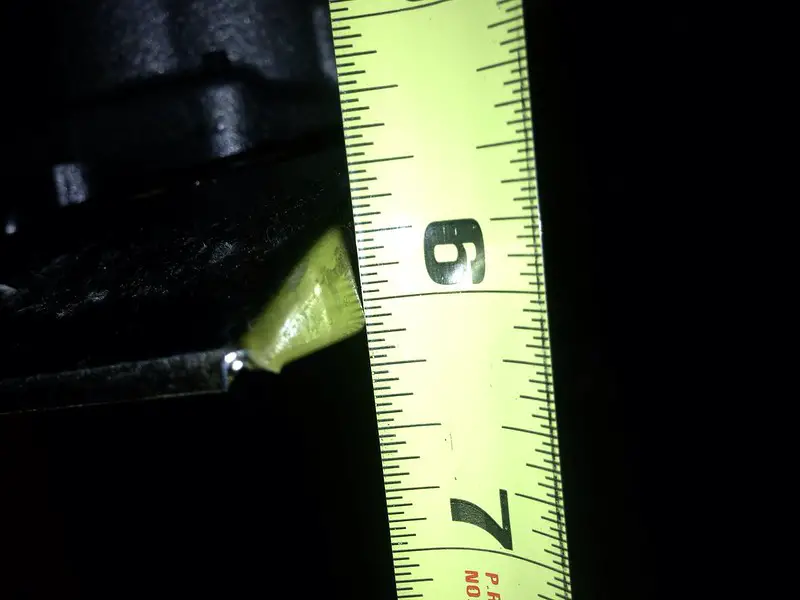
Pickup measured from mating surface to bottom of the filter came in at 6 1/8" or so...
Hard to make this out. i sat the pans edge on the side of the blockes oil pan mating surface and tried to snap a pic.. Looking at it in person, the pickup sits deep down in the pan

If any of this doesnt seem right, chime on in. LOL! I didnt see any other way to mount that pickup. Maybe i could have angled it dow, but then i'd have to bend the tab that secures it to the pump. Pickup will sit just about 1' higher than the bottom of the pan. If thats no good, ill try something else..Thanks for checking back and your concern bro..
Last edited:
You will probably be fine then. A lot of extra capacity pans are deeper than stock, like the one I have. Your's must just make use of the kickouts for the extra capacity.
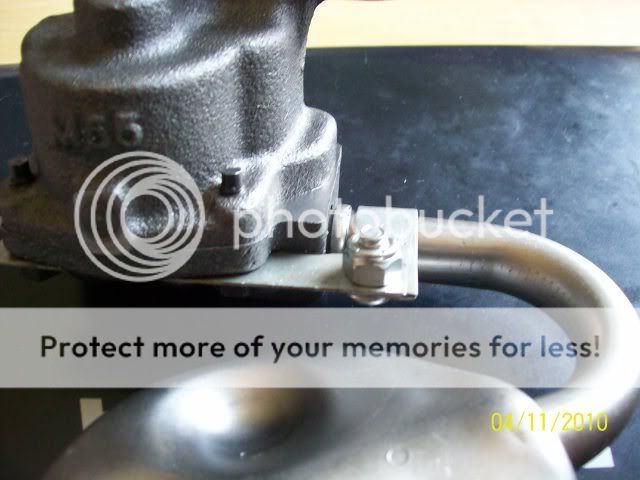
This is how my pick up looks.
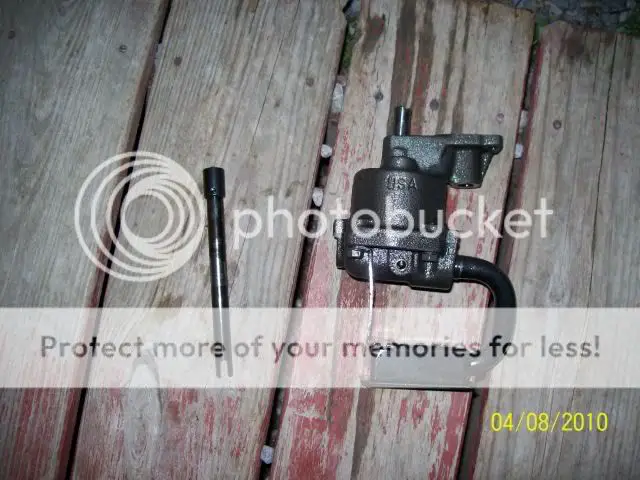
And this is the pan it is for, you can see it's deeper than stock.
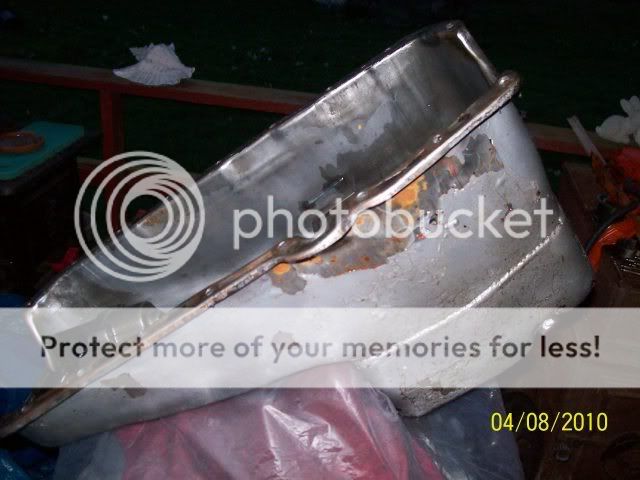
After thinking for a minute, I knew I had a pic of a stock setup. You can see that the pick up still sits lower than the pump(even though it's a bad angle). You'rs looks almost level with the outlet on the pump. I really wouldn't like that myself.
EDIT- Man sorry to keep changing my mind here but I went back and looked at your pics. Your pan almost looks shallower than stock. So you might be ok. Wish i was there to see it in person. Maybe even give melling or a trusted machine shop a call and try to find out the recommended clearance between the pick up and bottom of pan.
This is how my pick up looks.

And this is the pan it is for, you can see it's deeper than stock.

After thinking for a minute, I knew I had a pic of a stock setup. You can see that the pick up still sits lower than the pump(even though it's a bad angle). You'rs looks almost level with the outlet on the pump. I really wouldn't like that myself.

EDIT- Man sorry to keep changing my mind here but I went back and looked at your pics. Your pan almost looks shallower than stock. So you might be ok. Wish i was there to see it in person. Maybe even give melling or a trusted machine shop a call and try to find out the recommended clearance between the pick up and bottom of pan.
jrm81bu said:EDIT- Man sorry to keep changing my mind here but I went back and looked at your pics. Your pan almost looks shallower than stock. So you might be ok. Wish i was there to see it in person. Maybe even give melling or a trusted machine shop a call and try to find out the recommended clearance between the pick up and bottom of pan.
No probs bruh!! I REALLY appreciate you taking the time out to help and keep me from having problems later. Thats what its all about. members helping member out. Thanks!!!! The pan is alot different than my deep pan on the Elco's 350. This pickup sits an inch above the bottom of the pan (which is shallow like a stck pan) The "kick outs" allow for the extra oil capacity it seems. Man again..Thank you for the help and pics..
UPS came thru again and brought the rest of the goodies so i can button the bottom up. I really dig the 2 piece timing chain setup from summit...
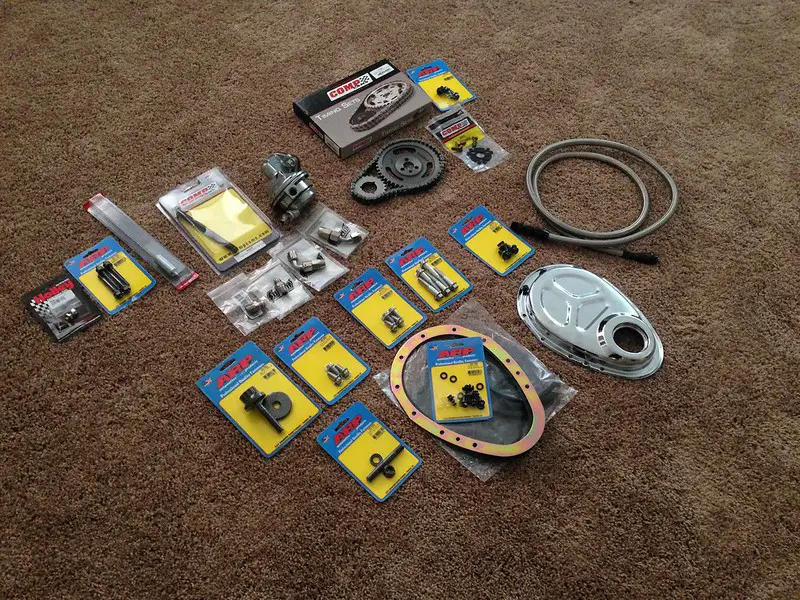
Thats what im working on now. I dropped the oil pan and gasket on. bracket for the timing chain cover and now im about to pull the old timing chain sprocket off and tap the new Comp cam setup on. i also go the last of the AN fittings for the braided line and fuel pump, and the fuel pump push rod (bronze tip) and gaskets... Let the fun begin!!!
Elco Warren
Last edited:
Got a lil further on the project. I hit Arizona up last weekend and finished up the welding on the seat brackets, degreased the frame and did some other lil cleanup. Brought my dash back to take it to the shop for a wrap job. LA Xrated hooked me up with some serpentine pulleys and I sent those out to be powder coated..I mocked up a few of the parts for a test fit: some 350 heads, headers, intake and carb ect to see how everything lined up. I gotta send back the 168 tooth flex plate. The mini starter is out to far and one of the header tubes hit the starter. I think a 153 tooth flex plate will move the starter in more closer to the block. that will give me the clearance I need...
Got the Comp Cams double roller timing chain, sprocket, Camshaft and 2 piece cover and oil pan and gasket installed..
TDC
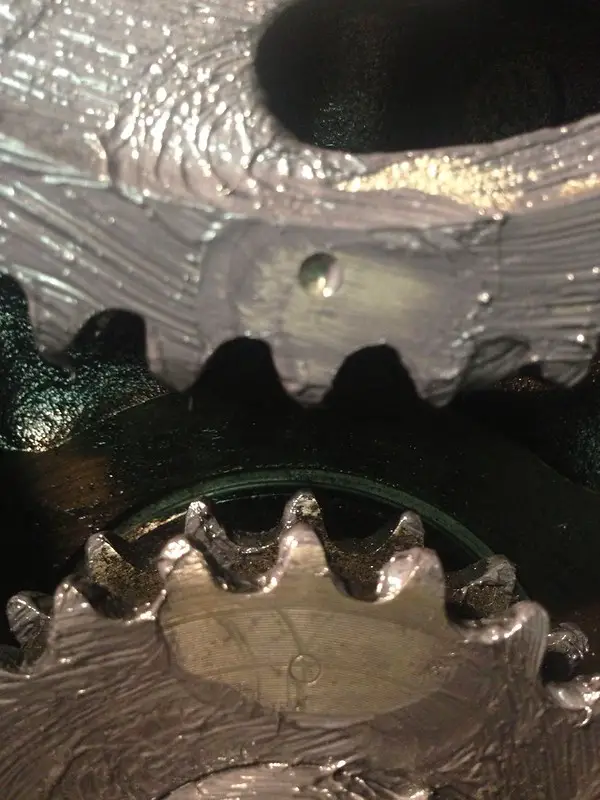
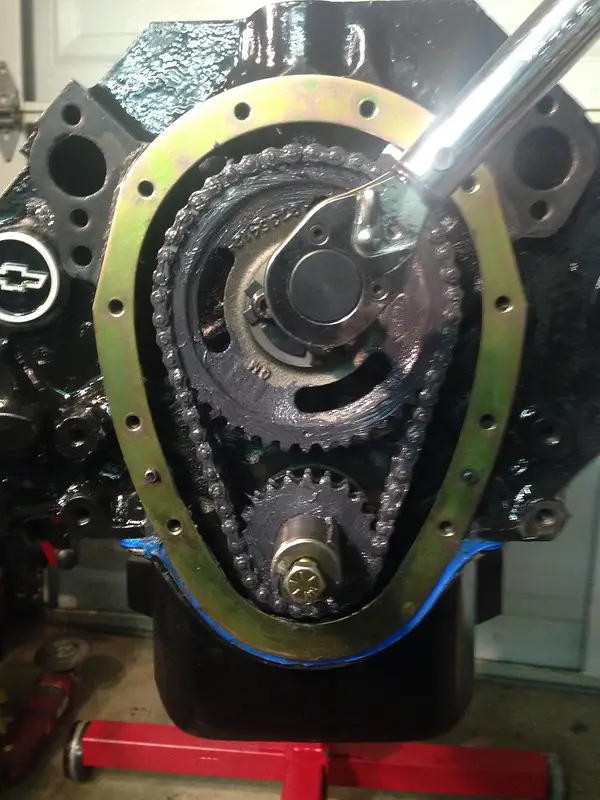
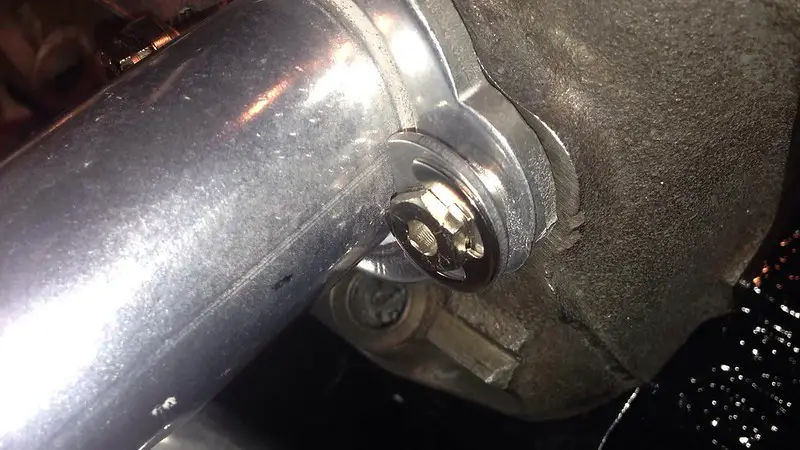
Torqued the ARP bolts to spec...I also used a cam locking plate. i didnt install the cam button tho.
Cover with black ARP bolts.
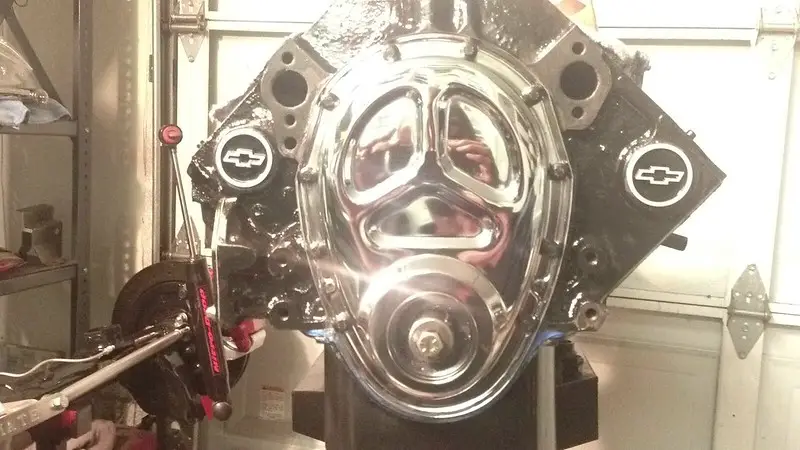
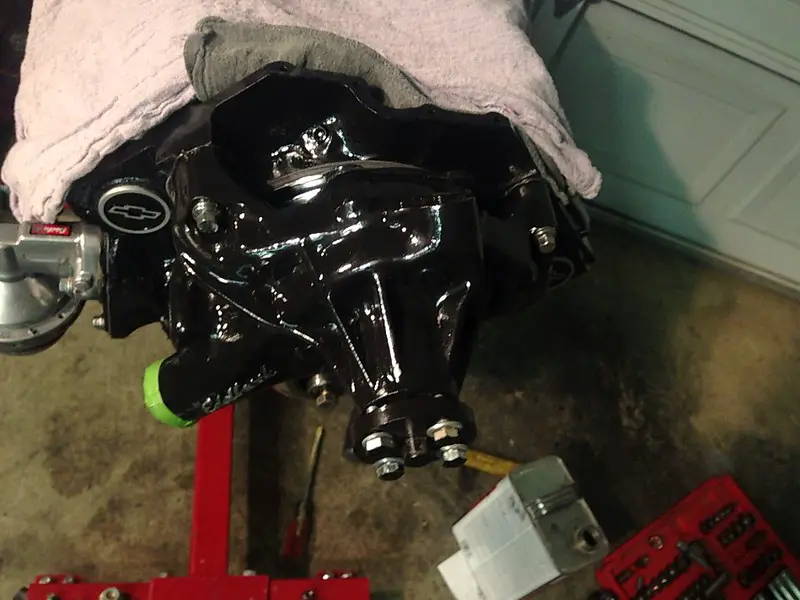
Water pump installed with ARp,s
My lil pipe mod i welded up to hide the wiring. Its out at the coaters...Wire runs up from the starter behind the block and then thru this pipe. I have some clean mesh wire loom to make it look factory. Theres some DEI high temp wire shielding covering the wires as they run down to the starter...

Stage 8 header lock setup...
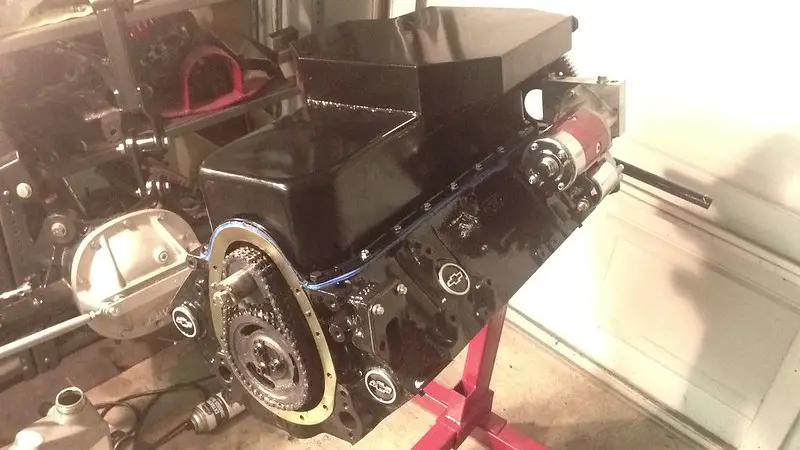
Put the brackets on along with the pulleys I got from LA Xrated. I still need a power steering pump. Ill get one soon...
Everything is torn back down. I need to order the 153 tooth flex plate today.I have some heads coming that have been worked a lil.They have some 1.5 roller tips on em. imma still send em out to be looked at, and get the springs, locs, retaining clips and umbrellas Comp recommends. Pretty fun stuff for me. learning alot! This is just a learn the basics kinda thing before i start in on the LS(carb'd) for the Bu. Thanks for checking back!
Elco Warren
80z UP!!
Got the Comp Cams double roller timing chain, sprocket, Camshaft and 2 piece cover and oil pan and gasket installed..
TDC
Torqued the ARP bolts to spec...I also used a cam locking plate. i didnt install the cam button tho.
Cover with black ARP bolts.
Water pump installed with ARp,s
My lil pipe mod i welded up to hide the wiring. Its out at the coaters...Wire runs up from the starter behind the block and then thru this pipe. I have some clean mesh wire loom to make it look factory. Theres some DEI high temp wire shielding covering the wires as they run down to the starter...
Stage 8 header lock setup...
Put the brackets on along with the pulleys I got from LA Xrated. I still need a power steering pump. Ill get one soon...
Everything is torn back down. I need to order the 153 tooth flex plate today.I have some heads coming that have been worked a lil.They have some 1.5 roller tips on em. imma still send em out to be looked at, and get the springs, locs, retaining clips and umbrellas Comp recommends. Pretty fun stuff for me. learning alot! This is just a learn the basics kinda thing before i start in on the LS(carb'd) for the Bu. Thanks for checking back!
Elco Warren
80z UP!!
Last edited:
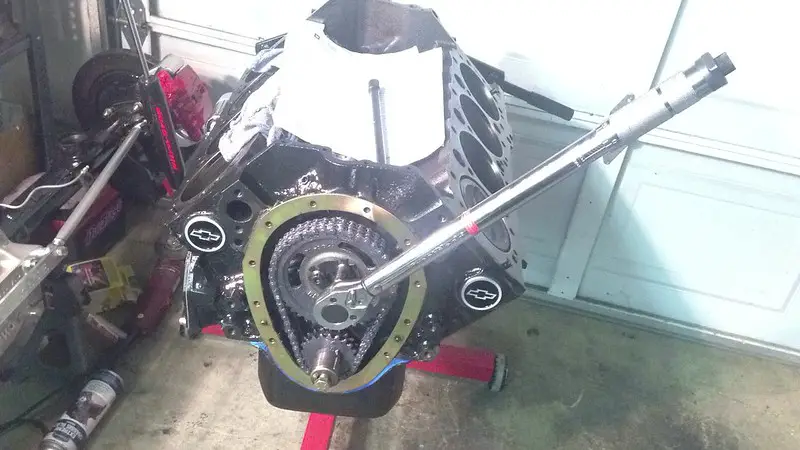
Do yourself a favor and spin the engine another rotation(assuming you left it with the timing marks dot-to-dot). That way it will be ready for the distributor to be dropped in and pointing to number one cylinder. Another thing to check out, that starter should be clockable so you may be able to make it work with what you have instead of buying another flexplate.
jrm81bu said:Do yourself a favor and spin the engine another rotation(assuming you left it with the timing marks dot-to-dot). That way it will be ready for the distributor to be dropped in and pointing to number one cylinder. Another thing to check out, that starter should be clockable so you may be able to make it work with what you have instead of buying another flexplate.
Hmmmmm... Be right back. I think i see what you mean.. I wondered what all the other holes were for on the starter. It looked like it could be rotated to another hole-placing the motor in a safe position away from the header tube. Thanks for the info bruh!!!!Checking it out now.....Ill post up what i find...
Ok.... I spun the starter around, but still not enough clearance. It doesnt have enough holes to re position it. My Hitachi starter on the elco's motor has holes all the way around the starters "backing plate". I went with the 153 tooth flex plate and it worked, but Imma go ahead and snatch a summit brand starter. I ended up keeping the 168 tooth flex plate, and will use it on the elco motor... I decided to use the Dougs headers from the el's motor on the Bu's 357, and will wrap em in black header wrap. I didnt wanna break the new cam in with the ceramic coated set. Did that before and the coating got all messed up on the Doug's. Couple mock up pics..
Coated my lil pipe mod for hiding wires. I dont want a bunch of wires all over the place.

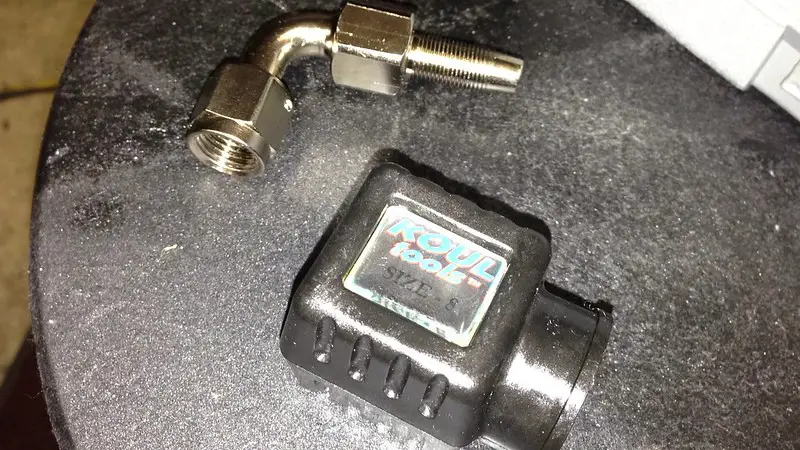
Painted the fuel filter/gauge line to match the intake.. I left the gauge chrome
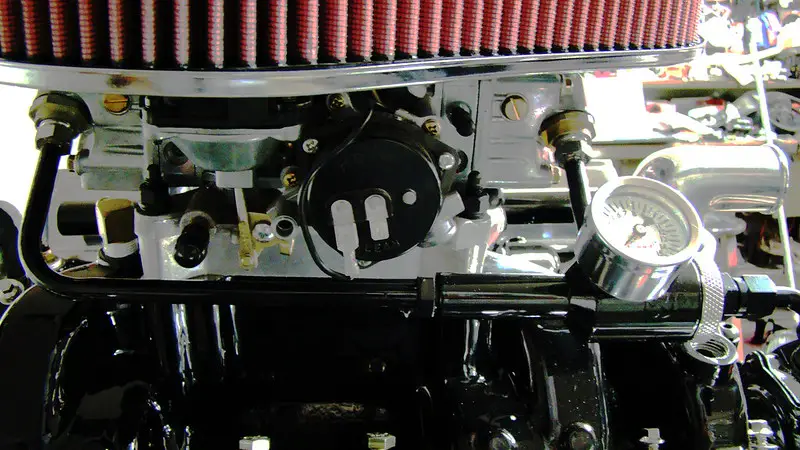
Setting up the an fittings. Still need a dual -6an female coupler to move the line over just a tad for valve cover clearance..
img]https://farm4.staticflickr.com/3781/8878592988_2b5194ac78_c.jpg[/img]
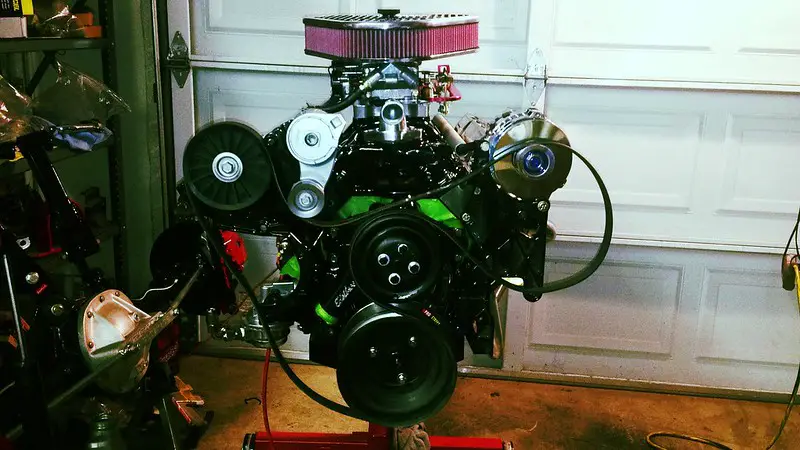
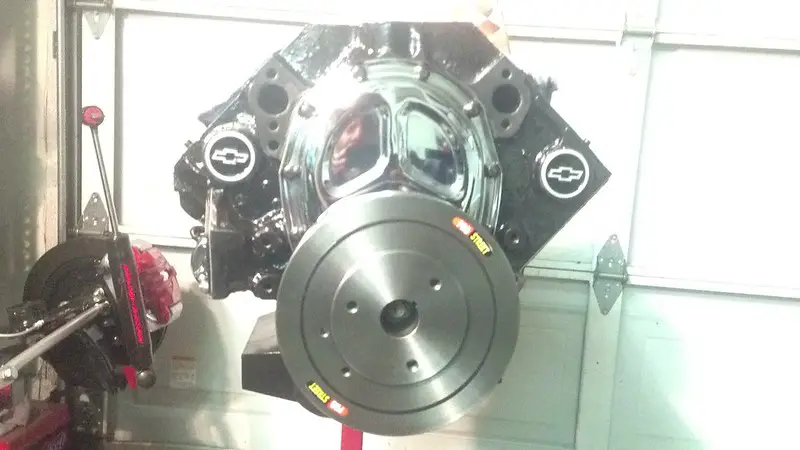
Pressed on the balancer. I did a bonehead move and didnt mock the pulleys up and run the belt to check how it lined up. I powder coated the pulleys, installed everything(had to borrow a few parts from the els setup) and found the belt was waaaay off. The crankshaft pulley isnt the correct one for my setup. Its too short(by 1/2") The water pump pulley is a tad smaller also. I found out later that the pullies were from a silverado. Wont work so back to the drawing board. $60 wasted on powder coat.. I knew better but didnt do my usual mock up on em
Had my eye on a buddy's camel hump heads, but they dont have acc holes pre drillled. And they are the earlier styled heads without the bosses casted so you could drill em if needed. Sucked cuz these are worked nicly. 202, multi angled valve job,, the works! Imma go with the Pro Comp heads that are matched for my cam setup. I also went ahead and painted teh valve covers and air cleaner top black. I left the polished "ball milled" area tho. Looks killer (too me at least). I held off on doin the trim around the ball milled are to see how I liked it left polished. But imma go on ahead and black it out and leave the ball milled area polished..
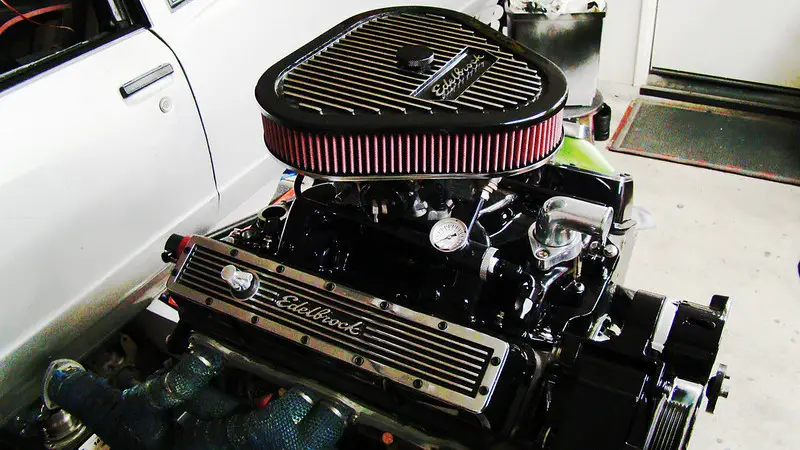
Need the heads, correct pulleys and header wrap. Gonna finish the valve covers, and then stack some loot for the heads. Getting there. Bu will be in paint mid June and the motor will be done and ready to fire by then as well. While I wait, I'll be doin some clean up on my elco's bay. Gettin her ready for paint as well.. Thanks for checking back fellas!!
Elco Warren
Coated my lil pipe mod for hiding wires. I dont want a bunch of wires all over the place.
Painted the fuel filter/gauge line to match the intake.. I left the gauge chrome
Setting up the an fittings. Still need a dual -6an female coupler to move the line over just a tad for valve cover clearance..
img]https://farm4.staticflickr.com/3781/8878592988_2b5194ac78_c.jpg[/img]
Pressed on the balancer. I did a bonehead move and didnt mock the pulleys up and run the belt to check how it lined up. I powder coated the pulleys, installed everything(had to borrow a few parts from the els setup) and found the belt was waaaay off. The crankshaft pulley isnt the correct one for my setup. Its too short(by 1/2") The water pump pulley is a tad smaller also. I found out later that the pullies were from a silverado. Wont work so back to the drawing board. $60 wasted on powder coat.. I knew better but didnt do my usual mock up on em
Had my eye on a buddy's camel hump heads, but they dont have acc holes pre drillled. And they are the earlier styled heads without the bosses casted so you could drill em if needed. Sucked cuz these are worked nicly. 202, multi angled valve job,, the works! Imma go with the Pro Comp heads that are matched for my cam setup. I also went ahead and painted teh valve covers and air cleaner top black. I left the polished "ball milled" area tho. Looks killer (too me at least). I held off on doin the trim around the ball milled are to see how I liked it left polished. But imma go on ahead and black it out and leave the ball milled area polished..
Need the heads, correct pulleys and header wrap. Gonna finish the valve covers, and then stack some loot for the heads. Getting there. Bu will be in paint mid June and the motor will be done and ready to fire by then as well. While I wait, I'll be doin some clean up on my elco's bay. Gettin her ready for paint as well.. Thanks for checking back fellas!!
Elco Warren
Last edited:
Looking great!.. really liking how everything on the motor ties in together nicely... well played sir.. well played! :!:
- Status
- Not open for further replies.
Similar threads
- Replies
- 0
- Views
- 42
- Replies
- 50
- Views
- 1K
- Replies
- 3
- Views
- 257
GBodyForum is a participant in the Amazon Services LLC Associates Program, an affiliate advertising program designed to provide a means for sites to earn advertising fees by advertising and linking to amazon.com. Amazon, the Amazon logo, AmazonSupply, and the AmazonSupply logo are trademarks of Amazon.com, Inc. or its affiliates.