BUILD THREAD 78 Malibu "#DtoxBu/Caged Beast"
- Thread starter Bumpin1ohmSS
- Start date
You are using an out of date browser. It may not display this or other websites correctly.
You should upgrade or use an alternative browser.
You should upgrade or use an alternative browser.
- Status
- Not open for further replies.
GBoDYon4s said:OOOOOWEEEEEE,that engine bay is gonna set sh*t off looks stealth
GBoDYon4s said:Keep those updates coming homie...GBoDYs UP!!!!!
Thanks bruh!!
Got the 355 block in the shop now. Bought a stand from harbor Freight and got the motor loaded up. Clean up time!
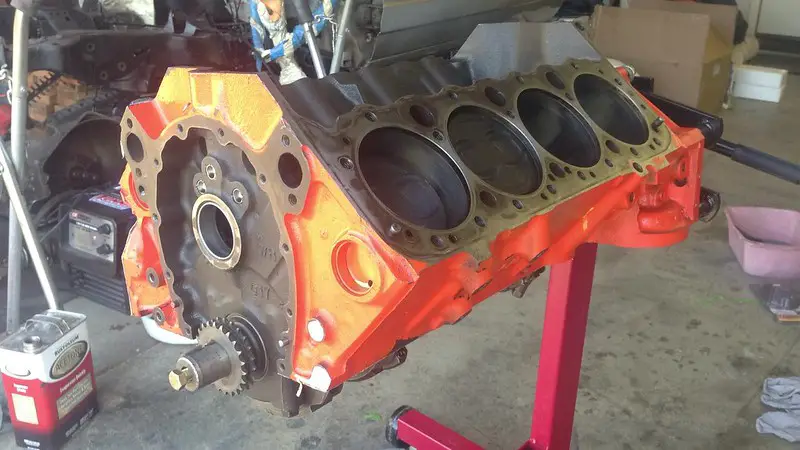
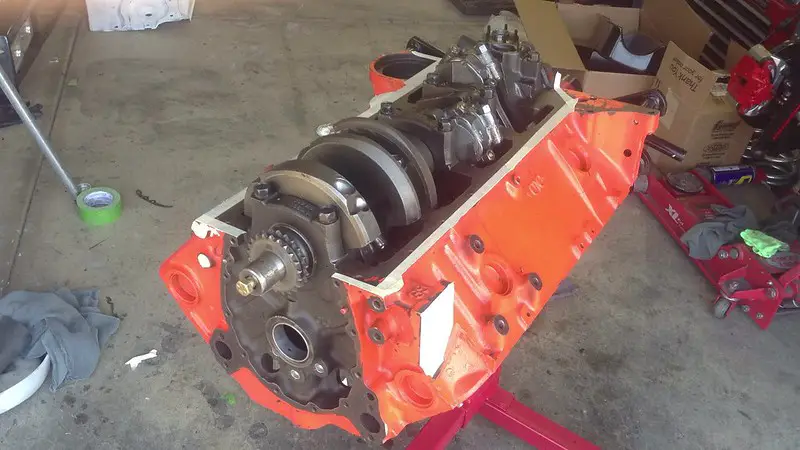
2 bolt main block. Wont be for anything but cruising really till i build a carb'd LS setup later on. The internals look clean!! Motor is .40 over and has 4000 on the rebuild..
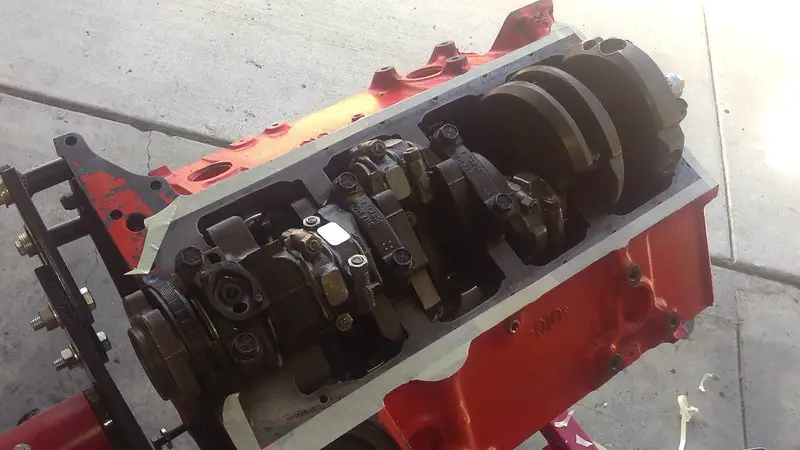
Mocked the oil pan up..
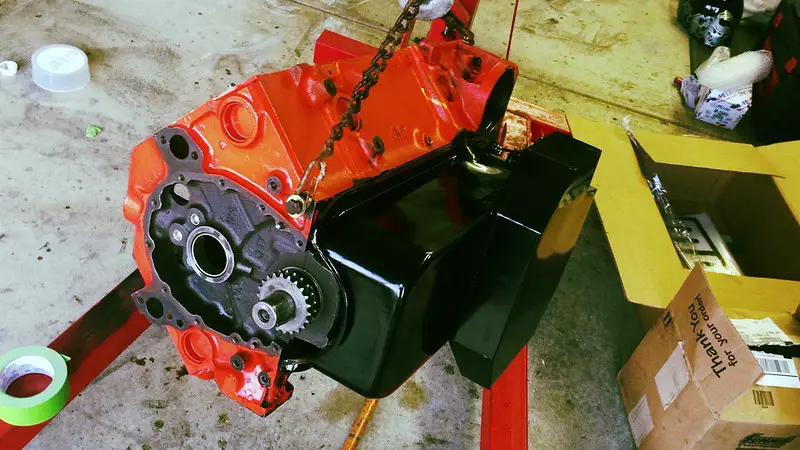
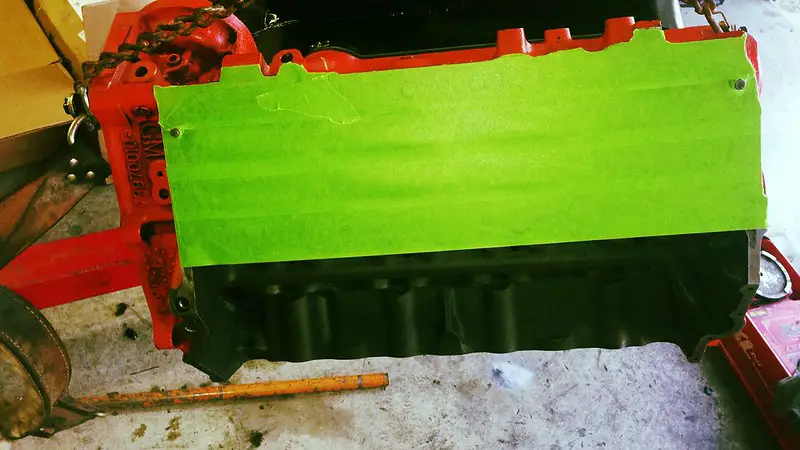
Taping off for the primer. I cleaned the block with a grey (fine) scotch brite and tide and acetone afterwards..
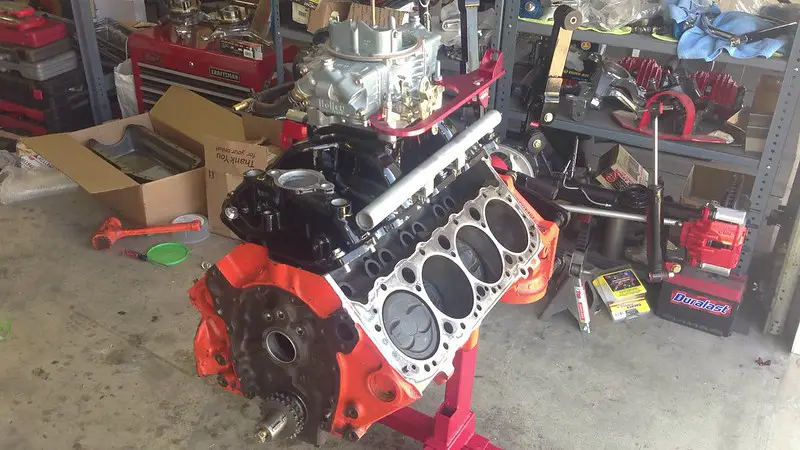
Dropped the intake and carb on to see how it looked. Still need to get my lil pipe for hiding wires powder coated and the red throttle cable bracket coated in black.
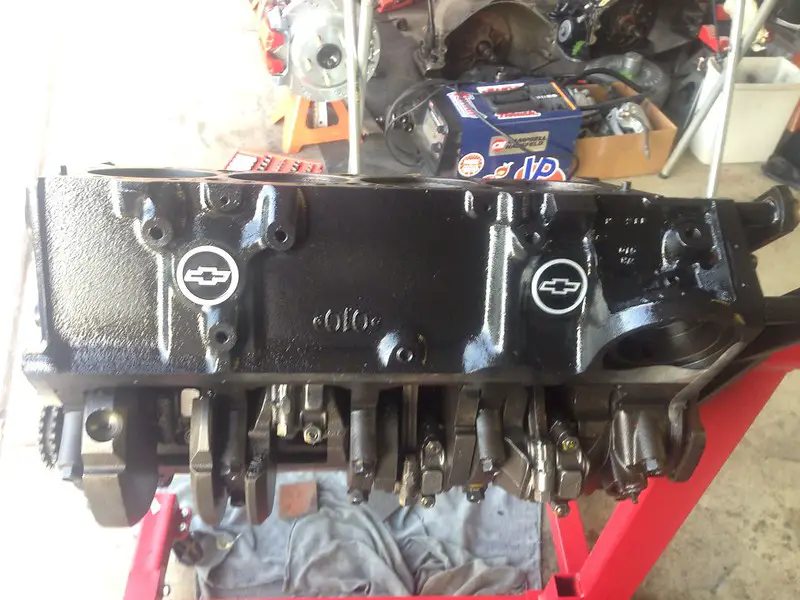
Primer. I also popped the freeze plug caps in to see how they looked. Im also replacing the freeze plugs...
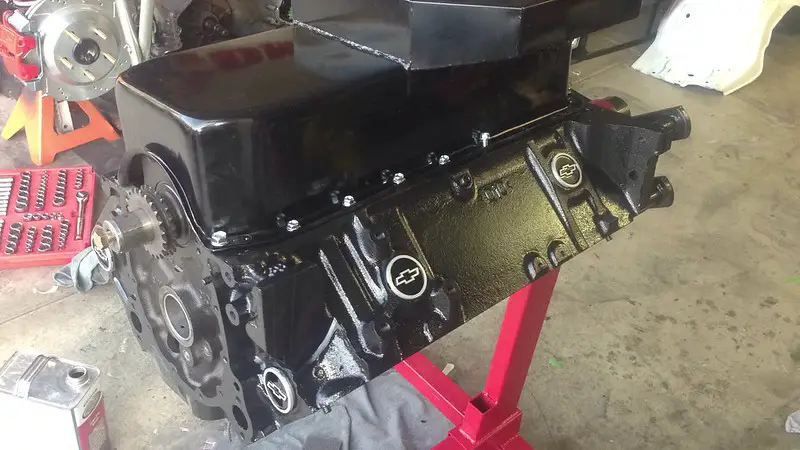
Pan back on. Darth Vader!!
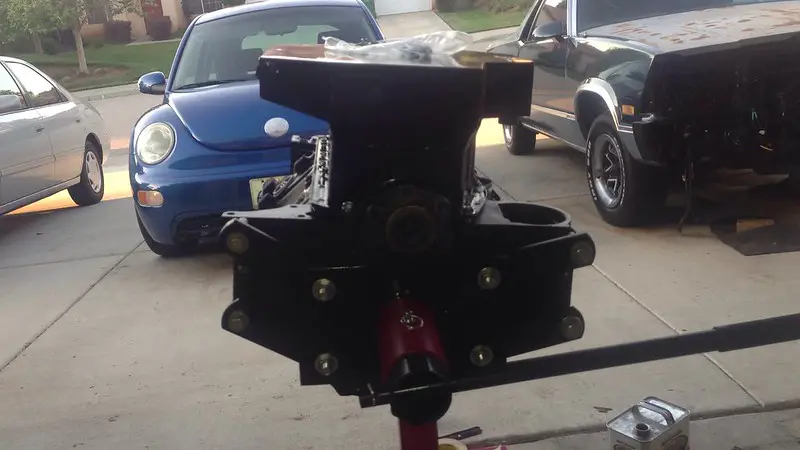
Bagged up! lettin it chill for a couple days before painting.
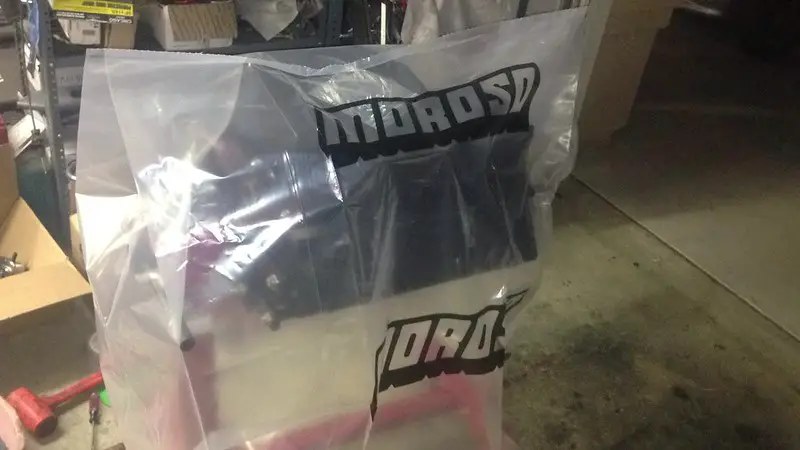
I need to order a few parts for the block. Fuel pump plate, oil fiter base, timing cover and pointer, flexplate, Aluminum heads, gaskets and a few other small things. Pretty cool lil learning experience. Thanks for checking back...
Elco Warren 8)
80z UP!!
Last edited:
jlcustomz said:There's just something satisfying about assembling your own gen 1 sbc. Like many others I learned that at a fairly young age.
jlcustomz said:Keep the progress going.
Man I just hope it doesnt blow up. LOL! If it does, i have a bare 400 small block to try it again.. LOL Thanks for checking back
lg1200 said:looking good brother elco...I just got back on the regal with the warm weather..i'm dropping the motor/transmission in this weekend.. when you think you'll be riding? i'm hoping around Cinco de Mayo I'll be able to take her for a light spin..
Thanks dog!!!I was hoping for a June fire up, but with the car being in Az, and this being my first try at motor stuff, it may be a lil longer. I could drop it in the elco, fire it, time it, check for leaks. Hmmm.. That may be a good idea as Im pulling the El's motor later this week. I could get it all ready to just drop in the bu, hook everything up and roll... Keep me posted on your setup bro. Thanks for checking back..
GBoDYon4s said:Hell yeah big Bruh,Everything is lookin flawless as usual and the wire hiding tube and freeze plug caps (arts & crafts)lol...
GBoDYon4s said:thats just icing on the cake,thanks for the motivation homie sh*t is lookin right...GBoDYs UP!!!!!
Fam thanks for checking back in on the updates. You guys really keep me goin on these old rides. Just trying to keep up with yall..HAHA!! "Arts n Crafts"!! Yessir!!Trying to hide the wires and do some lil details to the block. Saw those plugs while googling for something else. Decided to give em a try. thanks again for checkin back bruh!
Elco Warren 8)
80z UP!!
Last edited:
Picked up a few more goods for the build. Summit Flex plate, ARP 12 point bolts for the flexplate, fuel pump mount plate and arp bolts, bronze tip fuel pump push rod, ARP Timing Cover Bolt kit, ARP Oil Pump Stud Kit, ARP Torque Converter Bolts, ARP Balancer Bolt, ARP Cam Bolt Kit, ARP Water Pump Bolt Kit, oil filter mount, an fittings for fuel pump and a few other things for the build...
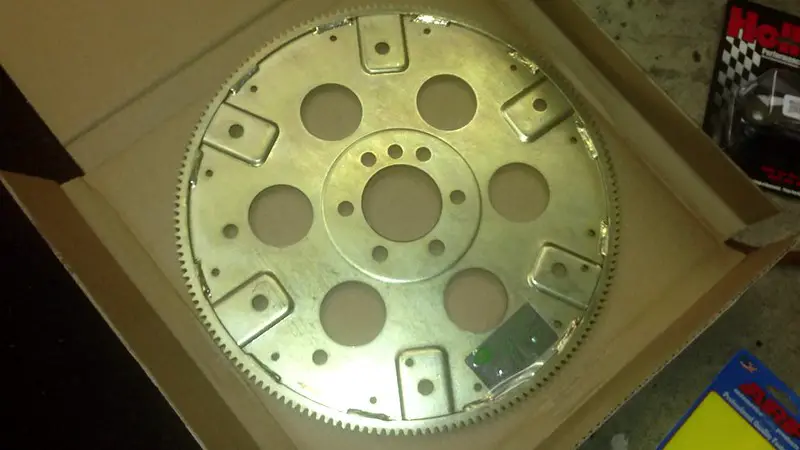
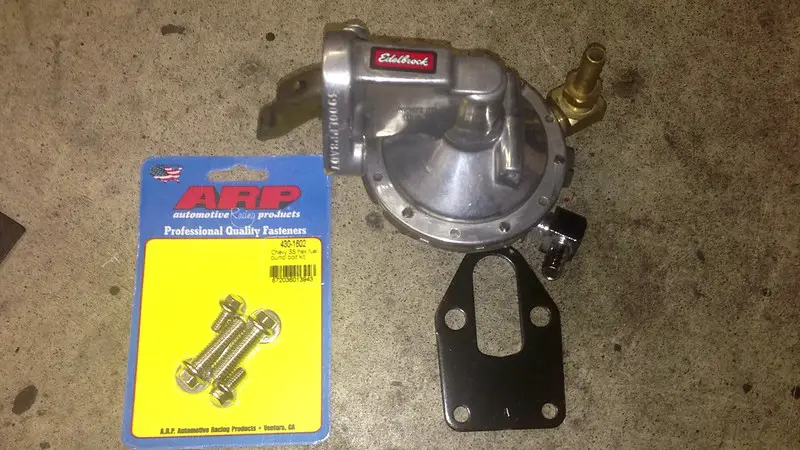
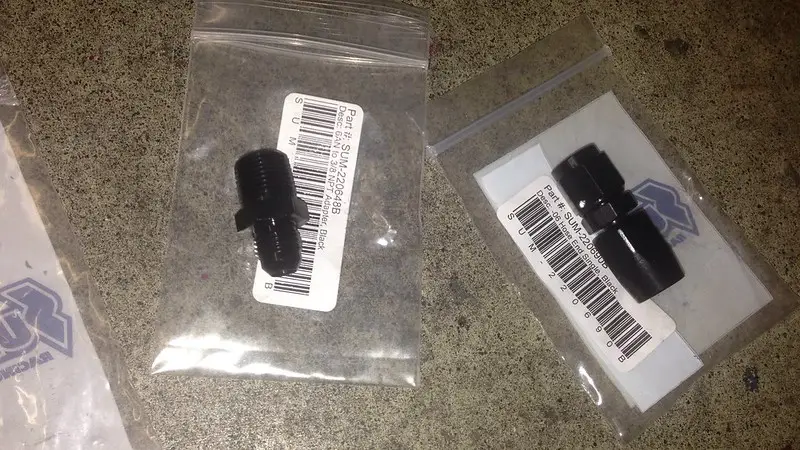
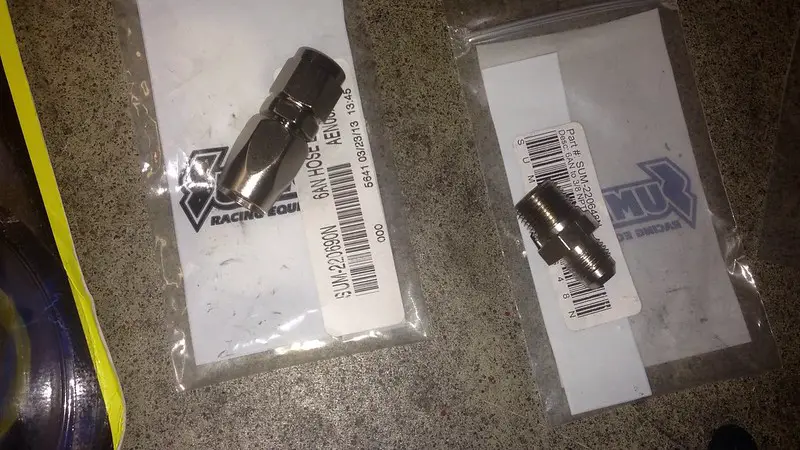
Put the gasket on so it can take form. Waiting for the timing chain cover (summit brand) to come and then I can slap the cam in, timing chain setup and cover it all up...
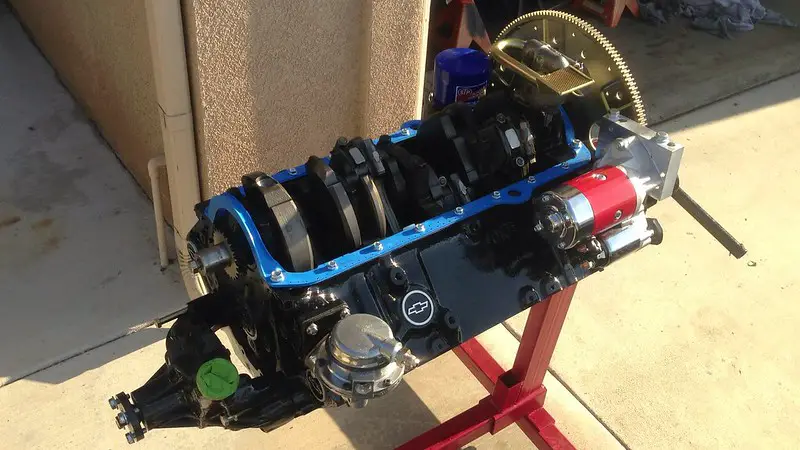
Getting there. Cant wait to order the heads for it. ordering in a couple weeks. I'll be heading out to Az soon to work on the Bu's floor(chassis saver and do a little cleanup on hte frame-then eastwood primer...Thanks for checking back!
Elco Warren
80z UP!!


Put the gasket on so it can take form. Waiting for the timing chain cover (summit brand) to come and then I can slap the cam in, timing chain setup and cover it all up...

Getting there. Cant wait to order the heads for it. ordering in a couple weeks. I'll be heading out to Az soon to work on the Bu's floor(chassis saver and do a little cleanup on hte frame-then eastwood primer...Thanks for checking back!
Elco Warren
80z UP!!
Last edited:
Nice work i luv to see the progress on this build,i gotta jump on my Bu's floor soon,How did you get the seat brackets to line up.I was gonna mount the brackets to the seat track and mark or tack them in,just lookin for a few pointers B 4 i start on the floors...GBoDYs UP!!!!
:shock: :shock: :shock: Looking real good!!! man all them details are killing da game...A+++++++++++ all da way!! 😀
GBoDYon4s said:Nice work i luv to see the progress on this build,i gotta jump on my Bu's floor soon,How did you get the seat brackets to line up.I was gonna mount the brackets to the seat track and mark or tack them in,just lookin for a few pointers B 4 i start on the floors...GBoDYs UP!!!!
Thanks again for checking back bruh! Thats exactly what i did. I stripped the floor, centered the new brackets on the mounting stud and tightened the keeper nut. then i set the seat down in the car on the outer factory mounts-centering the bracket on the mount stud. Tightened the keeper nut. then I sat in the seat to helpwith positioning the bracket tabs. Reached under and marked around each bracket with a scribe. Pulled the seat of, removed the outer bracket and set it on the marked spot. Did a couple of tack welds and set the seat back down to make sure all lined up. Good to go. Pulled the seat back off and finished the bead. Worked like a charm and took no time at all to do... Hope this helps bruh. probably a much better way to do it tho. First time doin it but that method worked out great. Did the same thing for my elco...
80ELCAMINOFLAKE said:Looking real good!!! man all them details are killing da game...A+++++++++++ all da way!! 😀
Thanks fam!! Thanks for swinging back thru and checking the build out. Slowly but surely getting there...I was hoping to ride with you one time before the sell. Soon...
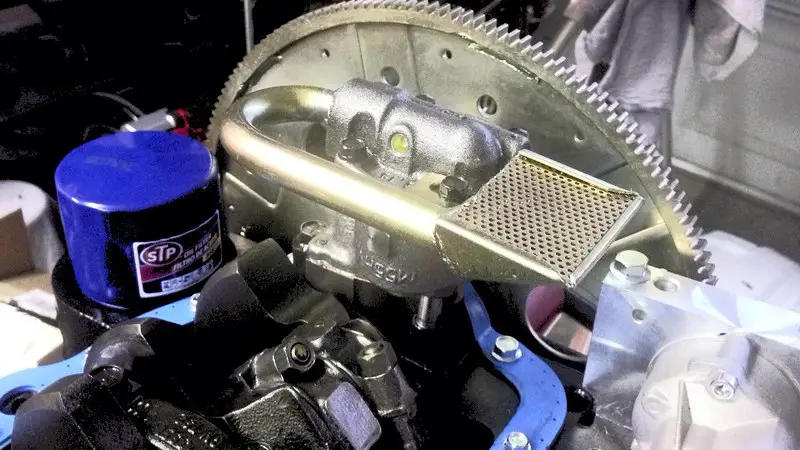
I left the oil pump pickup in the deep freezer for a week. Then applied a lil heat to the pump and the pickup slid right in. i used a mallet with sand in it to tap it lightly in place, used some loc-tite (blue) on the screw securing it to the pump. Then I put a bead around the opening. if that thing comes out..WOW! lol! I also installed the camshaft. its been wrapped in plastick covered with Camshield ZDDP break in paste for the past 2 months. i freshened up the paste , oiled up the bearings and slid the cam in...Ordered the last of the bolts and gaskets. man those ARP bolts add up QUICKLY!!!
Pickup in mounted...
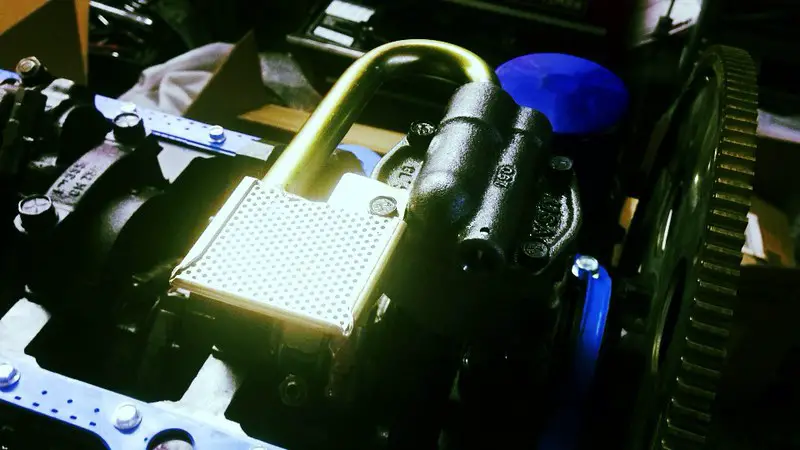
Hope to get down on the block Thursday(took the nigh off so i could play in the garage). i'll post up any progress soon. Thanks for checking back!!
Elco Warren
80z
Last edited:
- Status
- Not open for further replies.
Similar threads
- Replies
- 0
- Views
- 42
- Replies
- 50
- Views
- 1K
- Replies
- 3
- Views
- 257
GBodyForum is a participant in the Amazon Services LLC Associates Program, an affiliate advertising program designed to provide a means for sites to earn advertising fees by advertising and linking to amazon.com. Amazon, the Amazon logo, AmazonSupply, and the AmazonSupply logo are trademarks of Amazon.com, Inc. or its affiliates.

