79 Cutlass Wagon G-machine build

Status
Not open for further replies.
Finally I'm now driving the car, after much tribulation trying to resolve the overheating issues previously discussed. The goal was to have at least 200 miles on it before our 2000 + mile trip. Luckily outside of the cooling issues the car ran flawlessly.

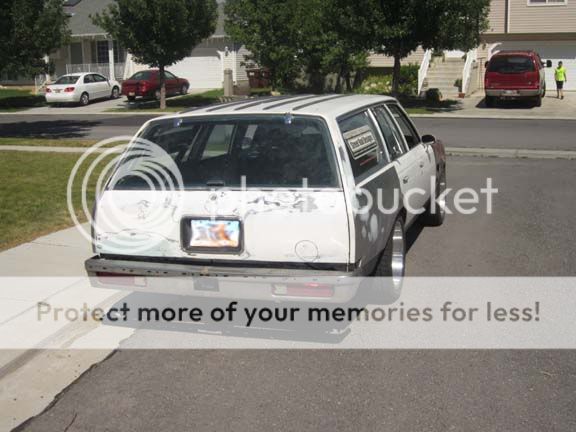
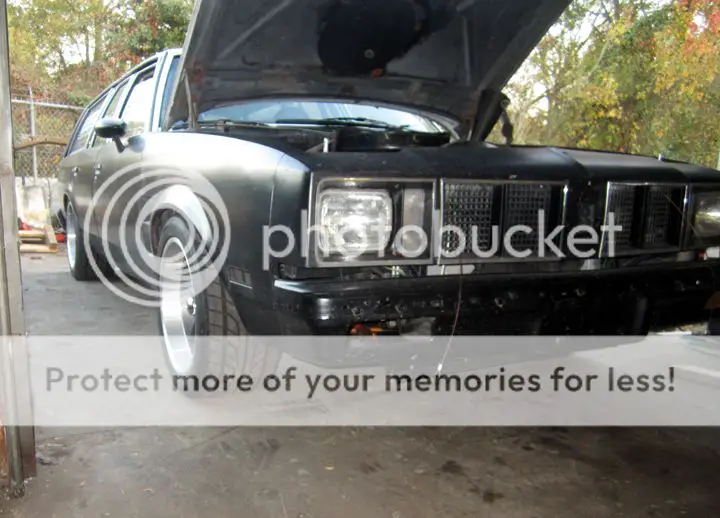
One last thing to do before the road trip. Out of necessity and for protection from the elements I needed to cover all the areas where I started working on body work. Although still a bit rough I think my car is pretty cool considering all the mods I've done to it, and having it look this way I thought did it a serious misjustice. I also felt just spray bombing it with a little primer here and there wasn't gonna cut it. Poor ugly duckling...
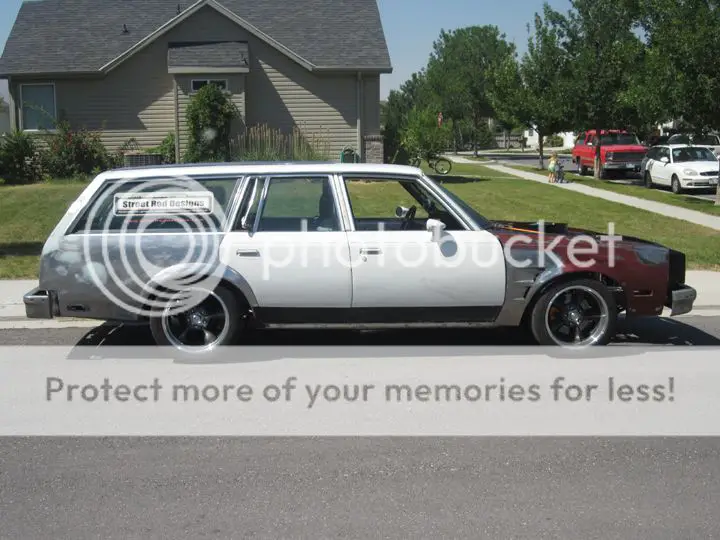
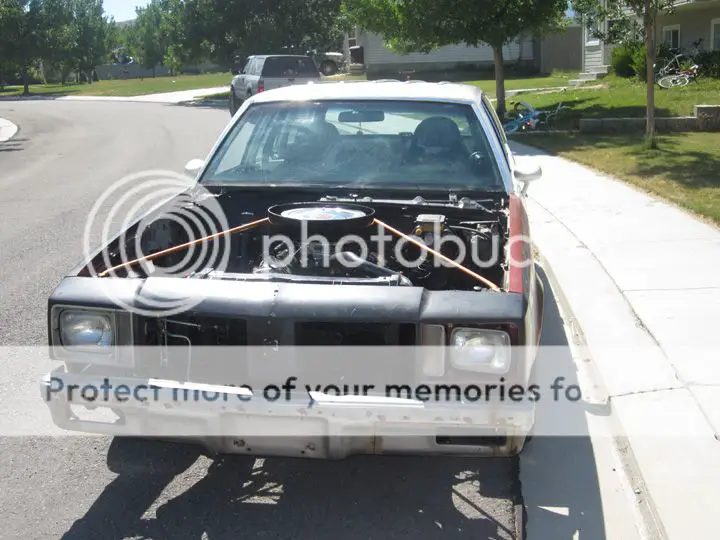
paint01.jpg


prepaint01.jpg


Wagon003.jpg


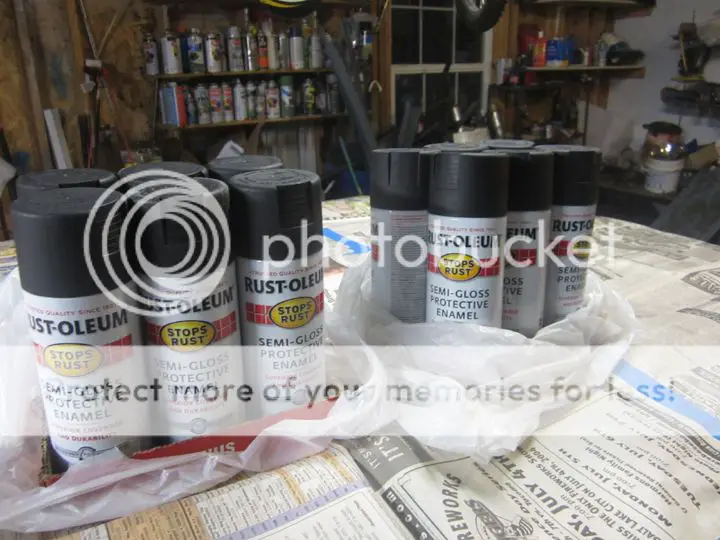
At this point the budget was all but drained and most every penny we had left in savings would be going towards the trip, so my original plans of spraying it in a booth with epoxy primer was out of the question. An old boss I had used to brag about how he spray bomb painted an old Mustang and it "looked like a real paint job". I always thought he was nuts, but for kicks I wanted to see if he was for reals. I had the fenders off again for some reason so I grabbed one and a can of Rustoleum semi-flat rattle bomb and after prepping the fender laid down a couple coats. I did a light first coat, let it tack, then laid down a fairly heavy coat with about a 70% overlay. Much to my surprise the paint laid down pretty nice! I painted the other fender and had the same positive results. "Hmmm", I thought, "I could do this..."

I decided to go to Walmart and pick up a couple six packs to get me through this next adventure...
paint03.jpg


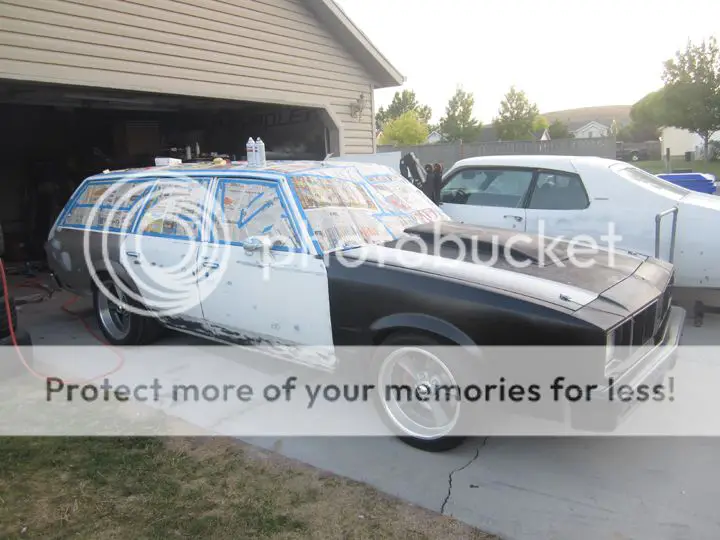
About $39 in paint and some tape and old news paper later I went to work. I first sanded the whole car with 320 on a da sander. I then blew it all off with an air gun, then wiped the whole car down with clean water and a wet rag, drying with a terry towel and the air gun. Then it was wiped down with wax and grease remover and finally a tack cloth. Lastly I bolted the fenders and hood back on thinking I could just blend the paint. This all took the majority of the day and the sun was heading down.
paint02.jpg


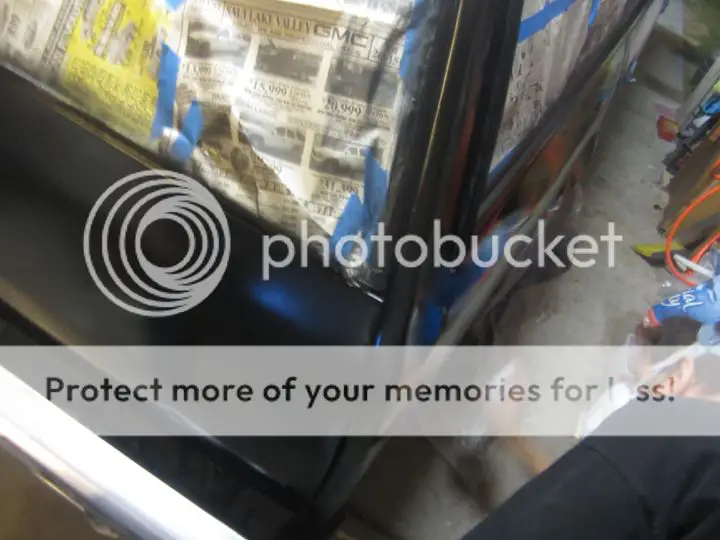
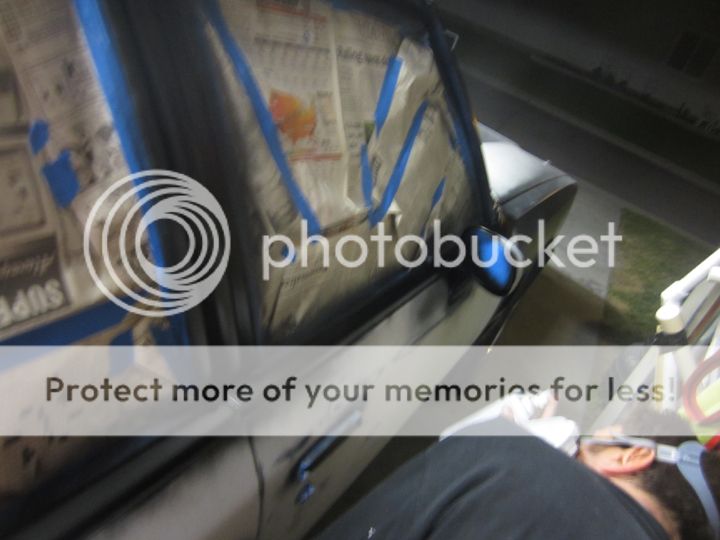
After some dinner I put my painter's mask and some music on and went to town starting at the driver's front door and working around the rest of the car right there in the driveway. By now it was fairly dark, and with darkness comes lots of bugs. I swear they're drawn to the smell of paint! This was the first, it landed on the a pillar. Man was I mad to see it. Then one after another... I gave up counting at 12 and just kept spraying. A couple of them really pissed me off so I sprayed over them to really "seal" their fate, lol. All in all I think it was like 32 total bugs in the paint. By the end my son and I were laughing, "There goes another one..." Luckily most of them didn't really sink into the paint much and the next day after the paint was set they come off with a finger tip rub not leaving behind much damage to the paint surface.

paint06.jpg


Some action shots of my fine painting equipment. I know for sure it came out so nice only because of the classes I had just gone through at school...
paint05.jpg


paint04.jpg
 
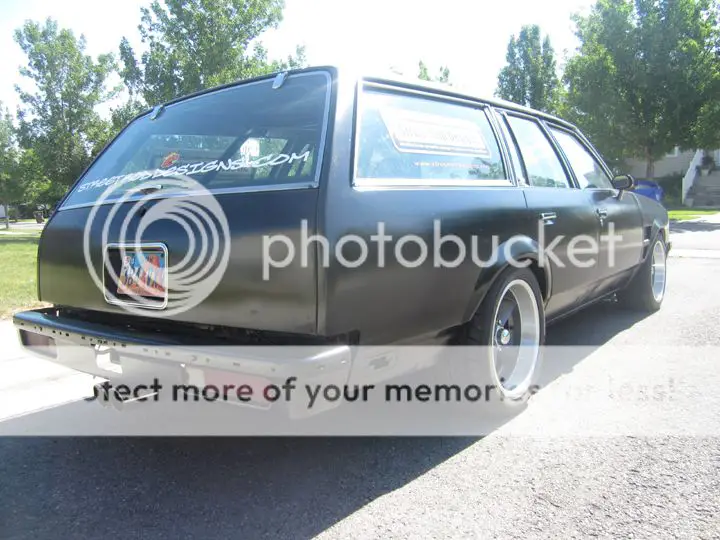
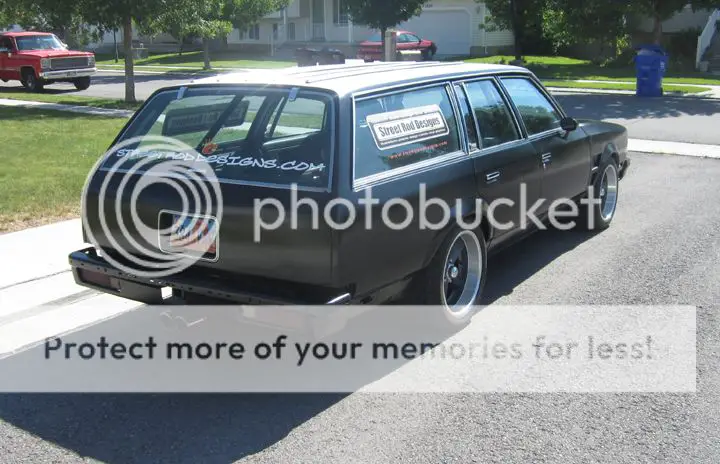
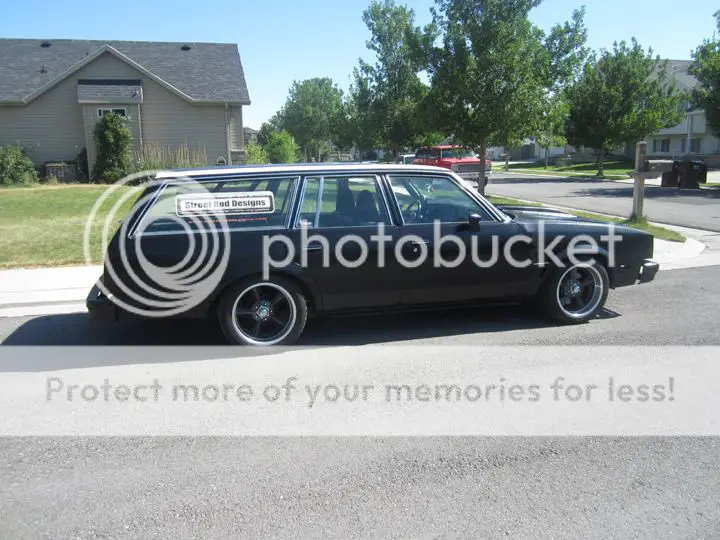
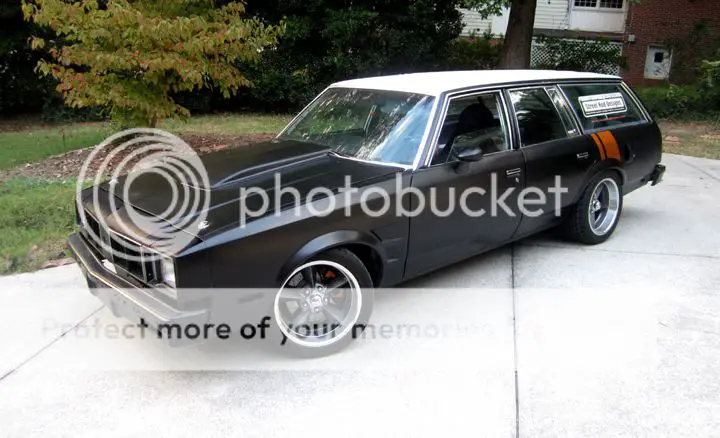
Here's the end result. Not too bad considering the way it was done. I wish I had had time to straighten the body but I'll get to it in due time...

paint08.jpg


paint09.jpg


I decided to leave the roof white. I figured the paint up there was fine, it would save me some time, and I wanted the car to have a bit of an old school look.

paint011.jpg


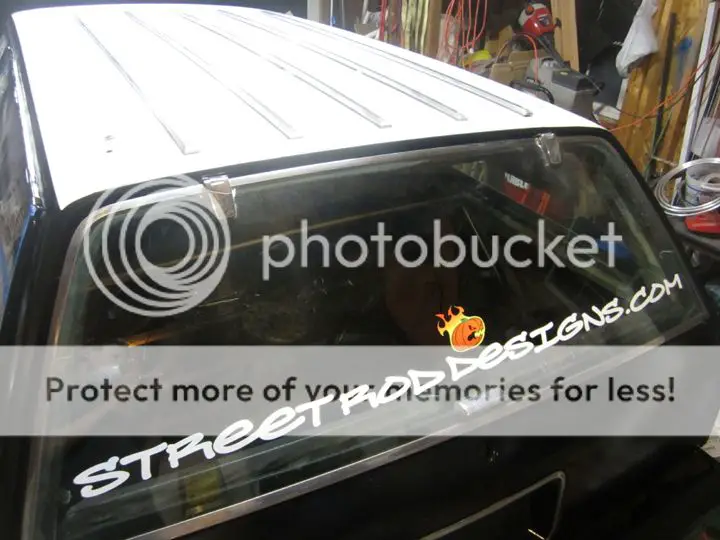
The final exterior job was to apply a couple stickers.

windowsticker001.jpg


windowsticker002.jpg


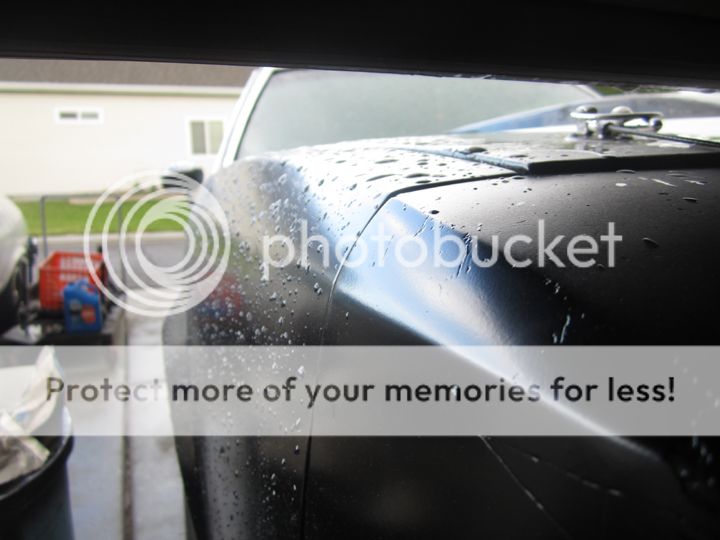
It rained the next afternoon, which made some cool photos. Roman took a few. I really like this one and the one above...

paint07.jpg
 
So here's my thoughts about spray bombing a car. If Hot Rod mag can house paint a car with a roller, then why not spray paint one, right?

A couple things to watch out for. First off is obvious, don't paint it at night in the driveway. Second look at the fender in this shot. Spray paint doesn't blend at all. I should've masked off the already painted fenders.

paint010.jpg


To avoid dry spray I had to keep it wet and move from one panel to the next very quickly.

The new paint was close by so as one can started to give up the ghost and spray funny, even if it still had paint in the can, I'd quickly grab a fresh one and keep moving. I used 7 cans for 2 overall coats. The first coat was fairly light, the second quite heavy. I only got one slight run on the whole car, and by morning it had mostly sank in so I didn't even bother trying to fix it.

Holding a spray can vertically yields great results. Holding it horizontally, well, not so much. I sprayed the hood on the car and I tried and tried but still got some slight tiger striping. Even after 3 wet on wet coats. Bummer. Over the last 5 months it's faded just enough that it's a little harder to tell and looks fairly smooth.

Overall, Rustoleum gets 1 1/2 thumbs up.
 
Pretty much after painting I was done with the car other than hooking up the radio and trailer wiring. It had been a very mad thrash since school got out and overall I was content with the results. There is soooo much more I wanted to do with the car, but a new job and new life awaited on the other side of the country and we had to get rolling.

Originally I had planned on heading to GA alone and working for a month or two, saving the $ to move the family and all our belongings. The way it worked out I had several set backs on the car that ended making reassembly take longer. Luckily everything went south while still in the driveway rather than on the road trip. Because of all the set backs and getting down to the bear minimum of savings because I wasn't working between school and GA, we last minute decided to throw most of our belongings in storage and pack what we could and head out as a family.

This got real crazy. We have 4 kids ranging from 4 to 14, 2 dogs, a cat, and 2 parakeets. How do you take everything you need in a couple vehicles and drive away? Trust me vehicles got packed, then unpacked and repacked again. I wouldn't wish our method of moving on anyone, lol.

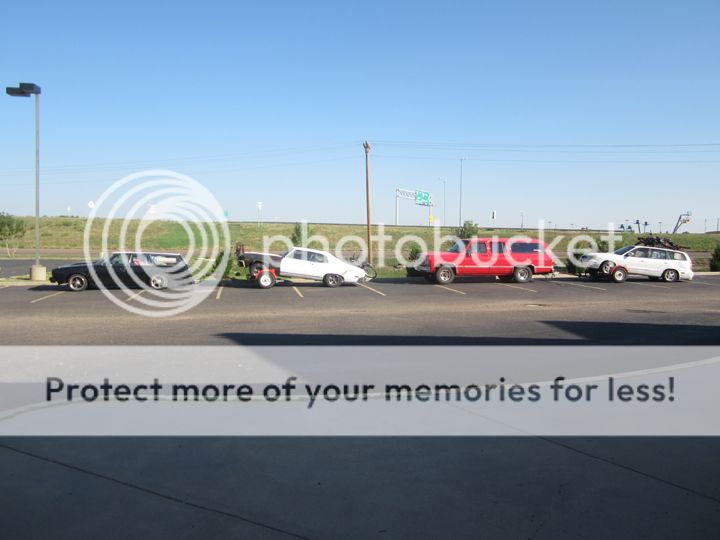
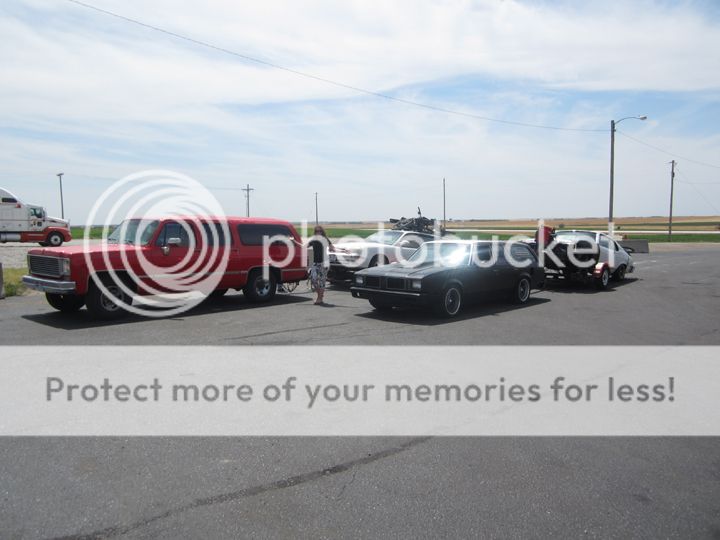
We packed our little Daewoo commuter wagon with all the important papers, electronics, sewing machine, and whatever else would squeeze in. I could barely fit in the driver's seat enough to drive it up onto a tow dolly. Once it was strapped down I added my 73 Nova's extra powder coated sub frame and my mountain bike to the roof. In true motor head fashion I couldn't leave them behind. This was attached to my Suburban, which was filled with boxes of clothes, some food storage, and other important belongings. Notice in the photo how much the rear sags, yet this is a 3/4 ton truck that has a normally fairly high stance. The back was packed tight and full to the roof, with only enough room for a 2.5x2.5' square with only about 15" to the roof behind the back seat where the two medium size dogs and cat slept. The back seat had several boxes between the two younger kids, and the floor was filled in the front where my 12 year old daughter sat. Her feet resided on the dash for most of the trip. The middle of the front seat was reserved for maps and a large box of snacks, paper towels, water, etc. and the bird's cage. My wife, who normally doesn't like driving long distances, had never towed before, and doesn't like driving in unfamiliar places was a real trooper to run this rig.

My wagon was lucky enough to bring all the left over junk. Things like brooms, mops, vacuums, etc. were visible through my back windows. How embarrassing, lol! Roman rode with me. The entire back was jam packed and junk food and lots of Mt Dew was packed in, around, and under the front seats. Attached out back was my 73 Nova, which was also completely packed full with all the parts I had to put it together. It was heavy enough that even at 40 lbs in the rear tires and with air shocks completely full it looked like a low rider with low air pressure in the tires. On the back of the Nova was a bike rack with 3 more bikes, and there was another small bike and my little rolling mechanics seat attached to a tow bar that was bolted to the front of the Nova. I tell you it was a nutty sight.

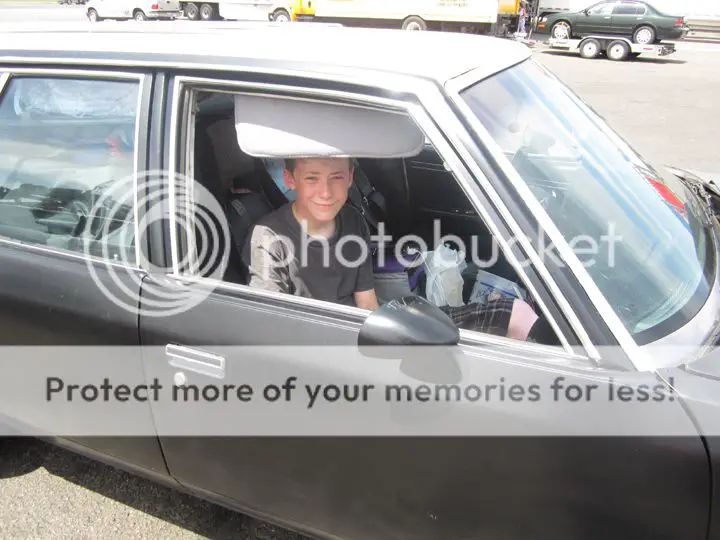
Here's a photo of Roman, you can see how tightly we had things packed...

tow5.jpg
 
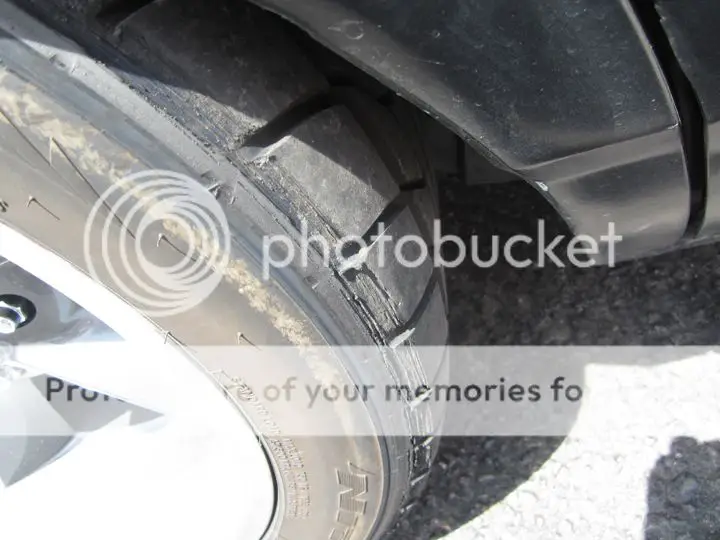
Here are a couple more photos along the way. Before we even got an hour under way climbing up the hill towards Park City I had one of my drag bags pop, which dropped the car low enough that the tire would scrub on big dips and bumps. It tore up the right rear tire a bit but some road side redneck engineering got the fender lip rolled up. I crammed a hammer handle up between the sheet metal and tire and had my wife drive back and forth a couple feet until there was enough space to clear the tire. It made it the rest of the way to GA sagging on the right side but the tire didn't rub any more. 🙂

tow4.jpg


This photo was our first stop, just outside Denver, CO where we stayed overnight. Didn't I say it looked crazy?

Tow2.jpg


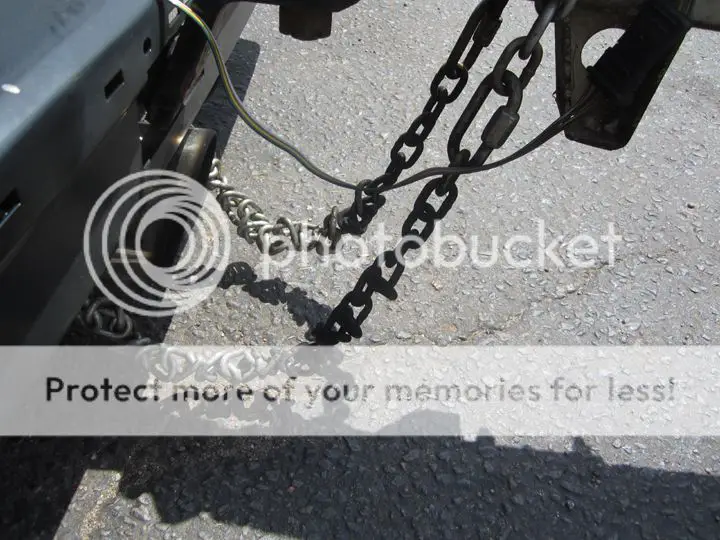
Overall the car ran great. The toughest part of the trip by far was in Utah and Wyoming, those up hill mountains just killed me. The car was already running rich and in some places running full throttle in 2nd gear just to maintain 30 mph on an uphill climb did wonders for my MPG average. There was one particular hill I used 3 gallons of gas in 5 minutes of driving. Running a bit rich you suppose? Look how black with soot the chain is behind the exhaust tips, lol!

tow3.jpg


With the Dan Howe fan shroud the engine stayed right around 190 degrees for the entire trip, although through the mountains the trans got up to 250 degrees a couple times and hovered around 210-230 for most of the trip. Normally it runs around 190 on longer trips.

We took it fairly easy, my wife wanted to keep it at or below 70 mph. This was about 2000 rpms for me. I wanted to go a little faster, my car felt better cruizing around 2200-2300, but a happy wife on a road trip is a good thing. I figured my gas mileage when we got to my in-law's place in Wichita Kansas, right about 10.5 mpg average for the trip so far. The Suburban was right about 8.5 mpg, even in all it's girth with a 454 and TH400 backed by 4.56 gears. I was a bit disappointed by my mileage but figuring I was hauling my car with about 500 lbs in the back plus a 3400 lb car in tow, plus the weight of the dolly, I guess that's not that bad. Outside the air bag fail we had a relatively easy going trip, not one other problem along the way.

This next photo was in Kentucky I think.

Tow1.jpg


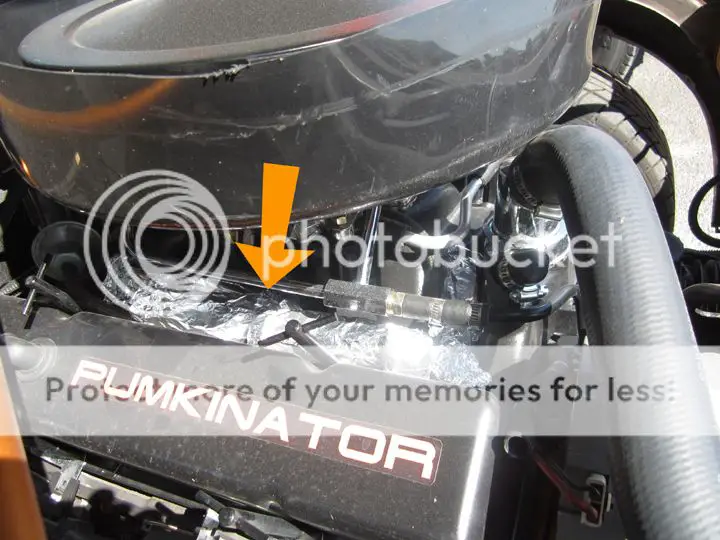
After the second day we got creative and realized that a trip to a grocery store for Lunchables was just as positive an experience as a happy meal for the little kids. Way to keep the kids happy and save money too haha. In using this method I discovered the fine art of manifold baking. Frozen egg rolls, deli sandwiches, hot dogs, yeah they heat up real nice wrapped in foil and placed on the intake for a couple hours. 🙂

tow6.jpg


After 6 days, visiting with family in Missouri and Kansas and a whole lot of gallons of used up gas, we finally made it from the Salt Lake City, UT area to Acworth GA. A couple key things that made the trip fun for me- spending a whole bunch of time with Roman, something we didn't get much of prior to this. Laughing as we'd ask each other at the end of a day of driving if our hearing was still muffled because of my ridiculously loud car, goofing off with my family in Super 8 motels along the way, visiting family, and getting a ton of compliments and thumbs up on the car along the way.
 
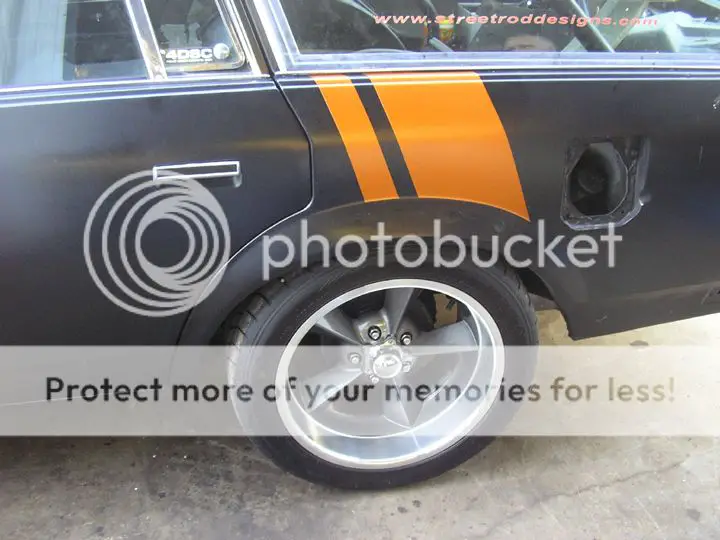
I've been so busy with work and with family since we got here I haven't done much to the car. I did change the oil and wash it not long after arriving. I also decided the black was too plain. One day after worked I grabbed some masking tape and paper and my VHT engine paint and had at it. I call it the anti what everyone else is doing stripe. I purposely put it on the rear 1/4 rather than the front fender and I varied the width of the stripes instead of having them symmetrical. Just doing my part to blend in while being different.

stripe003.jpg


Ive posted this shot before but I like it so much here it is again.

3-4shotsmall.jpg


I still drive it every day no matter the weather. It gets better mileage now that I'm not towing anything, and it's amazing how much more power I have at low altitude. It finally feels like it should.

I went to a local warehouse district and video'd the car to check how much body roll it has. It was pretty clear that the one tire fryer nature of the open diff limits how hard I can pull a turn. Still it stayed pretty flat throughout. The car shows up about 10 seconds into it...

http://www.youtube.com/watch?feature=player_embedded&v=iXXKL44XX8o

With no traction we decided we couldn't really see what we wanted so we had a little leg stretching fun instead...

http://www.youtube.com/watch?v=Y_PomV7g_Mg&feature=player_embedded

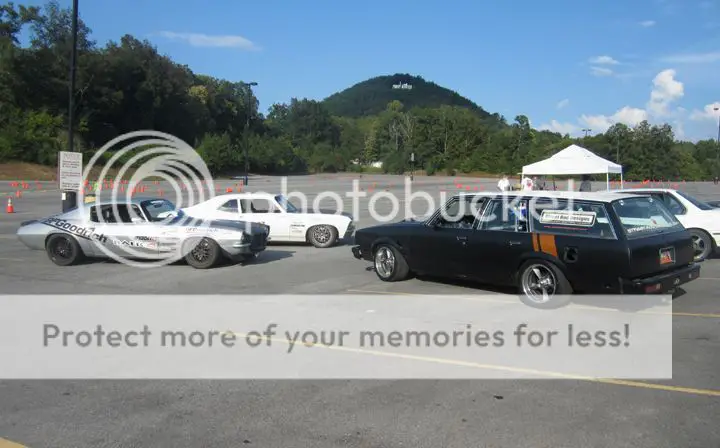
In September Roman and I took a Saturday and ran up to Tennessee to watch the Run Thru The Hills pro-touring event. Man was that cool. Both Roman and I are stoked to get more involved. I should be racing there this year.

RTTH-1.jpg


We also were able to attend Detroit Speed's open house in North Carolina. Wow what a facility!
 
I have since swapped in Varishock adjustable shocks and CPP rear springs I got from Doug "SicMonte" out back. Wow, what a difference in tightness and feel. I still need to get the front shocks in.

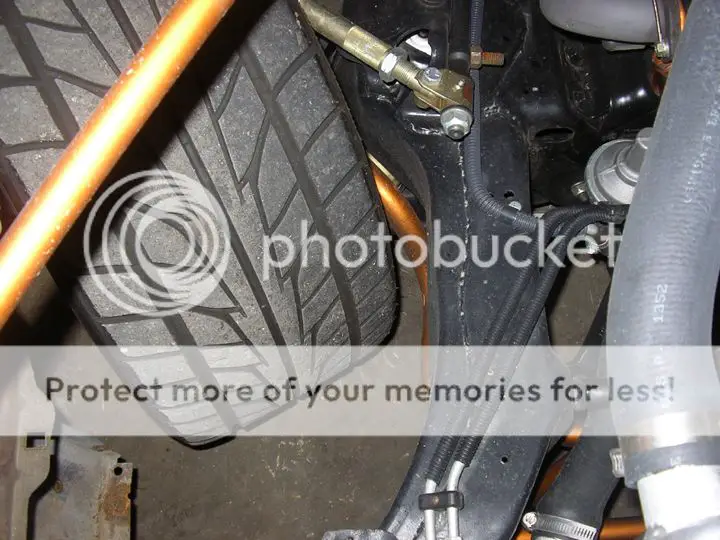
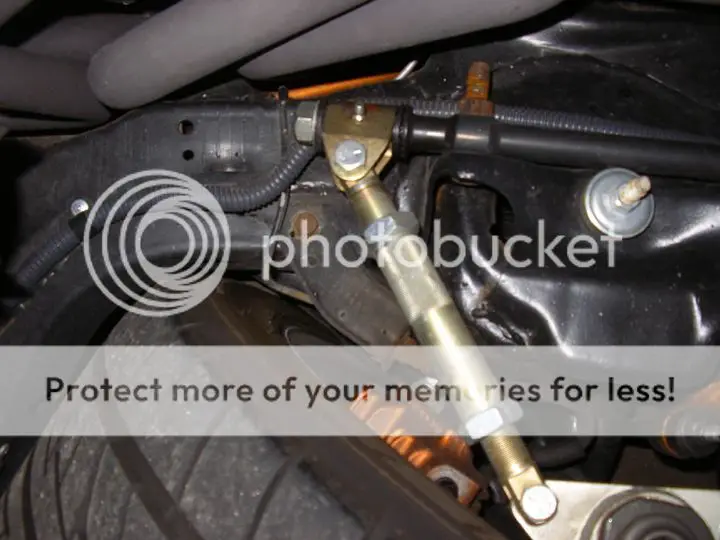
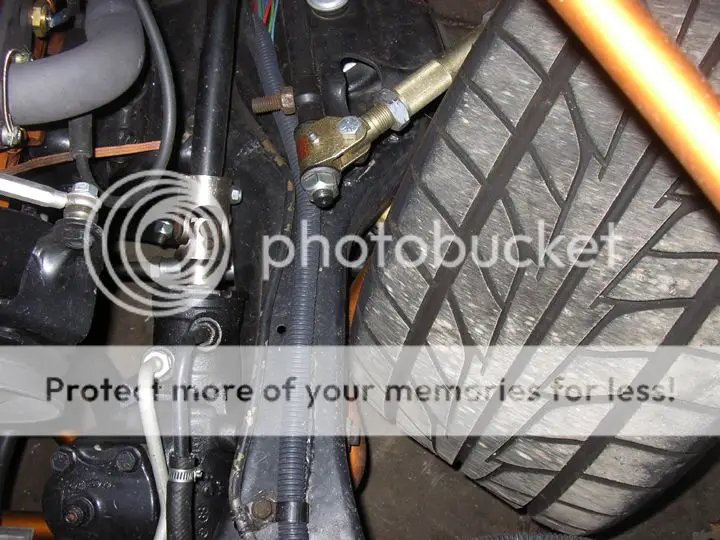
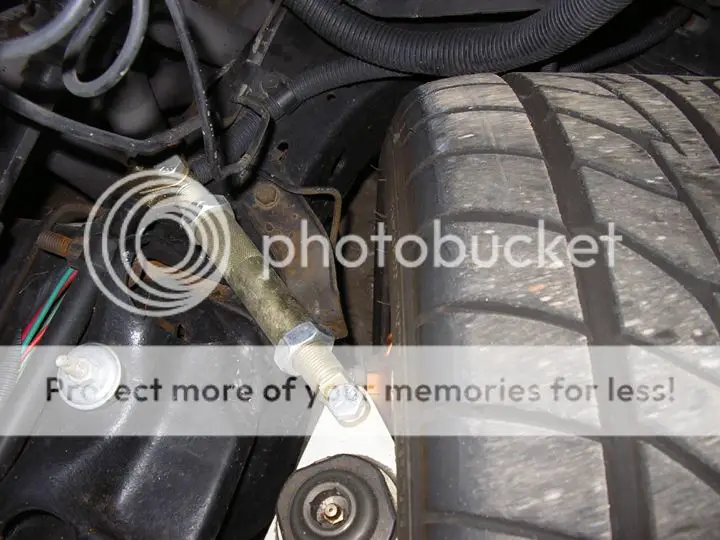
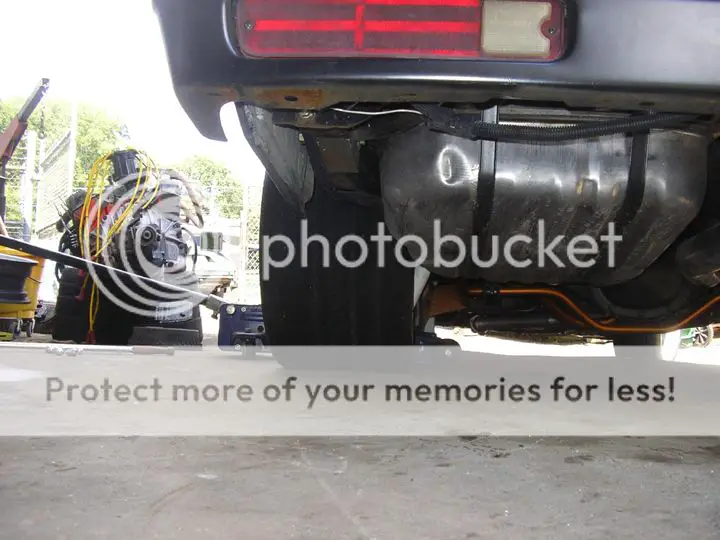
Besides getting the posi 9" into the car, the next mods include widening rims out back to fit 315-35s. I swapped the 275s up front and drove around a few days. They fit great with no issues. I did notice doing this that the front steering is off set. Notice how close things are with the 275s. On the front it clears the front right frame rail just fine at full lock, but the front left just barely makes contact. The right rear barely makes contact while the left rear isn't even close. Basically the car appears to turn more right than left. Is this because of a whack job at the alignment shop?? Or is this normal for some reason? Anyone else have this issue? Seems that the centerlink isn't really centered with the steering box? Photos...

Front right-

front275001.jpg


front275003.jpg


Front Left-

front275004.jpg


front275002.jpg
 
We had a 345-30-19 at the shop so while I was swapping the 275s to the front I tried it on the car. Oops, just a bit too wide, it's touching the frame on the inside and sticking out about 3/4". Now if only I had wider fender flares... buwhahhahaha evil laugh....

345001.jpg


345002.jpg


Oh well, I'll guess realistically I'll just stick with "little" 315s out back...

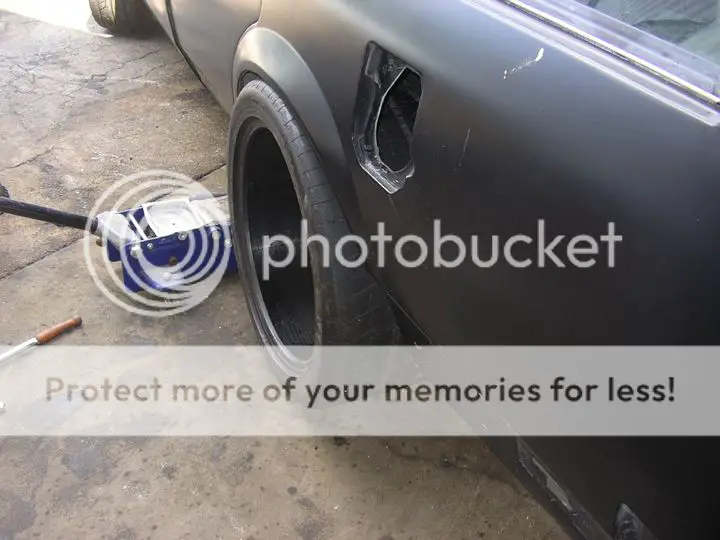
Another thing I discovered on accident while swapping tires- While I was building the car at school a lot of folks asked me how I thought my frame compared to a Schwartz frame in strength. First off my frame was free with the car and I spent a couple hundred dollars making my own bracing and boxing it. I understand theirs starts at around $10,000, but I would say that's fair considering the engineering, materials, and labor involved. Not including the roll cage I probably added a hundred lbs to my frame while Schwartz shaved off a considerable amount of weight. Realistically there is no comparison and it's probably not fair to compare my frame with theirs.

But one thing Schwartz (and all of us too) likes about their frame is that it's stiff. A and G bodies are known for having factory frame stiffness comparable to cooked linguine. Although again I say it's not fair to compare, while pulling the rear tire I noticed the jack, although placed in the back, lifts the whole side of the car like theirs does in their marketing video. 🙂 This photo is not staged or rigged, I found this out by accident and at first it freaked me out a bit. The door opened just fine in this photo. I think if I placed it correctly I wonder if I might be able to jack 3 tires off the ground at once with one jack, I'd like to try that sometime...

Jack001.jpg
 
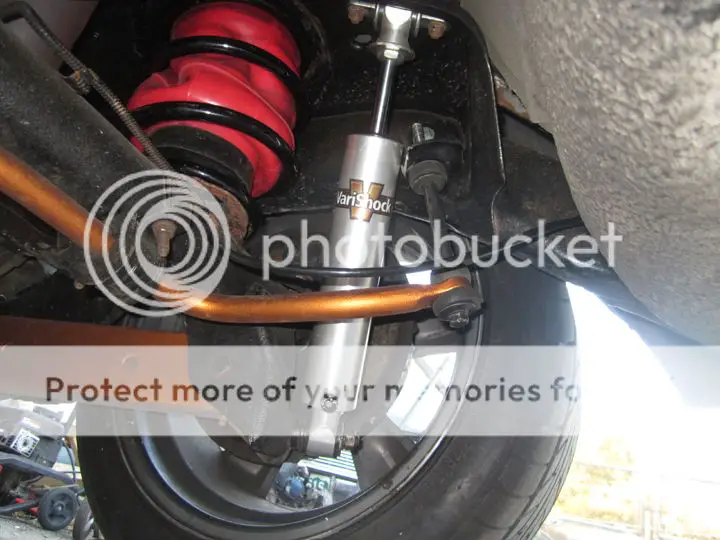
Here's a shot of the single adjustable shocks I got from Doug. Thanks again for the great deal!

The shock body was a bit larger than the stock replacements I put on there temporarily, and that required a slight trim on the rear sway bar link bracket. Doug suggested setting them in the middle at 8 and adjust from there. The ride is a bit stiff now, but not uncomfortable. I did notice a huge decrease in rear sway on quick turning. Nice! One of the front ones had the dial broken off so I'll be sending them back to get fixed up before installing them.

verishock01.jpg


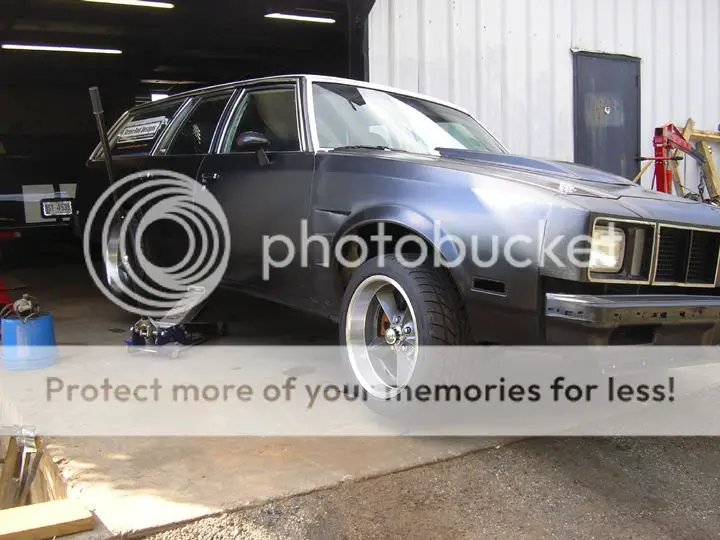
Here's a photo of the 275-40-17 on a 17x9.5 with 5.5" backspace on the front. Fits great! I wish I had just done 275s all around in the beginning so I could rotate them, but I originally thought a 255 up front would be better.

I think the widest I've ever seen up front on a g-body is a 285. I was looking at my frame and wheel/tire set up on Saturday and I can't help but figure that it won't take that much work to put 315-35s on 10.5" wheels up front. Something I'm going to have to really think about for the future...

275front01.jpg
 
Thanks for the update!

That would be me who warned you about the tanks. Mine were SO far off, a simple bending would not do it.

You made some good progress before the move. At least you are driving yours. I went hard on mine, then getting laid off, holidays, Military, etc, have kept me from it.

Keep it up!
 
Status
Not open for further replies.

GBodyForum is a participant in the Amazon Services LLC Associates Program, an affiliate advertising program designed to provide a means for sites to earn advertising fees by advertising and linking to amazon.com. Amazon, the Amazon logo, AmazonSupply, and the AmazonSupply logo are trademarks of Amazon.com, Inc. or its affiliates.

Please support GBodyForum Sponsors

Classic Truck Consoles Dixie Restoration Depot UMI Performance

Contact [email protected] for info on becoming a sponsor