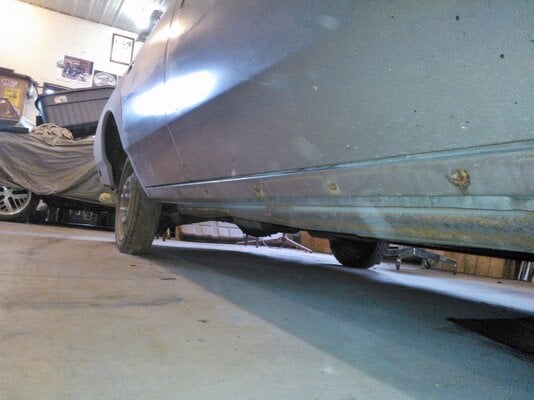
'83 Cutlass Cruiser Build Thread

Been debating adding the vinyl woodgrain trim around the car once it's painted. Should I do it?

  • Yes, that wagon needs woodgrain

    Votes: 12 35.3%
  • No, leave that wagon smooth and simple.

    Votes: 22 64.7%

  • Total voters
    34
  • Poll closed .
Filling in that edge is a good idea, I might have to do that myself.
I still have to trim my wheel well moldings to match what I removed from the body.
It'll be nice to have them on there again, I had to take them off right away back when I first started driving the car...
It's not a ton of extra room, but it should help. I made a point to not disturb any spot welds or screw holes to keep my future labor to a minimum!

I was all geared up to go out and work on it on Saturday, but it was a little too nice out and I ended up ****ing around with my r/c cars instead... :lol:
 
It was so nice out Thursday that I made a trip out to Rohner's to grab a couple things for myself and a few other wagon-owning brothers...
I managed to find 3 decent wheel well moldings, unfortunately I could only get one of them off the car. :x I'll have to bring my drill next time.
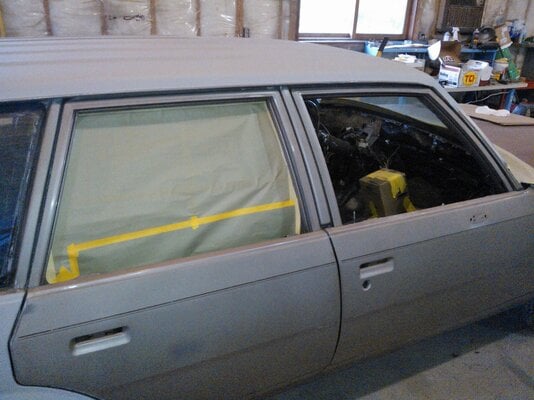
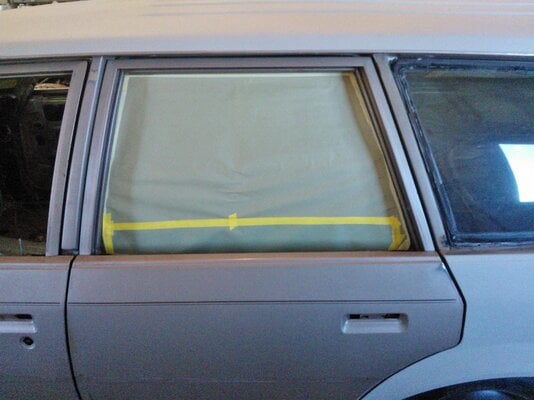
Friday I got the door openings all masked off so I can start making a mess again... I'll start on the header panel Tuesday.

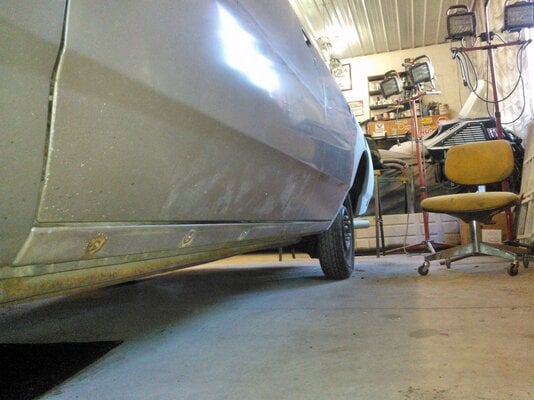
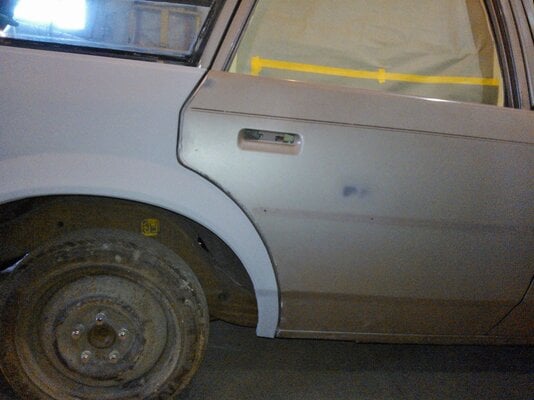
Decided to upload my door gap pictures just as a reference for myself once things start going back together.
 

Attachments

  • WP_000874.jpg
    WP_000874.jpg
    514.2 KB · Views: 549
  • WP_000875.jpg
    WP_000875.jpg
    480.7 KB · Views: 539
  • WP_000873.jpg
    WP_000873.jpg
    478.9 KB · Views: 524
  • WP_000876.jpg
    WP_000876.jpg
    466.9 KB · Views: 542
  • WP_000870.jpg
    WP_000870.jpg
    460 KB · Views: 533
Got started on the header panel today...
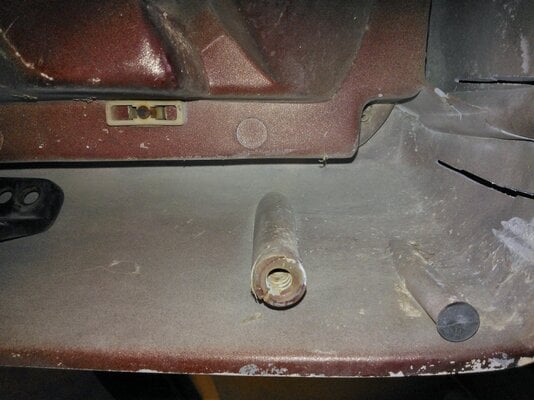
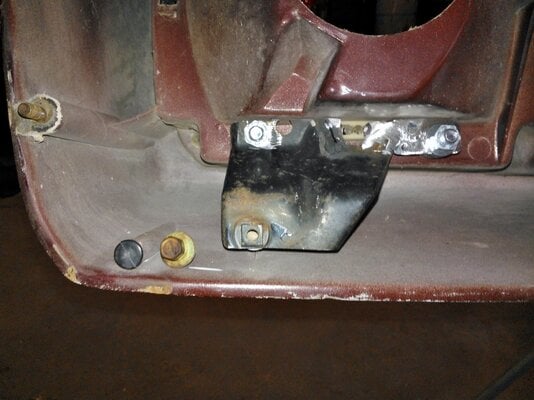
Started making some cuts on the drivers side to repair the damaged area but decided to tackle the upper brackets first since it'll be easier for test fitting it with them in place.

The whole reason for this is to get rid of the typical stripped out mounting holes and replace them with nice solid metal.
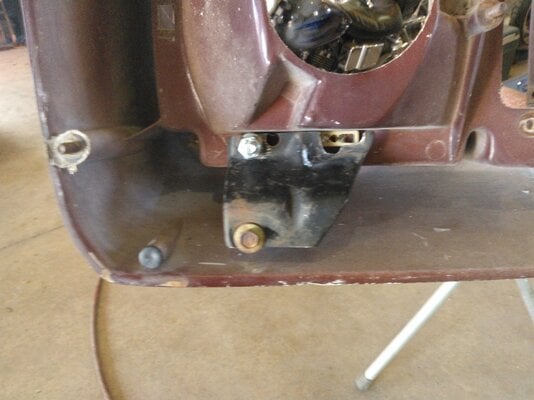
The brackets I'm using were robbed off the '83 header panel. Apparently by the end of the run they figured out that screwing into the SMC wasn't a good idea...
Sorry if the pictures are confusing, the header panel is flipped upside down on a stand.

This is what I'm starting with... Junk!


I've got one side half installed.
I had to trim quite a bit to get it sitting at the proper angle.
I shimmed up the backside with a bunch of washers.
Unfortunately the side I have yet to do interferes with the insert for the headlite bucket adjuster.
I'll fix that by welding a small tab on the edge so the bolt can clear the insert. Once It's installed I'll bury it in fiberglass to make it nice and sturdy.


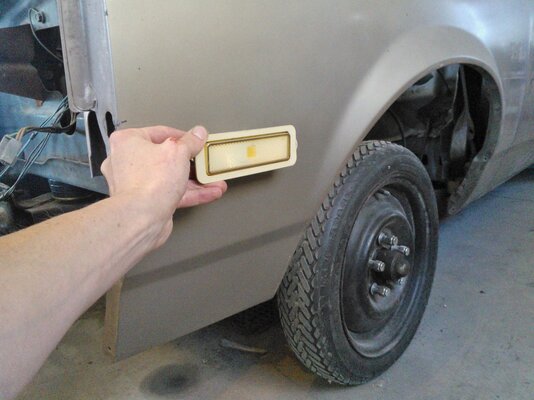
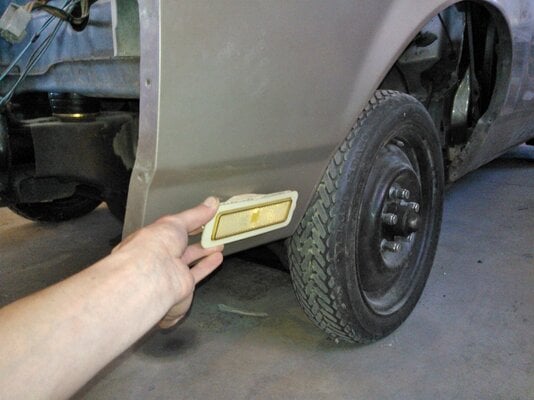
I'm still kind of on the fence about adding some marker lites to the front fenders...
With the original '83 nose the markers were on the corner of the header panel. On the '78 the markers are on the fenders.
Here's where they mount from the factory...


And here's where I want to mount them...


Still not sure if I'm going to do it or not.
I like it, but on the other hand it's more work... :lol:
If it do it, I'll cut up some fenders for the reliefs for the lites and then glue them to my fenders.

Hopefully all this goofing around with the upper mounts works... If it doesn't I'll just go back to Rohner's and get another header panel.
 

Attachments

  • WP_000886.jpg
    WP_000886.jpg
    492.6 KB · Views: 484
  • WP_000887.jpg
    WP_000887.jpg
    385 KB · Views: 484
  • WP_000889.jpg
    WP_000889.jpg
    456.1 KB · Views: 491
  • WP_000888.jpg
    WP_000888.jpg
    399.7 KB · Views: 474
Been over a year now since I started pulling the wagon apart...
Kind of hoped to be further along by now but oh well.

Messed around with the header panel more today and got one side done.
Had to weld a tab on the side to allow the bolt to clear the headlite adjuster insert.
Need to grind a little bit to make the insert serviceable and build a little dam around it so that it doesn't get locked in with glass once I bury everything.
Now that all the trial and error mumbo jumbo is out of the way, the other side should go pretty quick.

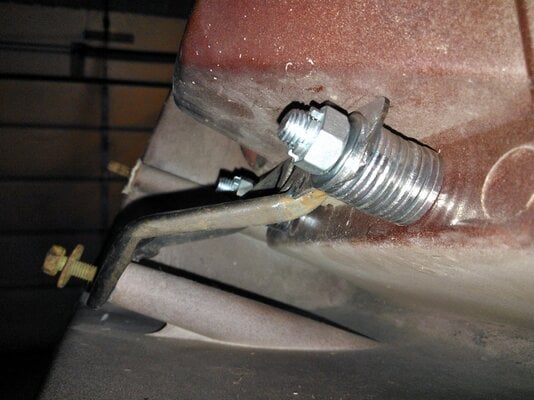
Here's a better view of my craftsmanship/jerry-rigging... :lol:


It feels nice and solid so I'm happy, but realistically I totally over thought this whole thing.
I have extra studs like the ones along the sides and I should've just stuck one of those in there and been done with it.
By the time I realized this I was far enough along that I just kept going. I don't feel like driving back to Rohner's anyways... :lol:
 

Attachments

  • WP_000890.jpg
    WP_000890.jpg
    446.5 KB · Views: 439
  • WP_000894.jpg
    WP_000894.jpg
    453.6 KB · Views: 435
Got both brackets finished up yesterday.
Threw it on the car and the holes even line up!
Good thing considering I test fit it zero times... :lol:

Tomorrow I'll head out and finally get going on fixing the cracked up drivers side...
 
Blake, better work fast, I am catching up!! :-D
 
It's good to see more progress in motion. I hope the impending winter weather doesn't impede your progress too much. Looking good so far.
 
Jack, I just scored a Mr heater big maxx with wall mounted thermostat and vent kit for the shop. So, I should have some heat in there this winter. Along with the wood stove, I hope too be able to keep on going.
 
Good for you, Jim.
It looks like you'll be working in comfort this winter :wink:
Wood stoves crank out a considerable amount of heat, once you got 'em going. But you don't get instant heat like a gas heater.
 
Catch up?! You're so far ahead of me it's not even close, Jim! 😢

Jack, luckily the shop is nicely heated so I'll be plugging away all winter. The drive out can be the tricky part depending on the weather...
My buddy said there were a few times last year that he was surprised that I even made it out there in my 2wd pickup! :lol:

Worked on the messed up side of the header panel today.
It didn't want to cooperate so I cut it apart and glassed it back together the way I wanted it. :wax:
They make special 2-part stuff for SMC, but it's like $40 a tube so that's why I'm using fiberglass...
I still have more glassing to do to strengthen up the backside and then to fill in the front.
I took a few pictures but my phone battery is dead now and I'm too lazy to go downstairs and get the cord...
I'll post them all up once I finish stitching everything back together.
 

GBodyForum is a participant in the Amazon Services LLC Associates Program, an affiliate advertising program designed to provide a means for sites to earn advertising fees by advertising and linking to amazon.com. Amazon, the Amazon logo, AmazonSupply, and the AmazonSupply logo are trademarks of Amazon.com, Inc. or its affiliates.

Please support GBodyForum Sponsors

Classic Truck Consoles Dixie Restoration Depot UMI Performance

Contact [email protected] for info on becoming a sponsor