BUILD THREAD 87 Regal Build

Should I go Olds 350 or Ls

  • Ls engine

    Votes: 9 52.9%
  • Oldsmobile 350

    Votes: 8 47.1%

  • Total voters
    17
  • Poll closed .
Status
Not open for further replies.
I'm still behind with updates. With the chassis 80% done and winter coming I needed to get body home. The body was sitting on a trailer and would be impossible to get once it snows.
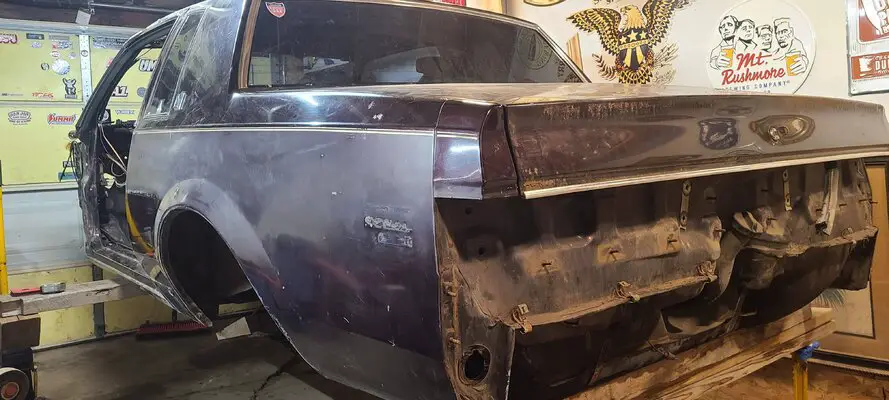
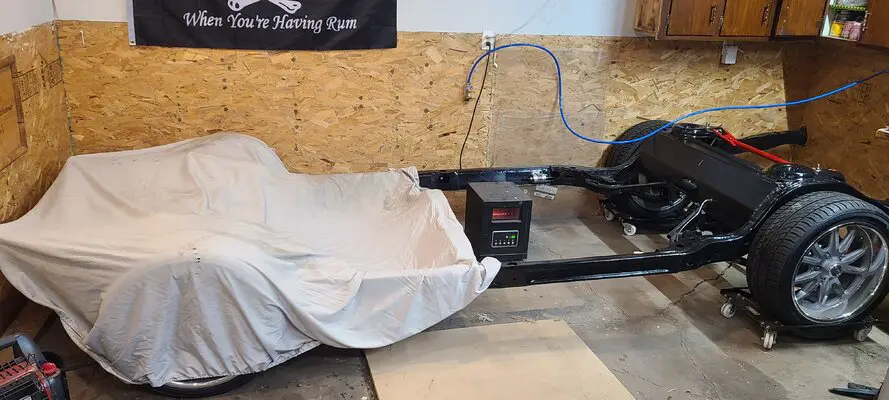
So I got the body home safely. It was at my house for a week before I got a letter from city. "Inoperable Vehicle " I hate living in the city. So I needed to get Chassis and Body in my 1 car oversized garage, Not Ideal. I did manage to fit with the help of dollies and moving compressor outside into a shed so the neighbor can enjoy. 20211121_173453.jpg
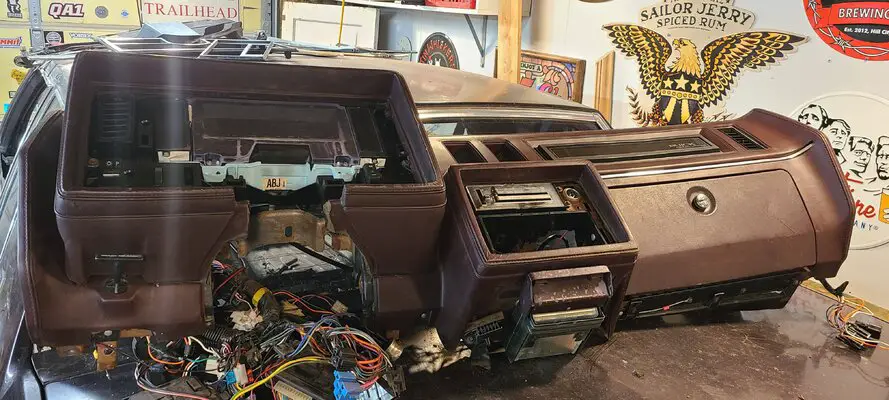
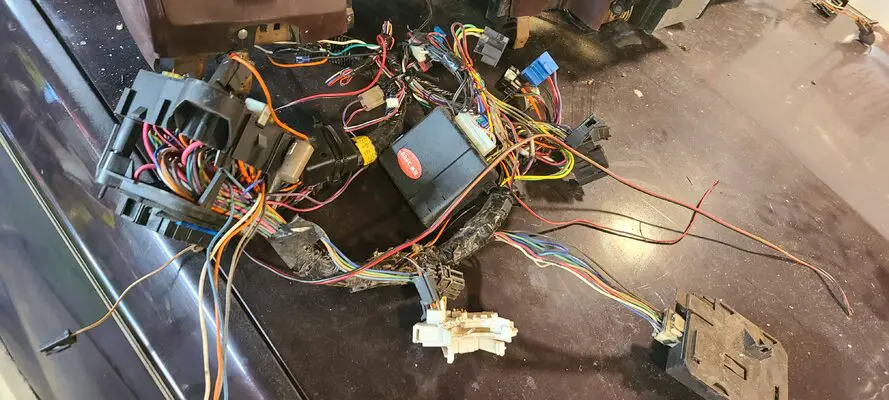
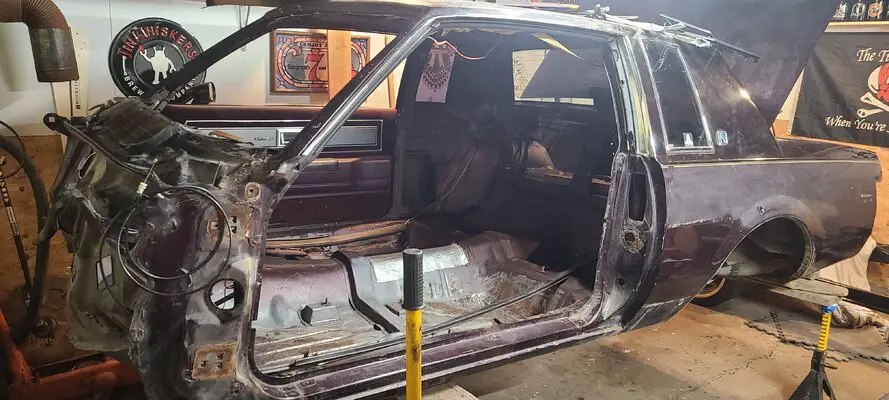
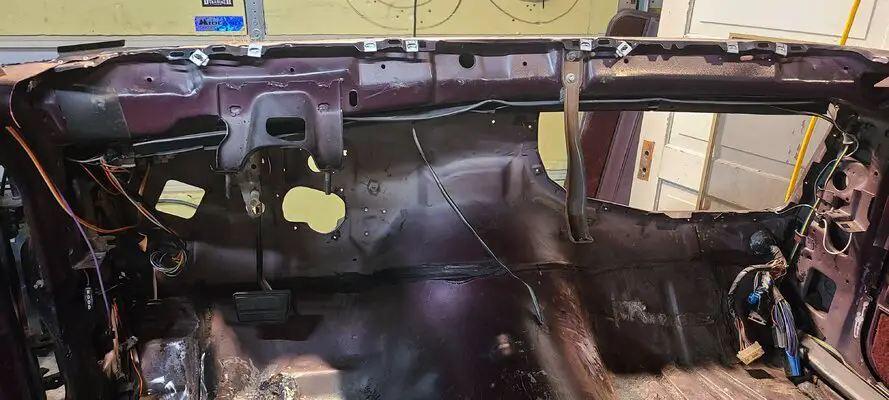
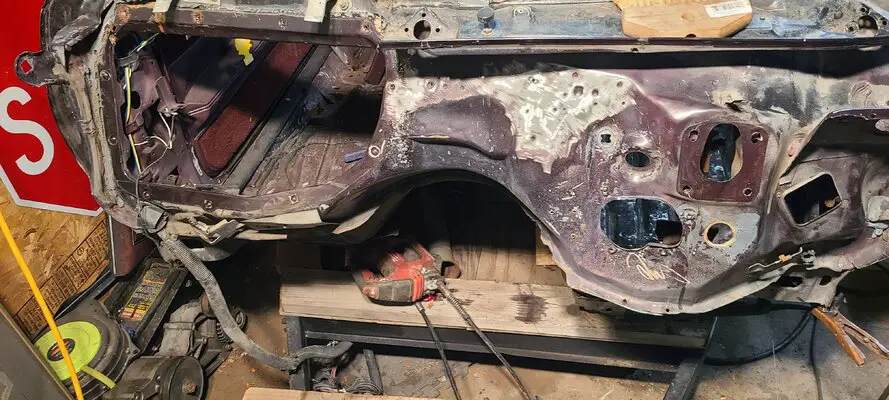
My original plan was to clean up and paint firewall. Then address a couple body mounts and a few small rust issues. After getting body into garage it was obviously that the mice have taken over. The smell was really bad. Everything needed to come out. Seats, carpet, trim, headliner, seat belts, dash and heater box. Lots off mice nests and dead mice, the smell would never have gotten better if I didn't pull everything out. Snowball. 20211210_104617.jpg20211210_104633.jpg20211210_104742.jpg20211210_104801.jpg
It was hard to look,let alone work on the bottom of body. I needed a plan. I borrowed a small mig welder from a friend. I have never welded before, with a few youtube videos, I was ready. Sink or swim. 20211216_212741.jpg
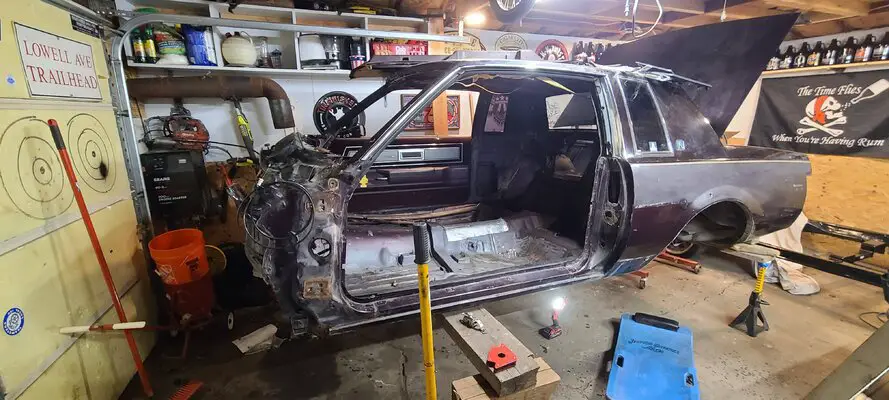
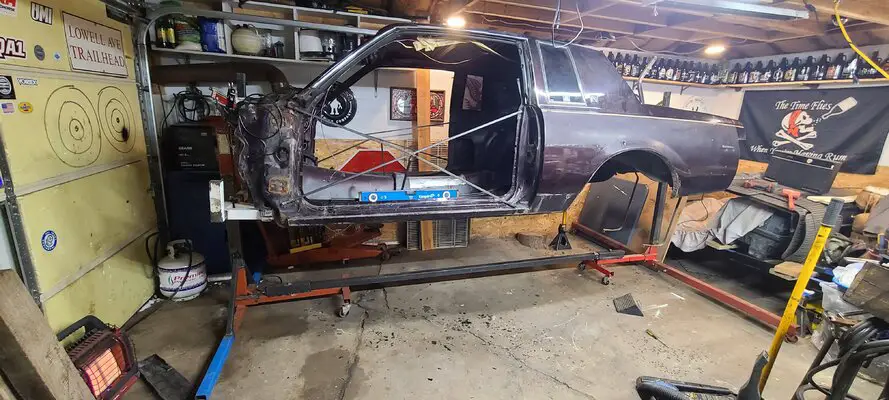
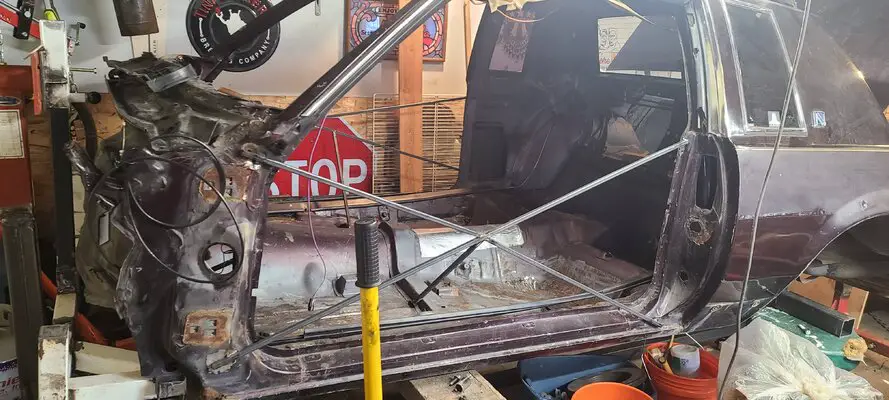
Off with doors and trunk lid. A little bracing. Just to be safe.20220106_091956.jpg
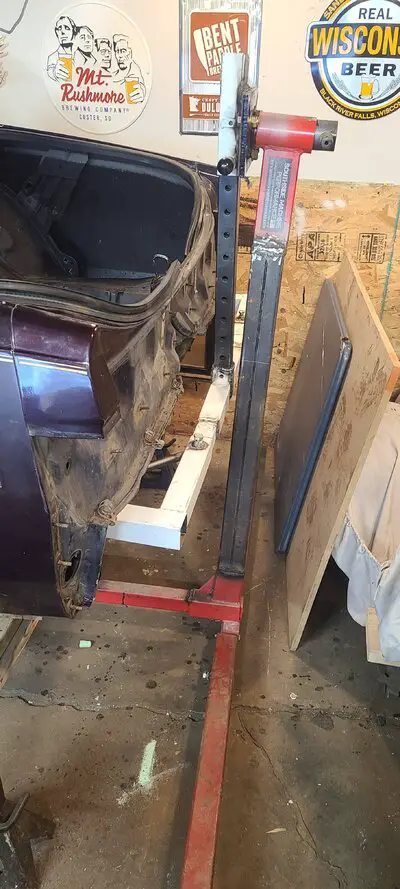
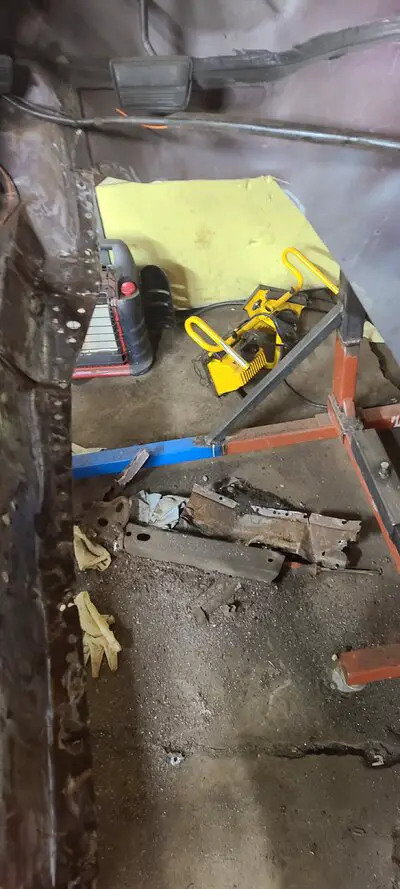
I used 2 engine stands, workout bench, legs off my hoist and $80 of new square stock. 20220106_091949.jpg20220106_181035.jpg
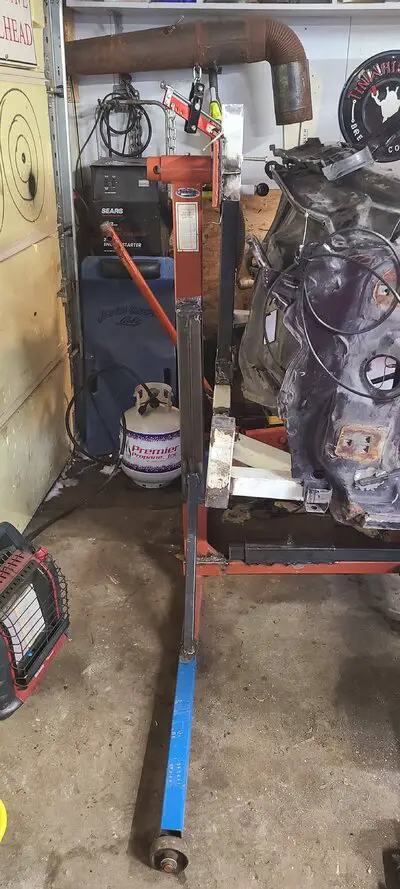
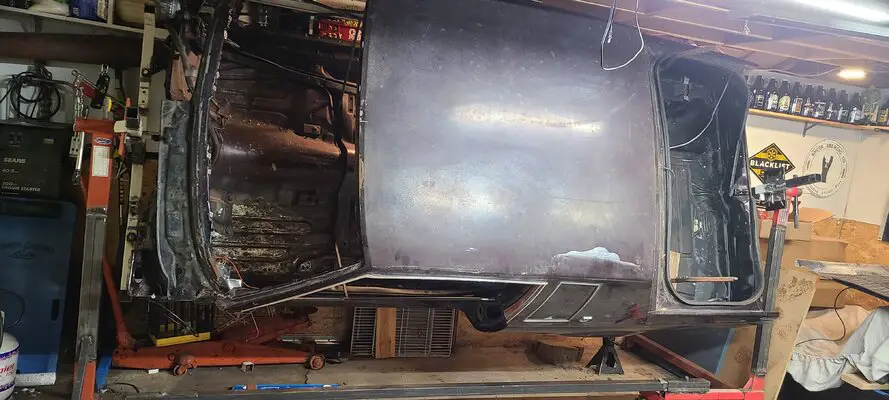
Vertical support is sleeved and filled with concrete.
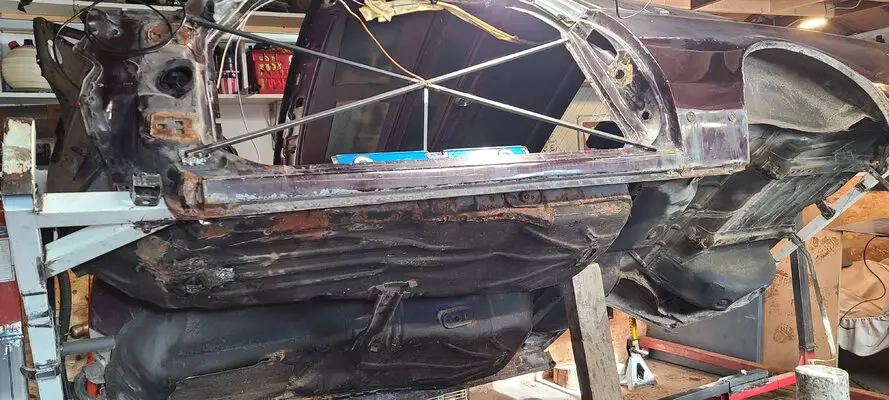
20220106_135938.jpg20220106_150628.jpg
20220106_181359.jpg
20220106_092007.jpg20211219_222258.jpg
 

Attachments

  • 20211219_221850.jpg
    20211219_221850.jpg
    760.9 KB · Views: 117
Last edited:
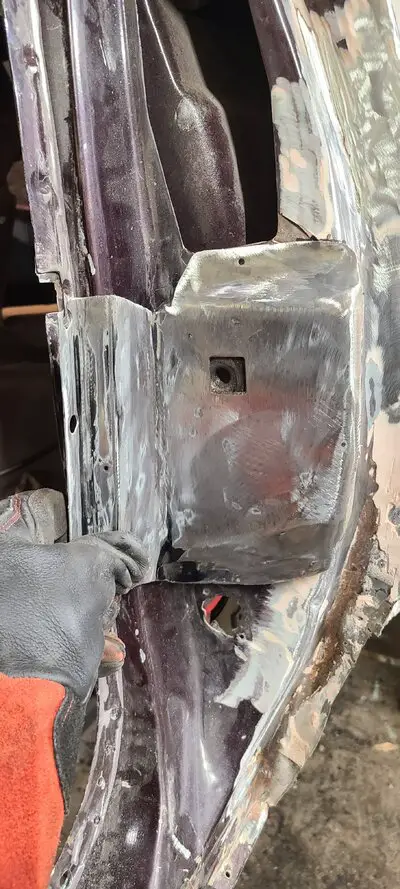
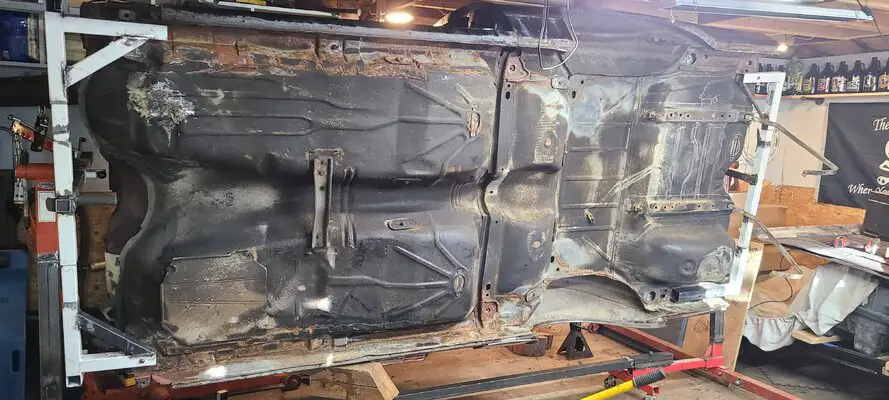
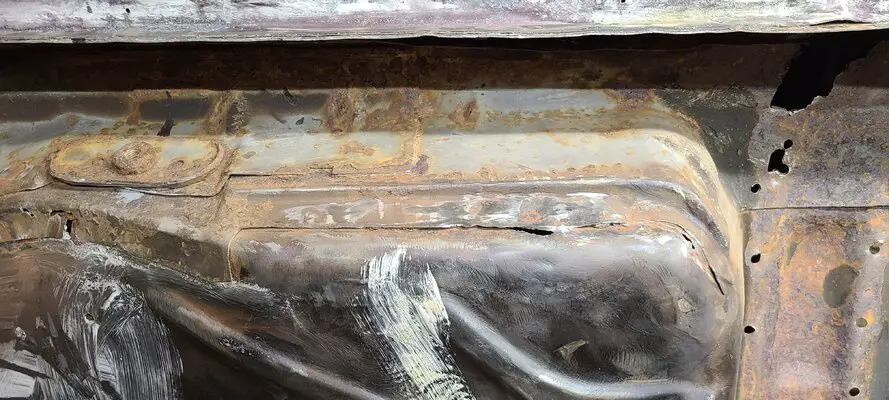
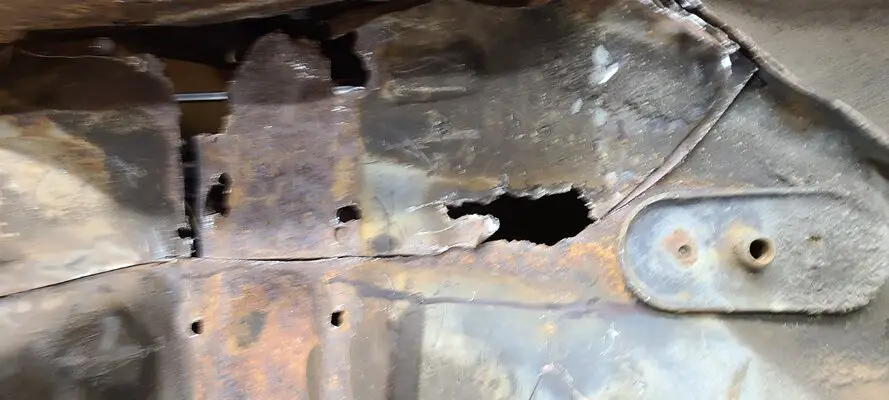
Now I can assess the rust damage, I'm not to excited about the amount of rust I can now see. I've seen worse but...20220115_191121.jpg
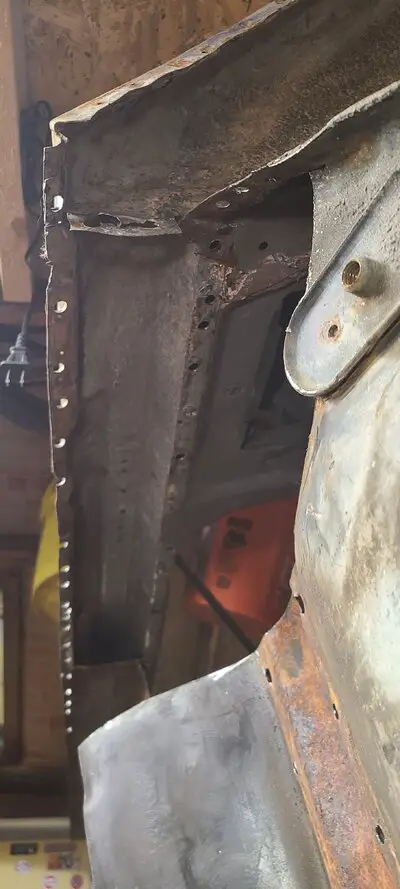
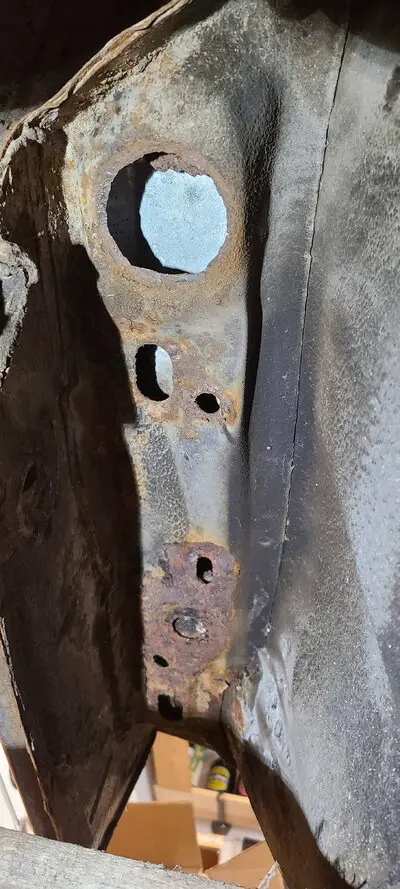
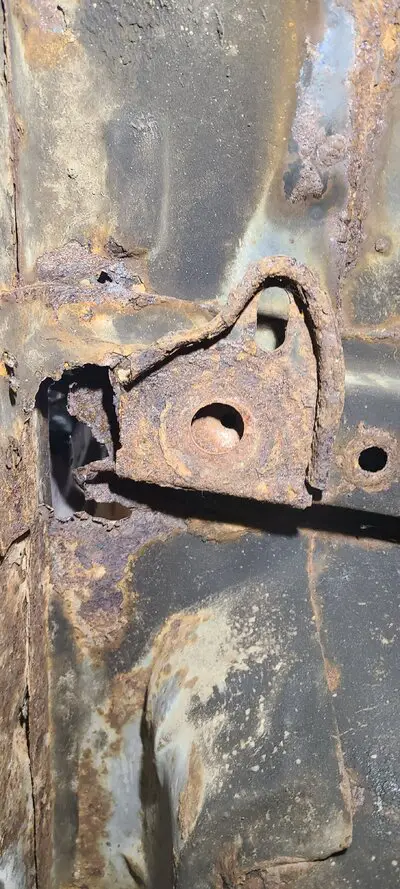
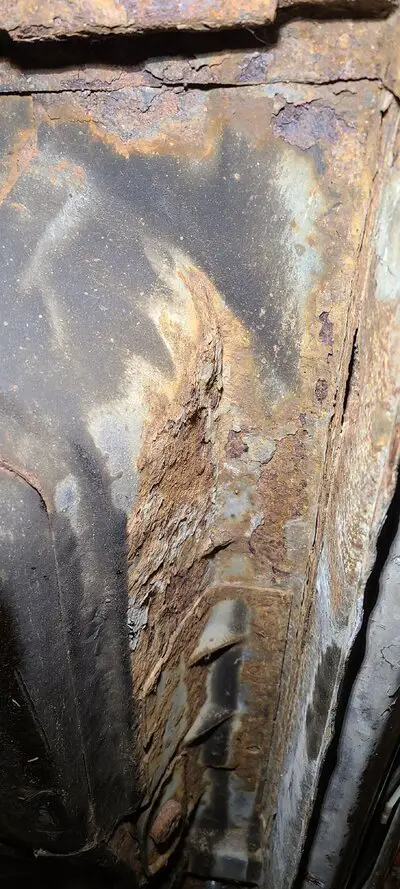
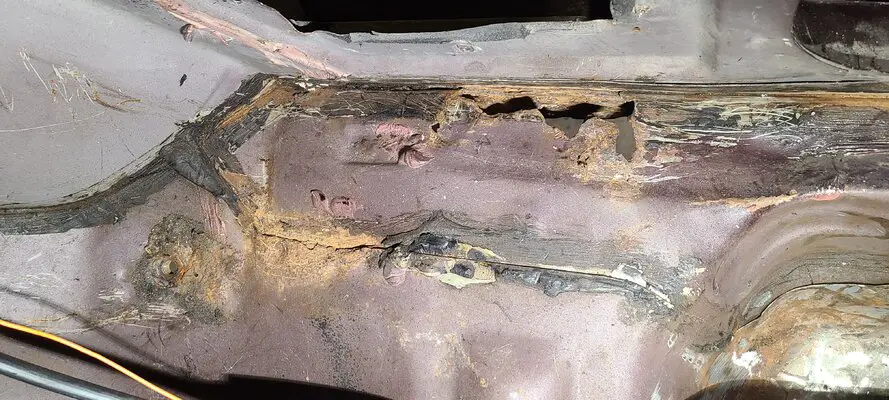
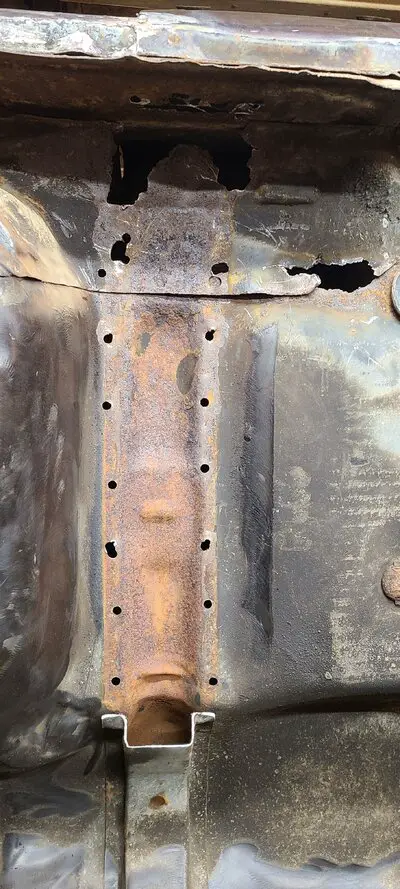
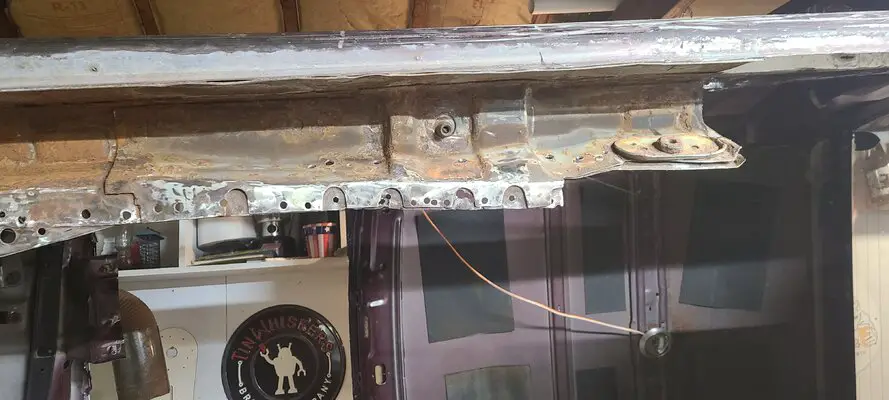
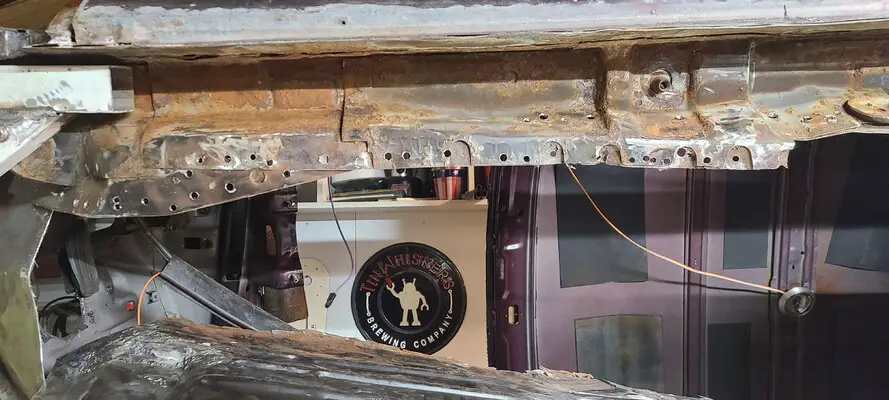
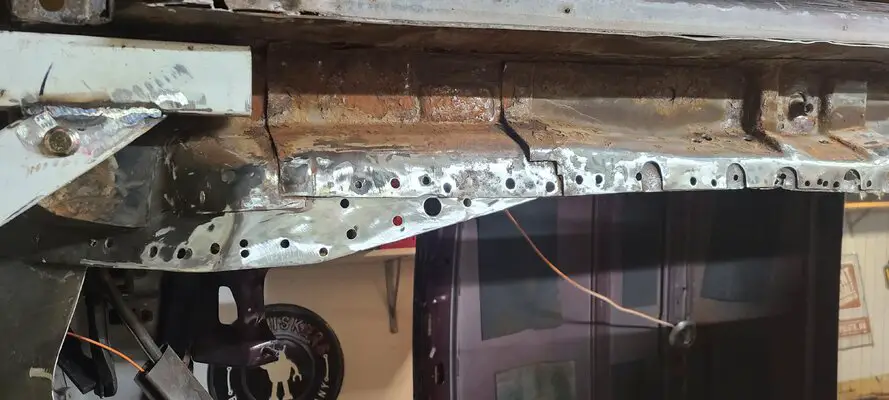
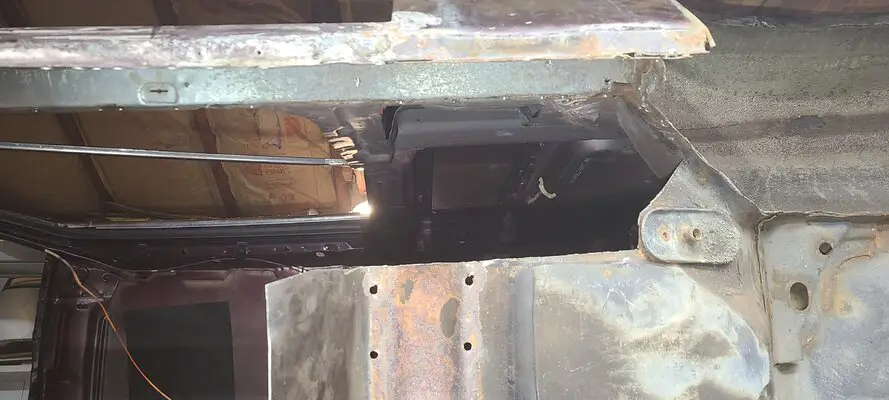
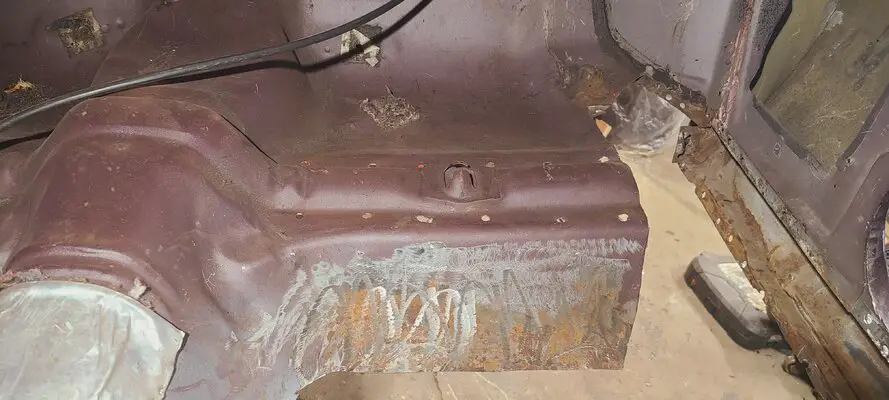
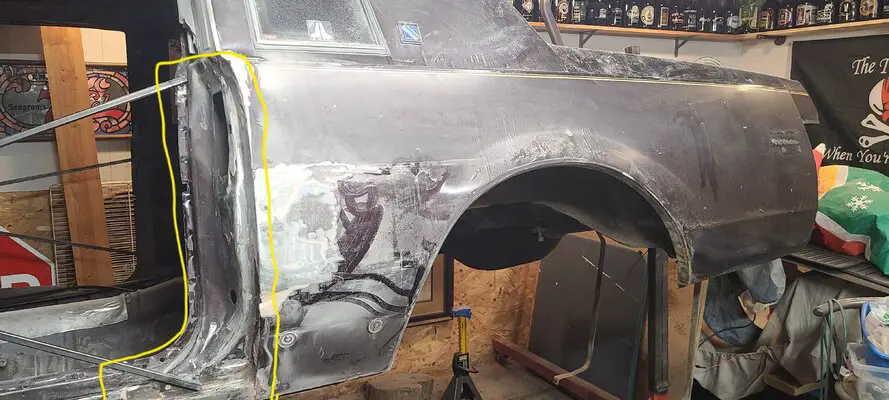
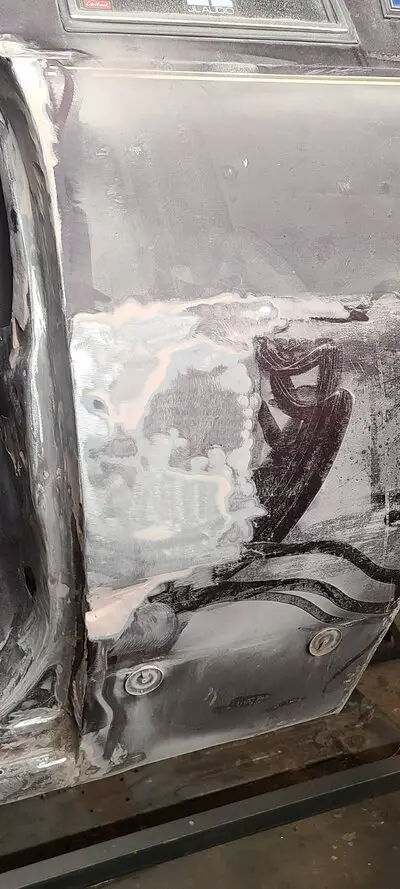
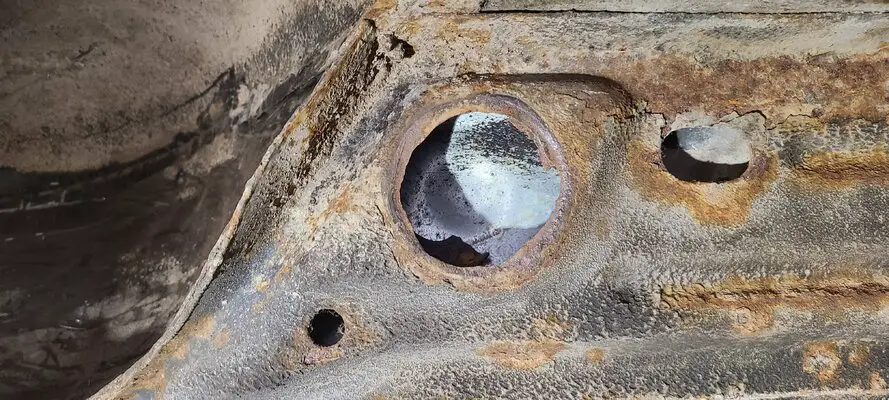
So I drilled and cut out damaged areas that were absolutely necessary. Left some questionable areas. Then plan to sandblast bottom to see what else is bad. Overall I need to get bottom addressed, so I can put back on chassis, then could address wheel well rust later. I also found evidence of an accident that damaged b pillar and lower front quarter.
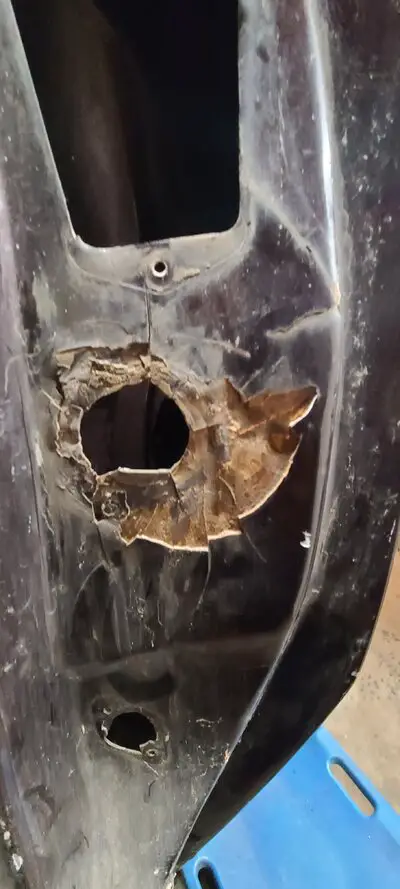
20211216_213526.jpg20211216_213018.jpgBad body mounts.20211216_213139.jpgInner rocker and side of floorpan.20211216_213939.jpg
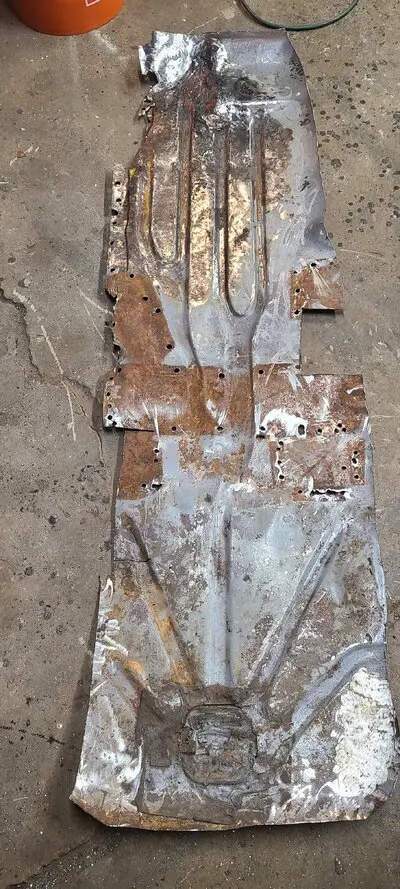
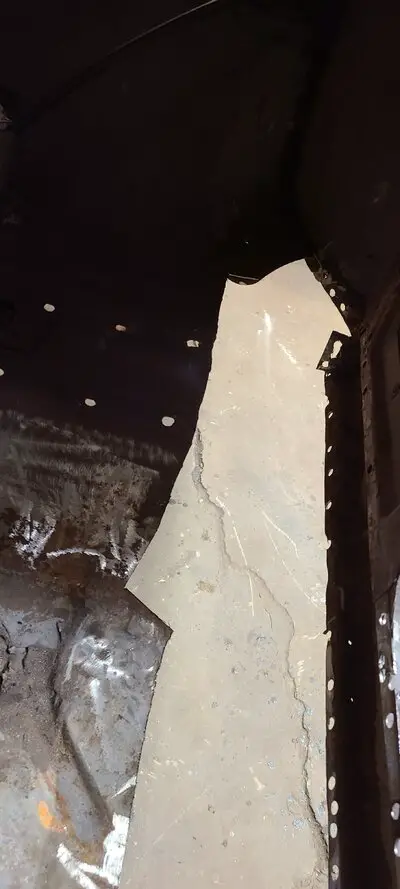
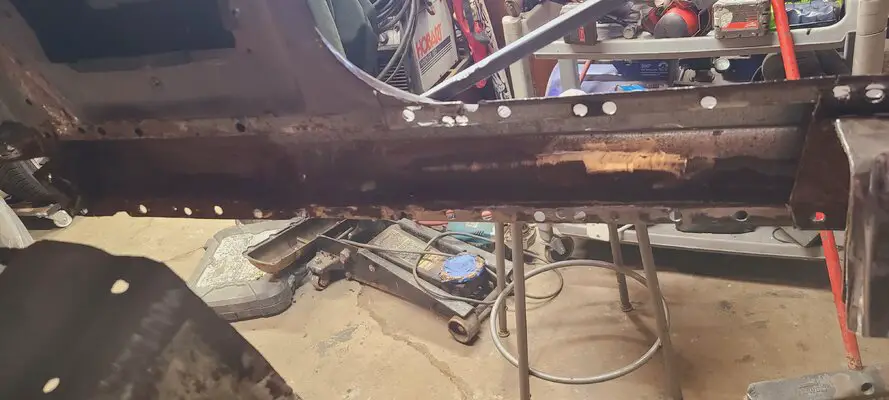
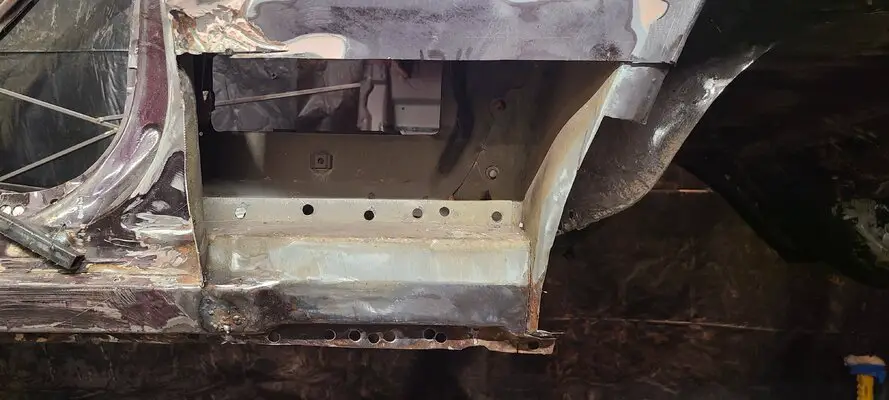
Inside of car, bad body mount.20211216_212808.jpg20211216_212834.jpgInside lower front quarter where it meets B pillar. (accident repair)20220114_224659.jpgI removed half of the outer floor support to access rear seat pan.20220114_224702.jpg20220114_231010.jpg20220115_190535.jpg20220115_181302.jpg20220115_190430.jpg20220115_190528.jpg 20220115_190550.jpg20220115_015344.jpg20220115_191129.jpg20220116_135255.jpg20220116_135306.jpgRemoved back half of inner rocker. The front half is marginal.20220116_135449.jpg
Driverside seat mount. Found a dead mouse underneath this. I really have to be careful and try not to go overboard.
This is not a show car and am only going after structural stuff right now.
I hate rust!
 
Last edited:
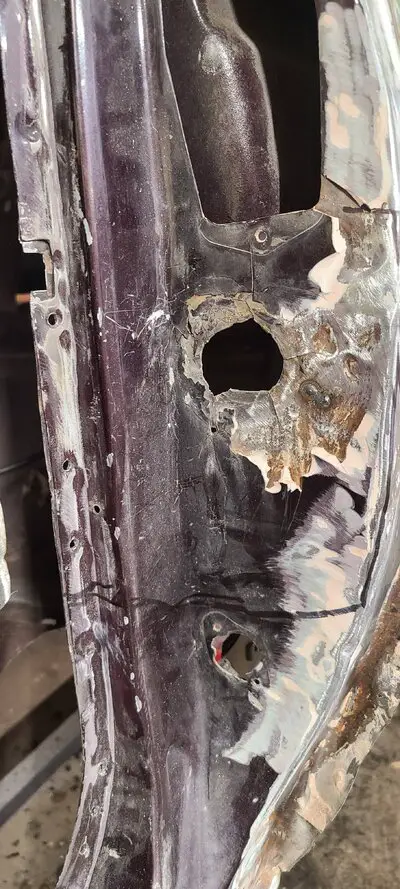
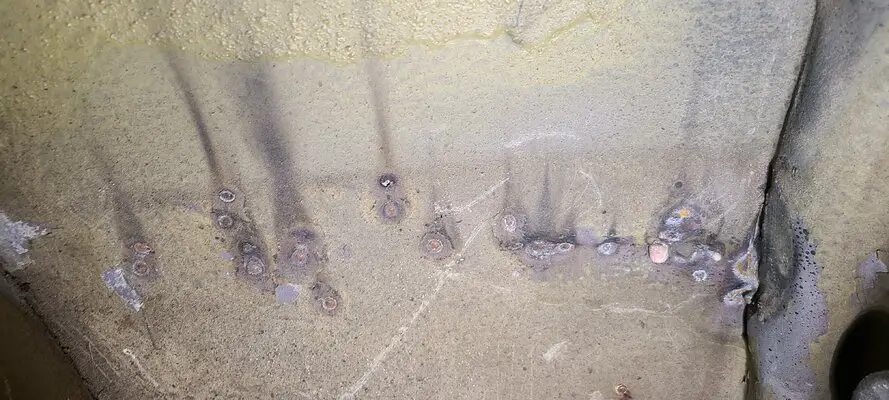
It appears the bottom of my body has some kind of undercoating sprayed on it (Maybe Ziebart). Especially in wheel wells. Very thick and hard to remove and of course is seems to have trapped the moisture in. After I get repair areas repaired and sand blasted. What is recommended for bottom side of car? Seam sealers then paint?
I spent a couple hours scraping and prepping for blasting. I also continued the removal process.
20220119_221114.jpg20220130_225914.jpg1st cut, needs a little more trimming. 20220130_230838.jpgI found a small patch panel for B pillar.20220130_230830.jpg

Ugly


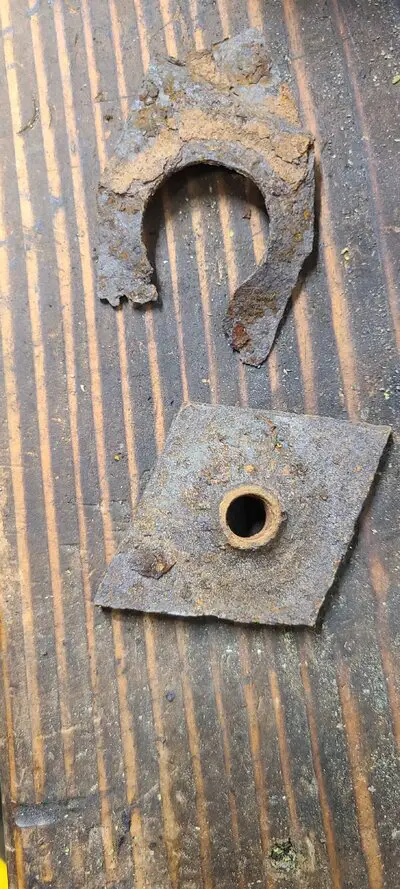
20220130_231011.jpg20220130_230952.jpg 2 of the 3 bad body mounts.

20220130_230903.jpg
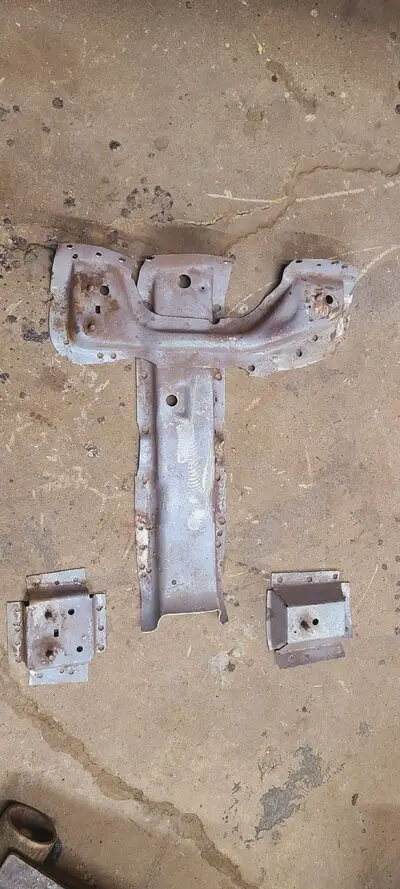
What's left of the body mount cages. I think next I need to order Inner rocker, Lower A-pillar, lower front quarter and floorpan. I am limited on tools so it makes sense for me to buy these parts.
 
Last edited:
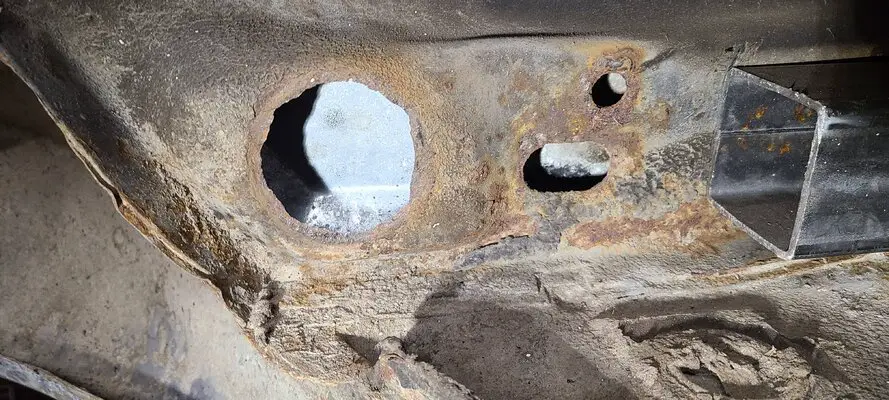
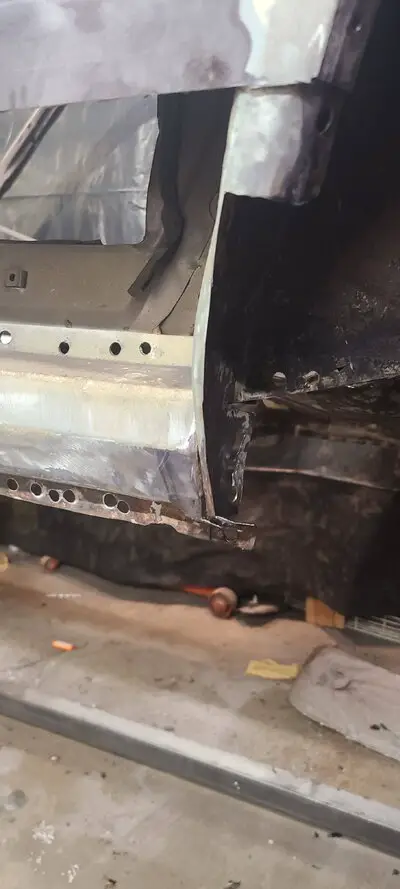
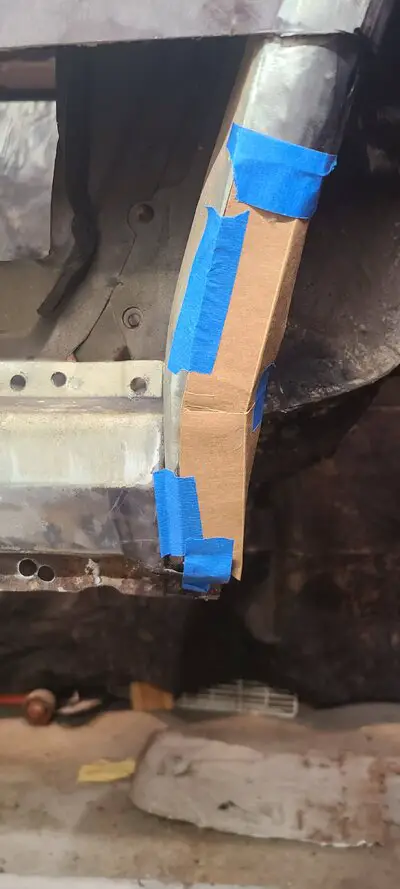
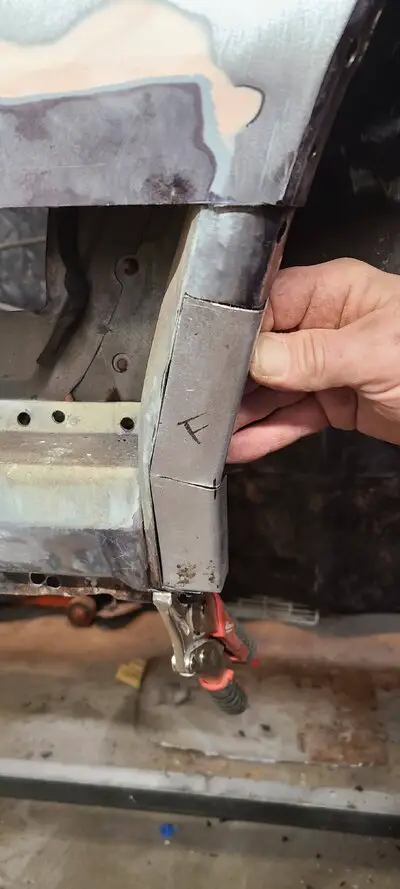
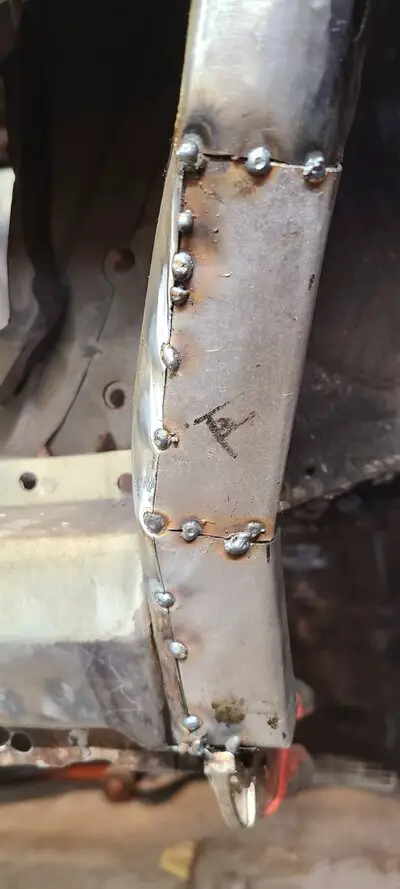
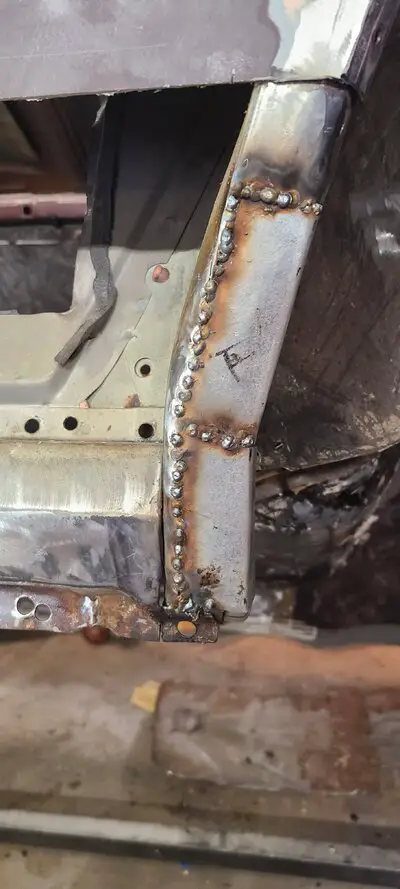
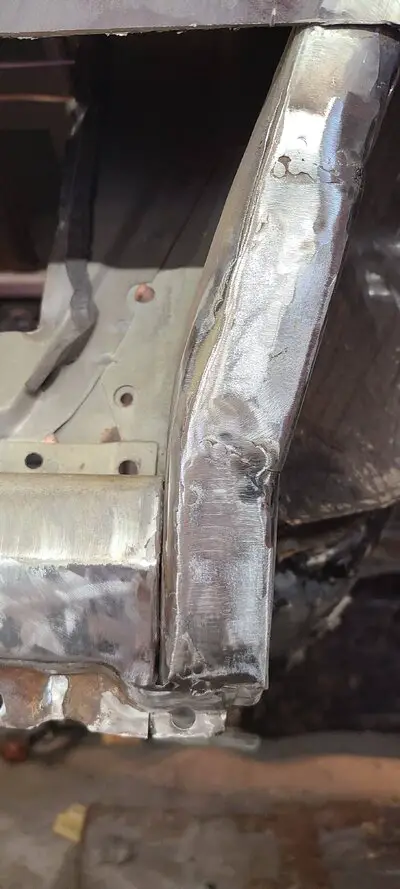
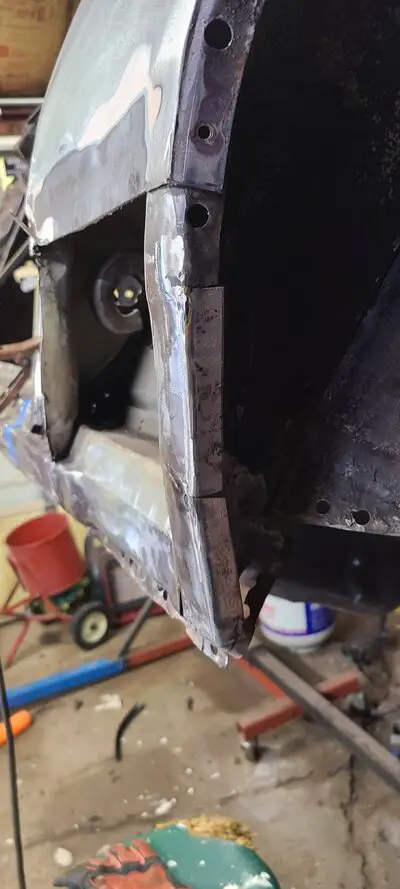
Well here is my first try at sheet metal welding. I did a few shots on test panel for settings but have never welded anything this thin. I needed to patch inner wheel well.20220201_073518.jpg 20220201_075316.jpgMade a template from cardboard, transfered and cut out of new 20 ga metal.20220201_082728.jpg20220201_083600.jpg20220201_084456.jpg20220201_090934.jpg20220201_090938.jpg 20220201_091022.jpgI still need to touch up a few spots but I am satisfied with my first try and considering this is my 3rd time welding.
 
Good enough for what you're doing.

Wire diameter works for/against you here. You want to use thinner .023" wire for the thin stuff. Thicker wire makes it harder to dial in the machine for good penetration w/o blowing the base material away. Thicker material like suspension brackets or equivalent (> .125") you'll want the thicker .030". Thick stuff that needs some heat, I like .035".
Thanks, Good to know I will swap out wire and try with .023", I have .030" in now.
 
Thanks, Good to know I will swap out wire and try with .023", I have .030" in now.
The .030" was a PITA on my machine for any sheet-metal area that had rust issues near-by or aftermarket/import parts. It wanted to blow through even on the lowest heat setting. Swapped to .023" & it was much friendlier getting things done.

Also, for the rust repair areas..... Clean fresh metal is needed. The trick is getting the base material clean enough for decent penetration w/o taking too much material off & making it too thin. Scotch-Brite discs & wire wheels can help w/scale removal while not removing to much actual material.
 
I’m following now.

Love this, and I’m in with the NA LS3, but……….carb and LS is like a cats and dogs - to me haha.

Your car , do what you want. I’m just picking. But a single box to run the coils and TB would be a clean setup.

Looks like you have your work cut out for you with body. Geesh, it didn’t look that rusty in the previous pics .

Keep the faith brother and get r done.
 
Status
Not open for further replies.

GBodyForum is a participant in the Amazon Services LLC Associates Program, an affiliate advertising program designed to provide a means for sites to earn advertising fees by advertising and linking to amazon.com. Amazon, the Amazon logo, AmazonSupply, and the AmazonSupply logo are trademarks of Amazon.com, Inc. or its affiliates.

Please support GBodyForum Sponsors

Classic Truck Consoles Dixie Restoration Depot UMI Performance

Contact [email protected] for info on becoming a sponsor