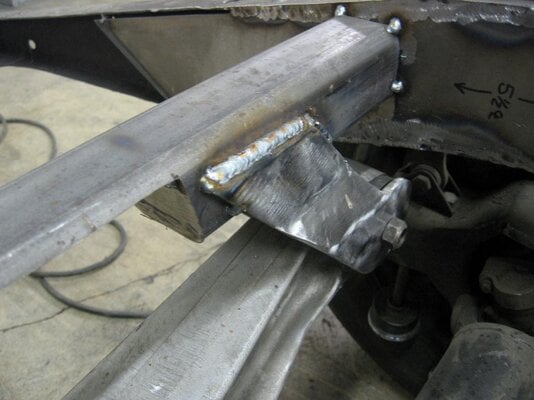
Beautiful welds. Love the vintage can of NAPA wire lube next to the vintage points-style distributors...
Cheating The Reaper
- Thread starter DRIVEN
- Start date
You are using an out of date browser. It may not display this or other websites correctly.
You should upgrade or use an alternative browser.
You should upgrade or use an alternative browser.
If the welds look pretty, they were probably done by someone else before I bought the part. Pretty much everything you see is just tacked in place until I verify wheel placement -- Then it's gonna get really tedious. Weld, grind, repeat.
Thanks for looking, guys.
Thanks for looking, guys.
Appreciate the compliment. That one is mine. I just assumed you were referring to the gorgeous tig work on the front crossmember and the Xrails.
A couple positives and a negative to update. No pics yet though. The good news is that I got my tie rod ends figured out. '89 T-bird solved the problem of how to connect an aftermarket manual rack to C4 spindles in an early Ford frame. I'll take that as a win. Then I rolled the frame over to the paint shop where we set the cab on the frame -- no problems. Then we set the bed on the frame -- slight interference with one of the cross braces. Not really a problem since I'll be ordering a new bed anyway. Then we mocked up the rear fender. Wheels fit the opening PERFECTLY -- no problem. Set the running board in place -- slight clearance issue with trailing arm bracket but easily fixed so, no problem. The last piece to test fit was the front fender and that's where things got disappointing. First, the wheel appears to be a bit forward in the opening. Maybe 1/2" to 3/4" and it actually looks okay like that but I was shooting for centered. The really bad thing is that the front of the upper control arm hits the inner edge of the fender. NO BUENO! So what I think I might do is move the front cross member down and back around 1/2". Before I don anything I need to call the kit manufacturer and see what he says.
To sum up, everything from the firewall back looks good. The front needs some adjustment. Glad I only tacked it in place. Kind of ironic that the front "kit" that came pre-fabbed and with detailed install instructions complete with exact measurements is being problematic while my homemade rearend install seems to be dead-on.
Pics and more progress next weekend.
and rebuilding that truck is a nice slap in the reaper's face!
glad you're still with us, and inspiring us with the beautiful work!
glad you're still with us, and inspiring us with the beautiful work!
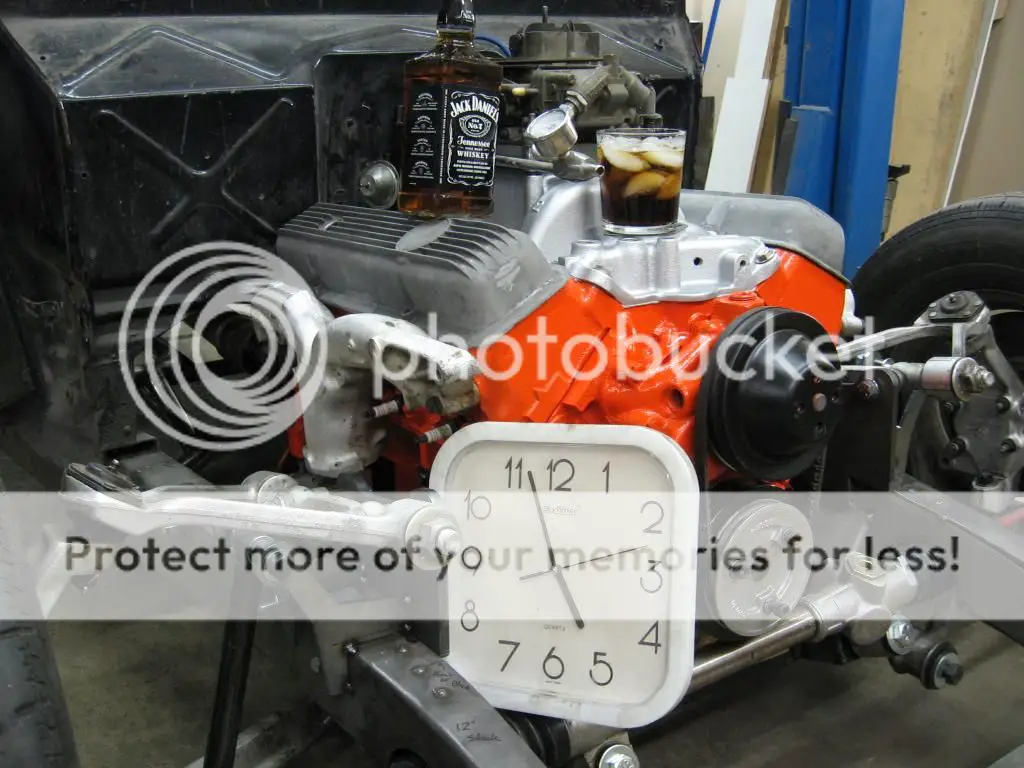
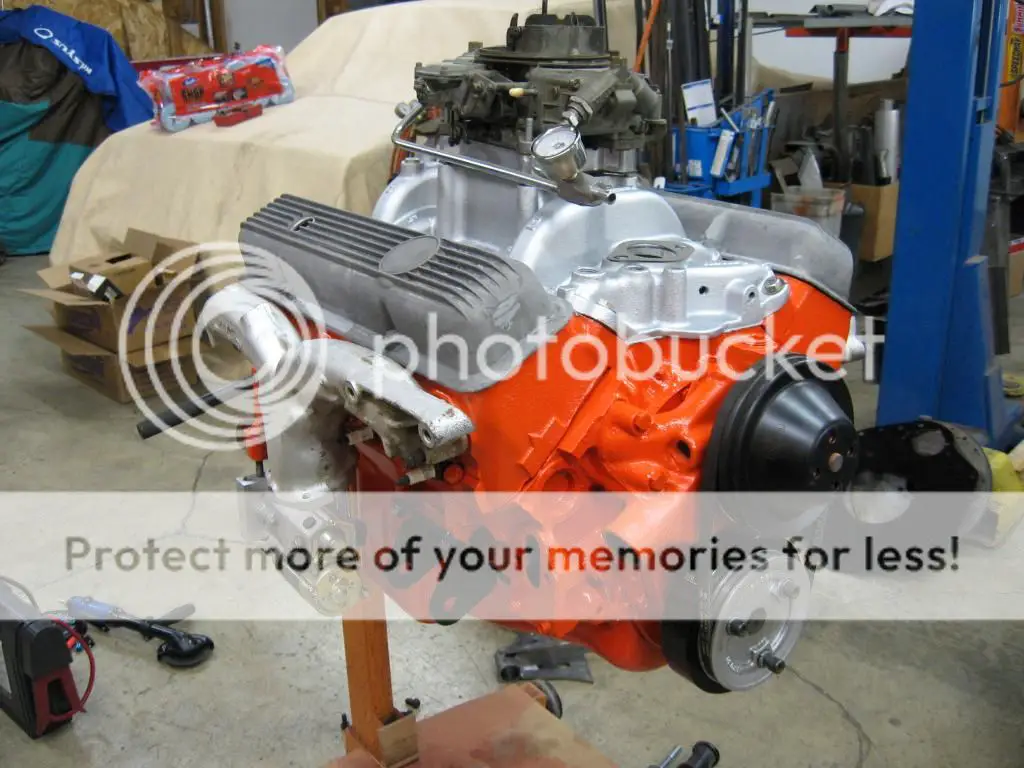
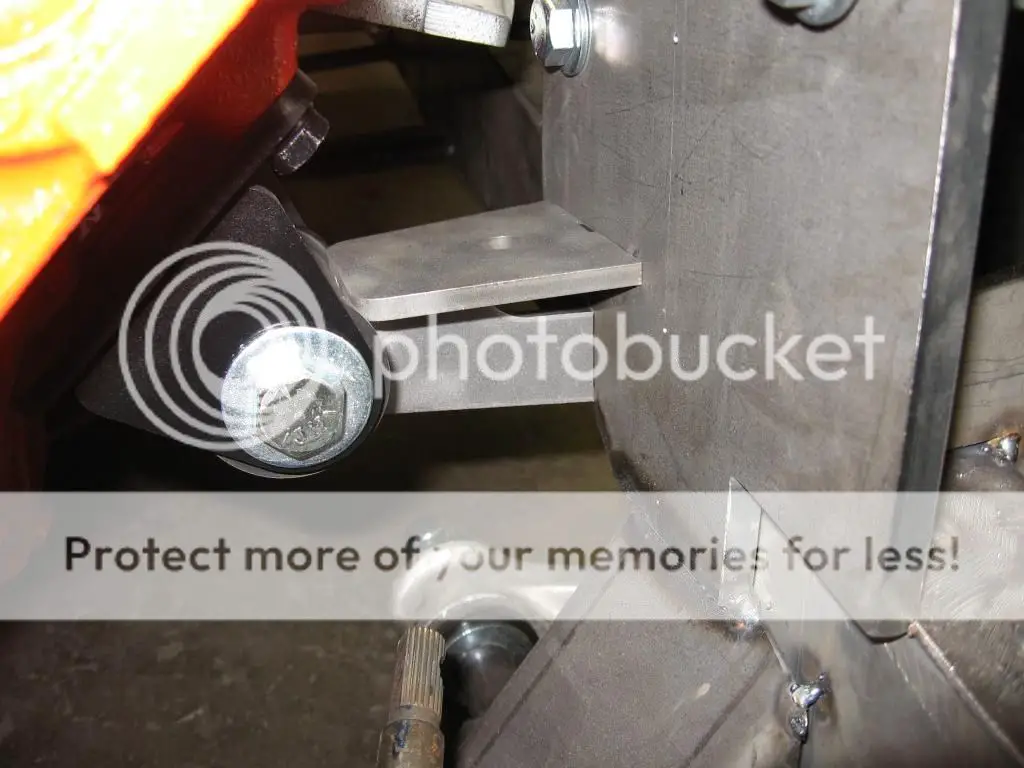
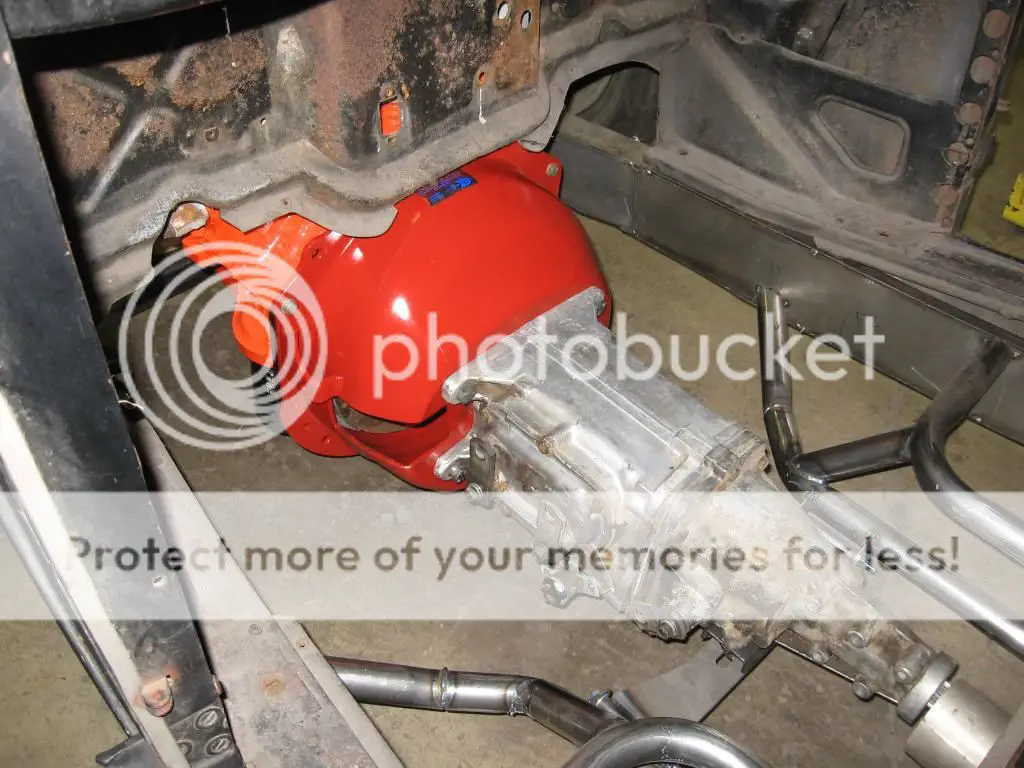
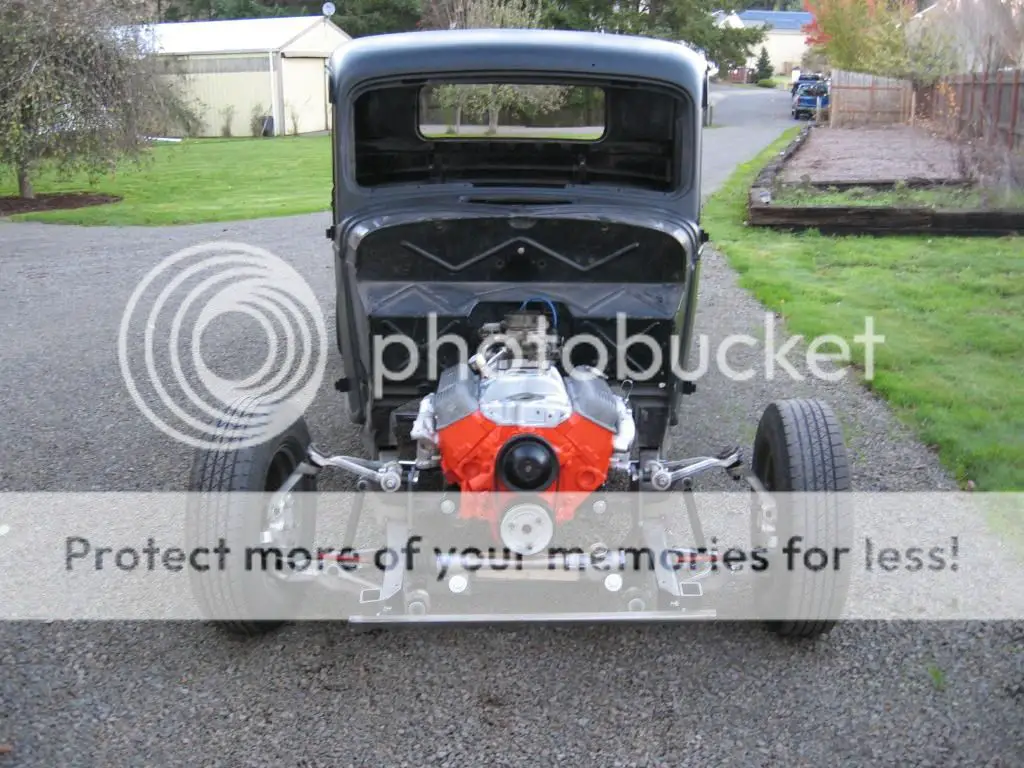
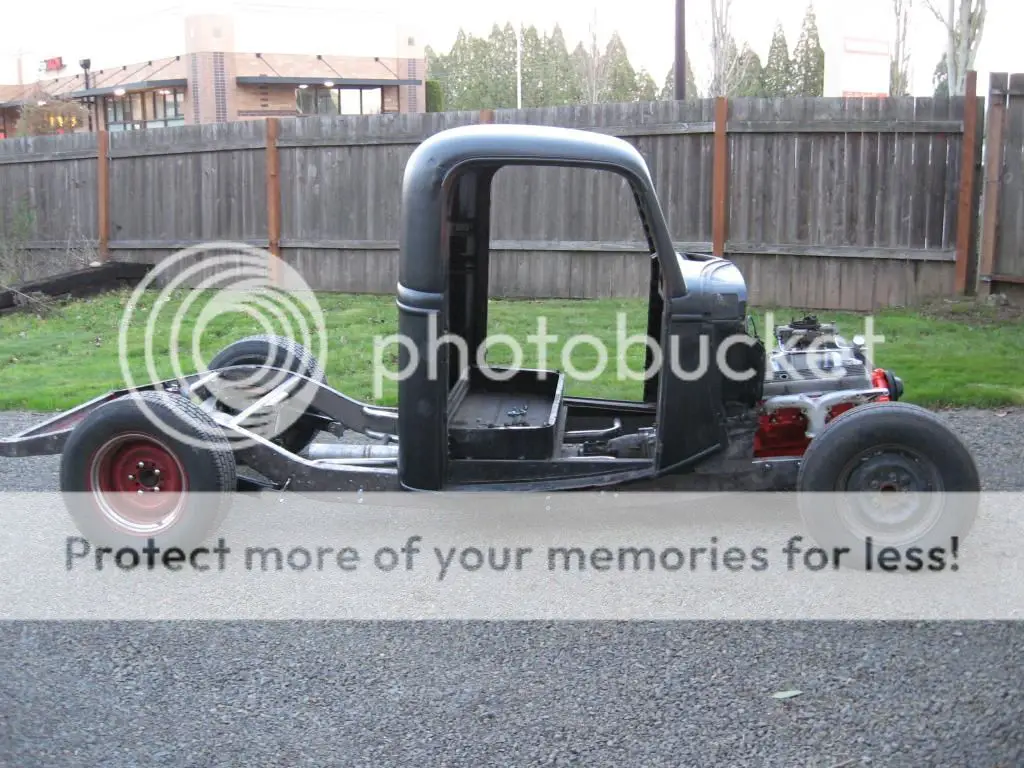
I put in about 8 hours yesterday but don't feel like I got much done. Like I posted earlier, we test fit the body and found that the crossmember needs to be slightly relocated. That hasn't been done yet. Since the cab was still sitting there I wanted to test fit the drivetrain. Bench tested the pile-o-distributors. Did a bunch of painting parts and temporary assembly of the engine/transmission. Then I slid it into place. Trimmed the frame side of the motor mounts and for a friction fit and blocked up the front of the pan. Then I trimmed the transmission mount and tacked it in place. I kept it on the low side since I can always space it up but can't really drop it down. Dropped it on the ground and rolled it outside to settle the suspension. Looks like I'll be raising the engine about an inch from where it presently sits. At that point I was just tired of it so I poured a drink and spent some time cleaning up the shop.


Just reviewed this entire thread.
Beautiful, thoughtful work!
Can't wait to see how this turns out.
I think I missed something; which transmission did you decide to use?
Beautiful, thoughtful work!
Can't wait to see how this turns out.
I think I missed something; which transmission did you decide to use?
GBodyForum is a participant in the Amazon Services LLC Associates Program, an affiliate advertising program designed to provide a means for sites to earn advertising fees by advertising and linking to amazon.com. Amazon, the Amazon logo, AmazonSupply, and the AmazonSupply logo are trademarks of Amazon.com, Inc. or its affiliates.


