Installing the TKX and hit a snag
- Thread starter gnvair
- Start date
You are using an out of date browser. It may not display this or other websites correctly.
You should upgrade or use an alternative browser.
You should upgrade or use an alternative browser.
- Status
- Not open for further replies.
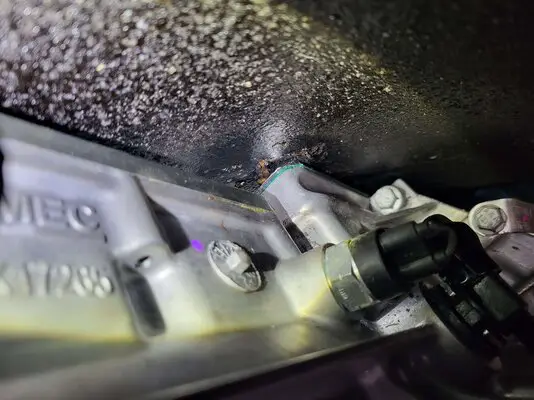
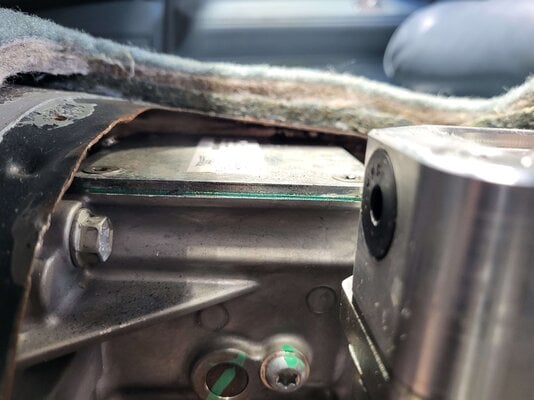
Reach in there with a pry bar or a metal rod and whack it with a hammer. 1/2” is plenty.This was the one spot where it was making contact. A little tweaking with a pry bar gave me clearance. I might work it some more with a larger pry bar or body dollie.
How’s your pinion angle? Is it within a degree of 3.9? I’ll add, measuring pinion angle without a drive on lift is a pita.
Is it generally accepted to measure those angles relative to a rocker panel? I've never had to do it before.
Yes.Is it generally accepted to measure those angles relative to a rocker panel? I've never had to do it before.
6 degrees down on the engine and transmission means the rear axle pinion would have to be 6 degrees up....way too much.I understand the original trans measurements but with all this work, what is the axle pinion angle? May help trying to level everything out if it's not 3.8-4.0
6 degrees down on the engine and transmission means the rear axle pinion would have to be 6 degrees up....way too much.
Question for the uninitiated: if the diff matches the rest +/- 1, but the diff itself is pointed up, what sorts of repercussions are there?
Not much as long as the angle between the driveshaft and the yoke is less than 10-12 degrees. Eaton has a driveline angle analyzer that does all of these calculations for you if you can get all of the necessary driveline information that it requests. Basically, it calculates harmonics.Question for the uninitiated: if the diff matches the rest +/- 1, but the diff itself is pointed up, what sorts of repercussions are there?
I agree with gnvair that in our cars a 6 degree angle for the rear will start causing issues. It might be fine, but it might not. It would be much simpler to correct the engine/trans angle and never have to address it again.
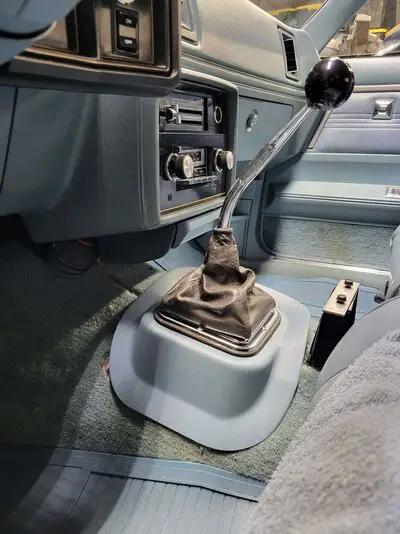
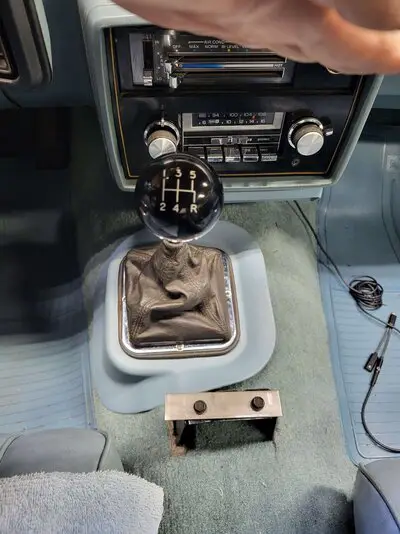
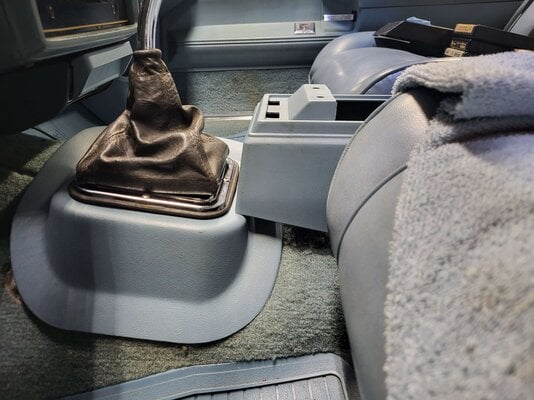
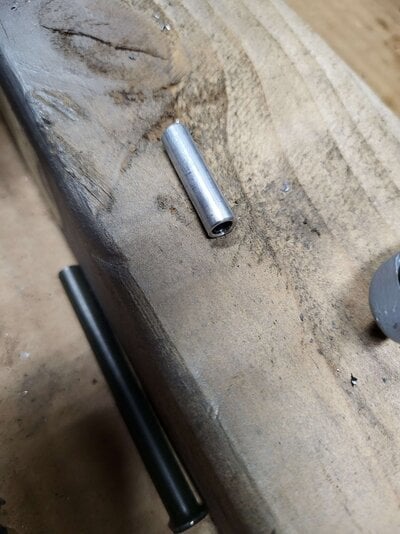
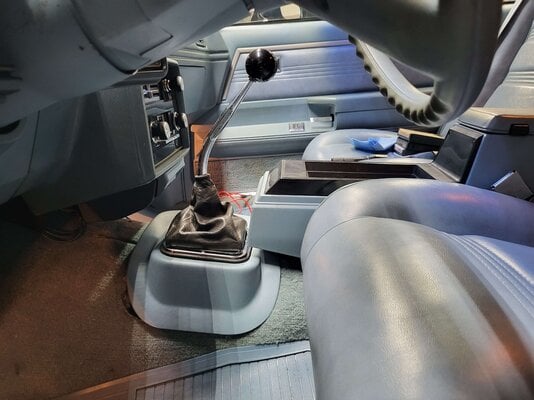
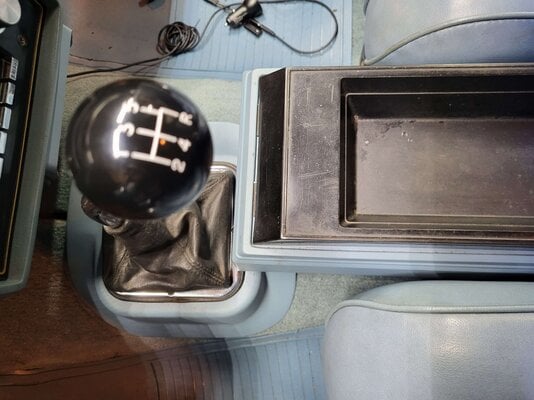
I did some more work today. My foam spacer worked great. I did have to add a half inch to the side closest to the passenger side to tilt it slightly as the boot needed more room to clear the shifter. I used some pieces of 1/4" tubing as reinforcement/stops between the shifter hump and the floor. This was done to avoid over torquing the screws and crushing the foam. I used number 8 sheet metal screws to attach it. Some light trimming of the carpet and padding on the rear side and it all fit together.
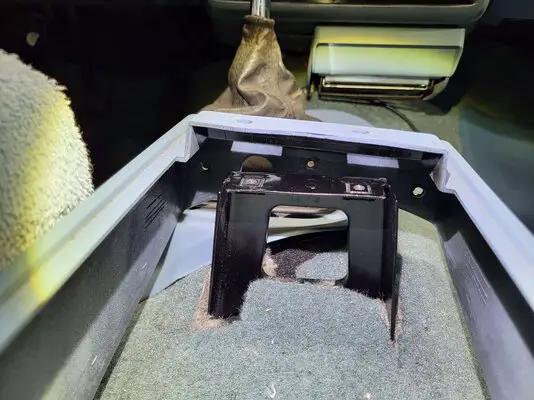
Now I need to fabricate a spacer to raise the front of the console so it will clear the plastic shifter boot spacer. I will get more detailed pictures when I take it apart to seam seal some of the extraneous holes around the opening.
Now I need to fabricate a spacer to raise the front of the console so it will clear the plastic shifter boot spacer. I will get more detailed pictures when I take it apart to seam seal some of the extraneous holes around the opening.
Attachments
I finally received my new driveshaft this week and was able to get back onto the project. So with the new driveshaft I took some measurements and found with the new crossmember, trans mount spacers and everything installed I am at 3.5 degrees down on the engine and transmission and 2 degrees down on the driveshaft. I currently have the rear pinion at 0. Spicer's online calculator shows .5 down OR 3.5 degrees down will put the u joint angle at an ideal operating angle of 1.5 degrees.
I was able to test drive it yesterday and I did not have any vibration at 60. I need to get out to the interstate to see how it does at 70-80. Unfortunately, the nearest interstate is 20 minutes from my home.
But it shifts extremely smooth compared to older gearboxes. The only issue was the mechanical speedometer drive adapter was leaking fluid out of the center and into the speedometer cable. I was not able to get if apart to see if it has an internal o-ring. I packed it with wheel bearing grease and added an o-ring on the internal side under the gear and on the exterior side around the shaft. I wish they used a press in lip seal like the later GM speedometer bullets used.
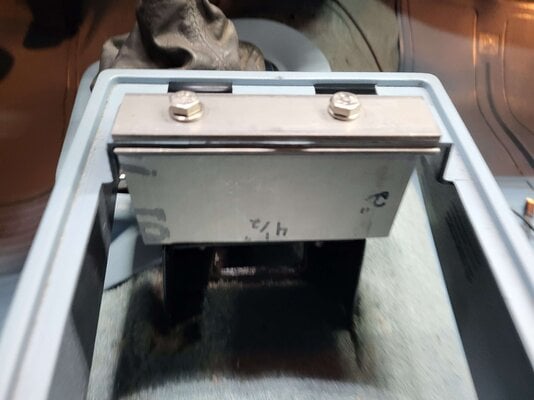
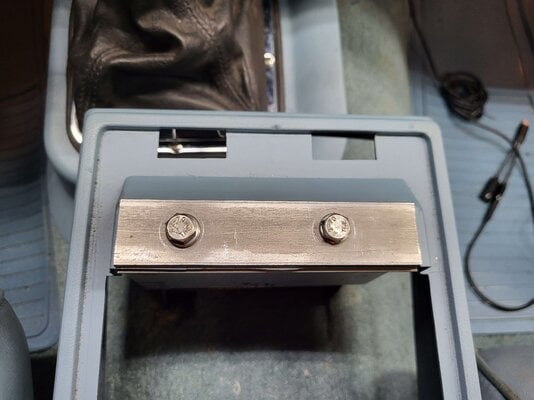
Last chore of the day was to finish machining my console riser/spacer to allow the front to clear the shifter boot spacer. I added a steel reinforcement on the top side to effectively sandwich the console as those of you with 78-88 Chevrolets know they always break around the bolt holes.
Attachments
- Status
- Not open for further replies.
Similar threads
- Replies
- 0
- Views
- 39
- Replies
- 2
- Views
- 183
- Replies
- 3
- Views
- 361
GBodyForum is a participant in the Amazon Services LLC Associates Program, an affiliate advertising program designed to provide a means for sites to earn advertising fees by advertising and linking to amazon.com. Amazon, the Amazon logo, AmazonSupply, and the AmazonSupply logo are trademarks of Amazon.com, Inc. or its affiliates.


