I've been looking at it and you are right. Plus I'm only using 2-1/4 piping so that'll give me more room for clearance.
My 87 Cutlass build
- Thread starter JayPat83
- Start date
You are using an out of date browser. It may not display this or other websites correctly.
You should upgrade or use an alternative browser.
You should upgrade or use an alternative browser.
- Status
- Not open for further replies.
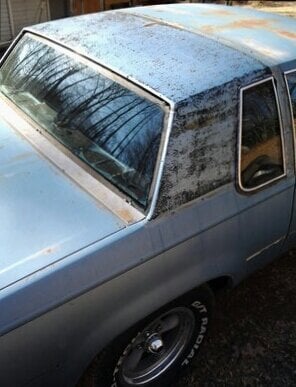
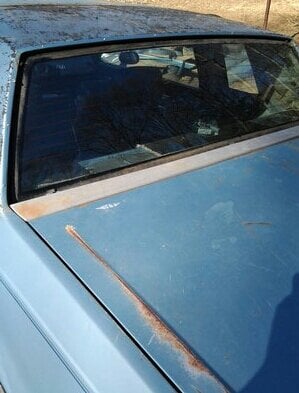
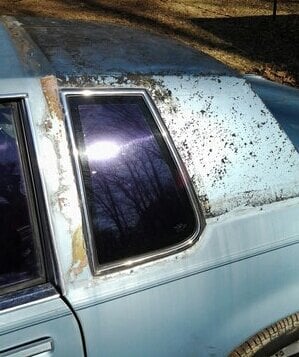
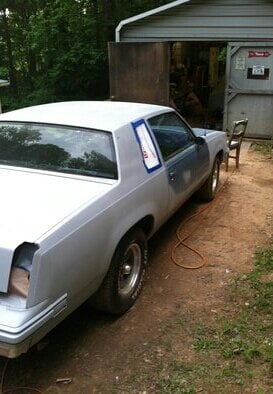
Removed the vynil top and trim
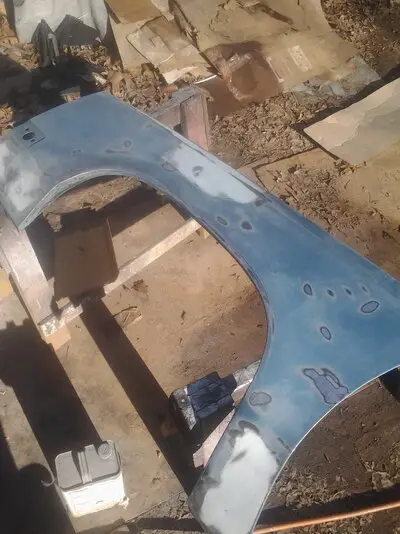
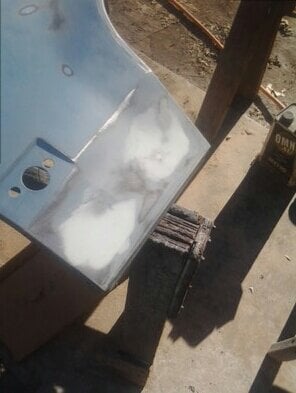
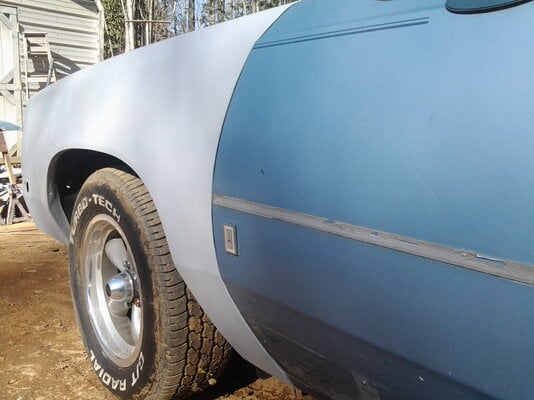
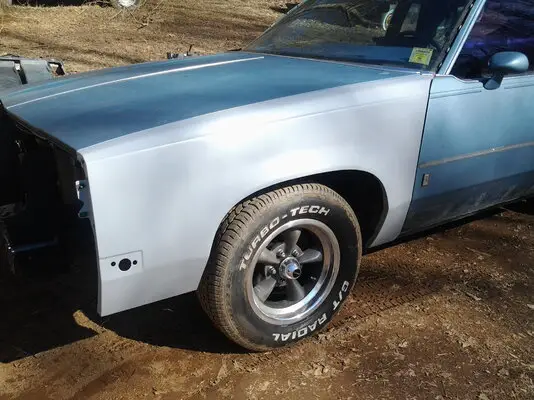
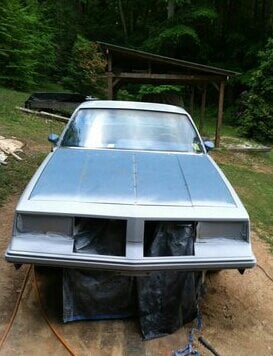
Took off the fenders and started repairs. It has a first coat of primer on it now.
Took off the fenders and started repairs. It has a first coat of primer on it now.
Attachments
How did those flowtechs fit? Nice build. I'm always looking out for a deal on an olds 350. missed a screaming deal on a rebuilt one with an aluminum intake and HEI. Still kicking myself over that one.
MikesElco94 said:How did those flowtechs fit? Nice build. I'm always looking out for a deal on an olds 350. missed a screaming deal on a rebuilt one with an aluminum intake and HEI. Still kicking myself over that one.
I get PM's about this all the time. Yes they fit great the only thing I wish I had had ahead of time was instructions on how to install them what needed to be taken off and put back on and when. They are starting to get a little corrosion even just sitting there so I'm going to try and polish them up with the same polish that I used on my stainless steel trim around my windshield and back glass. Tons of clearence around everything. I was able to find PDF instructions on flowtech's website after the fact, and it had everything that I needed to know and didn't know ahead of time.
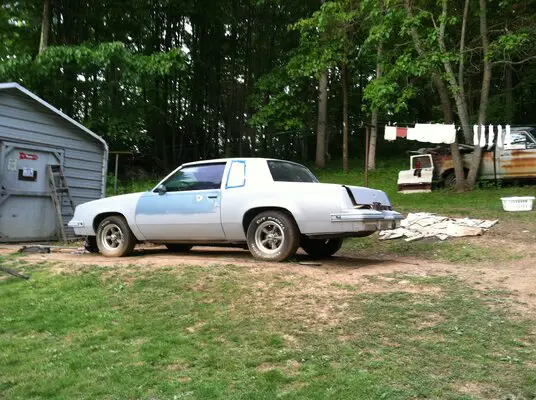
Sorry for not having any updates recently. I'm in the process of buying a new home and have been really busy with all the steps involved in that. There has heen some great progress on the car though:
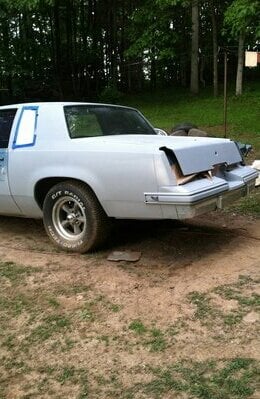
All factory rivets removed and holes repaired
Holes in bottom of doors have been welded
High and low spots repaired on drivers side
Vinyl top factory filler areas removed down to seams and blended properly
Vinyl top quarter windows removed and area behind painted
Hard top quarter windows installed
All the old tint removed from windows
Top has been da sanded to remove all surface rust, can not believe we havent found any rot on the car at all
Putting light coats of primer on until we can shoot the whole thing at one time
Best way to do the fuel pump is hot line to relay, and use a source line from the run position on the ign. use a toggle switch to shut it off for when you leave the ign on. Perhaps a push button on/off. Just dont use a momentary on/off. When I start my interior build, I am going to post TONS of pix for ppl
Just sort of coming back to life after the winter and catching up with things here. You're making great progress! The engine looks fantastic, and I'm sure all the other work is going to pay off when you finally get the paint on. Looking forward to seeing more updates.
- Status
- Not open for further replies.
Similar threads
- Replies
- 8
- Views
- 455
GBodyForum is a participant in the Amazon Services LLC Associates Program, an affiliate advertising program designed to provide a means for sites to earn advertising fees by advertising and linking to amazon.com. Amazon, the Amazon logo, AmazonSupply, and the AmazonSupply logo are trademarks of Amazon.com, Inc. or its affiliates.


