Aight Boils and Ghouls, update time!
As you may or may not have noticed in the pics in the previous post, I got the grilles done in the brushed finish this week too. That means that everything is done to the point where it can go back on the car for now.
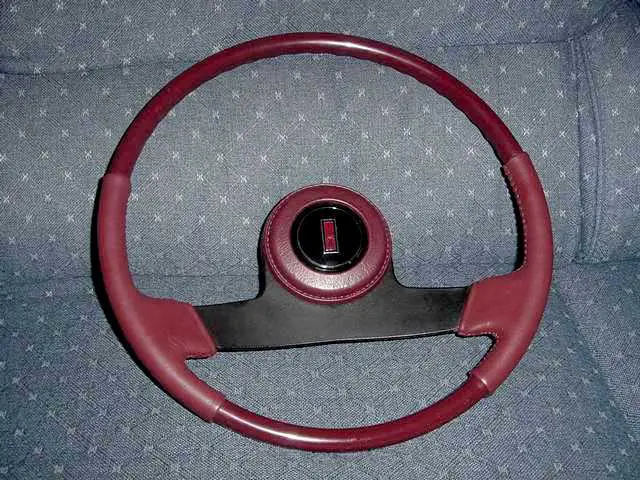
Friday I received word that the steering wheel was ready to be picked up from refinishing, so I whipped over and grabbed it the first chance I had. It didn’t disappoint, I think it looks great!
The rest of Friday and most of Saturday was a write off due to commitments, but I managed to slide out to the shop for a couple hours Saturday night. Naturally the first thing I wanted to do was install the redyed wheel, but then I realized I had better take care of the couple niggling details that have been bothering me first.
Had to mock it up on the bench with the good horn button first just to see how it’d look of course...
...then onto addressing the details. I mentioned it in another thread I created, but I had a couple of dust nibs in the matte clearcoat that I wanted to get rid of.
This one down near the bottom...
...this one in the right hand spoke...
...as well as a couple others that wouldn’t photograph well. You get the idea though.
A little light effort with 2000 grit wet sandpaper knocked out the nibs, then I lightly polished it back up with some rubbing compound on a microfibre cloth. As confirmed by the guys in the other thread, this made the clear too glossy so I went over the areas again with first a white ScotchBrite, then VERY lightly with a grey. This restored the finish closer to the original low gloss matte finish.
Again, these areas don’t photograph well, this was the best I could do:
Happy with how the spokes turned out, I next focused my attention on the horn button and gave it a mini restoration too.
For being nearly 40 years old it was already in remarkably good shape...
...however at certain angles and in certain lights, you could see some light scratches in the acrylic center:
No big deal, this was a super easy fix. Especially since I already had the wet sandpaper out.
I simply lightly sanded the surface evenly...
...then hand polished it up to a high gloss lustre with more rubbing compound and the microfibre towel.
No more scratches!
After this lengthy process was done (all of about 10 minutes, start to finish), I scrubbed the rest of the button with some all purpose cleaner and a toothbrush to get in the nooks and crannies.
Time to appreciate all the effort! Got it swapped out and gave the grip a light coat of protectant, and done.
Not too bad for half a night’s work.
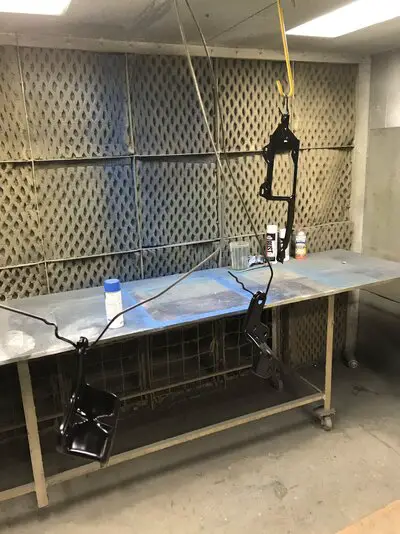
Moving on, I reinstalled the previously sandblasted and painted brackets on the car and header panel, then mounted, aligned and snugged the header down.
Once that was done, it was time to load it.
Headlight aiming clips and screws went in first, then the tensioning springs. Headlight buckets, then the lights themselves and trim rings followed shortly after. Then followed finally by the freshly brushed grilles and bezels.
I still wanna see it outside from a bit of a distance (because the car is too close to the bench to get a good look currently), but so far I think it’s looking pretty good!
What do y’all think?
That’s it for now, but it’s nice to finally see the “face” back on the car. It all helps with the motivation and I feel like I’m finally moving forward again.
Thanks all for checking in guys.
D.


