Replacing body bushings on 1979 Monte Carlo
- Thread starter rmorman
- Start date
You are using an out of date browser. It may not display this or other websites correctly.
You should upgrade or use an alternative browser.
You should upgrade or use an alternative browser.
- Status
- Not open for further replies.
After I got both in, I noticed that the rear frame was still not square in the body. I clamped a ruler so you could see:
This is the passenger side:
This is the drivers side:
How close do I need to be? I can see from above (where I cut holes) that the drivers side frame needs to go towards the outside. Do I just raise that side and force it?
Also, what are the I.D. of the BODY repair washers?
Thanks,
Russ
I don't think it was ever intended to be exact side to side....the bumper assembly has adjustment built into it to accommodate balancing it between the sides of the car
Off topic, but what exhaust do you have? Looks nice!
Good eye! I got this last year when my old system failed on the way home from Power Tour. It is a Flowmaster PN 817457 complete header back kit. I was initially worried about the in cab drone as I had read complaints about that. However, with all the Dynamat and Dynaliner I have not noticed anything. I REALLY like the sound. Plus, as I went to a larger diameter exhaust pipe, I even can tell an increase in performance.
The only hiccup was the cross member. I ordered a double hump cross member for a Monte with a 700R4 trans. To say that I had to modify it would be an understatement.
I've been looking at exhaust systems, mines just got a muffler shop exhaust, The fit on yours looks good!
I modified my stock crossmember for the driver's side pipe, but not sure if the notch would be in the right place for the after market exhaust, so I might need a crossmember too.
I modified my stock crossmember for the driver's side pipe, but not sure if the notch would be in the right place for the after market exhaust, so I might need a crossmember too.
Been a while since my last update. Over the past week I got some more done.
First off I got my Frame repairs done. Don't judge too harshly on my poor welding skills!

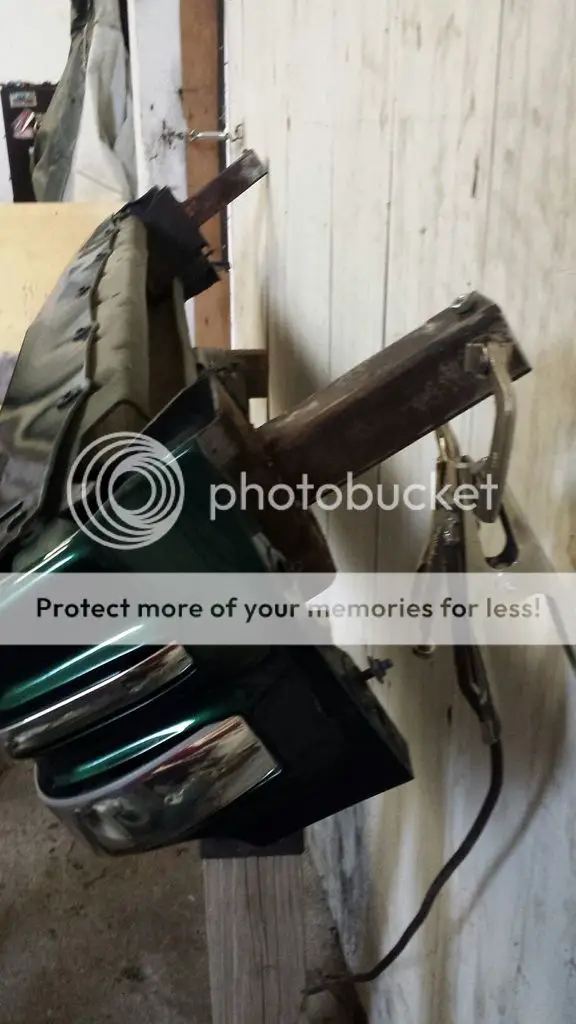
Next I had to remove the broken bolts from the bumper brackets. Simply heated it up red, let it cool and then welded nuts on the broken bolts. Came out easy.

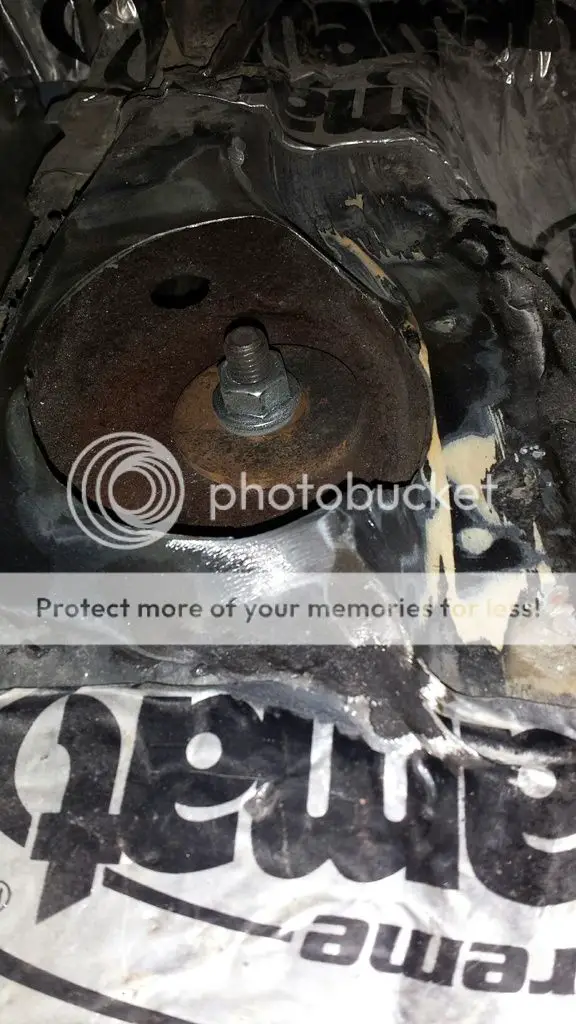
After getting the body lined up, I prepared the new body bolts:

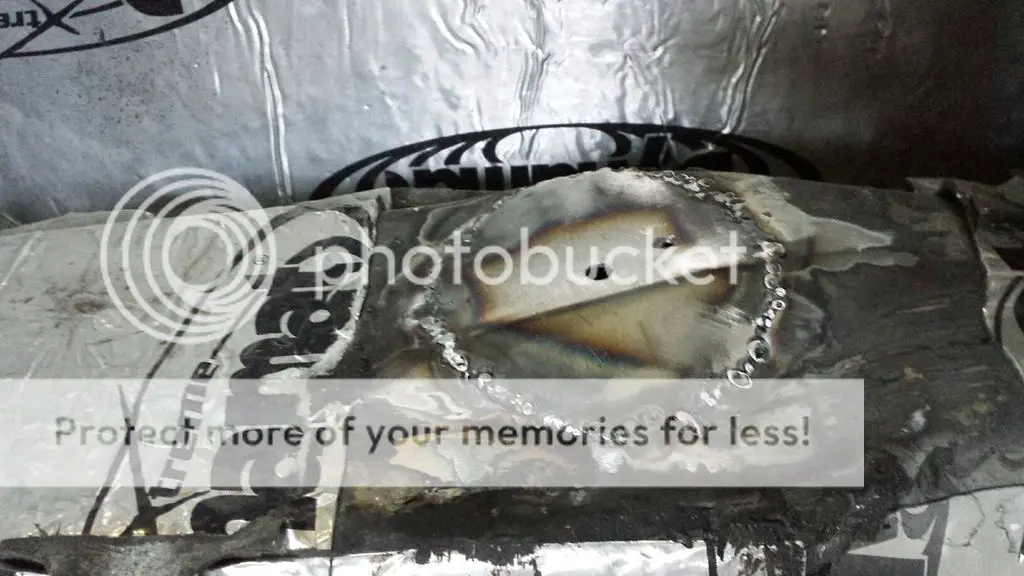
Then I got my new covers ready:


Welded the covers with help from my cousin
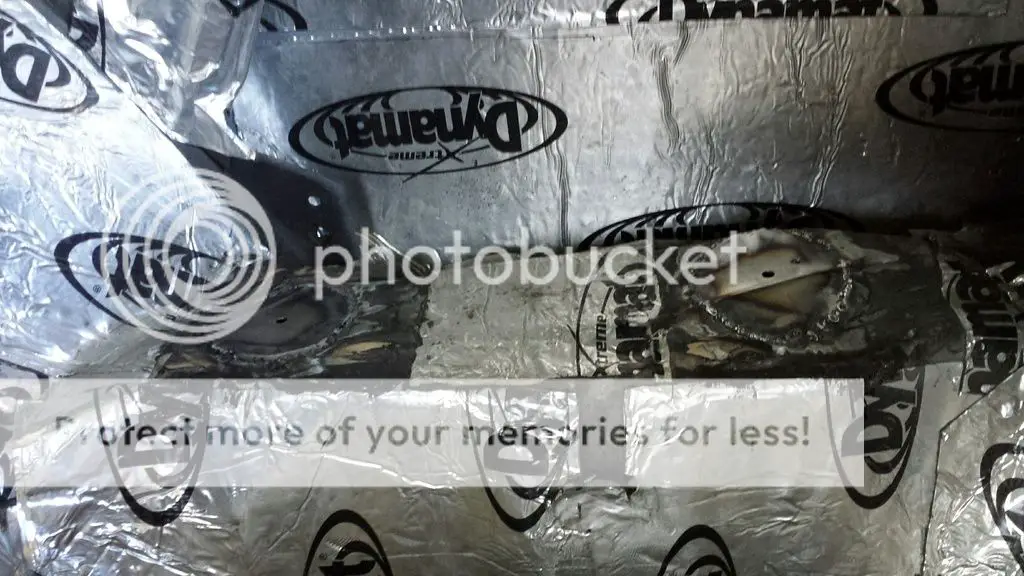
Then I cut new 2in holes and inserted the plugs. Due to the wobble of the hole saw, I'll have to "glue" them in.


I added some shims to #1 drivers side... Nearly doubled the shims.
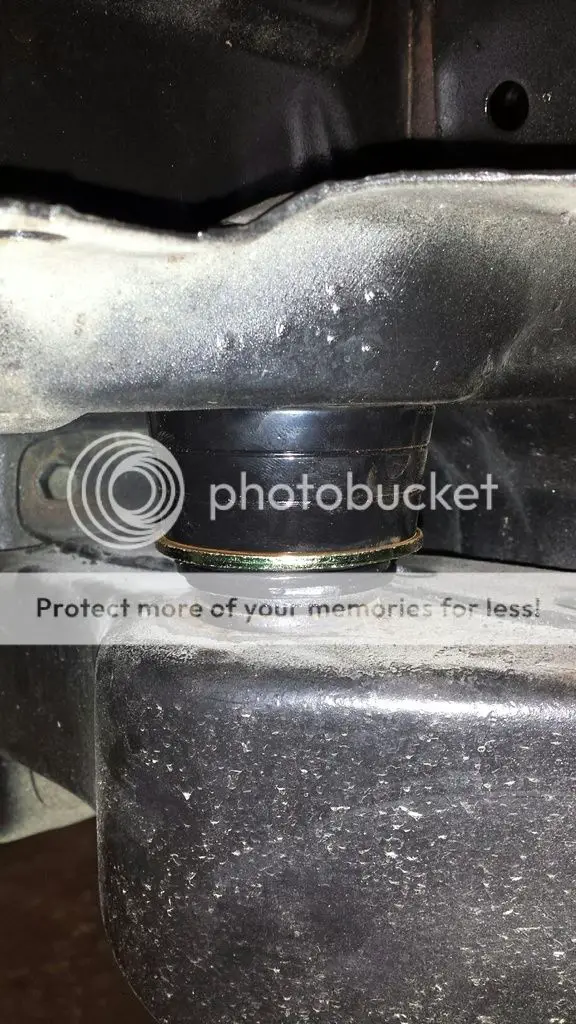
Couple questions. Is it normal to have to add that many shims at #1? I can still rotate the bushing with some resistance prior to installing the bolts.
I was going to use super glue to secure the body plugs. Is there something that stays flexible that would work better to secure the plugs?
Lastly, we burnt through a very small bit of the cover at position 4 (about .3 inch section). Is there something I can glob in there to fill that small hole? Or should I even worry about it as it is inside the body nut area.
Thanks!
First off I got my Frame repairs done. Don't judge too harshly on my poor welding skills!

Next I had to remove the broken bolts from the bumper brackets. Simply heated it up red, let it cool and then welded nuts on the broken bolts. Came out easy.


After getting the body lined up, I prepared the new body bolts:


Then I got my new covers ready:


Welded the covers with help from my cousin


Then I cut new 2in holes and inserted the plugs. Due to the wobble of the hole saw, I'll have to "glue" them in.


I added some shims to #1 drivers side... Nearly doubled the shims.

Couple questions. Is it normal to have to add that many shims at #1? I can still rotate the bushing with some resistance prior to installing the bolts.
I was going to use super glue to secure the body plugs. Is there something that stays flexible that would work better to secure the plugs?
Lastly, we burnt through a very small bit of the cover at position 4 (about .3 inch section). Is there something I can glob in there to fill that small hole? Or should I even worry about it as it is inside the body nut area.
Thanks!
Give yourself more credit for persistence and ingenuity - don't forget to put a coating on the frame patches - Eastwood's makes an aerosol frame corrosion protection paint with an 18" flexible wand. Goopy stuff but it flows and wicks into seams and stops the rust where you can't get to it.
Shoe Goo works well on plastics - stays flexible and should bond to the metal as well. This will not be a structural bond - look for a flexible epoxy for plastics - or use weatherstrip adhesive - ugly yellow but it bonds to rubber and metal.
Shoe Goo works well on plastics - stays flexible and should bond to the metal as well. This will not be a structural bond - look for a flexible epoxy for plastics - or use weatherstrip adhesive - ugly yellow but it bonds to rubber and metal.
Glad to see you're making good progress, the end of your project is near. As far as the spacers, I figured it was lined up at the factory, so I reused the same spacers that I took out and bolted it together. Not saying it's right, but it doesn't look bad. Some clear silicone adhesive should fill any holes, but your right that they are protected and shouldn't leak any water. I was really surprised at how flexible the frame was with the body not bolted to it.
Another positive outcome from this is that from the ground to the fender arch is now even all the way around. Mine wasn't that way before I started!
Another positive outcome from this is that from the ground to the fender arch is now even all the way around. Mine wasn't that way before I started!
The main issue on mine was that half of the holes in the rail are rusted out and not centered with the cage nuts in the body, so I had to weld in repair washers to make the holes the correct size and also make sure that they were in the correct location.
- Status
- Not open for further replies.
Similar threads
- Replies
- 14
- Views
- 373
- Replies
- 10
- Views
- 354
- Replies
- 6
- Views
- 418
GBodyForum is a participant in the Amazon Services LLC Associates Program, an affiliate advertising program designed to provide a means for sites to earn advertising fees by advertising and linking to amazon.com. Amazon, the Amazon logo, AmazonSupply, and the AmazonSupply logo are trademarks of Amazon.com, Inc. or its affiliates.


