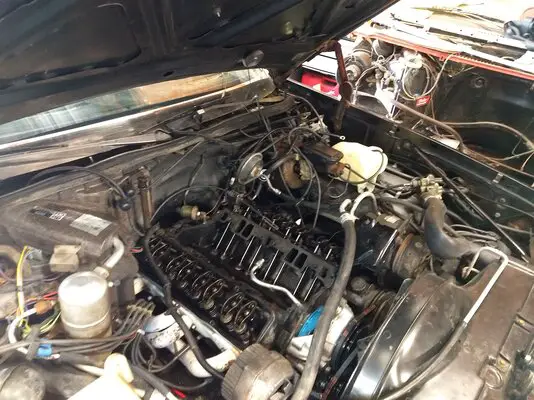
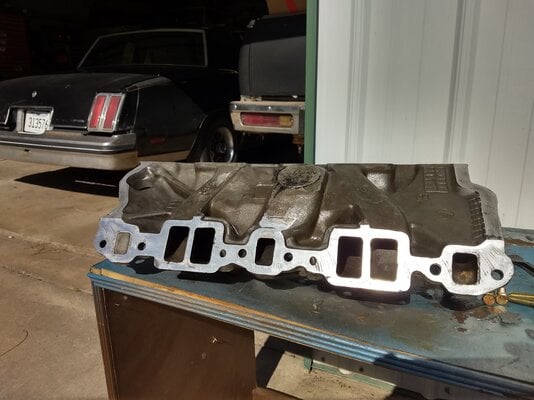
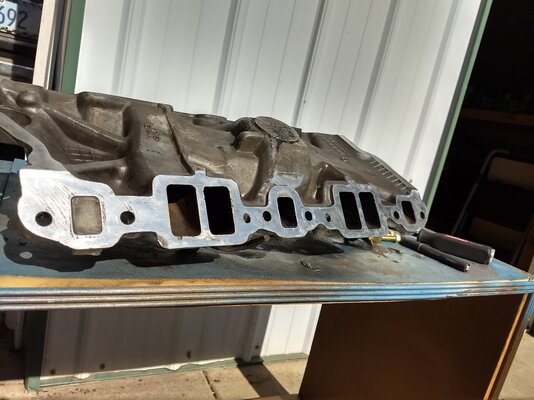
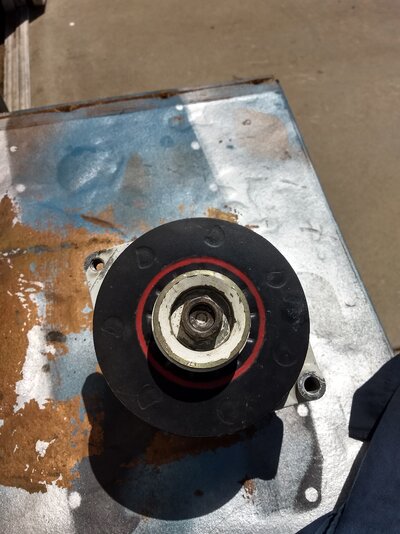
I appreciate the solid advice, thank you. I look forward to any and all input, especially from the more experienced folks here. I often forget things or get in a rush but feel confident that I installed the intake correctly the last 2 times, though it has been a while. I never use the end rail gaskets even if they're cork, my RTV color of choice was the reliable Permatex Ultra Black in a 3 oz. tube, and I can lay a bead with the best blind man in town. Joking aside, my RTV beads look like they came from a caulking gun. Most of the time. In my teens I'd simply slap it together without waiting but now that I'm older I also allow it to get tacky before installation by taking a cigarette break and organizing things for about 15 minutes. I applied a thin film around the water jacket ports, gently set everything in place without any movement or sliding, and utilized 1" long 12 point bolts from Summit the second time I bolted it on. The first time I used a hex/Allen style that were way too short in all honesty. I went with zinc dichromate or gold Cad, whichever it is nowadays, because they'll look similar to my desired look for the brake booster that I still need to purchase. I love ARP and I love chrome/ stainless but I won't use a black phosphate or black oxide fastener without first sealing it with paint, unless its life is spent submerged in oil of course.First thing you do with the 1245 set is get rid of those rubber end strips, aka china rail gaskets. They do not seal well and they will squirm and move on you. The best alternative is a continuous 1/4 inch high bead of RTV in your color of choice. For that get the RTV in the caulking gun version, the long tube, because it is easier to maintain pressure on the trigger as you apply the sealant. Using the smaller tube and hand pressure to get that bead on the back rail can become problematic. The bead should start right at the point where the head meets the block/china rail and continue in a non-stop application to the same point on the other side. Oh yeah, be sure to apply a thin smear of the RTV around the front and back ports where the coolant would be flowing to seal them up. Thing with the RTV is that a little bit can go a long way and it does smush under torque and pressure so will ooze out. ever so little. Once you have your torque sequence done, you can ever so gently wipe off anything that looks unprofessional to get that "polished" look.
Also going to suggest that you consider ARP 12 point intake screws, either black or chrome, as your new fasteners. Not a plug for the product per se, just easier to put a 12 point socket or wrench on them when dealing with tight spaces. As for the tightness, maybe a drop or two of Loctite blue as a bit of insurance.
Just a thought or two here,
Nick
I have each color of Loc-Tite on hand but chose Teflon tape to prevent coolant leaks at the four corner bolts as well as the lifter galley, and always re-torque the bolts numerous times after multiple heat cycles as that method has served me well dozens of times in the past. I know a sealer that dries hard is much preferred by some, and that the tape will skew the torque readings but I torqued the bolts to 35 lbs in two stages to compensate, and avoid using extensions or wobbles if possible to minimize losses. I may go with Loc-Tite this time, but also don't want to go changing a procedure that I doubt is the source of any current issues.
What do you recommend I do about adding the metal crossover plates to gaskets that didn't come with holes for them? Can I simply "cut and paste" since I'm running an EGR valve? And can I use them on a gasket that's twice as thick as the one they originally came with? A stock 305 with EGR isn't quite what I'm used to, though in essence it's not terribly different either.


