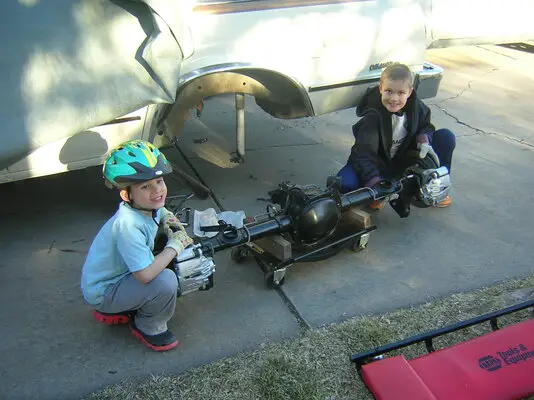
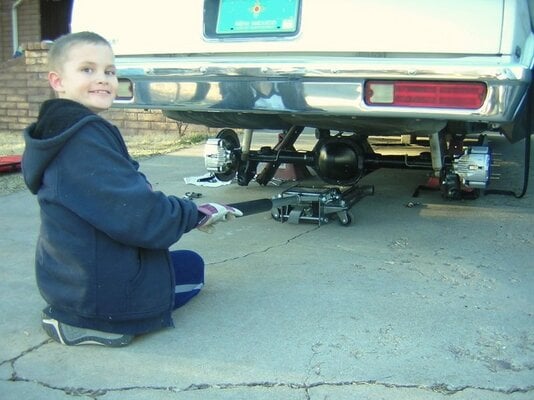
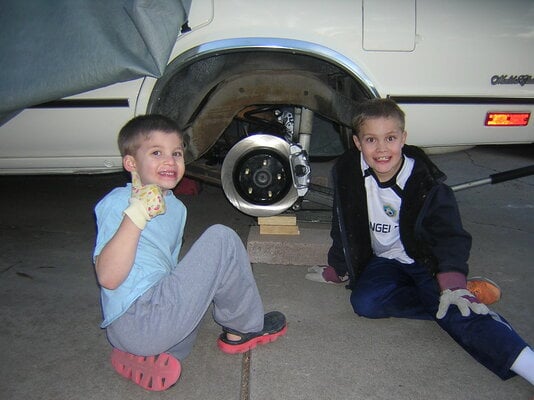
I know I'm a lil late. But How did that astro sender and new wagon tank work together? Did your fuel gauge work correctly? I also have an 80 malibu wagon and making plans to hang a walbro 255 on the astro hanger with all new lines and and return.Thanks, this is a 'time-lapse-photo' build thread. Whereas, yours is unfolding live....
BUILD THREAD Turning Back Time
- Thread starter ssn696
- Start date
You are using an out of date browser. It may not display this or other websites correctly.
You should upgrade or use an alternative browser.
You should upgrade or use an alternative browser.
- Status
- Not open for further replies.
The wagon has been side-lined by another project, so I have yet to make this work. Thanks for keeping the thread alive.
This is an impressive thread, and I genuinely admire everything you've been able to do with your wagon. My hat is off to you. But I cannot read your opening statement without responding.
Humiliation is what you make it. In my case, I spent five years bracket racing my (former) 1989 Dodge Caravan in my local track's street legal Heavy class, meaning I ran my FWD 2.5L turbocharged grocery getter against an entire field of RWD V8 American iron--Corvettes, Camaros, Mustangs, older muscle cars, you name it. I was quicker than most of the field, too... which was no doubt helped by Salt Lake City's atrocious air density, but, hey--I'll take every advantage I can get.
(Sorry--my web server melted down, so I'll need to post this embarrassing photo of a photo.)
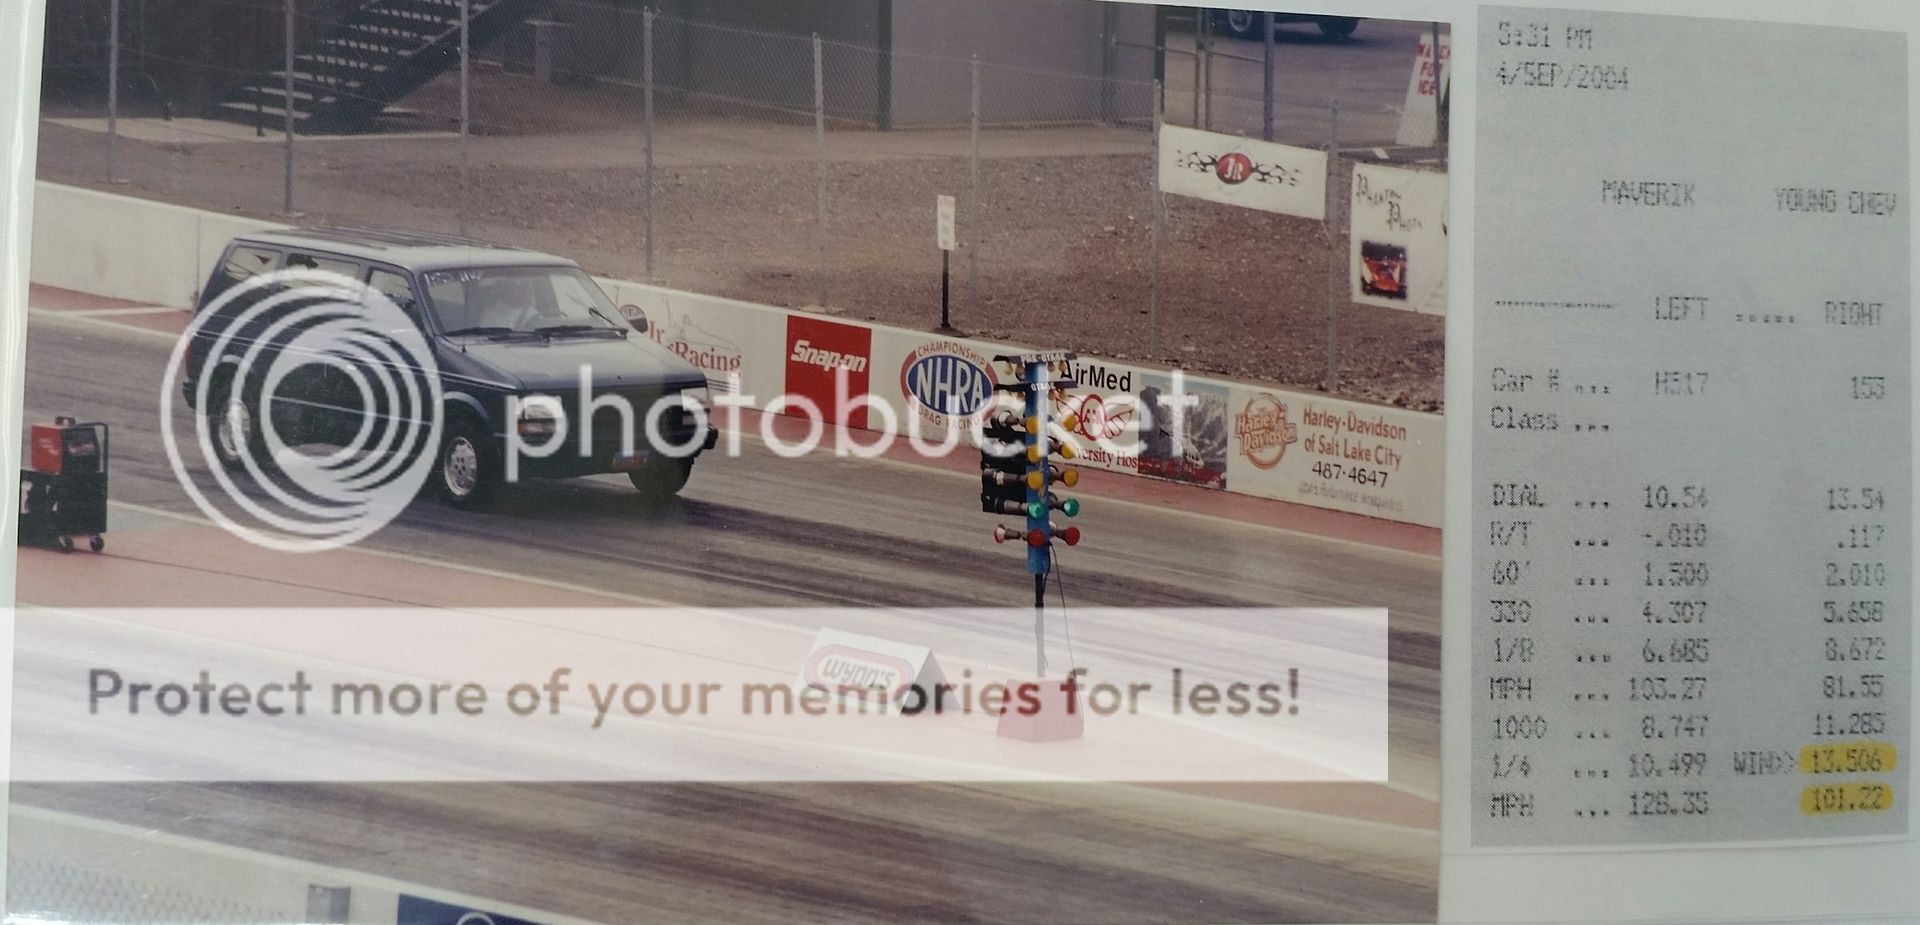
My goal with my Grand Prix is to beat the 13.5x ETs my minivan would run. If I can do that, it will be the quickest car I've ever owned.
When it comes time for me to address my front suspension--which should be relatively soon--I'm sure I'll be PMing you. 🙂
Before the humiliation of the minivan, there was the station wagon.
Humiliation is what you make it. In my case, I spent five years bracket racing my (former) 1989 Dodge Caravan in my local track's street legal Heavy class, meaning I ran my FWD 2.5L turbocharged grocery getter against an entire field of RWD V8 American iron--Corvettes, Camaros, Mustangs, older muscle cars, you name it. I was quicker than most of the field, too... which was no doubt helped by Salt Lake City's atrocious air density, but, hey--I'll take every advantage I can get.
(Sorry--my web server melted down, so I'll need to post this embarrassing photo of a photo.)

My goal with my Grand Prix is to beat the 13.5x ETs my minivan would run. If I can do that, it will be the quickest car I've ever owned.
When it comes time for me to address my front suspension--which should be relatively soon--I'm sure I'll be PMing you. 🙂
"Don't get it right. Just get it running." -- D. Freiburger
I am suffering from this problem...
What I need right now is four bays under a rain-tight roof out of the sun to make the most of each spare hour spent at this damned keyboard...
The photo of a track photo with time slip is PRICELESS.
[QUOTSE="ssn696, post: 518632, member: 4260"]The wagon has been side-lined by another project, so I have yet to make this work. Thanks for keeping the thread alive.[/QUOTE]So you didnt get the wagon running? I REALLY want to find out all I can about the wagon fuel tank. I'm in the process of a walbro intank swap on my malibu wagon.
Adding to the record, despite a feature thread elsewhere, here's some detail on the LS1 conversion.
GM changed the backing plates from the 4-bolt trapezoidal pattern that dated back to the 1960s, went with the funky two-small-bolts and shoe-pivot-thingie with the godawful clip holding the brake cylinder in place. The irony of this conversion is that GM elected to reuse the identical pattern (with metric bolts) for the disc brake backing plates in the S10 and F-body. Bless the lazy engineer. Wonder if they anticipated we'd raid the parts-donor era of F-bodies to retrofit the G-bodies?
So, the scary part - cutting down the brake tab on the axle ends. Commitment - no going back. There is just enough plate to cut at the very bottom edge of the big hole for the wheel cylinder.
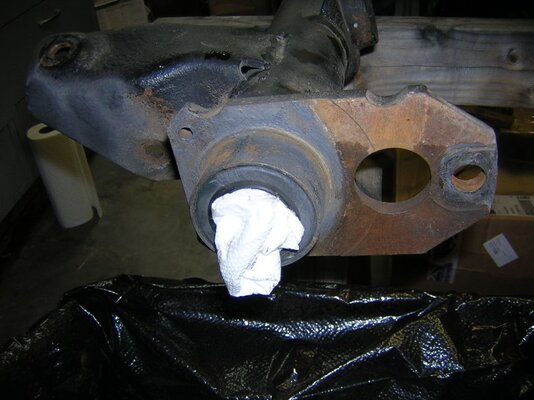
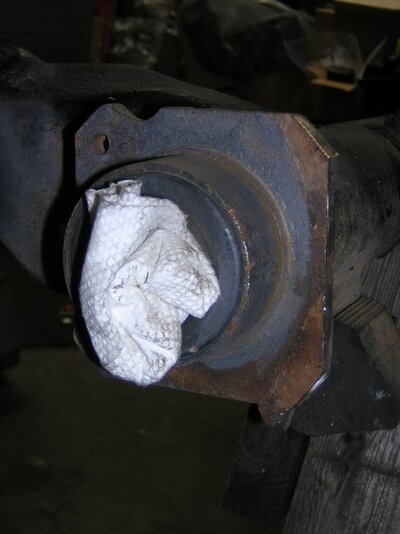
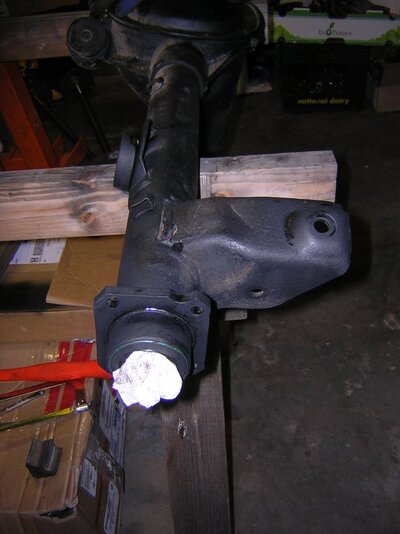
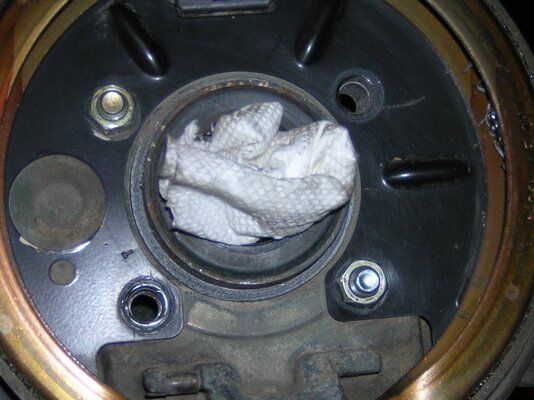
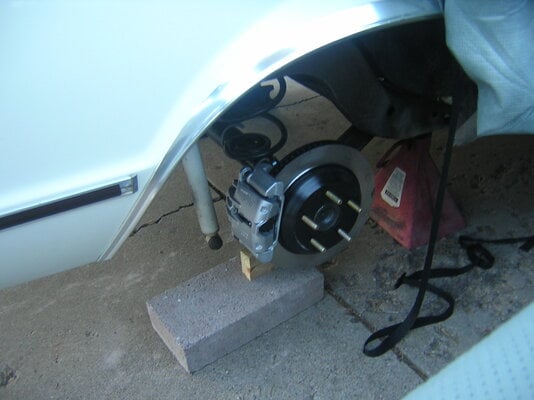
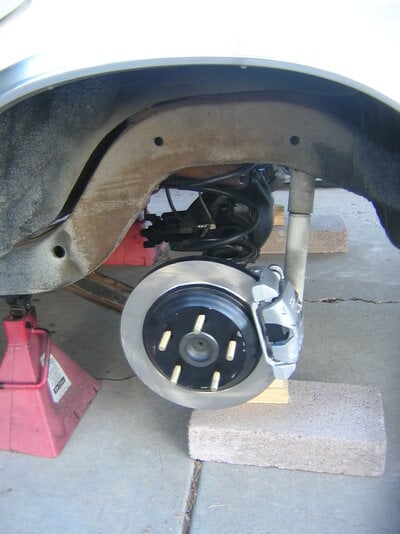
The next trick is to drill out the holes. It is necessary to swap the left and right LS1 backing plates so that the calipers are toward the rear so they don't hit the frame when the suspension shifts up. The good news is that even I can't screw up drilling out the holes, because the two lower holes GM used to fasten the backing plates line up perfectly with the two lower holes in the trapezoid pattern. Thanks, GM engineer who specified two of my pilot holes!
The next task is to set up the calipers so that they are centered on the rotors. I chose to make shims for the backing plates. Drill, jigway and files (and safety glasses - pulled a sliver out of my cheek - easier than an eyeball).
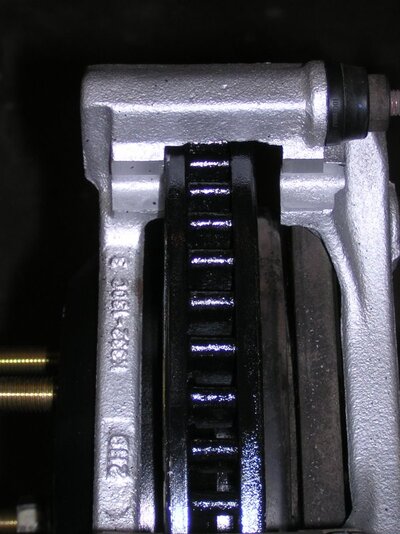
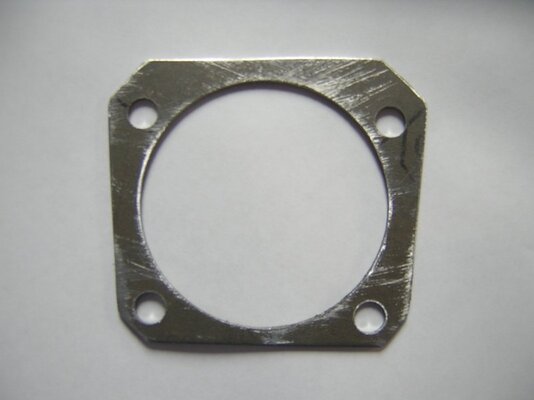
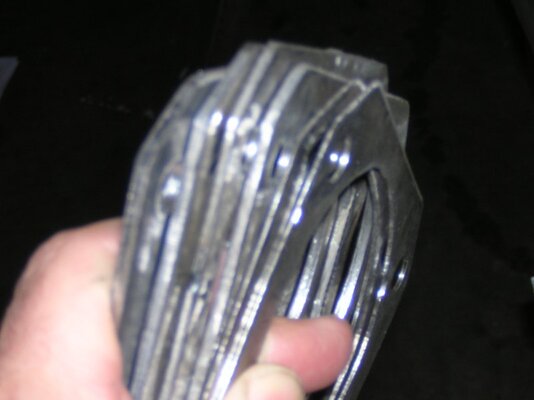
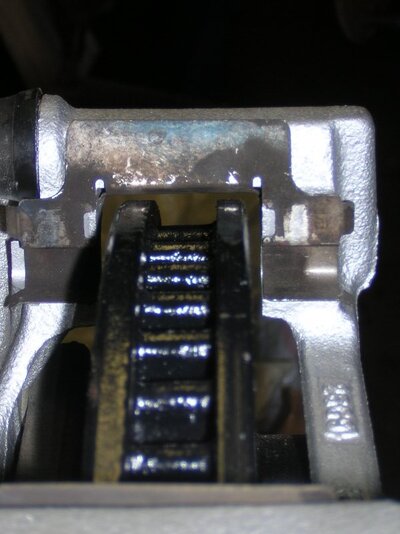
Next, I had to figure out the brake lines and hoses. Note that GM changed the line end to a 'bubble' flare. There are conversion couplers you can buy at the parts store, but the donor Camaro lines were still clean, so I just rebent them for the G-body axle configuration. I needed something to fasten the hose ends, so I tracked down these Allstar circle track brake hose tabs and filed slots in the right spots for the hose index.
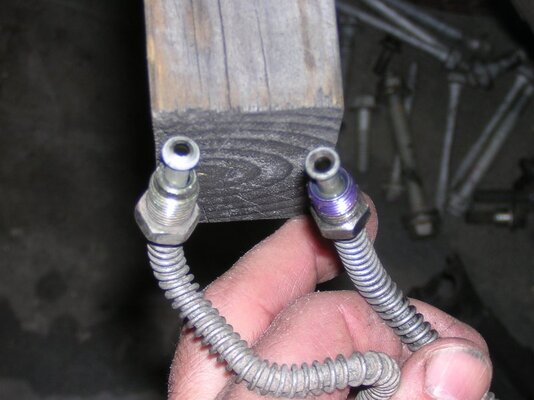
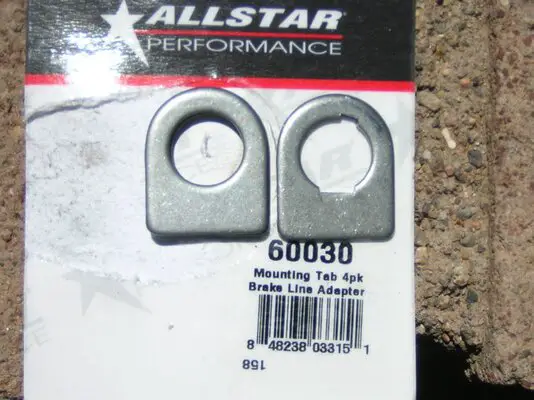
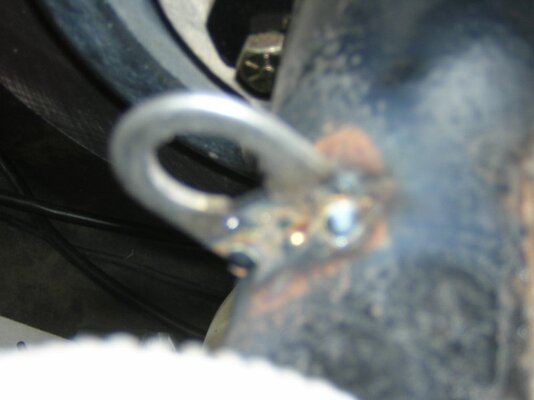
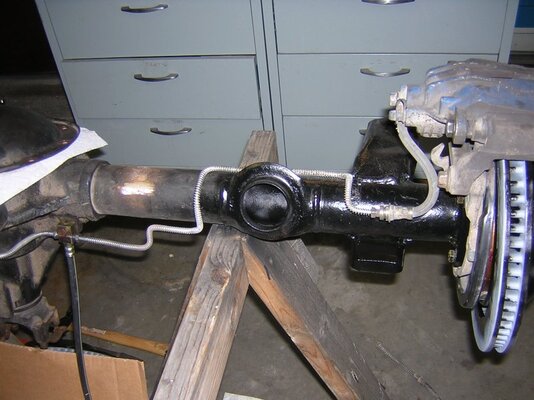
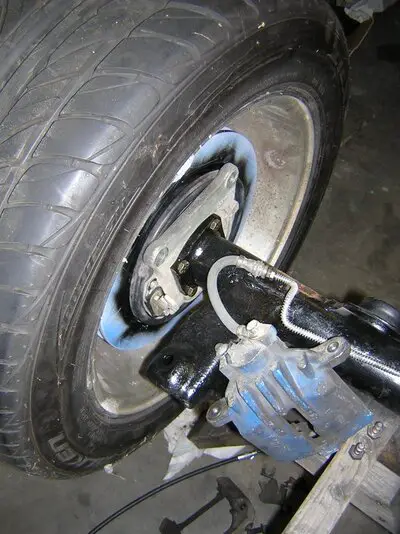
The next task was making brackets for the parking brake cables. A truly excellent Forum member made patterns and provided them with a full description of the conversion. I replicated his work with a few updates. The last photo was his - I had to shorten mine to clear the tires I planned to use.
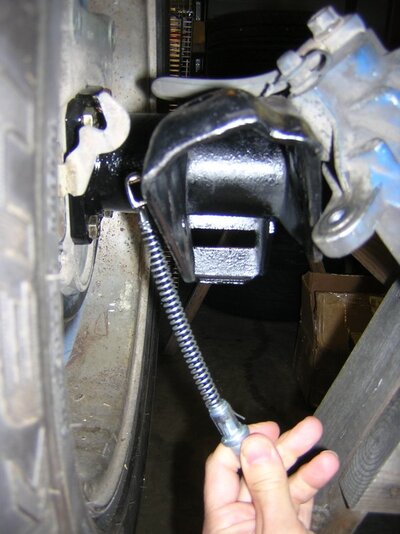
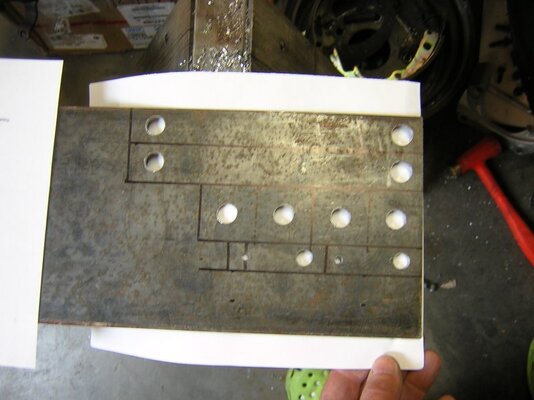
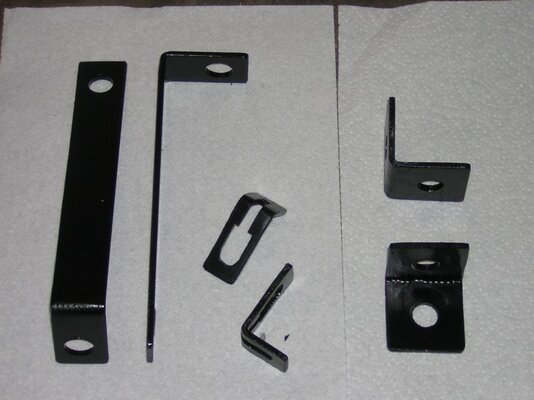
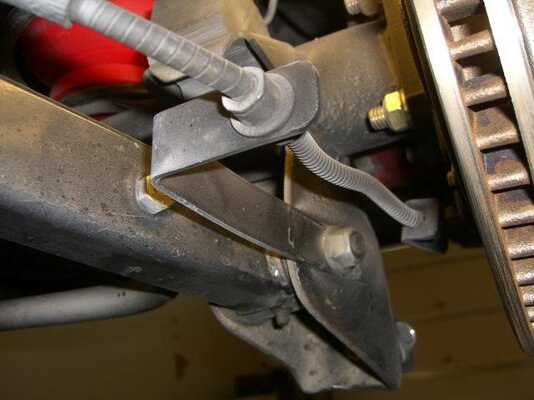
Since these were junkyard parts from a 2000 Camaro, lots of scrubbing, sanding and painting required. Use VHT or other thermal-rated paint if you plan on using these calipers for real.
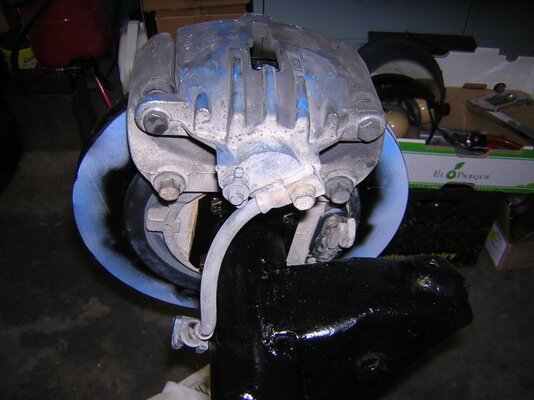
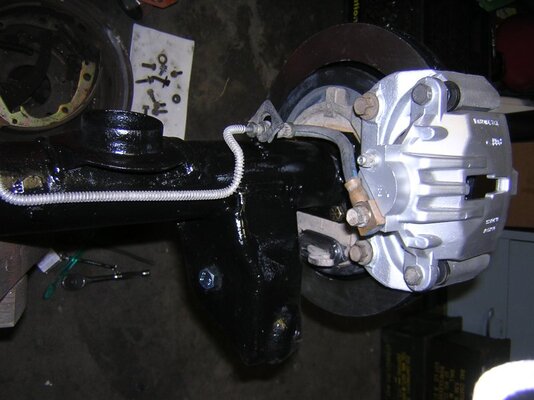
I am using 16x8 IROC Camaro rims, and they clear with no issues.
GM changed the backing plates from the 4-bolt trapezoidal pattern that dated back to the 1960s, went with the funky two-small-bolts and shoe-pivot-thingie with the godawful clip holding the brake cylinder in place. The irony of this conversion is that GM elected to reuse the identical pattern (with metric bolts) for the disc brake backing plates in the S10 and F-body. Bless the lazy engineer. Wonder if they anticipated we'd raid the parts-donor era of F-bodies to retrofit the G-bodies?
So, the scary part - cutting down the brake tab on the axle ends. Commitment - no going back. There is just enough plate to cut at the very bottom edge of the big hole for the wheel cylinder.


The next trick is to drill out the holes. It is necessary to swap the left and right LS1 backing plates so that the calipers are toward the rear so they don't hit the frame when the suspension shifts up. The good news is that even I can't screw up drilling out the holes, because the two lower holes GM used to fasten the backing plates line up perfectly with the two lower holes in the trapezoid pattern. Thanks, GM engineer who specified two of my pilot holes!
The next task is to set up the calipers so that they are centered on the rotors. I chose to make shims for the backing plates. Drill, jigway and files (and safety glasses - pulled a sliver out of my cheek - easier than an eyeball).


Next, I had to figure out the brake lines and hoses. Note that GM changed the line end to a 'bubble' flare. There are conversion couplers you can buy at the parts store, but the donor Camaro lines were still clean, so I just rebent them for the G-body axle configuration. I needed something to fasten the hose ends, so I tracked down these Allstar circle track brake hose tabs and filed slots in the right spots for the hose index.


The next task was making brackets for the parking brake cables. A truly excellent Forum member made patterns and provided them with a full description of the conversion. I replicated his work with a few updates. The last photo was his - I had to shorten mine to clear the tires I planned to use.


Since these were junkyard parts from a 2000 Camaro, lots of scrubbing, sanding and painting required. Use VHT or other thermal-rated paint if you plan on using these calipers for real.


I am using 16x8 IROC Camaro rims, and they clear with no issues.
Last edited:
Last edited:
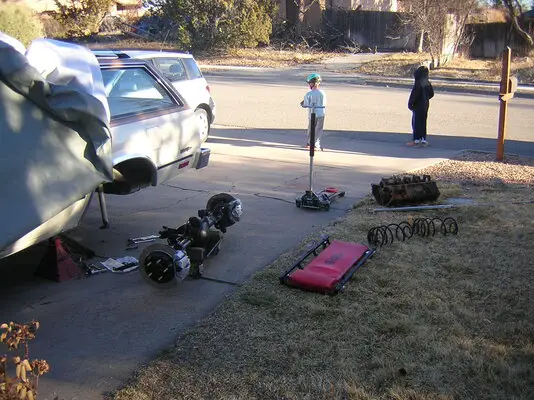
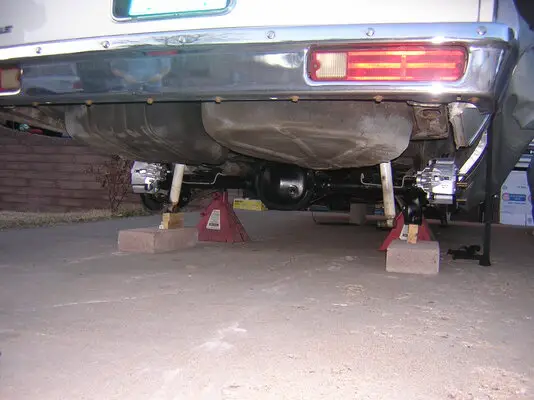
So the wagon axle has been sitting on blocks because I lacked a pair of brackets to 'turn' the shock mounts past the calipers. So I finally fabbed them from 1/8" angle. 1/2" holes for the bolts, with 3/16" holes for the roll pins that lock them from rotating under load.


When installing the shock adapters, the bolt head into the axle bracket interferes with the shock bolt. So the trick is to insert the bolt (no washer) then put the shock bolt through and tighten the nut finger tight. Then install the locking nut and washer onto the axle. There is just enough clearance to use an open end wrench on both fasteners. The shock adapter ends up at the same angle as the shock. After everything is tight, use the 3/16" roll pin hole as a pilot to drill the axle bracket, and tap in the roll pin. This ensures the adapter does not rotate under load.
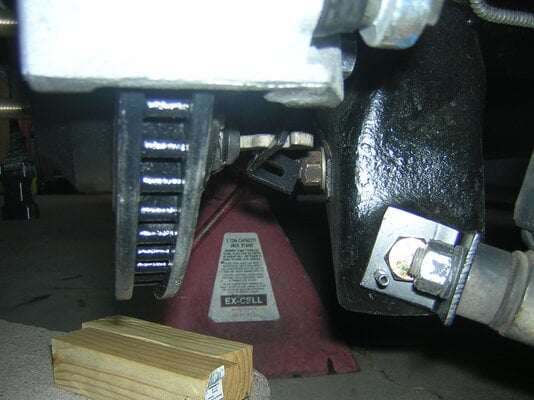
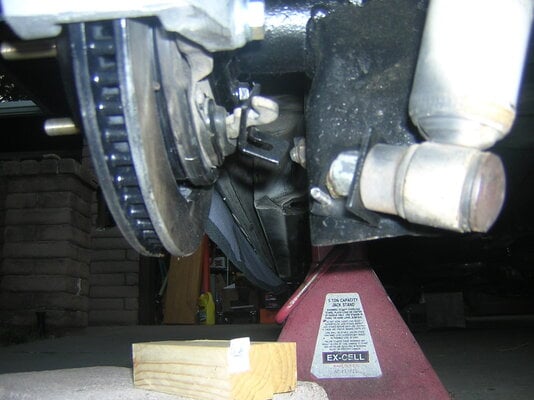
I am looking forward to having a lift some day. On my back in the dark is getting old. Or I am getting old and don't tolerate it so much anymore. One benefit of this hobby: there is no need for a gym membership when lifting, shoving and wrenching. Abs, pecs, lats. Yahoo!


I am looking forward to having a lift some day. On my back in the dark is getting old. Or I am getting old and don't tolerate it so much anymore. One benefit of this hobby: there is no need for a gym membership when lifting, shoving and wrenching. Abs, pecs, lats. Yahoo!
Looks good Quinn.
Two questions for you tho:
Do you think your brackets are going to be strong enough made out of only 1/8" stock? After all, the factory axel bracket is easily 3/16" or better...
And more importantly, do you foresee any problems with the operation of the shocks rotating the lower mount like that? I'm thinking particularly when the axel articulates, when one wheel is much lower/higher than the other.
I was going to do something similar on The Juggernaut's 12 bolt, but that thought stopped me from going through with it. I didn't want to find out the hard way with broken lower shock mounts that it wouldn't work...
Looking forward to hearing your thoughts and rationalization for this.
Donovan
- Status
- Not open for further replies.
Similar threads
- Replies
- 0
- Views
- 56
- Replies
- 2
- Views
- 97
- Replies
- 7
- Views
- 213
GBodyForum is a participant in the Amazon Services LLC Associates Program, an affiliate advertising program designed to provide a means for sites to earn advertising fees by advertising and linking to amazon.com. Amazon, the Amazon logo, AmazonSupply, and the AmazonSupply logo are trademarks of Amazon.com, Inc. or its affiliates.


