What did you do to your G-Body today? [2011-2018]
- Thread starter dlo253
- Start date
You are using an out of date browser. It may not display this or other websites correctly.
You should upgrade or use an alternative browser.
You should upgrade or use an alternative browser.
- Status
- Not open for further replies.
Well, today I the gas tank off my '83 Monte Carlo. I was afraid that it had pin hole rust holes in it, but when I took it off, it still had a gallon or two of gas in it, from 1996, the last time it ran! What should I do with the old stale gas now?
you could varnish some wood. lolWhat should I do with the old stale gas now?
add it to some waste oil from an oil change and properly dispose of it.
joe
Dump 93 in her upto the brim, put an inline fuel filter on and hope. Or just do what oldsmobile joe said. 😛Well, today I the gas tank off my '83 Monte Carlo. I was afraid that it had pin hole rust holes in it, but when I took it off, it still had a gallon or two of gas in it, from 1996, the last time it ran! What should I do with the old stale gas now?
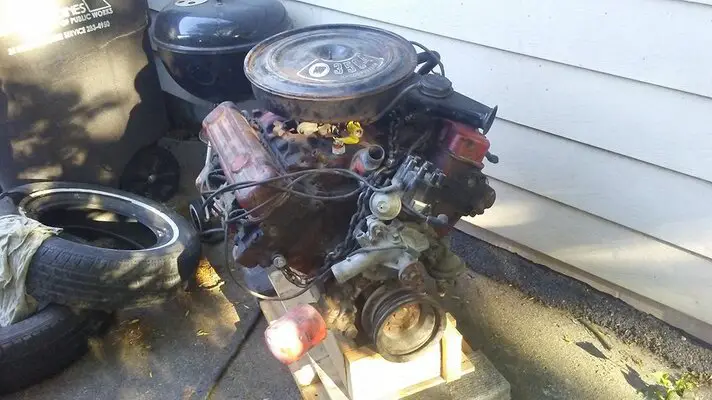
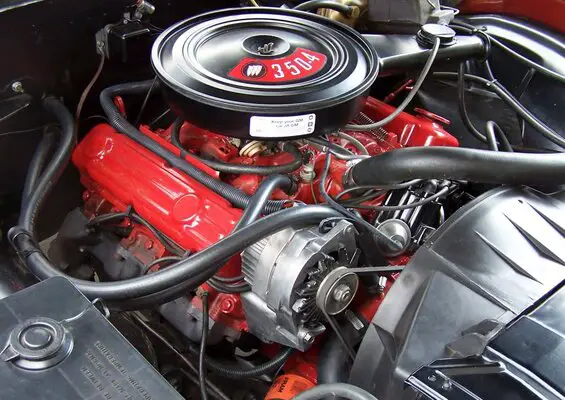
Come Monday I'm gonna order some cam bearings for my SP 350 and take it to my local shop to have it hot tanked and the bearings installed. Then all I have to do is get a re-ring kit (gaskets, rings, bearings), cam kit (springs, cam, lifters, timing set), and fuel pump, water pump, oil pump rebuild kit (unless I can salvage the one out of my old motor), and hopefully she'll be a runner. Ideally, I want it to look just like it did in 1970.
Attachments
I got a little motivation this morning to finish up sealing the gaskets to the taillight housings.
I also had to make new sealing washers for where the housings bolt to the body to keep water out. For this I just used some stainless flat washers and rubber washers glued together with clear rtv adhesive sealant.
Now just to let the sealant cure enough to assemble it all, wrap the lights up and box them until the Cutlass gets painted.


Finally got going on the engine, checked ring gaps & installed them on the pistons, got everything preped to install the rotating assembly then...
The properly stored crank came out of the storage bag with rust!!! 😡 Looked like it was just on the non-contact surfaces, them I found spots on the bearings surfaces. 😡 The heads, block, & rods are OK. Atleast I did the rings. Now, take crank to get rechecked or say the hell with it and look for a new one (anger speaking.)😡
The properly stored crank came out of the storage bag with rust!!! 😡 Looked like it was just on the non-contact surfaces, them I found spots on the bearings surfaces. 😡 The heads, block, & rods are OK. Atleast I did the rings. Now, take crank to get rechecked or say the hell with it and look for a new one (anger speaking.)😡
Installed a set of dumps with my 15yr old daughter. Looks like it's going from Father / son to father / daughter project.
Son is in Basic Training right now. (Army Active)
Son is in Basic Training right now. (Army Active)
- Status
- Not open for further replies.
Similar threads
- Replies
- 174
- Views
- 7K
- Replies
- 274
- Views
- 15K
- Replies
- 983
- Views
- 66K
- Replies
- 90
- Views
- 4K
GBodyForum is a participant in the Amazon Services LLC Associates Program, an affiliate advertising program designed to provide a means for sites to earn advertising fees by advertising and linking to amazon.com. Amazon, the Amazon logo, AmazonSupply, and the AmazonSupply logo are trademarks of Amazon.com, Inc. or its affiliates.


