What Did You Do To Your G-Body Today? [2021]

Status
Not open for further replies.
Trying to get all the shows in I can before the season ends, got stuck late Friday so made it to Mineral Beach late. Still a halfway decent turnout so couldn't be too bummed out, then went to Cars N Coffee Saturday. Saturday night we went out for a buddies bday, 2 others wanted to go for a cruise after. I was in the man van but said I could get the cars, decided to just let the birthday boy drive the Monte with his gf while I rode shotgun instead of driving to the shop to also get the GTO. I enjoyed getting to see the ol girl all lit up at night
20210911_204918.jpg
 
Pulled out the Circuit 300 wire from the dash harness & replaced it with the one that has the OE resistor wire. Never did I had any charging issues with out a resistor or bulb tied into the circuit to the alternator. Then I finally removed the CEL wire from the cluster plug to put the temp warning light lead into that locationto make the CEL work as the temp light. Have to get some wire to make a new circuit to run from the gauge to the sender, just being picky on what color stripe I want on the green wire I'll be ordering. It'll be using the current pin location as the temp circuit uses in the C100 block, will find a spot near it to put the warning light wire. Looked at the circuit 75 splice since it'll need retaped (BTW, anyone know what the factory tape was since it's not electrical tape?) & thinking of redoing it to remove the lead that went to the CCC harness with using a shrink tube to cover it. Then looked over the engine & figured it might be best to put the temp light switch in the head & gauge sender in the intake by the thermostat. Now I'll need to order a switch for '79 & holder heads.
 
Finished late yesterday evening on my non-G, but earlier I installed new spark plugs and air filter on the Caballero. Turns out, that was the worst part of why the car ran so poorly on Friday. Replacing the fuel pressure regulator Saturday, it turns out, made a minimal difference in the way it ran, even though it sounded a little better.
 
07EB2830-DA01-4B3C-B8C8-50545A0C01D3.jpeg
E0415C93-0416-4104-87E2-D165DBC475A4.jpeg
838C2B3C-D3AA-4279-B9B2-F6C18241C1F0.jpeg
23167226-6050-46DF-842E-5ED999C65D5C.jpeg
CD309E87-472D-462E-8A31-9CABE8945D7F.jpeg
D77CBA4E-3AB9-4138-A222-BACDFDAEF1E0.jpeg
192B7CC3-C5D3-455C-84B0-7BFC302043BE.jpeg
070F9AF5-07F6-434B-AEBD-0D135D17E3BC.jpeg
I was able to squeeze a little time for the cutlass today. Wife worked so I was on full time Daddy duty.
I cleaned up the rear calipers. Kinda smoothed them up a bit and shaved the casting lines.
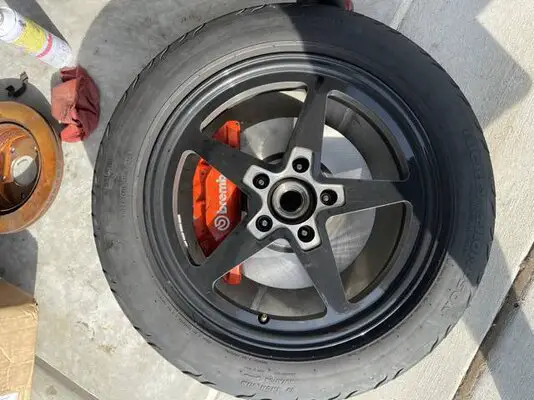
Used air craft paint remover on the fronts to take off the orange paint and let me tell you they did a hell of a job painting these. Took at least 5-6 coats of the paint remover to get most of it off and I ended with a wire wheels to finish them off. Lastly cleaned masked and paint them.
I’m torn between ordering a set of brembo stickers for the fronts or just leaving them plain.
 

Attachments

  • 7E530B1D-9C32-4D9D-8CA0-26ED8D2C1522.jpeg
    7E530B1D-9C32-4D9D-8CA0-26ED8D2C1522.jpeg
    50.2 KB · Views: 111
Had the ol girl out a good bit of the weekend again, yesterday ran into a girl I have seen around with her bf at a bunch of the shows. She put together a Turbo Regal over the winter, first time I got to see it and boy was it sharp. It was almost as good looking as her, her bf just finished up his 80s truck with a 6.0 in it. It was also really sharp, apparently I had just missed them at Cars N Coffee yesterday since it was a bust of a show. But we ran into each other at the South Park show which was still kind of light in attendance, wish I had got a pic of their rides for yinz but was too awstruck
20210919_104651.jpg
 
  • Like
Reactions: pagrunt and Rktpwrd
View attachment 184027View attachment 184028View attachment 184029View attachment 184030View attachment 184031View attachment 184032View attachment 184033View attachment 184034I was able to squeeze a little time for the cutlass today. Wife worked so I was on full time Daddy duty.
I cleaned up the rear calipers. Kinda smoothed them up a bit and shaved the casting lines.
Used air craft paint remover on the fronts to take off the orange paint and let me tell you they did a hell of a job painting these. Took at least 5-6 coats of the paint remover to get most of it off and I ended with a wire wheels to finish them off. Lastly cleaned masked and paint them.
I’m torn between ordering a set of brembo stickers for the fronts or just leaving them plain.
Paint 'em & call it a day (unless Brembo is paying you to advertise).
 
View attachment 184027View attachment 184028View attachment 184029View attachment 184030View attachment 184031View attachment 184032View attachment 184033View attachment 184034I was able to squeeze a little time for the cutlass today. Wife worked so I was on full time Daddy duty.
I cleaned up the rear calipers. Kinda smoothed them up a bit and shaved the casting lines.
Used air craft paint remover on the fronts to take off the orange paint and let me tell you they did a hell of a job painting these. Took at least 5-6 coats of the paint remover to get most of it off and I ended with a wire wheels to finish them off. Lastly cleaned masked and paint them.
I’m torn between ordering a set of brembo stickers for the fronts or just leaving them plain.
I noticed the same when I did the C6 Z06 calipers and now that I am messing the the V1 CTS-V's they are both like that, this time I am just going to powder them and be done since the Z06's on the Monte are already peeling from paint. I like putting custom stickers on them to match what I am building out
20200623_182419.jpg
 
  • Like
Reactions: Rktpwrd
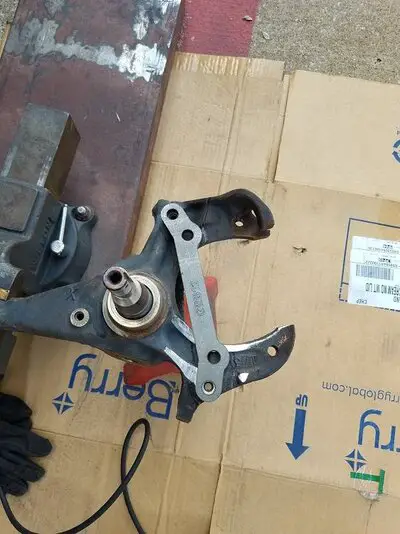
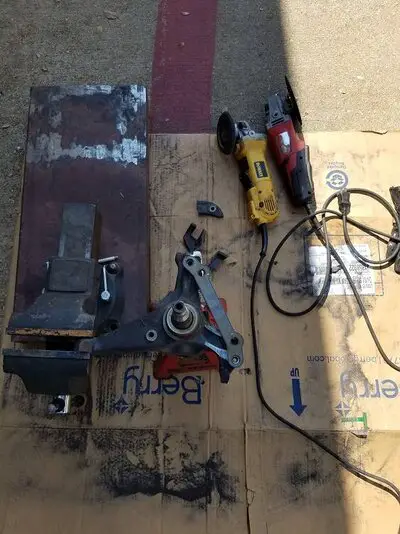
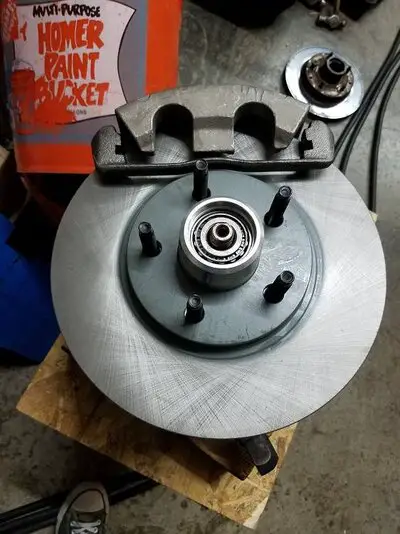
Gave up on my tall spindle purchase the 1st week of Sept. w/no delivery date communicated.

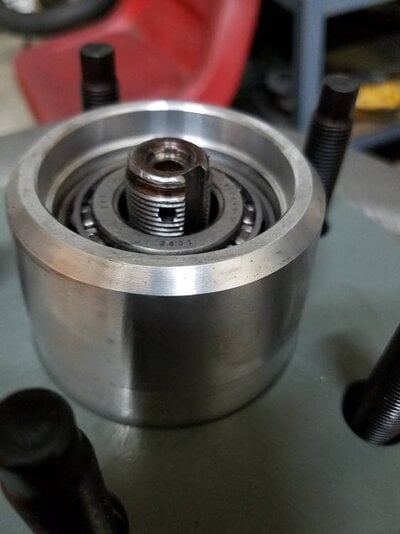
So w/that order canceled I moved forward w/modding the original '78 g-spindles to accept new parts. I received in the brackets + hubs Sat morning so I started the conversion Saturday evening & finished yesterday afternoon. Ran into an issue w/hardware (too long in my opinion @ the upper dust shield attachment point) as well as something within the bearings. I trimmed the hardware & I'll sort through the bearing issue over the next couple of days hopefully determining a solution. Starting off with LS1/f-body front brakes for the upgrade. A few images of what I have so far for now @ least....
 

Attachments

  • 20210919_121436.jpg
    20210919_121436.jpg
    60.2 KB · Views: 110
  • 20210919_123411.jpg
    20210919_123411.jpg
    69.4 KB · Views: 109
  • 20210919_175233.jpg
    20210919_175233.jpg
    61.7 KB · Views: 108
  • 20210919_175224.jpg
    20210919_175224.jpg
    32.5 KB · Views: 113
(ok it was actually yesterday)

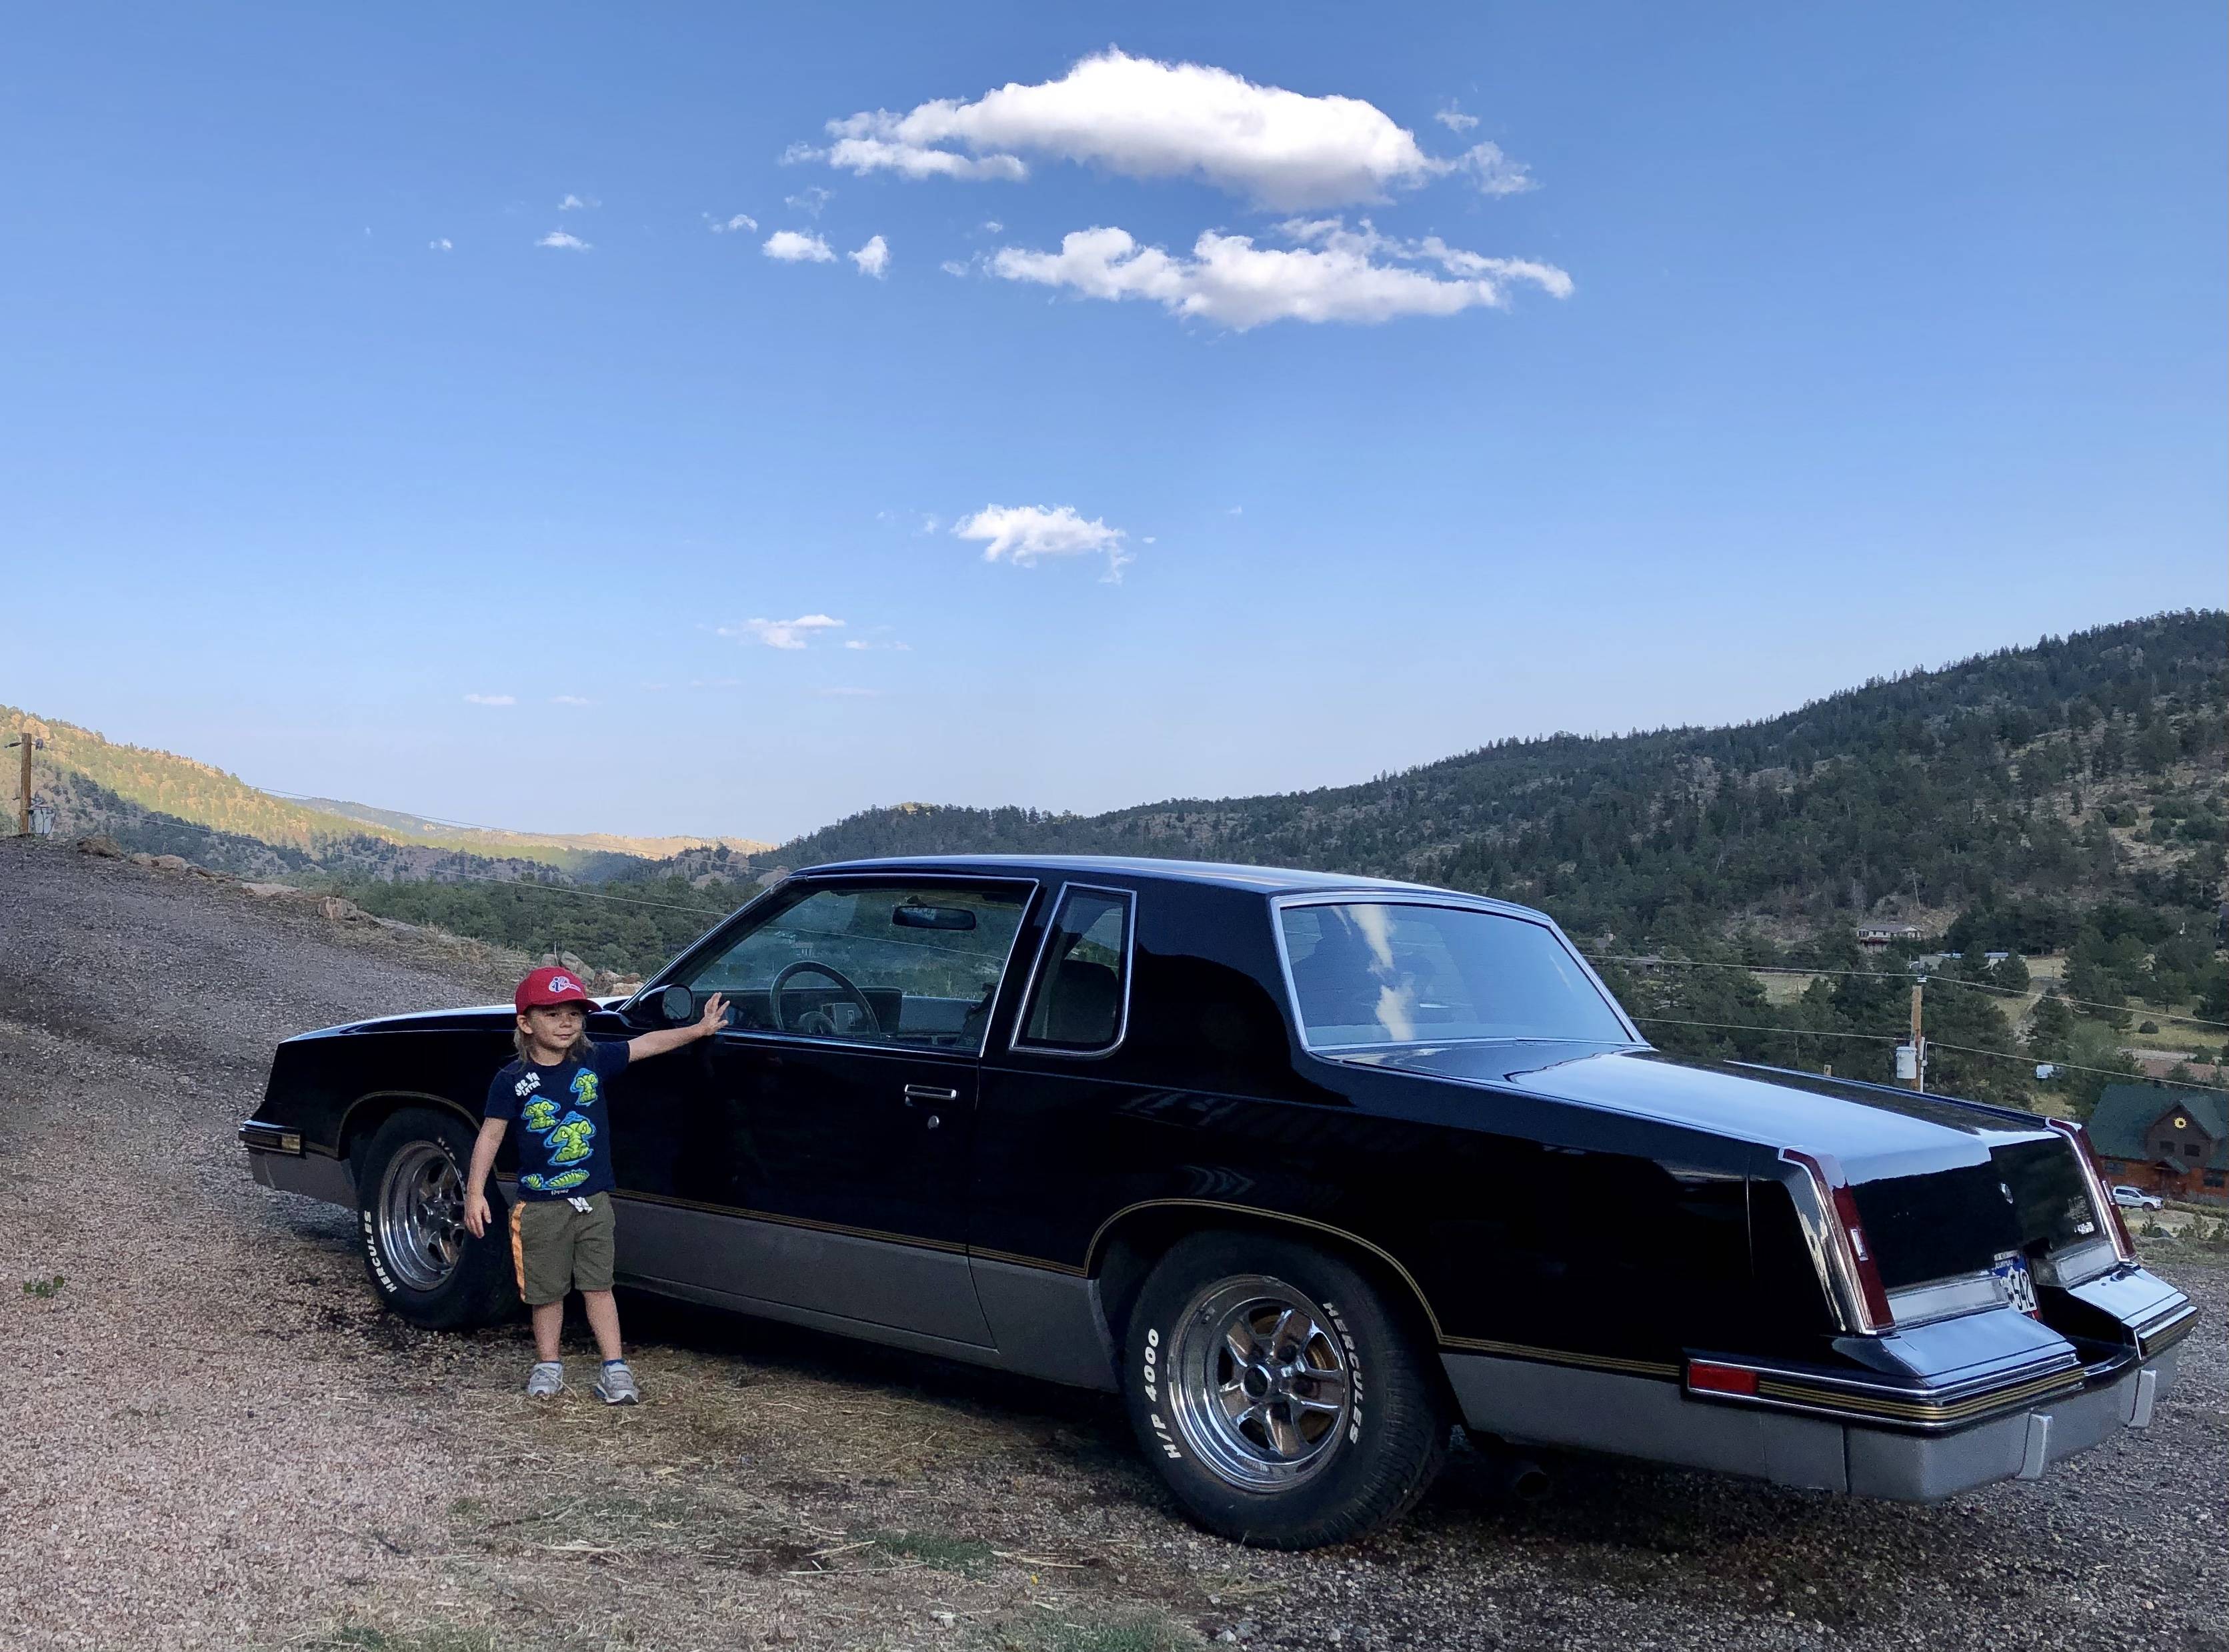
Finally got to get out and put some real miles on the car for the first time in over a year. I had it out in the spring but had to replace the motor and all summer was way too hot to drive this car without AC (going to have to fix that sooner than later).
c6815061-4846-4c24-902d-ccb606671a6c-jpeg.184018
 
Status
Not open for further replies.

GBodyForum is a participant in the Amazon Services LLC Associates Program, an affiliate advertising program designed to provide a means for sites to earn advertising fees by advertising and linking to amazon.com. Amazon, the Amazon logo, AmazonSupply, and the AmazonSupply logo are trademarks of Amazon.com, Inc. or its affiliates.

Please support GBodyForum Sponsors

Classic Truck Consoles Dixie Restoration Depot UMI Performance

Contact [email protected] for info on becoming a sponsor