digimurda said:
Great job!
i'm sorry but ima have to play copy-cat on your shifter, lol
any chance you can tell me exactlly what parts did you buy and what steps did you take to get the whole shifter thing going?
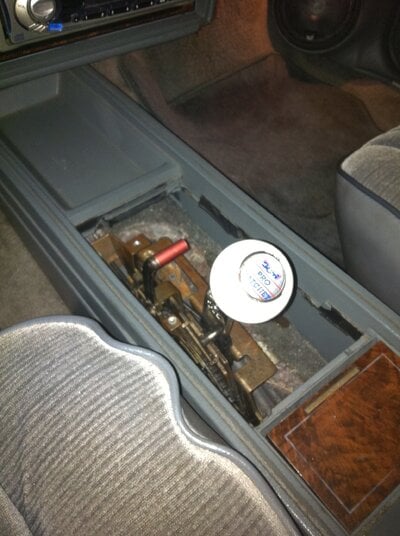
i would really apreciate it, i got a 85' 442 and the last guy who had it did what i would call a hack job, check out the photo,
let me in on any ideas, please.
Thanks...
Here is a quick run down of how I set it up:
B&M Hammer Install
After removing the stock shifter, I cut a piece of 1/8" aluminum sheet to the same length and width as the base of the OEM shifter. I used the stock unit as a template to drill the mounting holes so it would line up with the existing locations on the transmission tunnel. Now I had a solid mounting plate that was slightly elevated
(due to the factory shifter stands being raised), and this allowed me to mount my new B&M shifter centered wherever I wanted, within the constraints of the console of course.
The console opening where the factory shifter protrudes needs to be modified as well. Alot of consideration should go into this part! You need to factor in the overall throw of the shifter, as well as any moving parts that may interfere with the console structure and height!
I found it easiest to use a small die grinder with a cut-off wheel to cut a window large enough for the shifter in the console
(another tool I have had great success with in the past is a small air body saw). While cutting, be very careful to not go to far, consequently removing the holes that the top console trim piece would normally clip into! This part is important if you want to keep an OEM appearance....less is more....
Once all the final trimming and etc is complete of the console frame, I cut another window in the factory shifter trim top-plate and mounted the shifter cover that comes with the B&M Hammer shifter.
---------------------------------------------------------
Hope this helps you guys with any questions you may have had....