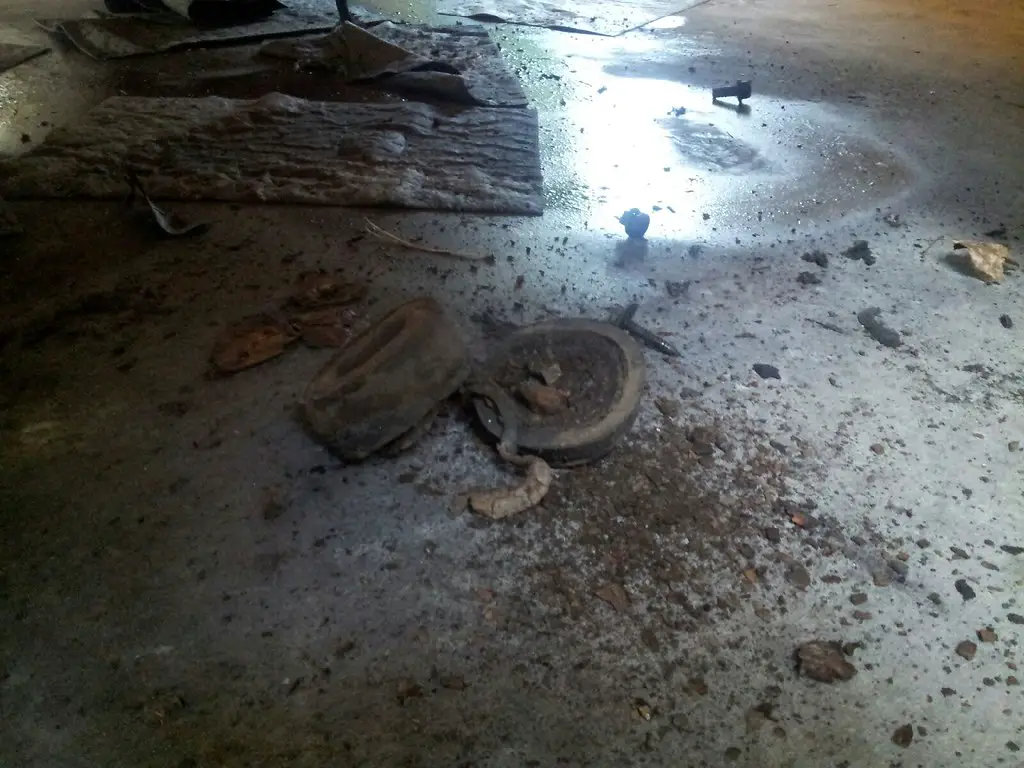
Well today was one of those days that made me wonder why I work on cars. I decided to address the broken body mount that is under the HVAC box. Here it is(was) bad body mount 1 by bwollens1983, on Flickr
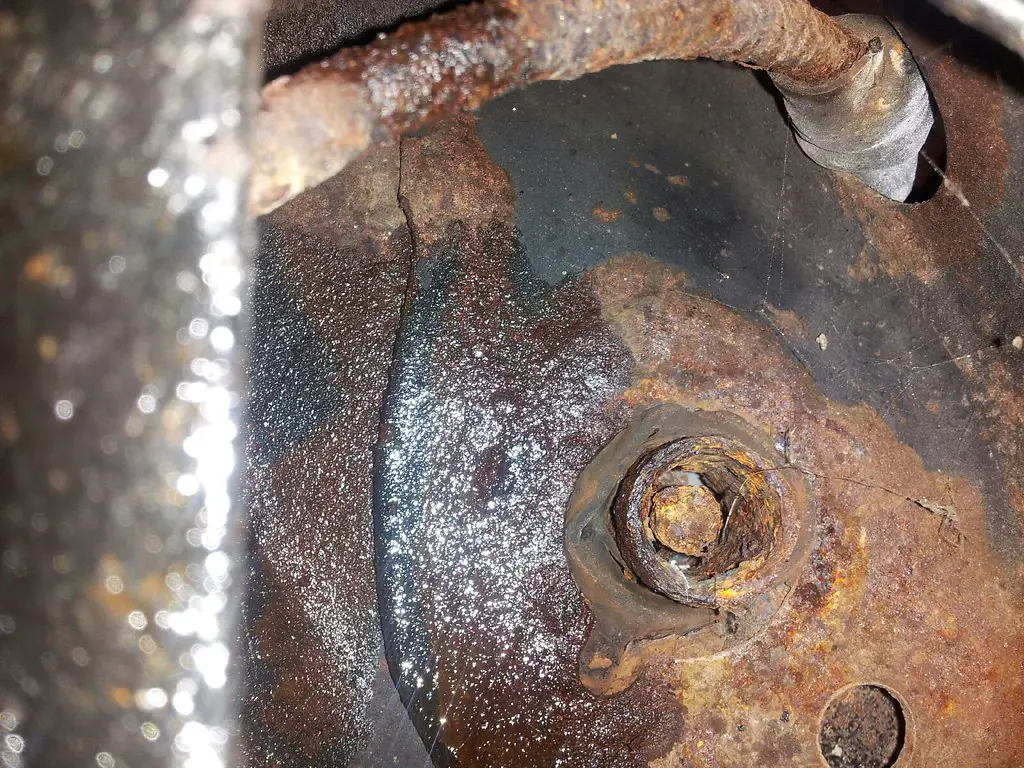
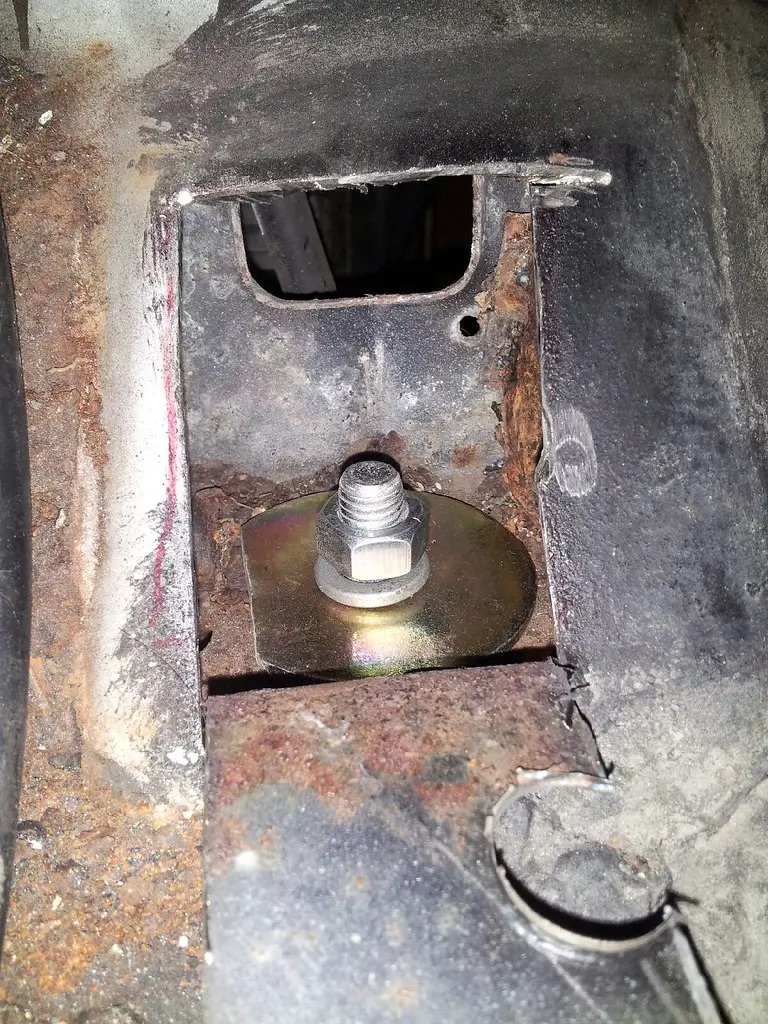
After I ripped that out I went to the one directly opposite of it under the brake booster area and found this. Its hard to make it out but the bolt head is gone... bad body mount 2 by bwollens1983, on Flickr
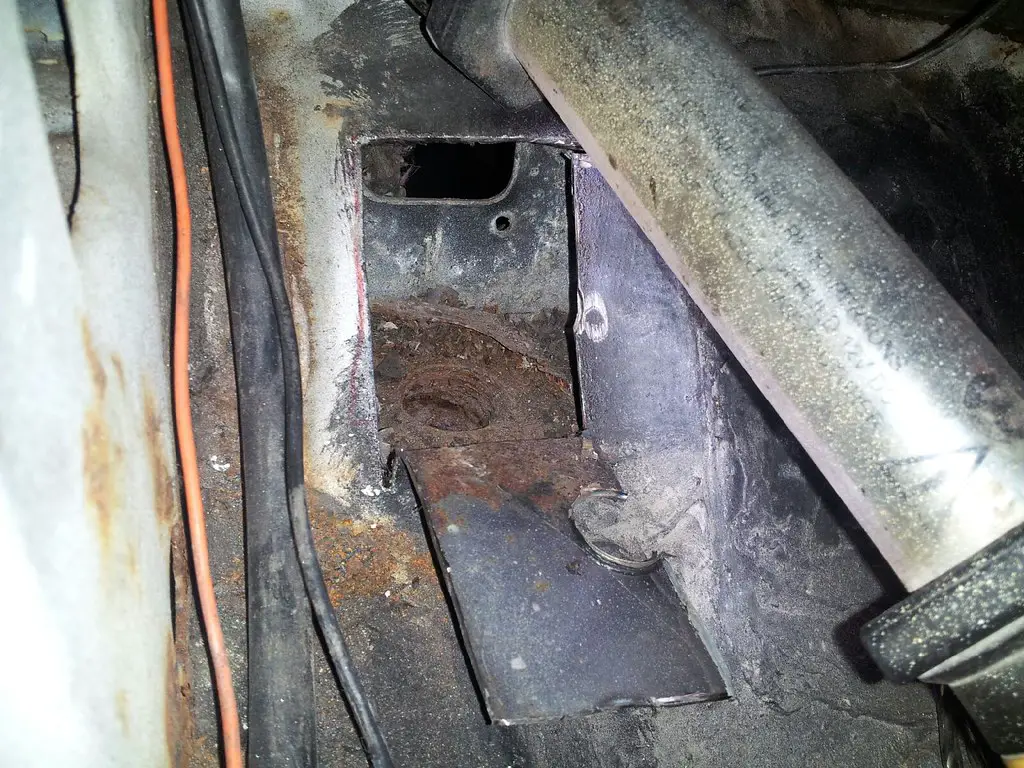
I took a break and had a few beers. Then I decided since those mounts are ****ed why not try something to fix it. I cut a hole like this in both sides to get at the rotten cage nuts bad body mount 3 by bwollens1983, on Flickr
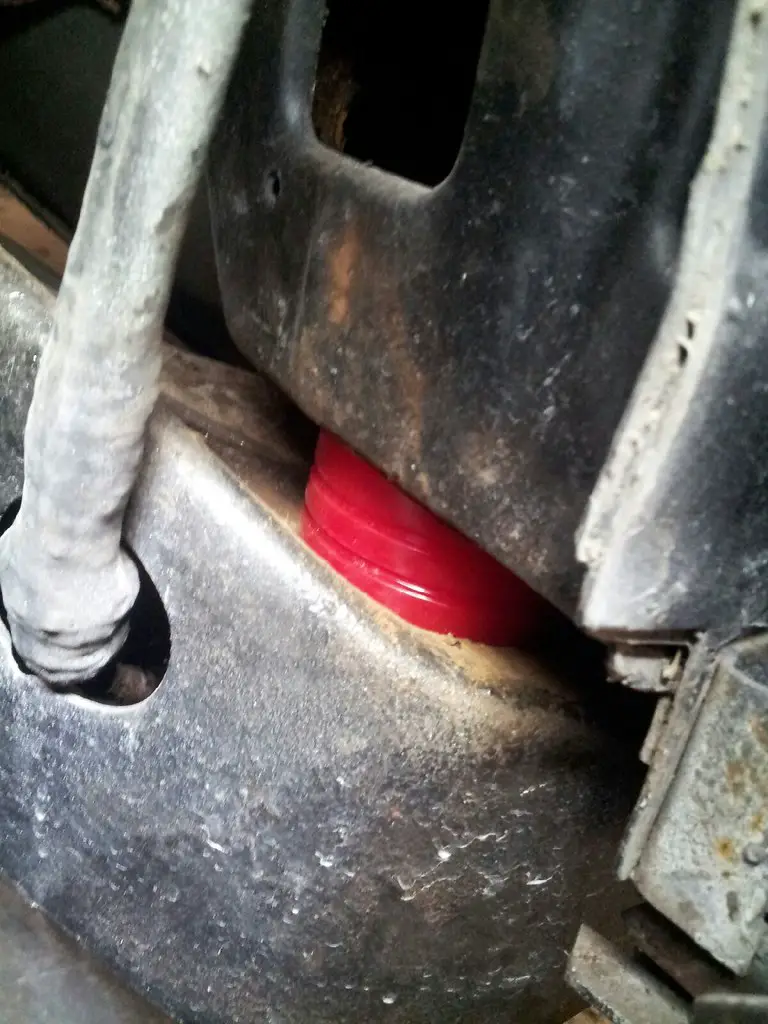
Then I got the awesome idea of trying out my new radiator support bushings in those spots. I jacked the body up a little bit and the bushing slid right in. bad body mount 5 by bwollens1983, on Flickr bad body mount 4 by bwollens1983, on Flickr
I know that its not the correct way to fix it since the bushings I imagine are different lengths and whatnot but it works for now. I would buy the whole kit but the rest of the mounts appear to be fine so I will use these and then buy another kit for when I actually put the radiator support in. The rubber isnt cracked on the rest of the mounts and the bolts are all there and fairly rust free. Next winter I will probably do all of them.
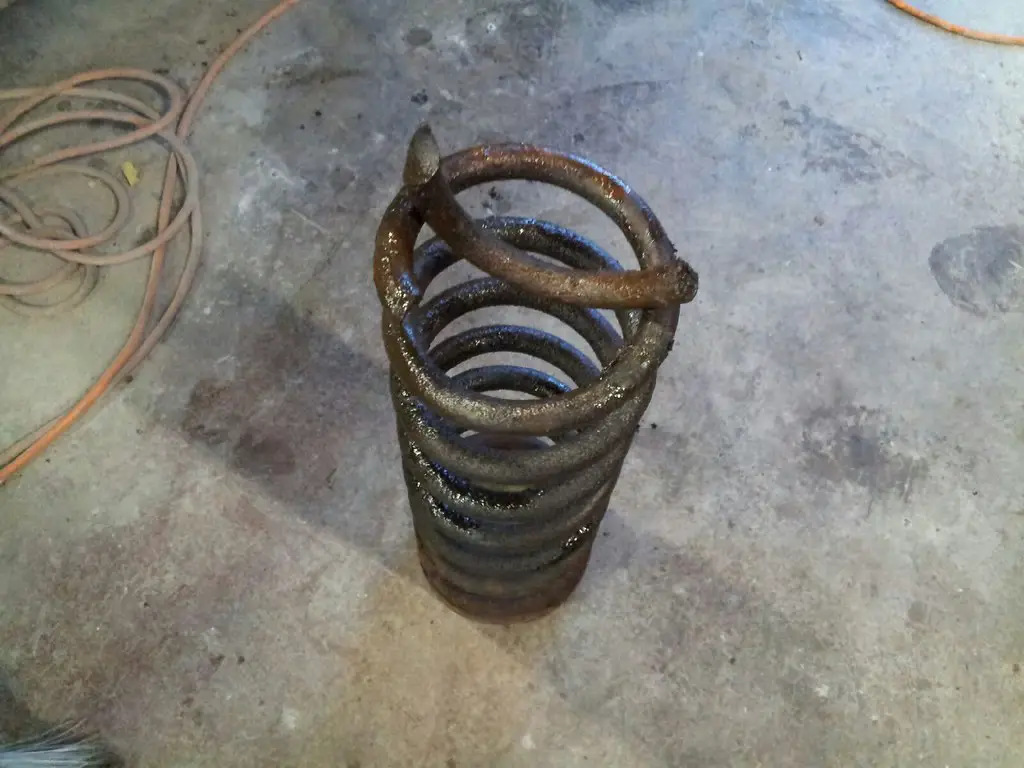
Well I finally got around to the dreaded job of disassembling the front suspension. It went way smoother than I thought it would because I soaked every bolt and every joint in PB Blaster every couple days for about 2 months now. Got it ripped apart and found some weird stuff. First off my left front coil spring was broken. Im not really sure how long it was broken but back in high school I used to jump tracks leaving school so im thinking that may have had something to do with it :lol: Both shocks snapped apart when I broke the top bolt loose sending their oil EVERYWHERE!!! Upper control arm bushings were completely destroyed but all 4 ball joints appear to be fine as well as the lower control arm bushings. Im going to degrease everything real good, lay down some epoxy chassis paint and start the reassembly within the next week.
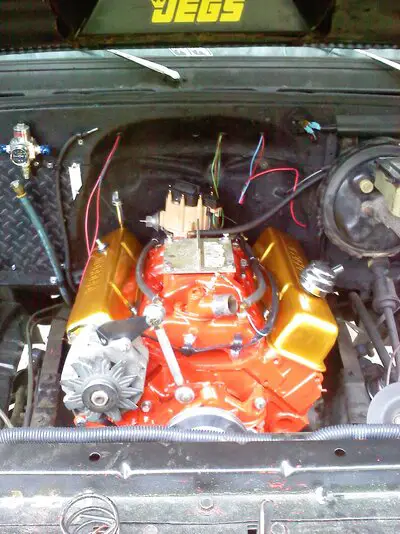
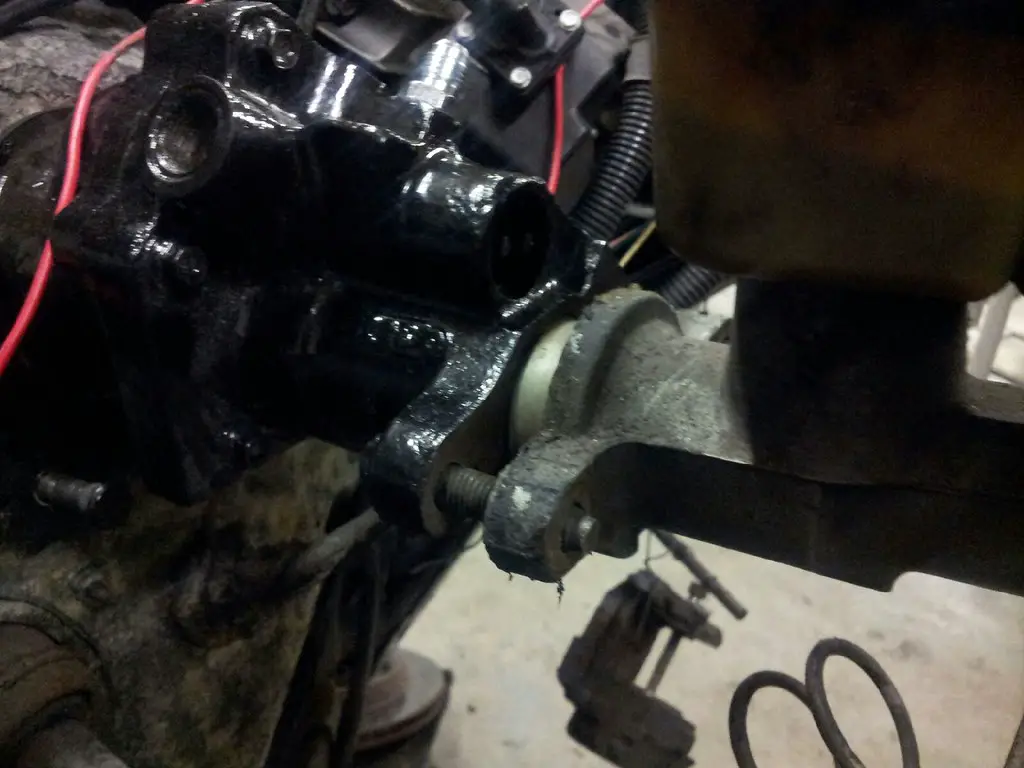
Im not sure if im going to be able to keep the corner cooling on the passenger side because of the distributor vacuum advance. The 90 degree fitting doesnt let the distributor turn enough it seems.
I had that issue with my truck too... I never used vac advance, but the can was still on my distributor. It always hit. I pulled the distributor and spun it one tooth to get more clearance.
You can kind of see the cooling hoses in this pic- This is a Professional Products Crosswing intake on a 1970 4bolt main truck motor.
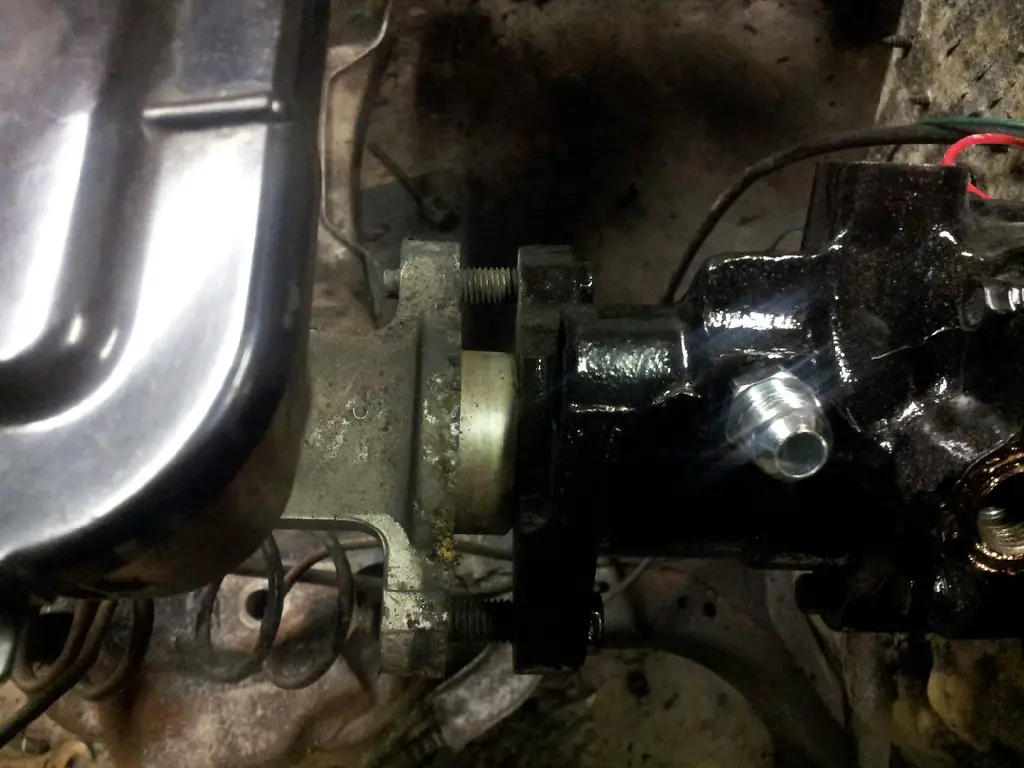
Well I removed my brake booster to fit the hydroboost and everything fits good except the master cylinder is wrong for this pump. Which master cylinders can I run besides the ugly *ss cast iron monsters from the older models? Im not too up to speed on the differences in master cylinders. Any part numbers would be appreciated. hydroboost fitment 2 by bwollens1983, on Flickr hydroboost fitment by bwollens1983, on Flickr
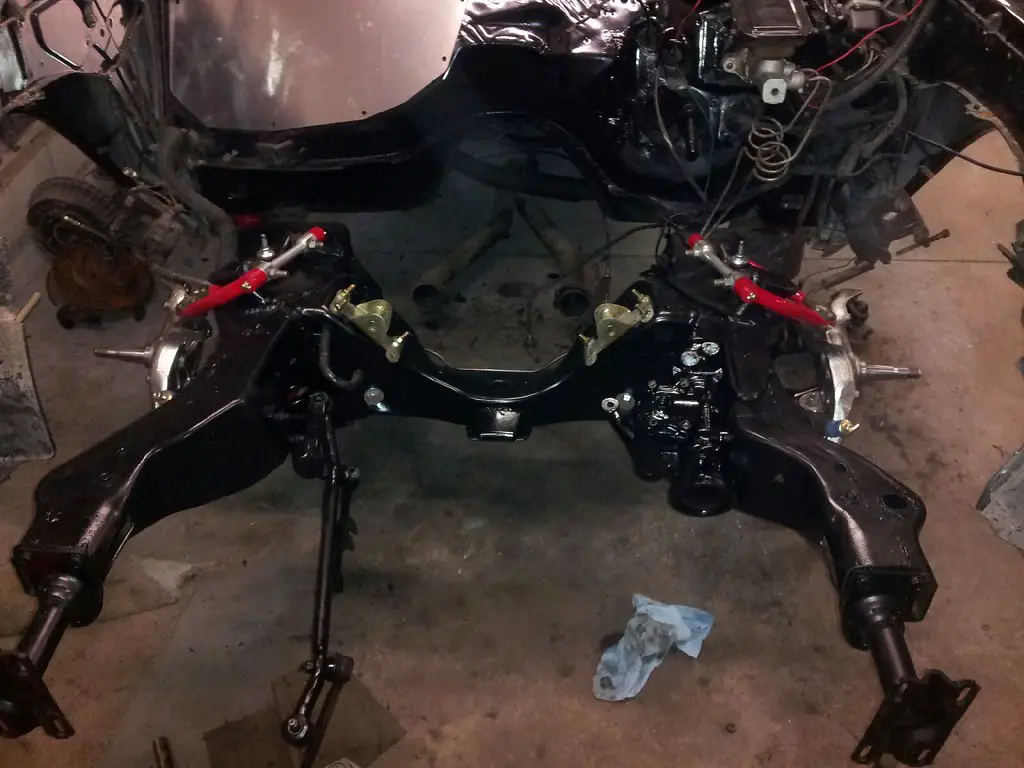
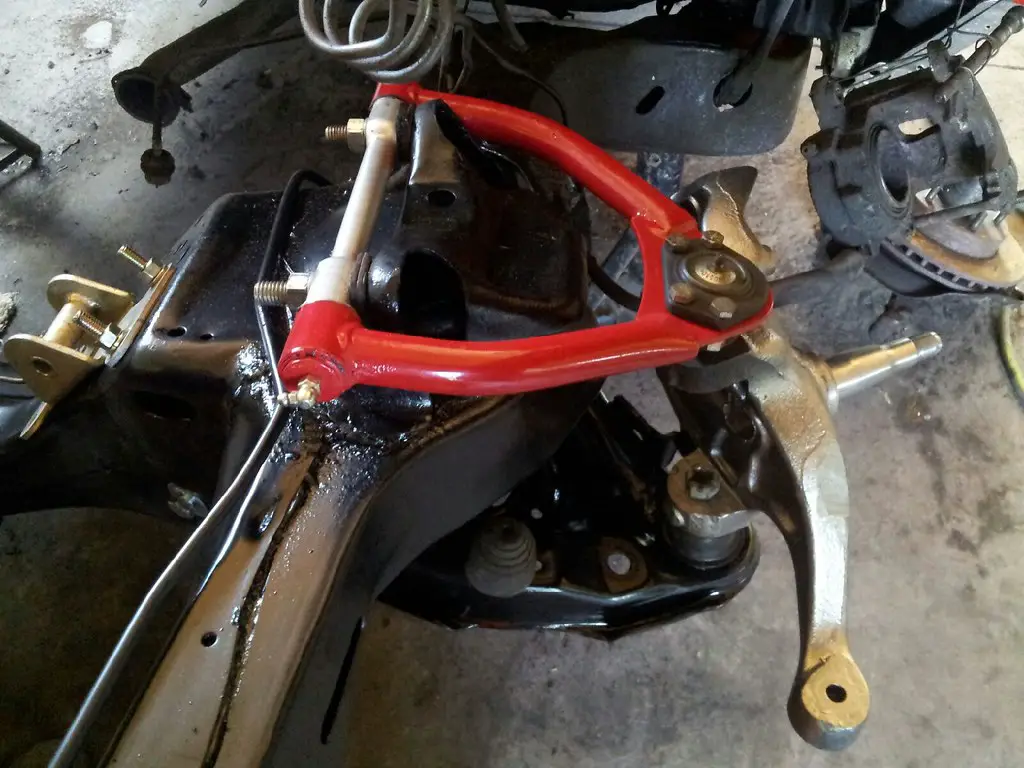
Well I havent updated this mainly because I have been so busy between my 2 jobs and this project. I got everything cleaned with Purple Power and then painted it with some VHT Epoxy gloss black chassis paint. I also got the Speedway uppers, 2" Belltech drop spindles, and restored lowers installed. Should have the engine sitting in it later this week! assembling front suspension 2 by bwollens1983, on Flickr assembling front suspension by bwollens1983, on Flickr
The speedway uppers, belltech drop spindles, and stock lowers are probably the route I'm also going. Have you chosen what springs and shocks you are going to go with up front? (Sorry if you have covered this somewhere else)
The speedway uppers, belltech drop spindles, and stock lowers are probably the route I'm also going. Have you chosen what springs and shocks you are going to go with up front? (Sorry if you have covered this somewhere else)
GBodyForum is a participant in the Amazon Services LLC Associates Program, an affiliate advertising program designed to provide a means for sites to earn advertising fees by advertising and linking to amazon.com. Amazon, the Amazon logo, AmazonSupply, and the AmazonSupply logo are trademarks of Amazon.com, Inc. or its affiliates.
This site uses cookies to help personalise content, tailor your experience and to keep you logged in if you register.
By continuing to use this site, you are consenting to our use of cookies.