BUILD THREAD 86 MCSS - Rejuvenation Project
- Thread starter ed1948
- Start date
You are using an out of date browser. It may not display this or other websites correctly.
You should upgrade or use an alternative browser.
You should upgrade or use an alternative browser.
- Status
- Not open for further replies.
I have seen this previously.
Maybe I'm missing something - I don't get it.
- a 4 x 4 is placed vertically under the lip of the gas tank?
-where is the other lifting point. The narrowness of the rocker panel does not make a stable lifting point and the gap to the frame is 1/2" - not enough to place a jack pad. My front fenders are off.
That method assumes the chassis is on blocks - mine is resting on wheels on blocks
The owner of this nicely modified show car corrected me when I asked him details of his "Cutlass". This was the actual car that sealed the deal to search for Montes.View attachment 56738 View attachment 56739
Lol hey thats my car!!! Glad to see you found a nice clean car of your own. Ive seen and also replied to a few of your posts over on mcss. Good luck with your projects and be sure to keep us updated with lots pf pics
Wow, that's a really clean CutlassLol hey thats my car!!! Glad to see you found a nice clean car of your own. Ive seen and also replied to a few of your posts over on mcss. Good luck with your projects and be sure to keep us updated with lots pf pics
I did it slightly differently. For the driver's side the pics will show 3 jacks and 3 blocks of wood to lift at three body sections (1) at drivers side floor pan right at the front where it curves up, rear floor pan reinforcement bracket and the edge of the gas tank.


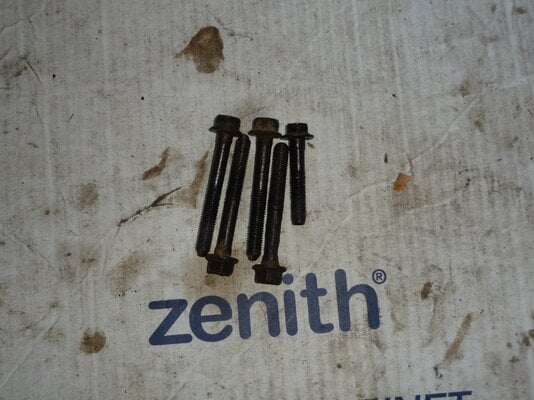
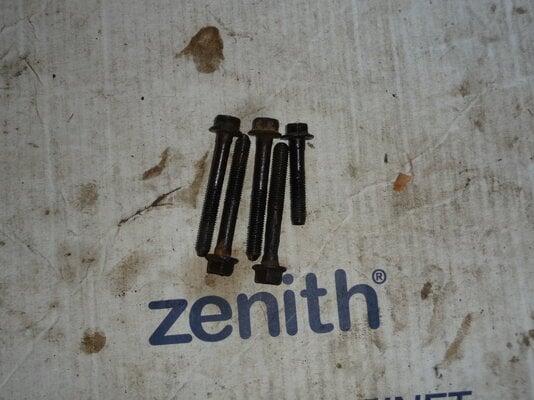
I loosened the pass side bolts and removed the driver's side bolts. I noticed the #2 bolt was thinned by rust at the shank(may see #2 pass side bolt being replaced as well).
Lifted each jack slightly in it's turn and watched the body lift. Stopped lifting when the was 1" gap above the original bushings. I then placed shims between the body bottom and tops of frame to prevent squished fingers in case a jack failed.
I also saw #2 driver's side frame bushing hole crusted with rust. Luckily it was surface rust which I scraped off and then applied my anti rust oil formula to coat the frame and body mount areas. I anticipate the pass side to be worse (I hope not). I fitted the new mounts. I ordered red because it is easier to see(and looks racy). I also sprayed Fluid Film into the captured nut body cavities in case someone else want's to replace the mounts again in the next 30 years without breaking stuff. I also covered the mount contacting spots with my anti rust formula.[


When I feel like it the pass side is next.


I loosened the pass side bolts and removed the driver's side bolts. I noticed the #2 bolt was thinned by rust at the shank(may see #2 pass side bolt being replaced as well).
Lifted each jack slightly in it's turn and watched the body lift. Stopped lifting when the was 1" gap above the original bushings. I then placed shims between the body bottom and tops of frame to prevent squished fingers in case a jack failed.
I also saw #2 driver's side frame bushing hole crusted with rust. Luckily it was surface rust which I scraped off and then applied my anti rust oil formula to coat the frame and body mount areas. I anticipate the pass side to be worse (I hope not). I fitted the new mounts. I ordered red because it is easier to see(and looks racy). I also sprayed Fluid Film into the captured nut body cavities in case someone else want's to replace the mounts again in the next 30 years without breaking stuff. I also covered the mount contacting spots with my anti rust formula.[


When I feel like it the pass side is next.
Last edited:
Lol..Cutlass, I know, I know..I felt a little stupid when I said that...hey, it was an honest mistake because they almost all look the same(to the casual observer)
I never really gave the Monte Carlo SS a second look...but...after closely looking at your's, I was throughly impressed and suddenly all the others dropped off my radar.
I never really gave the Monte Carlo SS a second look...but...after closely looking at your's, I was throughly impressed and suddenly all the others dropped off my radar.
Last edited:
The morning after...oww, I hurt. Weather is going to be warm again - need time for breakfeast and coffee and another coffee, then the pass side mounts.
Why did the #2 driver's side frame mount hole suffer from rusting? It's not under the HVAC box, the car has not seen winter and probably not much rain.
Why did the #2 driver's side frame mount hole suffer from rusting? It's not under the HVAC box, the car has not seen winter and probably not much rain.


I'll clean the paint off the seam and the POR 15 it. Wonder if it's connected to the pass side water leak due to a cowl seam or HVAC box. The carpet will come out for cleaning and I'll inspect the floor.
Attachments
Nice monte. Glad you found something. I grew up with American muscle and then went j* for a while but made my way back. Glad I did.
This is how I raised the pass side. The stacked 2x4 were screwed together - no slippage I supported the rear at the spare tire housing with a wooden block on the jack. Any comments or criticisms?? I don't see any bending of the metal at any of the lift points.


- Status
- Not open for further replies.
Similar threads
- Replies
- 8
- Views
- 333
- Replies
- 6
- Views
- 316
- Replies
- 30
- Views
- 1K
MONTE CARLO
Jacking up a MCSS to replace wheel
- Replies
- 7
- Views
- 340
GBodyForum is a participant in the Amazon Services LLC Associates Program, an affiliate advertising program designed to provide a means for sites to earn advertising fees by advertising and linking to amazon.com. Amazon, the Amazon logo, AmazonSupply, and the AmazonSupply logo are trademarks of Amazon.com, Inc. or its affiliates.


