Cheating The Reaper

DRIVEN

Geezer
Apr 25, 2009
8,075
14,536
113
*CENSORED*
Update dump...

Sold off my frame scrap leftovers. Buyer said he and his son will be using parts and pieces for a Model A ratrod project. No part of the buffalo is wasted.
 
  • Like
Reactions: 1 user

DRIVEN

Geezer
Apr 25, 2009
8,075
14,536
113
*CENSORED*
August 9th:

Backwards progress.

Pulled apart and in the corner for awhile so I can get a couple other things done.
 

DRIVEN

Geezer
Apr 25, 2009
8,075
14,536
113
*CENSORED*
I'll split yesterday's event into two posts. So, here's how it went down...

My dad rode into town from Idaho late Sunday night.

this morning we moved the pile of body parts in to the booth and he went to town stripping paint.


Removed the driver's door and gutted both doors and the cab.

I always knew the passenger door had some filler in it. Had no idea that it was over 1/4" thick. *ssh*les.


  • Like
Reactions: 1 user

DRIVEN

Geezer
Apr 25, 2009
8,075
14,536
113
*CENSORED*
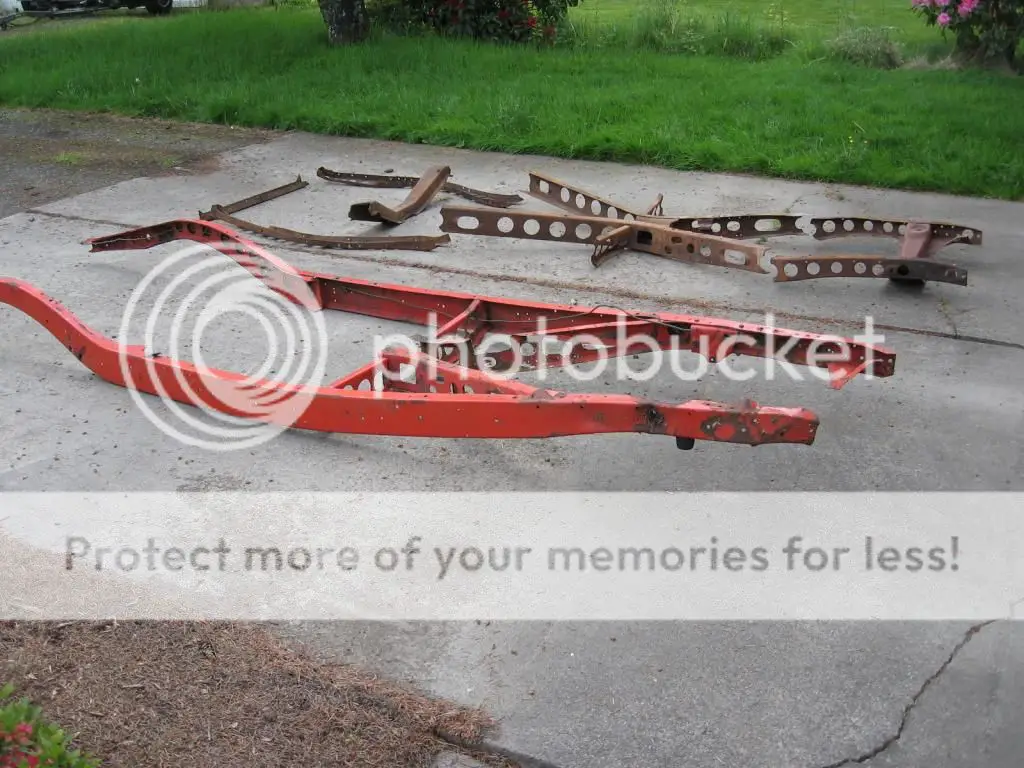
While we was doing that, I was in the other shop setting up the frame. Everything was still in a pile in the corner.

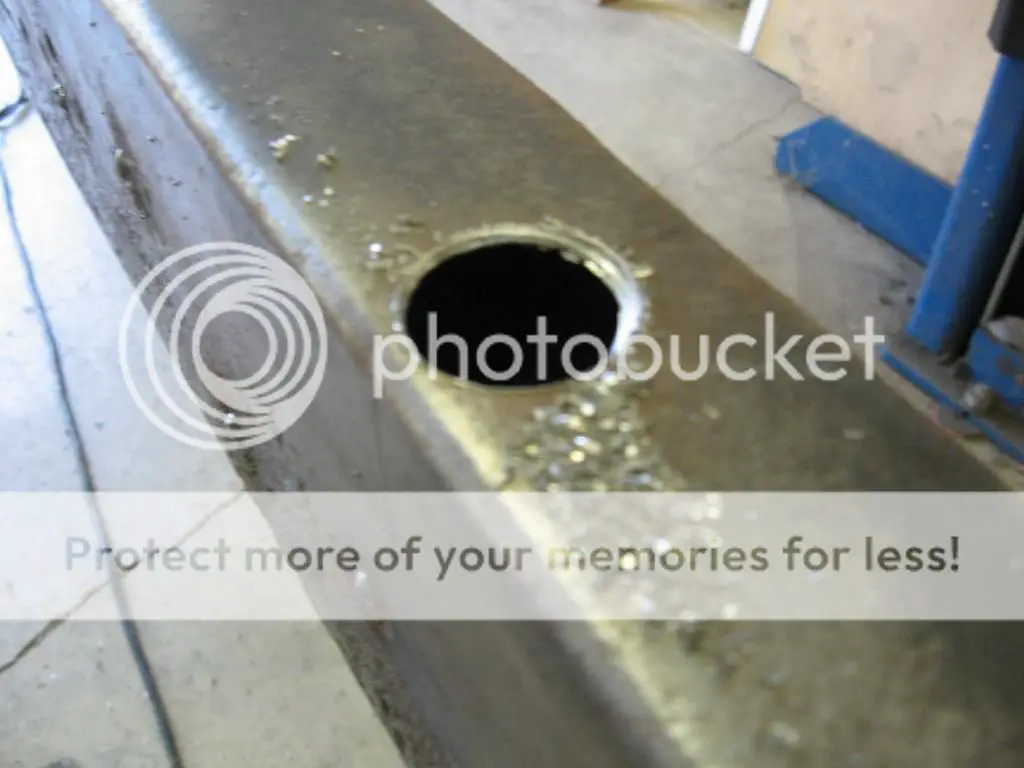
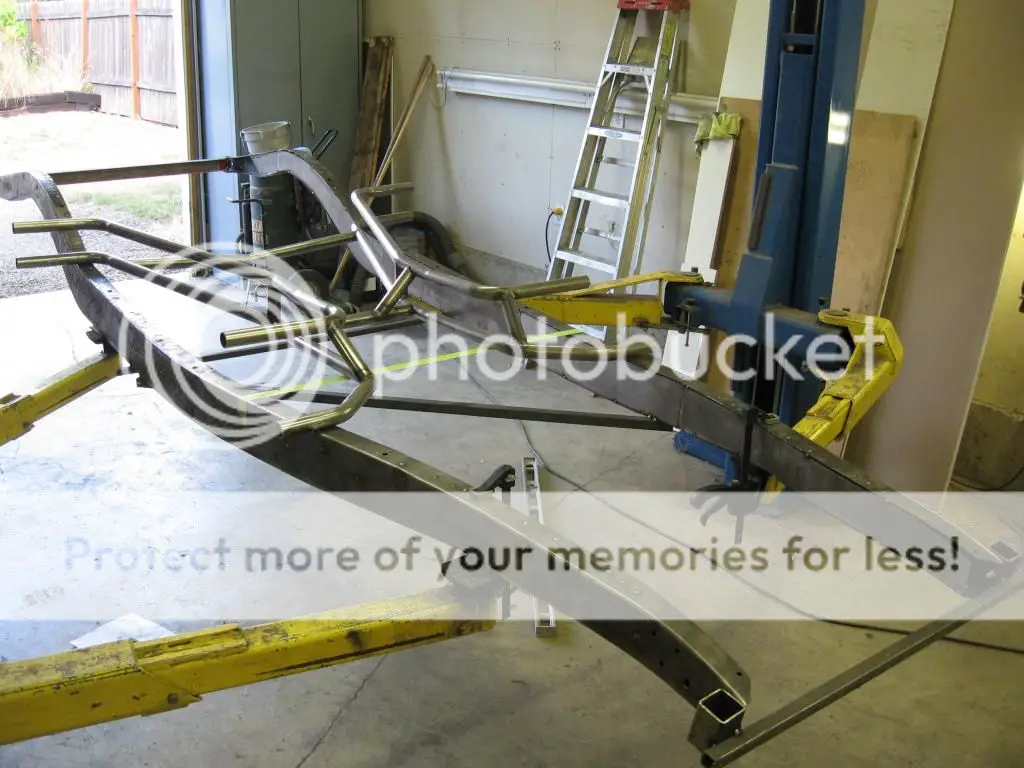
Started by making 12 access holes in the bottom of the rails. There are 4 on each side for cab mount bolts, 2 on each side for bed mounts.

Next I set the rails right side up and bolted in the rear crossmember. I needed to build a temporary spreader bar that bolts on at the front bumper location to maintain the proper width at the very front.

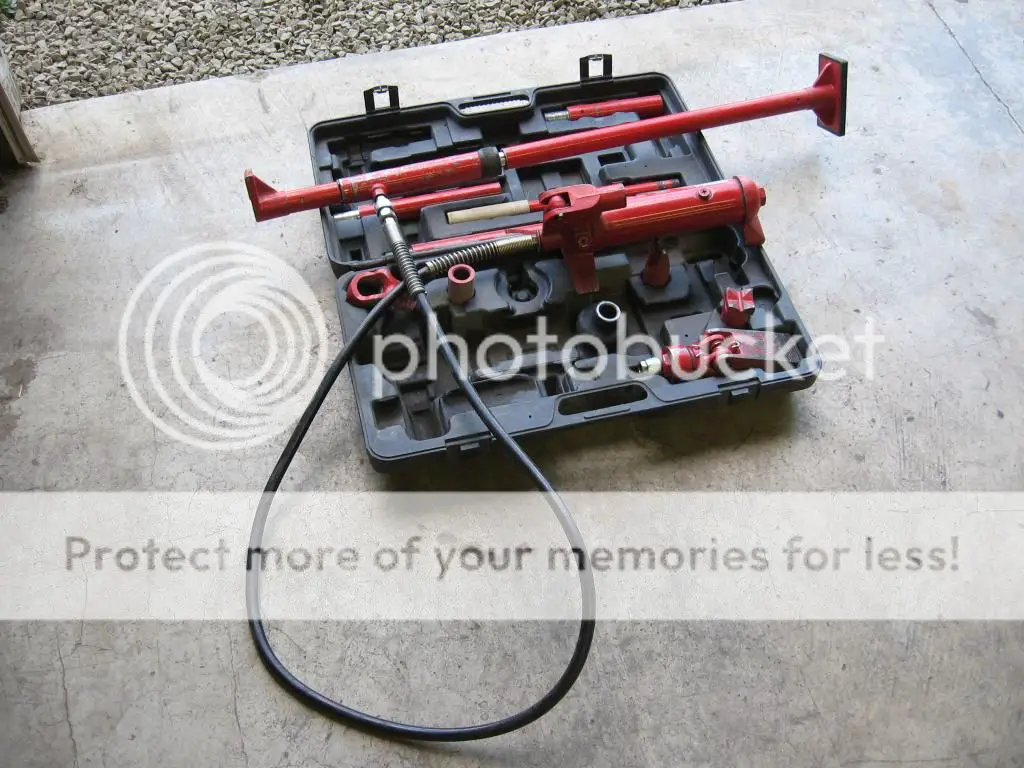
Once the front and rear were tied together I found that the center needed to be spread about 2 inches to maintain proper width so all the cab and bed mounting holes. Porta-power to the rescue.

The aluminum thing is called a tram. It's used to diagonally check holes in the frame which let's you know it's square and not diamond shaped. Also note the braces I have tacked to the bottom to keep it in place once I got it where I wanted it.

Once everything was verified square and level it was time to lay the Xrails in position and trim the ends so it fit between the rails.

Final step was tacking in the front crossmember. Needed to be square, level, and tipped up exactly 1*. The old guy is my wife's grandpa, Rusty.

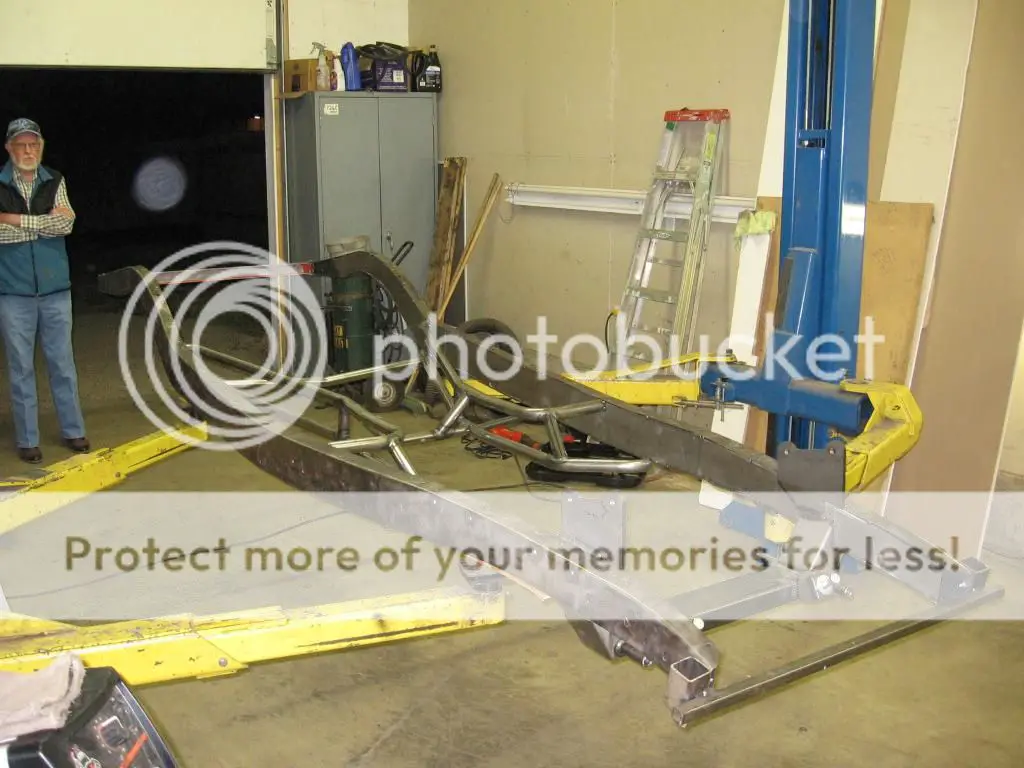
So, when I quit at about 9pm it'd been about 12 hours in the shop. Measure, adjust, measure, adjust, tack, measure, repeat. At this point everything is firmly tacked in place. It's absolutely square and within 1/8" of level front to rear. Not bad for an 80 year old farm truck. I have to work on Rusty's Sable in the morning but after I get done with it I'll jump back on the chassis. Updates to follow.
 
  • Like
Reactions: 1 user

DRIVEN

Geezer
Apr 25, 2009
8,075
14,536
113
*CENSORED*
Short day update. My dad kept killin it with the sander. Finished stripping both doors then moved on to the fenders.

The top of the passenger rear fender is one of the ugly spots. Again, I knew there was mud in there -- just didn't know what it was covering up.

This is the wadded up RF fender...

It used to have an inner panel like this...

Obviously, it was absolutely destroyed. My brother started working it over an anvil with a hammer and after about an hour this is what he had...

 
  • Like
Reactions: 1 user

DRIVEN

Geezer
Apr 25, 2009
8,075
14,536
113
*CENSORED*
Meanwhile, over in the other shop, I was a bit less productive. After I got done with working on Rusty's Sable the day was half over and somehow I managed to tweak my back. Still, I dragged the front and rear suspensions out of the corner.


Stripped the front suspension and hung the used parts in the new home.

Pulled the rear spring off and slid it in to roughly where it will live.


I'll have to get creative with the rear since no one makes a kit (anymore) for this application. Lots of measuring in my future...

Done for now. I think I'm going to spend the rest of my vacation nursing my tired body in a big soft chair.
 
  • Like
Reactions: 1 user

pmc03spike

Not-quite-so-new-guy
Aug 12, 2014
26
0
1
Washington state
Looks sick. Came wait to see the finished product. Your dropping a ford mustang gt motor in that?
 

Mike P

Master Mechanic
Aug 7, 2009
446
208
43
Arizona
Man I missed some updates on this……GREAT PROGRESS!!!!! (makes me a bit more motivated on getting the rear end swap done on my 37 Dodge PU).

Your intake idea looks interesting. I think you might run into distribution issues with the 3 diagonal carbs though. My thought might be to try 4 carbs (1 on each corner), but hey with the design of the manifold you can try a bunch of different tops. I usually build my own linkage and modify the base plates on the end carbs….mostly because when I starting playing with multiple carbs nobody was making this stuff and now just because I’m cheap!!! Here’s a write up I did a few years ago that covers the base plate mods if you’re interested.

http://www.clubhotrod.com/shop-talk/268 ... build.html

The frame and suspension look really good……hell everything does like I said great work.
 

Longroof79

Rocket Powered Basset Hound
Oct 14, 2008
12,177
9,779
113
Gainesville, Fl
Cool upgrades on the frame and suspension. Nice work as usual. 8) It's good to see you back on the project.
 

GBodyForum is a participant in the Amazon Services LLC Associates Program, an affiliate advertising program designed to provide a means for sites to earn advertising fees by advertising and linking to amazon.com. Amazon, the Amazon logo, AmazonSupply, and the AmazonSupply logo are trademarks of Amazon.com, Inc. or its affiliates.

Please support GBodyForum Sponsors

Classic Truck Consoles Dixie Restoration Depot UMI Performance

Contact [email protected] for info on becoming a sponsor