I have been working on my pro touring el camino (Hell Camino) pretty seriously for several months now and finally got the chassis fabrication work finished last night. I have been learning at a steep rate for a couple months and thought I would share some pics and my experience with everyone. After owning some very high end German cars I decided to build my own American V8 powered hotrod for my next (and maybe last) fast car.
I started out wanting more room for tires and wheels and finally decided I wanted to do a frame notch to go with my Ford 9" set up and roll the fenders. I was trying to find out how much tire and wheel I could get with this set up and got some good feedback, but not everything I was looking for. Specifically I wanted to know what size tire in 18 or 20" I could run and what rim sizes (backspace, etc) I would need to use. I still don't know the wheel answers but I now know how to measure and get them once I get it back together.
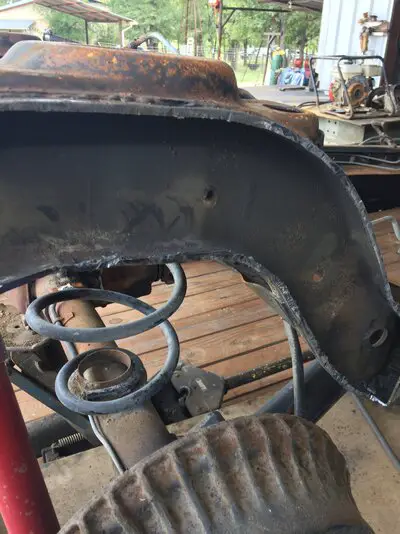
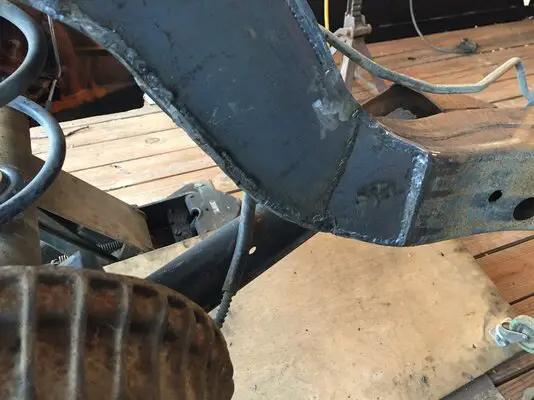
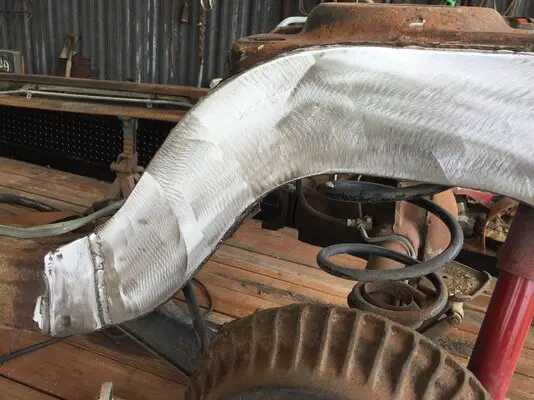
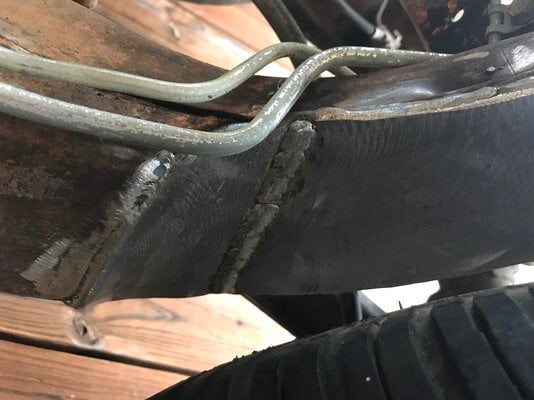
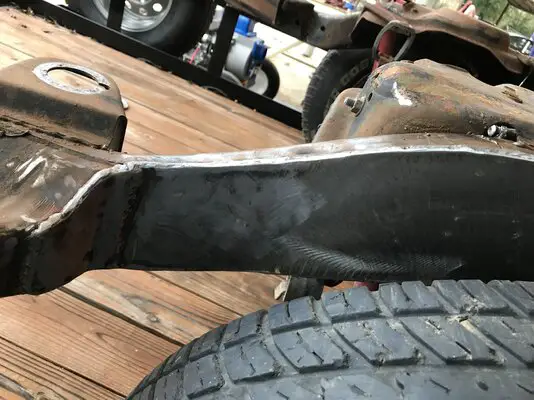
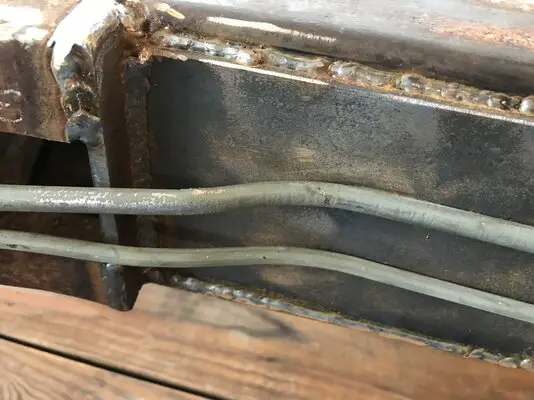
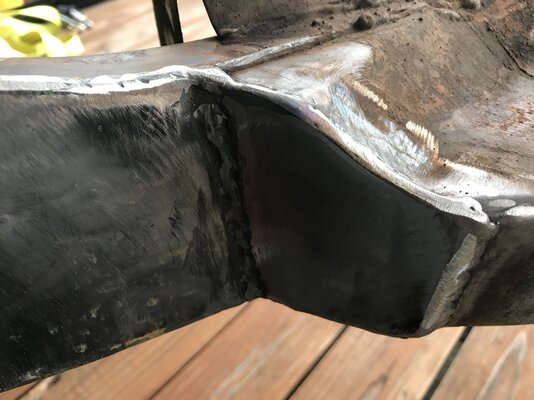
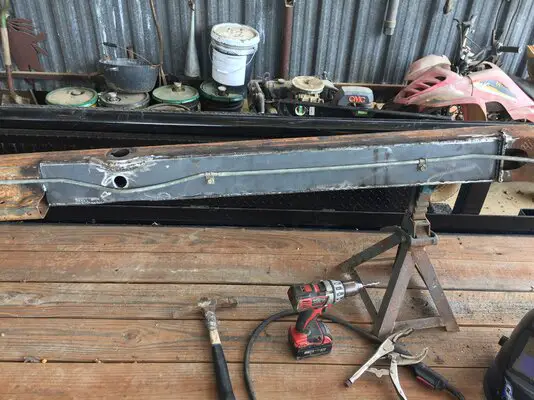
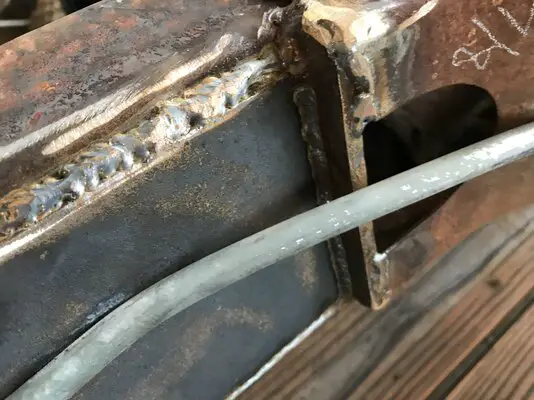
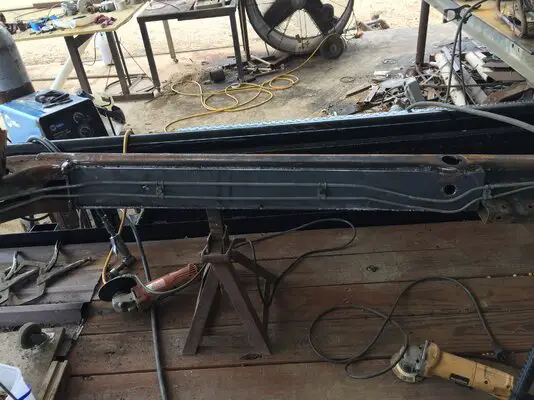
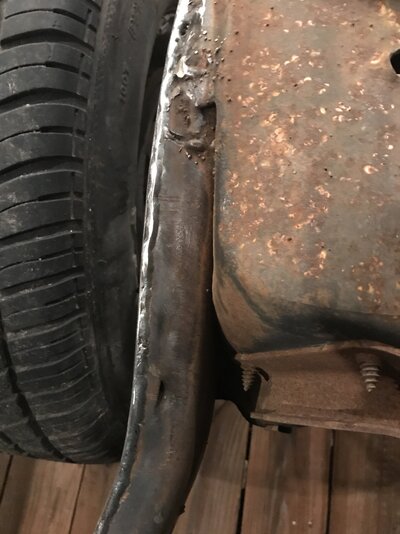
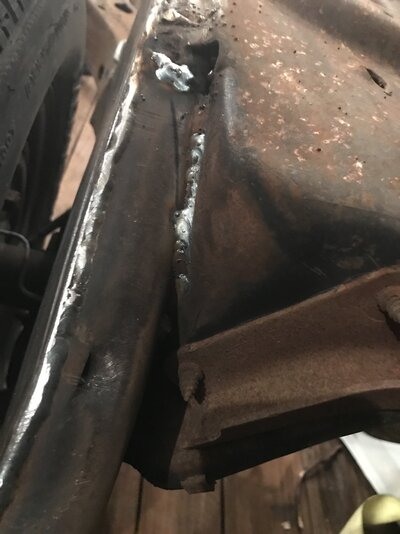
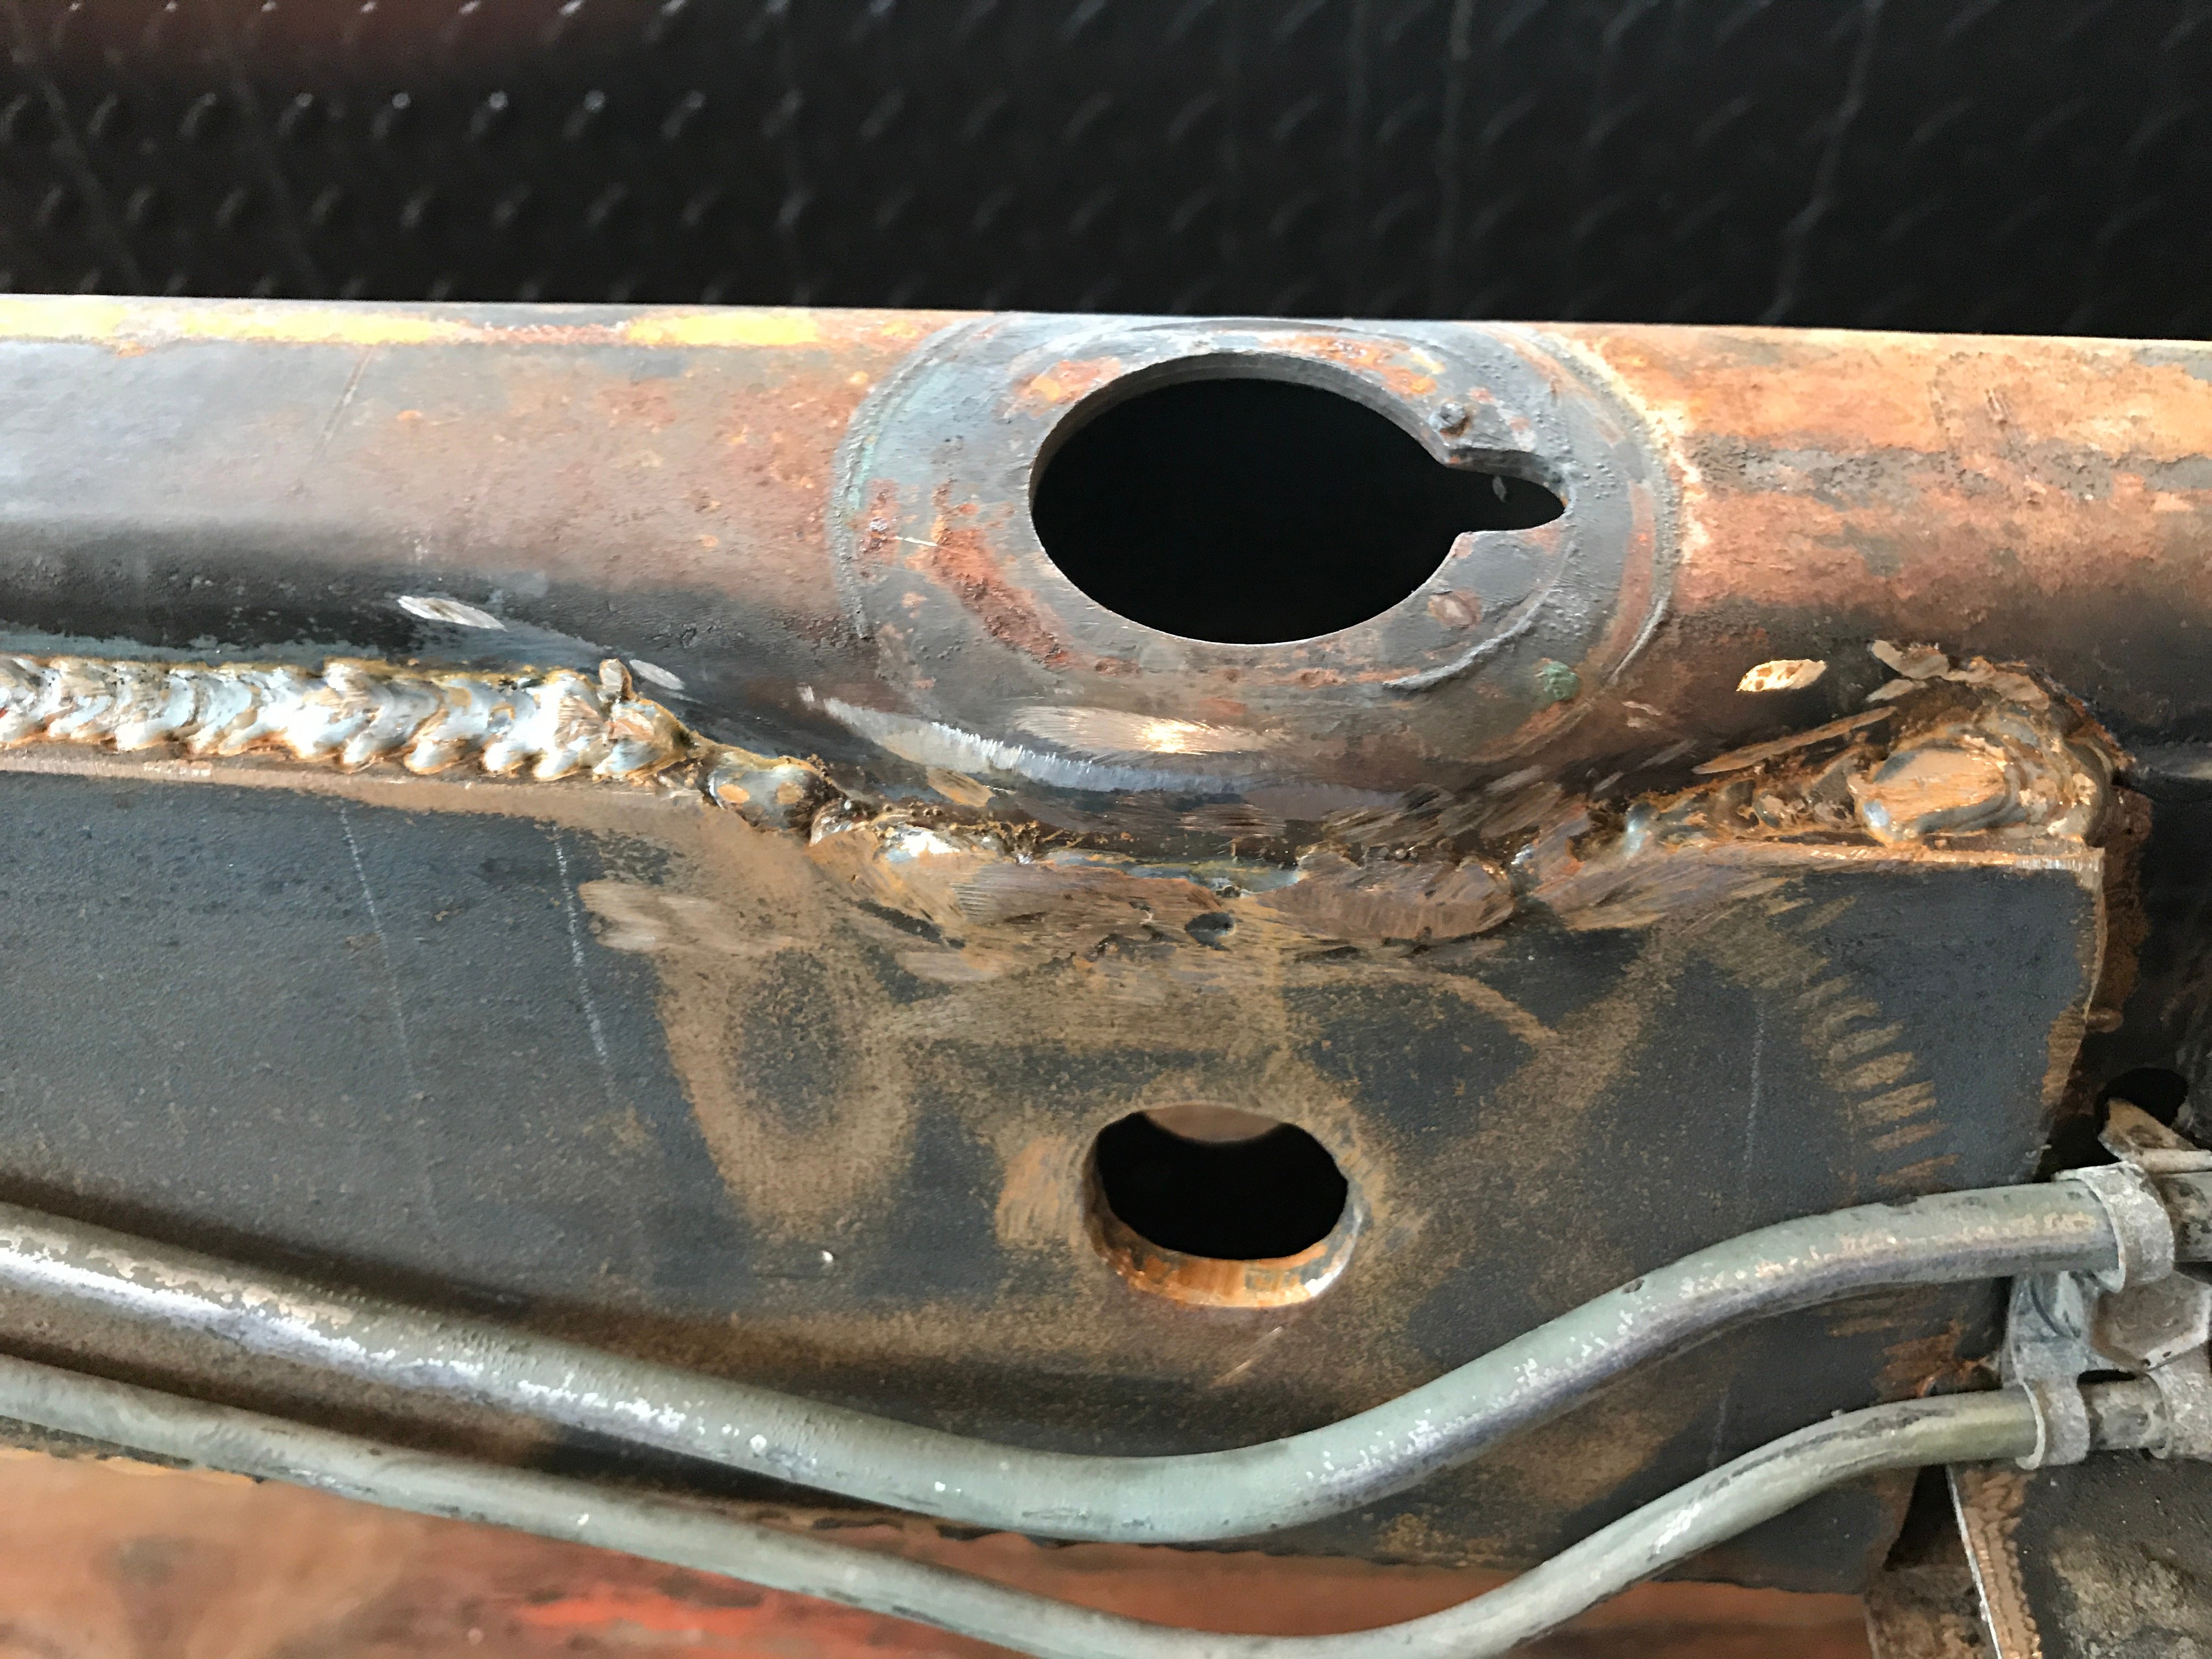
The G body is a car built to price points and not the best built car out there by a stretch once you start taking them apart. Originally I was simply going to use the UMI frame notch kit and be done with it. Once I started looking at it the quality of the welds, they were terrible and the frame was really flimsy. The UMI kit was a bargain and fit well but it exposed (to me) some of the frames shortcomings as well. Where we cut out for the notch the frame lost a lot of material, and most importantly the rounded edge that gave it side to side strength. The frame reminded me of jello with the body off, you could grab a corner and watch it shake like jello from one end to the other. I feel we finally got it fixed and worthy of the 500rwhp LS going in it. The pics that follow chronicle what we did. Feel free to ask if you need something not in the pics, I have a 100 plus photos and will try and help
I started out wanting more room for tires and wheels and finally decided I wanted to do a frame notch to go with my Ford 9" set up and roll the fenders. I was trying to find out how much tire and wheel I could get with this set up and got some good feedback, but not everything I was looking for. Specifically I wanted to know what size tire in 18 or 20" I could run and what rim sizes (backspace, etc) I would need to use. I still don't know the wheel answers but I now know how to measure and get them once I get it back together.
The G body is a car built to price points and not the best built car out there by a stretch once you start taking them apart. Originally I was simply going to use the UMI frame notch kit and be done with it. Once I started looking at it the quality of the welds, they were terrible and the frame was really flimsy. The UMI kit was a bargain and fit well but it exposed (to me) some of the frames shortcomings as well. Where we cut out for the notch the frame lost a lot of material, and most importantly the rounded edge that gave it side to side strength. The frame reminded me of jello with the body off, you could grab a corner and watch it shake like jello from one end to the other. I feel we finally got it fixed and worthy of the 500rwhp LS going in it. The pics that follow chronicle what we did. Feel free to ask if you need something not in the pics, I have a 100 plus photos and will try and help
Last edited: