What did you do to your non-G body project today? [2020]

Status
Not open for further replies.
Welp, here goes nothing.
181C19C9-D2FB-4ABA-B551-144F2C4D5F2F.jpeg


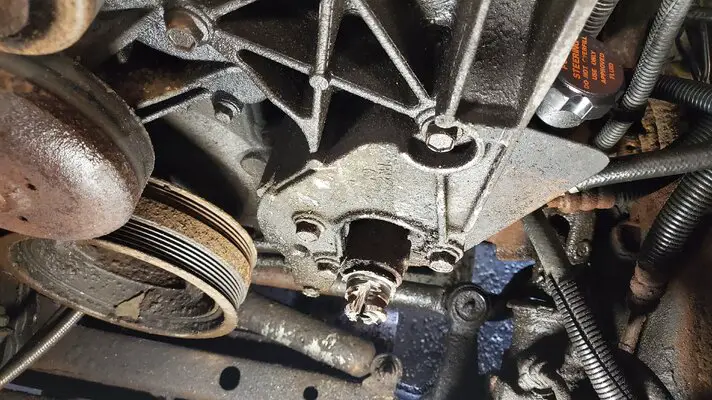
Started with this in the morning:
AC97D77F-7F19-4B0F-880F-D1B7FACAFEBF.jpeg

I’ve filled that whole stamping in with wire to give me a flat area for the rosette welds, and boy that did come in handy. I didn’t take photos of the process but what I’ve got should give a good idea of just how crap I am at this.

Started with a plate:
A4020FB0-CA11-42D0-93B3-1EB7846501DD.jpeg

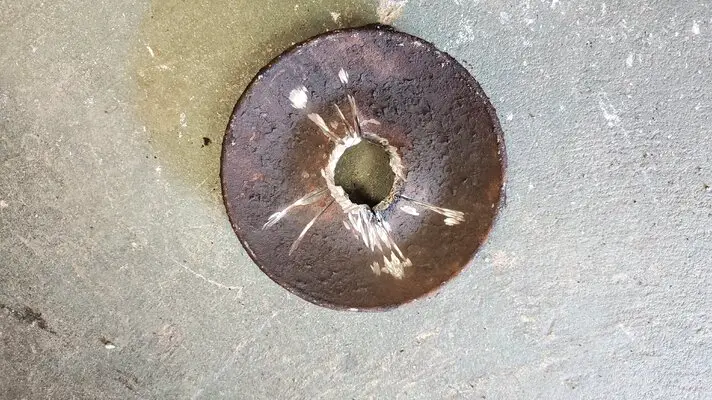
Couldn’t give it more of a fish mouth than it has, there is a slot in the frame that I forgot to factor in. That very last hole lined up nearly perfectly with that slot, but I welded it shut.
971E9E29-8C1B-4CFA-A5AD-847F612A1E65.jpeg

Remember, I’m not that good at this, I think I laid the weld through primer on too heavy, the welder was spitting like a pack of firecrackers for most of this. Got good heat penetration though.

Ground down:
FBFEB1E7-D935-4E06-AC34-886373421C35.jpeg


And coated in VHT and Fluid Film. (Yes I did spray it from behind incase I don’t get around to welding the backside for a while.)

2BC93477-FEF2-416A-9B43-C748CDCAD944.jpeg


I do have some more to do on the driver’s side (torsion bars are an AWESOME design GM) but that’s just plate. Shouldn’t kill me with the setup like this did.
 
Welp, here goes nothing.
View attachment 156474

Started with this in the morning:
View attachment 156475
I’ve filled that whole stamping in with wire to give me a flat area for the rosette welds, and boy that did come in handy. I didn’t take photos of the process but what I’ve got should give a good idea of just how crap I am at this.

Started with a plate:
View attachment 156476
Couldn’t give it more of a fish mouth than it has, there is a slot in the frame that I forgot to factor in. That very last hole lined up nearly perfectly with that slot, but I welded it shut.
View attachment 156477
Remember, I’m not that good at this, I think I laid the weld through primer on too heavy, the welder was spitting like a pack of firecrackers for most of this. Got good heat penetration though.

Ground down:
View attachment 156478


And coated in VHT and Fluid Film. (Yes I did spray it from behind incase I don’t get around to welding the backside for a while.)

View attachment 156479

I do have some more to do on the driver’s side (torsion bars are an AWESOME design GM) but that’s just plate. Shouldn’t kill me with the setup like this did.

Very nice job. Fluid film ftw. And they are making it in black now so it doesn't look like boogers. I'm gonna be soaking the Ferd before salt hits the roads.
 
  • Like
Reactions: Texas82GP and UC645
For those who like pictures, what you see here is the new cab corner for my 03 S-10 with a thin layer of spot putty applied over the filler material. The purpose of this is simply to catch and fill all the scratches and minor low spots that the eyes miss but the fingers find. Most, about 95% of what you see here will get sanded off, starting with 180 production and finishing it off with 240 wet-n-dry used dry.

DSCN2611.JPG


And this is what you get when it is all sanded out and the first coat of primer filler is laid down. The seeming light spot is actually a reflection of one of my LED work lights. Great units, solid state means they can get knocked over or subjected to a rain of sparks and still do their thing. I will let this coat dry over night due to less than optimal temperatures and throw a second coat at it tomorrow. Once that is dry, they both get sanded down using a block and then a third coat gets shot and finally primer sealer before the color shot.

DSCN2604.JPG


These are the collector reducers that I have been playing with for use under the Monte Carlo. They still need a little bit of finish work but since they will never be seen unless the viewer is laying flat on the road when I drive over him/her, the degree to which I want to make them any prettier than they are is entirely a function of whatever spare time I can cobble together for them. Actually the one on the right has had a little more love from a file and my Dremel than the one of the left. I am not going to dress down the plug welds, but I do need to finish the inside seams and dress them down at some point. The actual pipes to which these attach are already made; hung on to the ones that I had already created and just cleaned them up.
DSCN2610.JPG


DSCN2608.JPG


Meet the Bobbsey Twins. The first pic is my Lincoln Model 180, a 220V unit. It is set up for FCAW (Flux Core) work. Don't let its size fool you. This was the unit that I used to rebuild the gates on my chain link fence a few years back and it had no problems marrying the various sections of tube on demand. It is sensitive enough that I have used it to both install body panels and repair frame rails.

The second pictures is my new toy. This is the Miller 215 multi-process. Unlike the Lincoln, it is set up for MCAW or solid wire and gas. This is the unit that I used to install the new cab corner and rocker panel. Right now it is dialed down to 22 ga because I had to repair the guard on my air cut off wheel. Both units are man portable but I have to take my Arnie pills if I want to hump them any distance. lol

DSCN2613.JPG
DSCN2614.JPG
 

Attachments

  • DSCN2612.JPG
    DSCN2612.JPG
    6 MB · Views: 123
Okay, now WTF?? The pictures had all loaded correctly until the three pic group of the Indian gas tank after some stripping had been done. The first caption belongs to the shot of the cab corner after the surface layer of spot putty had been applied but before it got mostly sanded off. I may have to re upload this whole series...double bummer!

Nick
 
Okay, lets try this again


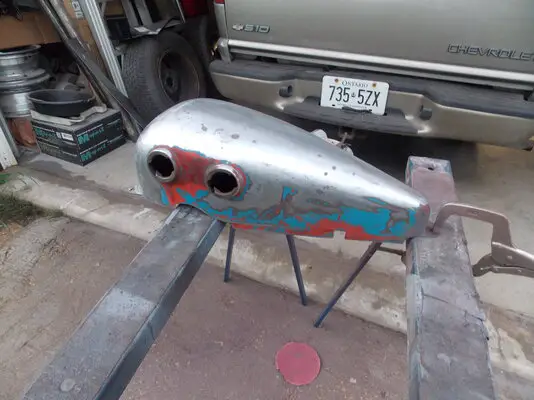
Well that didn't work. The last full picture above is of the Indian tank that belongs to another non-G project. The year for this is 1947. This is a rehab due to someone trying to fix a buggered bung that accepted one of the gas pet cocks and slagging the solder that was used back then to assemble these tanks. This is full boogie dust mask territory as the solder they used was a lead tin combination and lead is lethal. The plan is to create a pair of steel inserts, (already done) and weld a new bung to the inside one, tack it in place with the Miller, take a very long time to add the rest of the welds, dress them, and then set the outer insert over it and repeat. The tricks here are to avoid excess heat that could blow out the solder and get a leak proof seam that will hold gas.
 
  • Like
Reactions: Clutch and 5spdCab
Whooo just got done replacing those gas lines and reinstalling the tank, thought I could do it from underneath but the sending unit clamps were tucked tight to the body so down it came, then didn't realise I need a 5/8 fuel line too so here I go to town(32miles away) the autozone was open thankfully, got it all together but damn those straps suck hahaha but just a few drizzles of gas at carb and it started up, after 10 years sitting its dieing to get back on the road. Pix tomorrow now its shower time
 
Looks good from my house
Welp, here goes nothing.
View attachment 156474

Started with this in the morning:
View attachment 156475
I’ve filled that whole stamping in with wire to give me a flat area for the rosette welds, and boy that did come in handy. I didn’t take photos of the process but what I’ve got should give a good idea of just how crap I am at this.

Started with a plate:
View attachment 156476
Couldn’t give it more of a fish mouth than it has, there is a slot in the frame that I forgot to factor in. That very last hole lined up nearly perfectly with that slot, but I welded it shut.
View attachment 156477
Remember, I’m not that good at this, I think I laid the weld through primer on too heavy, the welder was spitting like a pack of firecrackers for most of this. Got good heat penetration though.

Ground down:
View attachment 156478


And coated in VHT and Fluid Film. (Yes I did spray it from behind incase I don’t get around to welding the backside for a while.)

View attachment 156479

I do have some more to do on the driver’s side (torsion bars are an AWESOME design GM) but that’s just plate. Shouldn’t kill me with the setup like this did.
.
 
Status
Not open for further replies.

GBodyForum is a participant in the Amazon Services LLC Associates Program, an affiliate advertising program designed to provide a means for sites to earn advertising fees by advertising and linking to amazon.com. Amazon, the Amazon logo, AmazonSupply, and the AmazonSupply logo are trademarks of Amazon.com, Inc. or its affiliates.

Please support GBodyForum Sponsors

Classic Truck Consoles Dixie Restoration Depot UMI Performance

Contact [email protected] for info on becoming a sponsor