BUILD THREAD 1987 Olds 442 Project Build

Now it was time to cut up both bases and hope my calculations were going to work. I knew I needed to cut the entire center section out to make the 2 openings fit. I decided to use 1/4" Pinstriping tape that I bought to use on the SSIII wheels.
DSC_0019.MOV.00_05_52_11.Still001.jpg


This gave me a clear line to follow to help keep my cuts somewhat straight. Cutting an accurate curve with a cut off wheel is challenging under the best of circumstances. The red tape really helped keep me on target.
DSC_0021.MOV.00_00_44_01.Still001.jpg


With both cut out, I cut one end of each so they butt up together.
DSC_0022.MOV.00_00_00_00.Still001.jpg


I tack those in place and take the best base and scribe the marks for cutting my joined pieces to fit back in the opening.
DSC_0022.MOV.00_05_41_02.Still002.jpg


I do my final cuts and tack the whole mess back together.
DSC_0024.MOV.00_00_14_19.Still001.jpg


It fits well, and after I finish all the welding and dressing it should look like it was made that way.
IMG_5005.JPG

IMG_5004.JPG


Hutch
 
Now it was time to cut up both bases and hope my calculations were going to work. I knew I needed to cut the entire center section out to make the 2 openings fit. I decided to use 1/4" Pinstriping tape that I bought to use on the SSIII wheels.
View attachment 195077

This gave me a clear line to follow to help keep my cuts somewhat straight. Cutting an accurate curve with a cut off wheel is challenging under the best of circumstances. The red tape really helped keep me on target.
View attachment 195078

With both cut out, I cut one end of each so they butt up together.
View attachment 195079

I tack those in place and take the best base and scribe the marks for cutting my joined pieces to fit back in the opening.
View attachment 195080

I do my final cuts and tack the whole mess back together.
View attachment 195081

It fits well, and after I finish all the welding and dressing it should look like it was made that way.
View attachment 195082
View attachment 195083

Hutch

Nice work Hutch! Looking forward to the end result. Is this air filter housing going to fit under the hood?
 
Nice work Hutch! Looking forward to the end result. Is this air filter housing going to fit under the hood?

Thanks D!!

Not sure yet. I am putting a Hurst Olds hood scoop on, so I may have to open the hood up to get it to fit.

Here's the air cleaner assembled. I had a simulated Olds air cleaner decal made to try to lend a more factory feel.
IMG_5003.JPG

MVI_0881.MP4.00_00_41_32.Still002.jpg

MVI_0881.MP4.00_00_00_00.Still001.jpg


Hutch
 
On to something else I've been waiting to do. Install a B&M Quicksilver Shifter in the factory center console.

I didn't have to do any hard thinking because someone else already did. https://buickturboregal.com/quicksilver-shifter-install-buick-grand-national/

The article was very thorough and picture heavy. I just had to follow instructions.

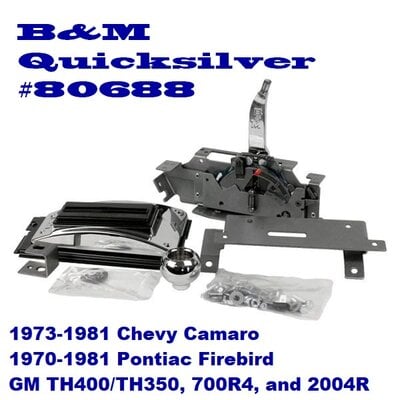
Here's the shifter
Display Pic.jpg
I first took some measurements with the factory shifter still in place, so I could have a reference when done.

I had to cut off the front mount flush with the floor per the instructions. I duct taped the shifter in place so I could check the placement with the console on. I wanted to be sure before I drilled holes in the floor.
IMG_5013.JPG


Happy with the placement, I drilled the holes and got it mounted to the floor. The left side must be shimmed to make it level. I used some slightly larger nuts as spacers.
IMG_5029.JPG


The back of the shifter butted right to the rear factory mount where it was attached to the floor.
IMG_5031.JPG


The cable bracket has to be mounted rearward of the intended position to work. The small hole has to be cut open quite a bit as well as the opening on the shifter.
IMG_5035.JPG

IMG_5036.JPG

IMG_5037.JPG


The slider has to be modified to fit the new shifter handle. It also has to clear the bar on the side of the shifter as it will come up through the slider going from park to drive.
IMG_5017.JPG

IMG_5018.JPG


The final product is not half bad. It will certainly do in a pinch until I figure out if there's a better way to cover the center where the slider is at.
IMG_5014.JPG


Hutch
 
Finally got around to painting the 455 block.

I used some 5/16 bar stock to put the factory pipe plug in for the drivers side oil galley.
MVI_0898.MP4.00_00_02_17.Still001.jpg

MVI_0899.MP4.00_00_00_20.Still001.jpg

MVI_0901.MP4.00_00_29_27.Still001.jpg


With the rear pipe plugs and core plugs installed, I painted the back of the block.
MVI_0909.MP4.00_00_09_06.Still001.jpg


With that done, I cleaned the block well and then used some map gas to sweat any trapped grease and oil out of the porous cast iron.
MVI_0910.MP4.00_00_54_09.Still001.jpg


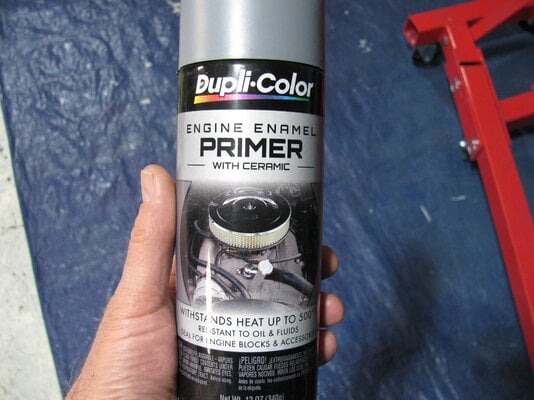
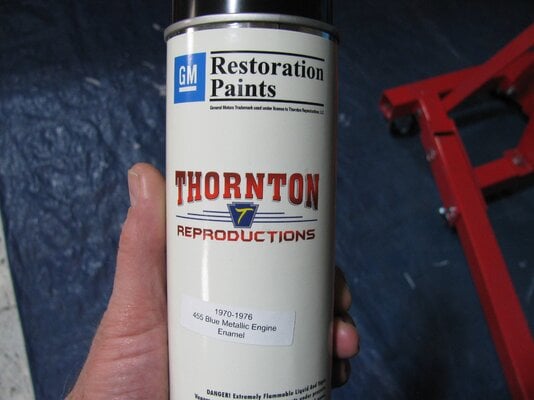
One more round of cleaning with some acetone and I put on four coats of primer and then put down four coats of color.
IMG_5038.JPG IMG_5039.JPG

I think she turned out quite nice.
IMG_5043.JPG

IMG_5045.JPG

IMG_5046.JPG

IMG_5050.JPG


Hutch
 
Finally got around to painting the 455 block.

I used some 5/16 bar stock to put the factory pipe plug in for the drivers side oil galley.
View attachment 196085
View attachment 196086
View attachment 196087

With the rear pipe plugs and core plugs installed, I painted the back of the block.
View attachment 196088

With that done, I cleaned the block well and then used some map gas to sweat any trapped grease and oil out of the porous cast iron.
View attachment 196089

One more round of cleaning with some acetone and I put on four coats of primer and then put down four coats of color.
View attachment 196090 View attachment 196091

I think she turned out quite nice.
View attachment 196092
View attachment 196093
View attachment 196094
View attachment 196095

Hutch
Your attention to detail is to be commended Hutch.
 
I watched your YT video on this last weekend. Looks great.
 
I watched them too. I almost was caught off-guard when Hutch started talking about tarps on the floor and the "Goodfellas" reference. 😆
It seemed like a funny way to end me rambling about tarps. I was going to include DeNiro slamming the phone, but he said f**k so many times I didn't want to do all the editing 😆

Even though in the movie they just let him bleed on the uncovered floor (shoulda had a tarp!)

You're never going to get all that blood out of the grout in that tile!

Hutch
 

GBodyForum is a participant in the Amazon Services LLC Associates Program, an affiliate advertising program designed to provide a means for sites to earn advertising fees by advertising and linking to amazon.com. Amazon, the Amazon logo, AmazonSupply, and the AmazonSupply logo are trademarks of Amazon.com, Inc. or its affiliates.

Please support GBodyForum Sponsors

Classic Truck Consoles Dixie Restoration Depot UMI Performance

Contact [email protected] for info on becoming a sponsor