BUILD THREAD 36x48x14 Shop Build Update 10/10/2024, Additional Lighting
- Thread starter liquidh8
- Start date
You are using an out of date browser. It may not display this or other websites correctly.
You should upgrade or use an alternative browser.
You should upgrade or use an alternative browser.
I was going to be pouring and finishing the concrete myself with some friends next week, but everyone bailed. Soooo, I have feelers out to just pay and get it done. I'll update the thread soon!
Don't know what your electrical codes are like there, but at the time our shop was built 19 years ago, it was treated as a "residential" garage, meaning we didn't have to meet commercial standards with all the conduit, etc. Thus, the electrical "sign off" was based on a 200 amp lighting/breaker panel, 12/3 Romex house wiring, and A SINGLE flourescent lamp near the side entrance door. I had 11 more fixtures waiting in the corner, but the approval drawings only showed one, so that's what was inspected. The inspector knew this, and sorta chuckled and said that it saved him some time, too. He knew I wasn't finished-finished. But I got the sign-off and that was that.
Just something to consider depending on what you want to do.
Just something to consider depending on what you want to do.
I currently only pulled permits for it as a storage building. I wanted to get it built and the permit closed. The building is 425' from the back of my house, so running the 200amp service out there right away is outside of my finances, and I didn't want the permit to hang open.
Time to catch this thread up a bit. I believe I mentioned the 1.5" foam insulation board I bought, trekked to VA for it, as the deal was worth the trip. I bought 118 4'x8' sheets. As you'll see in the photos, I started putting it in when I had nothing else I can do. I am cutting and installing it between the girts, just a bit small, and using Hilti and the right stuff insulating foam to seal all the gaps. This should, after some caulking also, air seal the shop walls. I will do the same to the ceiling, and additional wall/ceiling insulation will come.
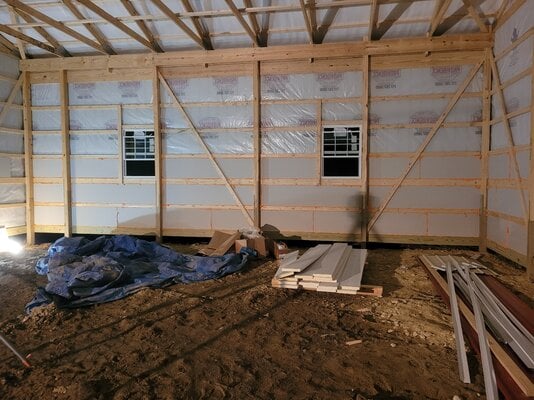
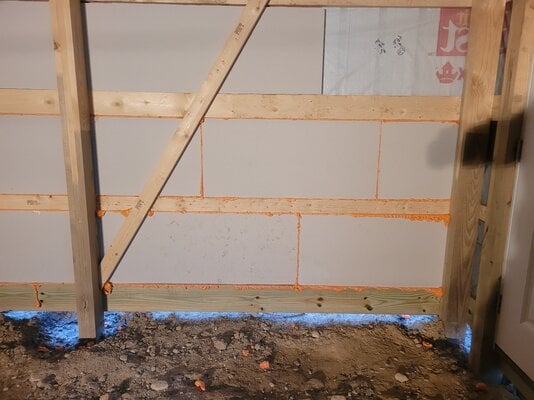
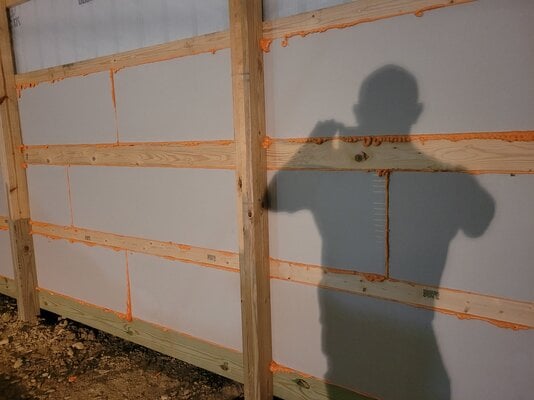
Here you can see the high bay door tracks.
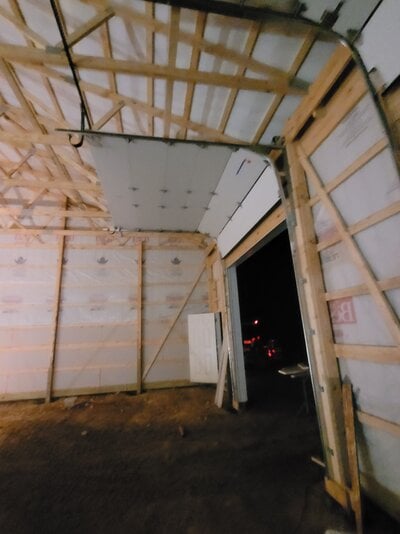
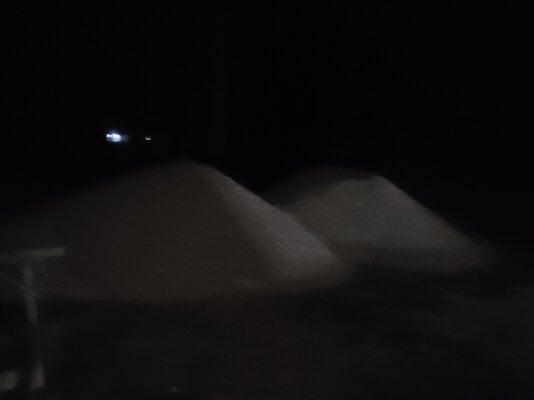
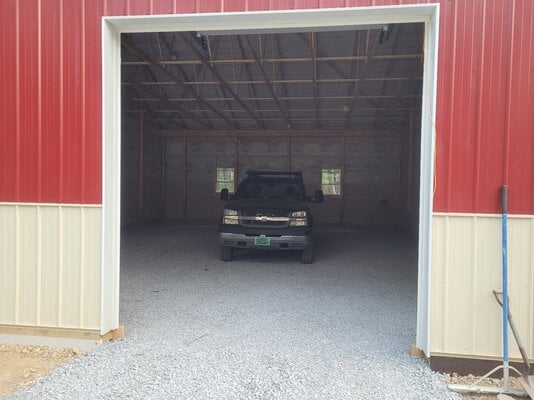
Finally, 2 tri-axels of 57, or #2's, depending on where your from, stone for the floor.


Here you can see the high bay door tracks.

Finally, 2 tri-axels of 57, or #2's, depending on where your from, stone for the floor.

Last edited:
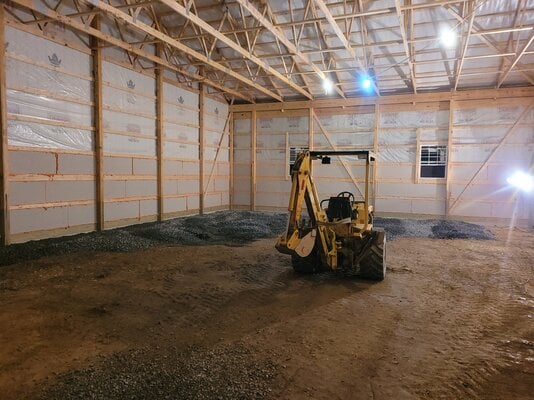
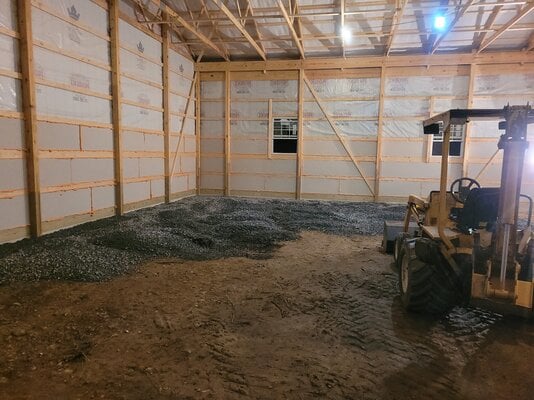
Since the building has been up a few weeks at this point, the compactable fill I used settled even more, even though I did grade it out in lifts an compact it. Soooo, a mini-x and a polishing of the grade was in order to get it smooth again.
You can see the post holes sunk and settled, which is great. Letting the site sit for a few weeks through rain and weather is beneficial.
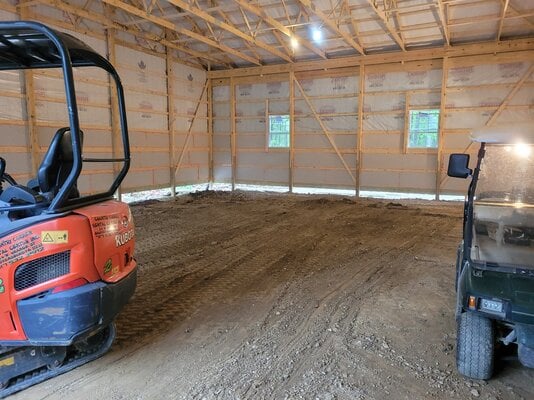
Lets now forget all the manual raking my not 20 year old self had to do. There is a glimpse of some addition foam board in this pic, I'll touch on that in a bit.
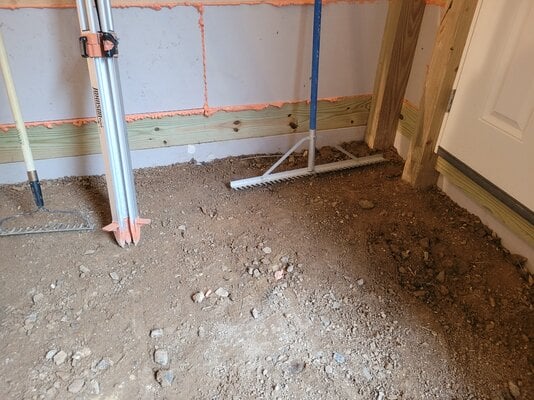
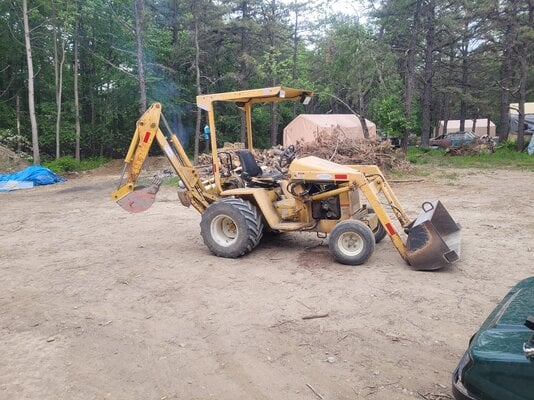
Then, I used my Lay-Mor 30 mini backhoe, affectionately called the Broke-Back Hoe, to move all the stone in.
You can see the post holes sunk and settled, which is great. Letting the site sit for a few weeks through rain and weather is beneficial.


Lets now forget all the manual raking my not 20 year old self had to do. There is a glimpse of some addition foam board in this pic, I'll touch on that in a bit.

Then, I used my Lay-Mor 30 mini backhoe, affectionately called the Broke-Back Hoe, to move all the stone in.


Last edited:
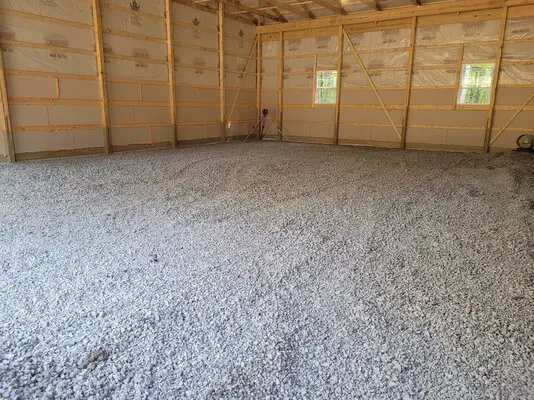
After I moved all the stone it, I used Broke-Back to grad it out, then my stone rack to fine tune it. I have a Hilti Transit I used to ensure I had 4.5 - 5" for the concrete, I have hours on the plate compacter to get it down and tight.
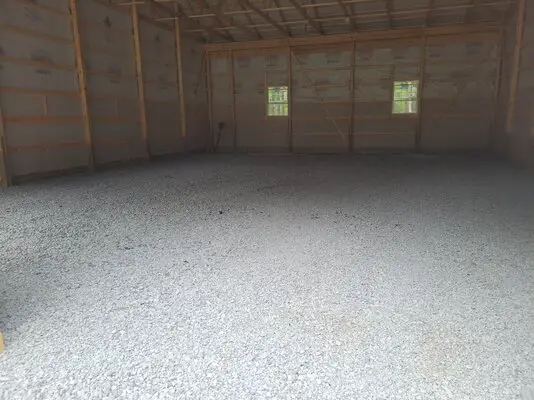
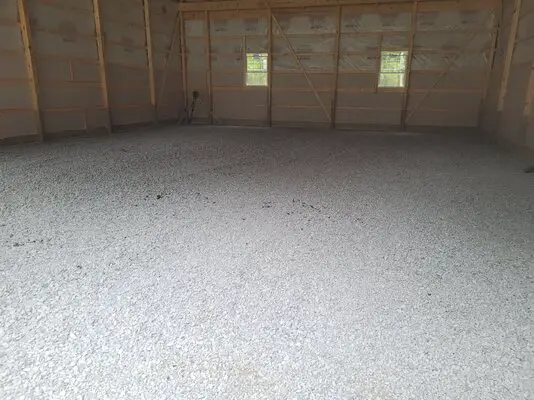
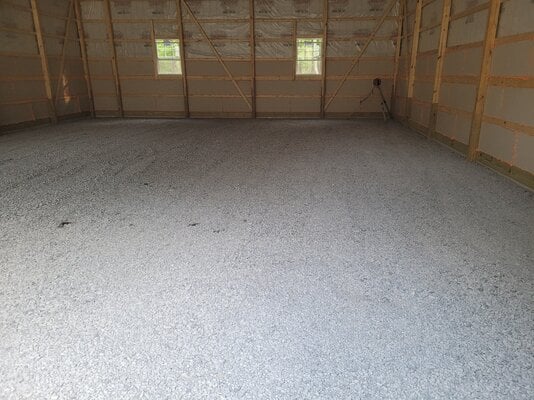
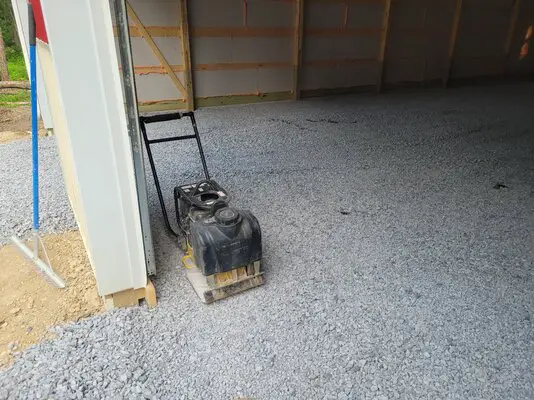
Gotta test it out!
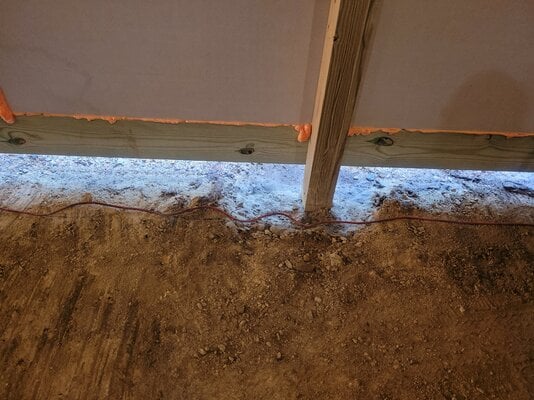
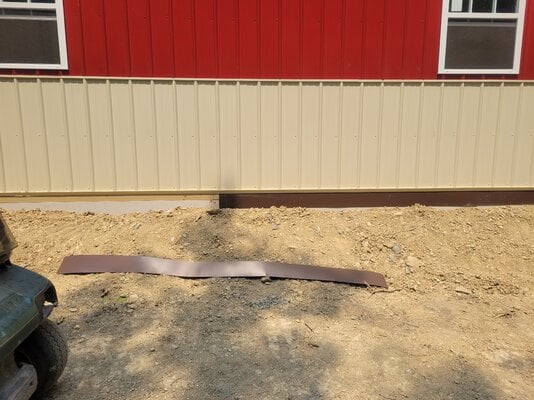
So, in the following pic you see I installed 1.5" foam insulation below the skirt board, it is 12" high, and runs below grade. This is there to act as a thermal break from the weather to the slab, had redirect water from under the building, and help retain the stone from just flowing out all over. I used some brown flashing (dirt color, haha) to run under the siding trim, covering the skirt board, and most of the foam board. I'd like the wood to last as long as possible. When that was all said and done I added more fill around the building and ran the pate tamper over it quick. I'll worry about the topsoil and grass later.
So we are all caught up! I have to lay down the vapor barrier, and get the wire in there for the concrete guys. They are scheduled for the 19th, so I hope they don't flake out!


Gotta test it out!

So, in the following pic you see I installed 1.5" foam insulation below the skirt board, it is 12" high, and runs below grade. This is there to act as a thermal break from the weather to the slab, had redirect water from under the building, and help retain the stone from just flowing out all over. I used some brown flashing (dirt color, haha) to run under the siding trim, covering the skirt board, and most of the foam board. I'd like the wood to last as long as possible. When that was all said and done I added more fill around the building and ran the pate tamper over it quick. I'll worry about the topsoil and grass later.

So we are all caught up! I have to lay down the vapor barrier, and get the wire in there for the concrete guys. They are scheduled for the 19th, so I hope they don't flake out!
Last edited:
If that foam insulation is foil faced EPS, it counts as a Class 1 vapor retarder, same as 6 mil poly. But if that foil is facing the outside, then you run the risk with 6 mil poly inside of moisture getting trapped in between. But for a shop that's only heated, it's much less of a concern. Take this with a grain of salt, I'm not a builder, just been reading a ton trying to decide on a combination for a house that's gonna live up north and see both heat and AC.
The face is outside, I have been reading the same info and come to the same conclusion. The vapor barrier I referenced is for under the concrete, for the walls I will frame out with 2x6 and fiberglass insulate, non faced, then drywall. The ceiling will get blow in after I stuff the foam between the trusses on the ceiling and cover with metal.
We've had rain here in Central PA these past 2 days, while we "needed it", I don't want it, it softens up the dirt lane to the shop. The problem with that is the heavy azz concrete trucks getting stuck if it is to saturated with water. We'll see in a few days though!
We've had rain here in Central PA these past 2 days, while we "needed it", I don't want it, it softens up the dirt lane to the shop. The problem with that is the heavy azz concrete trucks getting stuck if it is to saturated with water. We'll see in a few days though!
I just reviewed the thread to fix what is hopefully all my spelling and grammar errors. It's easy to miss them when I'm doing thread updates on my phone and not my computer.
Similar threads
- Replies
- 0
- Views
- 53
- Replies
- 3
- Views
- 151
- Replies
- 10
- Views
- 474
- Replies
- 0
- Views
- 67
GBodyForum is a participant in the Amazon Services LLC Associates Program, an affiliate advertising program designed to provide a means for sites to earn advertising fees by advertising and linking to amazon.com. Amazon, the Amazon logo, AmazonSupply, and the AmazonSupply logo are trademarks of Amazon.com, Inc. or its affiliates.

