82 Malibu Wagon in New Zealand

Did some digging and it comes down to size of spring diameter. Here in U.S an early 1968-1977 rear spring will fit out of and A-body ( Chevelle, Cutlass, Skylark) but not sure if fronts will fit. But a G-body 1978-1987/88 front will not go into a 1968–1977 the G-body is 5.5” vs.5.0” of the early A-body GM. However if the ends are the same diameter and the body of the spring is the difference it could fit.also the early 1970’s VE Holden Commodore Sedan might be similar. (AU eBay) for a lowering spring.
 
Last edited:
FYI: old school trick is set blocks under the front cross member to the hight you want the car to sit and heat around a coil to let the car settle on the blocks. Then let them cool for a day. Problem is it hurts the tempering of the steel and could cause a future break of the spring. Though I had never seen it happen personally.
 
  • Like
Reactions: Davenz
Did some digging and it comes down to size of spring diameter. Here in U.S an early 1968-1977 rear spring will fit out of and A-body ( Chevelle, Cutlass, Skylark) but not sure if fronts will fit. But a G-body 1978-1987/88 front will not go into a 1968–1977 the G-body is 5.5” vs.5.0” of the early A-body GM. However if the ends are the same diameter and the body of the spring is the difference it could fit.also the early 1970’s VE Holden Commodore Sedan might be similar. (AU eBay) for a lowering spring.
Cheers i was thinking the early 70's holden series springs might be compatible with these, some of them came out with a 350 as well. Theres a spring place in town that i think makes it's own springs so i'll shoot in & see them at some stage soon....
 
  • Winner
Reactions: Ugly1
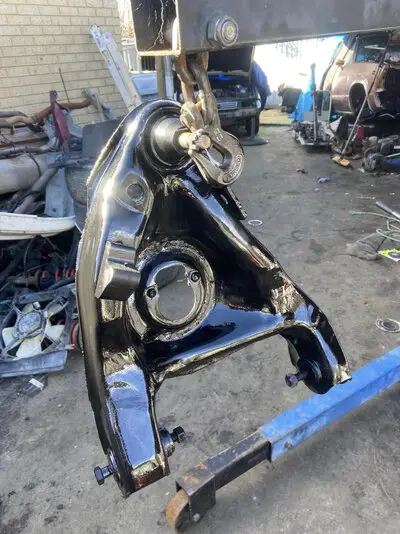
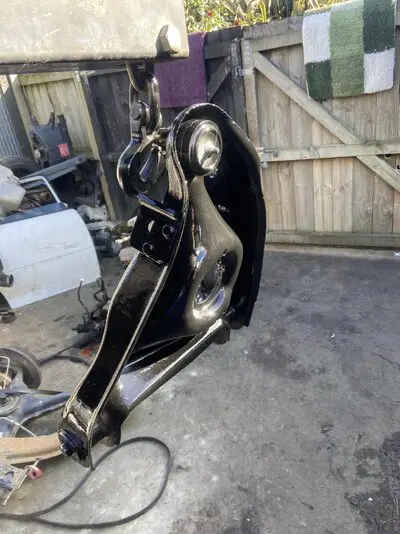
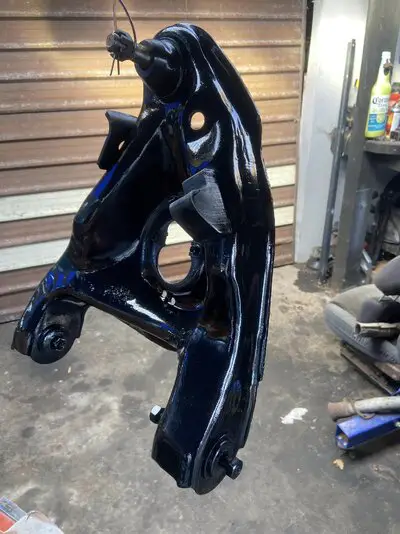
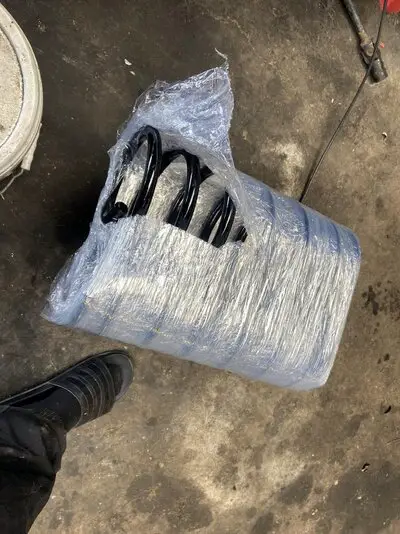
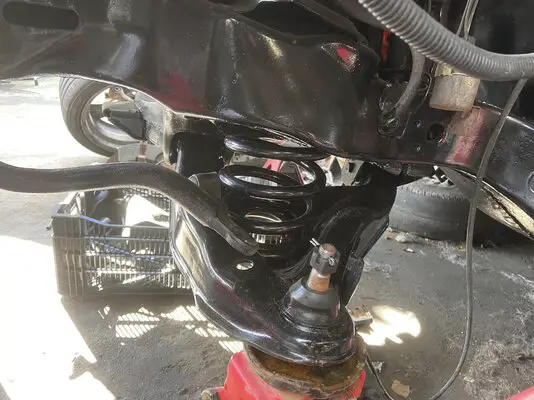
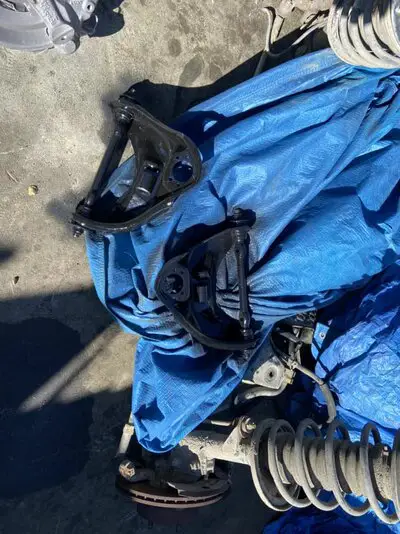
Getting some paint on the lower control arms while there's some sun for a bit, been the wettest winter in years here. Dropped the front springs into a shop in town that specializes in them, he's going to set them up to suit a factory 70's chev powered holden & lower them at the same time. Springs even get powder coated & all for under $200 so a good bonus there, she's sure a slow build this one but the wait will be worth it on the 1st drive 👌 😎
 

Attachments

  • 366087701_10159382552407761_1801013012071627695_n.jpg
    366087701_10159382552407761_1801013012071627695_n.jpg
    368.4 KB · Views: 90
  • 366049902_10159382552317761_3370869265336073739_n.jpg
    366049902_10159382552317761_3370869265336073739_n.jpg
    323 KB · Views: 87
  • 365316477_10159382552287761_4147890271371461852_n.jpg
    365316477_10159382552287761_4147890271371461852_n.jpg
    276.4 KB · Views: 83
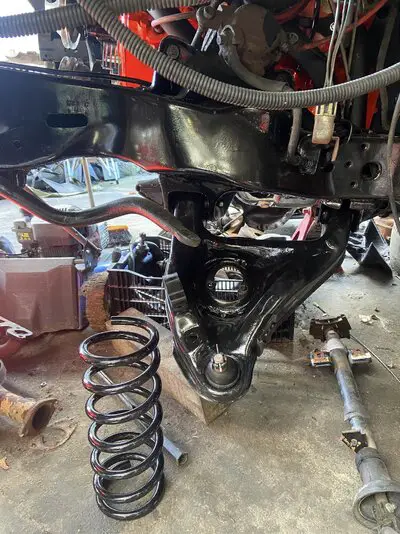
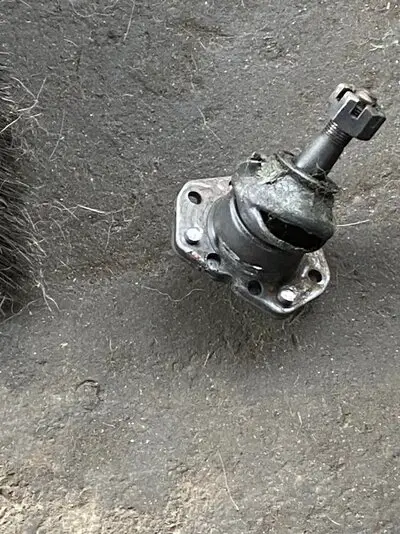
Picked the springs up, feels good to start putting parts back on her instead of taking them off. Top ball joints to do then the front end can go back together all fully rebuilt, got some 225/40/18s getting fitted to the front alloys today as well
👌
😎
 

Attachments

  • 367057959_10159386267082761_6196411340297389070_n.jpg
    367057959_10159386267082761_6196411340297389070_n.jpg
    471.3 KB · Views: 80
  • 366367976_10159386267057761_3570891574551157095_n.jpg
    366367976_10159386267057761_3570891574551157095_n.jpg
    413.9 KB · Views: 77
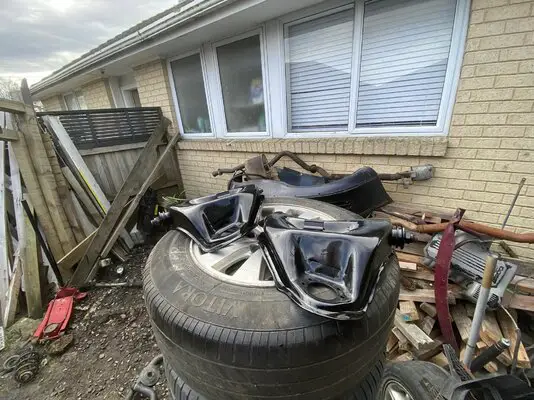
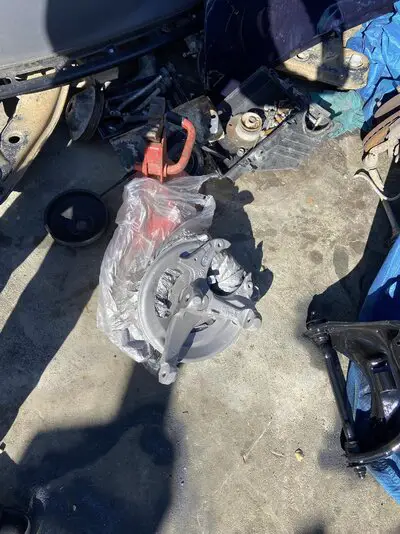
Few more bits done, just doing what i can between jobs here. Should have the left side back together tomorrow, top balljioints cut out & top arms painted. Done the stub axles in cast iron grey just to break it up a bit, bolt the new top balljoints in & bolt her together.
Be good to have her back on all 4 then i'll move onto the trans & sorting the running gear next, i'm a busy bugger but hope to have this running before xmas touch wood. Then can move onto the paint & body work 👌 😎
 

Attachments

  • 368294980_10159406411357761_4279361548226519844_n.jpg
    368294980_10159406411357761_4279361548226519844_n.jpg
    328.6 KB · Views: 89
  • 367479573_10159406411382761_8645269191450547485_n.jpg
    367479573_10159406411382761_8645269191450547485_n.jpg
    353 KB · Views: 75
  • 367475974_10159406411482761_5420942573720018879_n.jpg
    367475974_10159406411482761_5420942573720018879_n.jpg
    443.9 KB · Views: 88
  • 373374056_10159408338387761_6487093553992546931_n.jpg
    373374056_10159408338387761_6487093553992546931_n.jpg
    99.3 KB · Views: 81
  • 371976591_10159408338847761_6526232737644552489_n.jpg
    371976591_10159408338847761_6526232737644552489_n.jpg
    516.5 KB · Views: 75
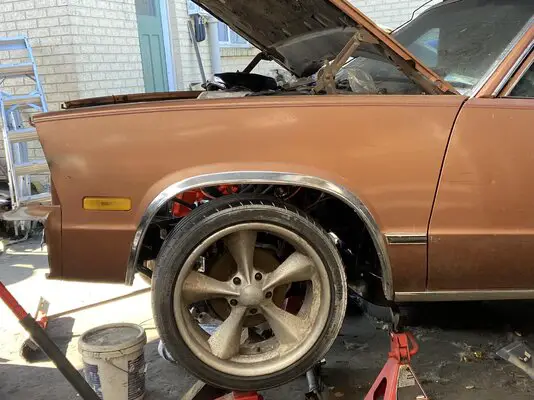
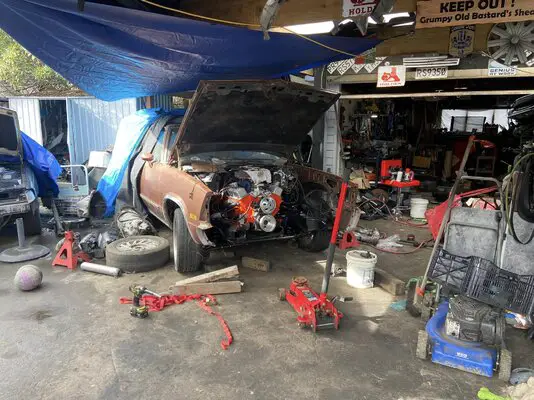
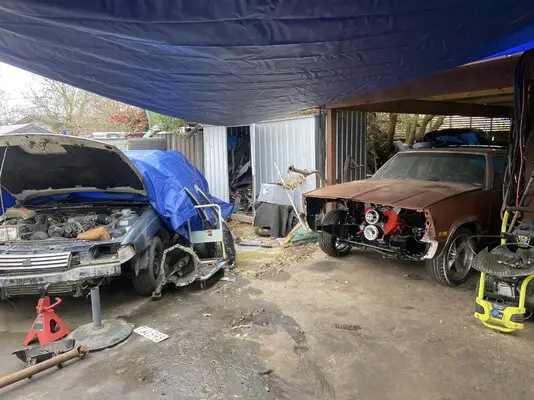
Back on her feet at long last, just done enough to move her at this stage. Backed into the carport so i can pull the engine at some stage soon & sort the trans & get it all back in for the final time, the other wagon in the pic is going into the paint shop at some stage soon so i have to get that ready. Roughest one i've ever fixed but she's going to come up looking pretty special in the end, once that's painted & the chevs running she's next for the paint booth 👍 😉
 

Attachments

  • 372054913_10159415164107761_7185254677462246306_n.jpg
    372054913_10159415164107761_7185254677462246306_n.jpg
    466.6 KB · Views: 80
  • 371928758_10159415304117761_7438077360834340809_n.jpg
    371928758_10159415304117761_7438077360834340809_n.jpg
    432.3 KB · Views: 70
Sheesh time fly's, was hoping to have this at least running by Xmas but that didn't happen. Joys of being self employed, next year though stuffs going to happen. Paint jobs paid for so she has to be sorted for that & needs to be running so in between jobs i'll be doing what i can, id say i've got most if not all of what i need here to finish her besides the exhaust which i'll tackle myself. It's 2.5 to 3k for a system over here & i sure aren't paying that🤔
 

GBodyForum is a participant in the Amazon Services LLC Associates Program, an affiliate advertising program designed to provide a means for sites to earn advertising fees by advertising and linking to amazon.com. Amazon, the Amazon logo, AmazonSupply, and the AmazonSupply logo are trademarks of Amazon.com, Inc. or its affiliates.

Please support GBodyForum Sponsors

Classic Truck Consoles Dixie Restoration Depot UMI Performance

Contact [email protected] for info on becoming a sponsor