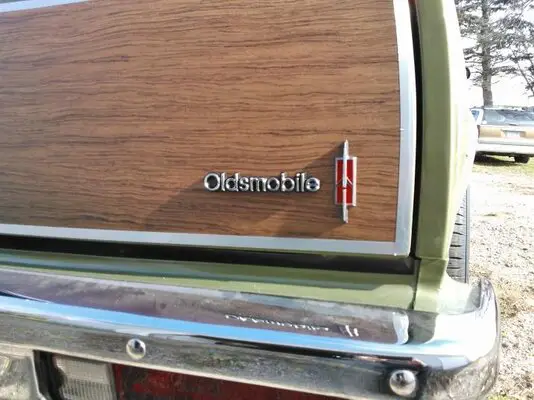
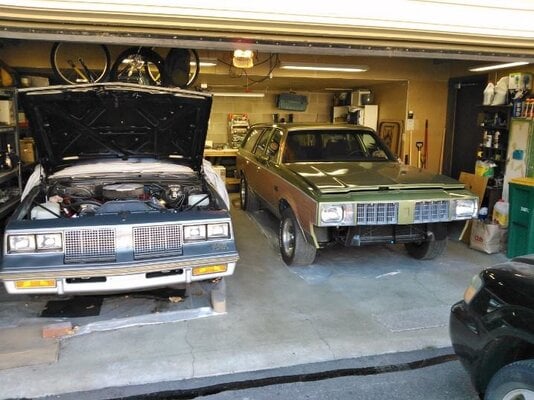
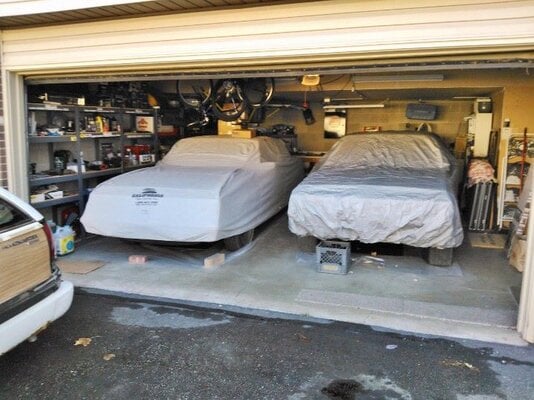
Alright, time to get caught up! Not as many pictures as I would've liked, but you'll get the idea...
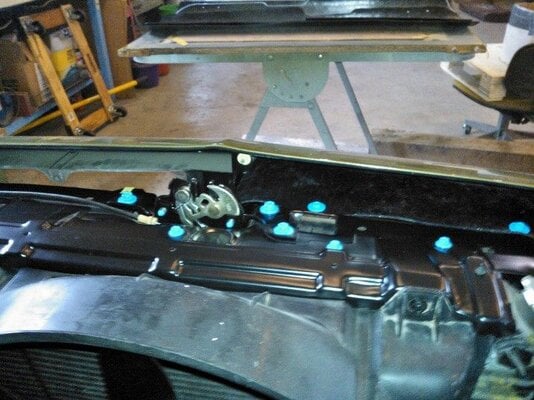
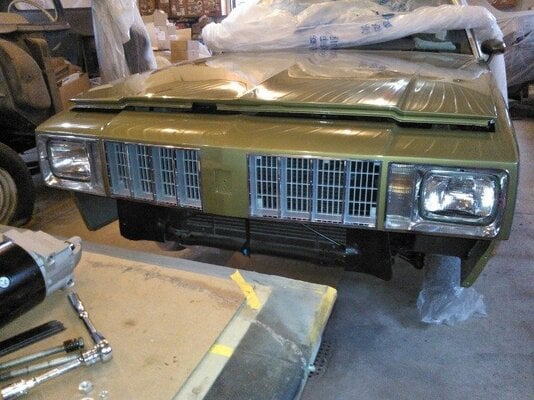
Looks like I left off with fixing the header panel and then a couple woodgrain teasers...
In the preview shot I posted earlier you can see the masking tape perimeter that I laid out as a guide.
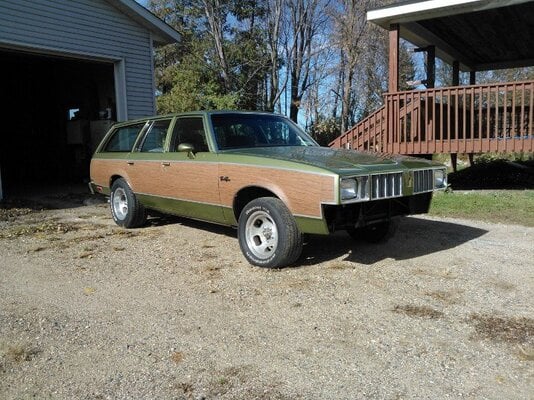
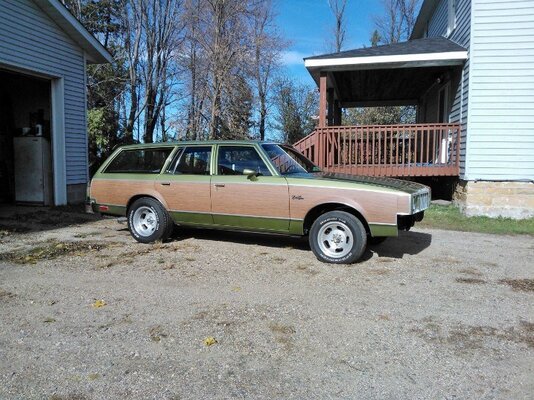
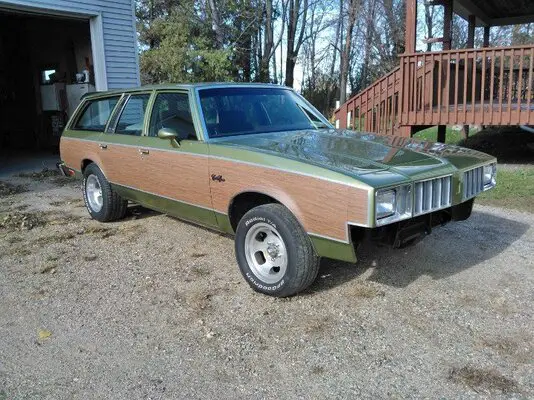
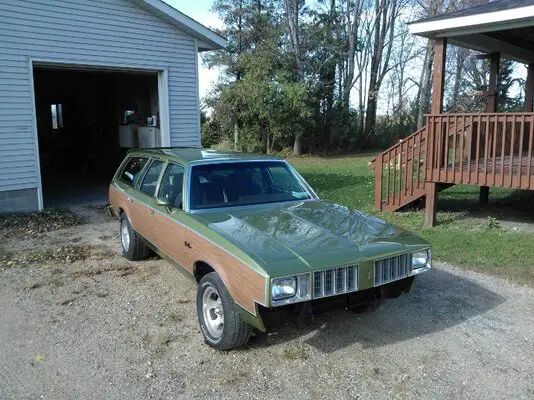
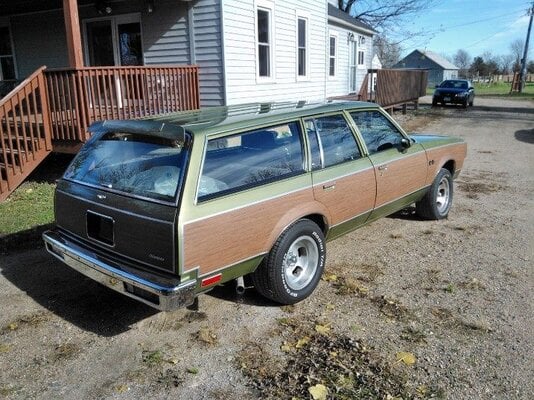
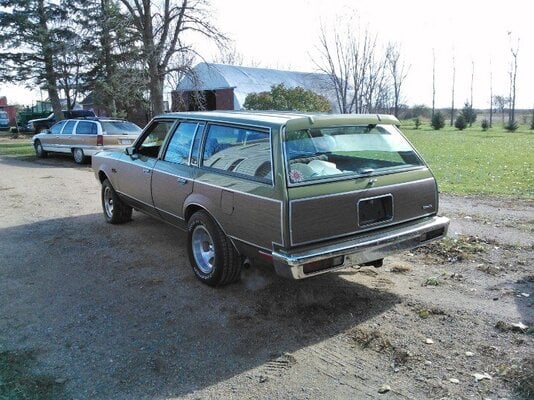
All in all, the application of the woodgrain went exactly as I had anticipated it would... good and bad...
I started with the doors since they were flat to get the hang of working with the material, and they went pretty smoothly.
As I figured, the vinyl didn't like being wrapped around the edges, and lifted... I ended up trimming them flush.
I trimmed around the door handle opening (poorly) instead of trying to lay the vinyl in the recessed portion.
This would have been painted a similar brown/tan to the woodgrain at the factory, to avoid the glaring green poking thru like mine.
But there was no way I was going to paint the handle (and gas door) openings ****ing tan on my nice green paint!
Besides, this way I can still go back to all-green at any time...
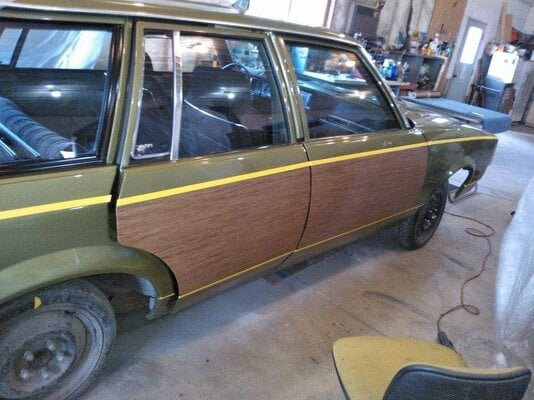
The fenders and 1/4 panels were a little bit more work thanks to the wheel openings...
I did the passenger side 1/4 first, and it actually went pretty smoothly.
The passenger fender I got half-way thru and the vinyl tore, had to peel it off and start over.
The drivers side 1/4 vinyl tore in a small spot as I was peeling off the backing. I was going to give it a try anyways and then one side slipped out of my hand and about half of the 6 foot long piece hit the floor sticky side down... crumple it up and start over...
Finally the drivers fender went on incident-free, though it still didn't want to cooperate.
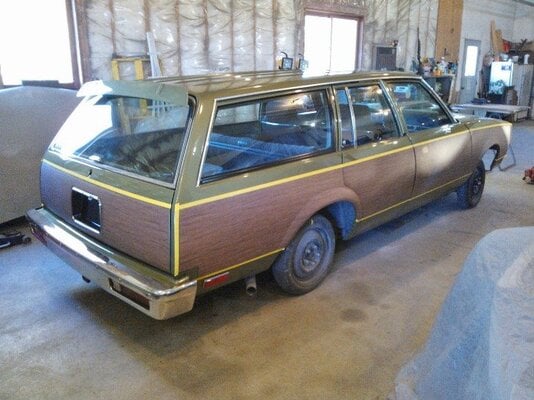
Over the course of August and September when I didn't update much, I was mostly taking care of all the small bits and tons of hardware.
Among those parts were my wheel well moldings that were in less than good shape.
Not wanting to strip the anodizing, I took the lazy route and just tapped out the dings the best I could. I can always make them nicer later...
With the vinyl in place, I then installed the moldings to help anchor the material around the wheel openings.
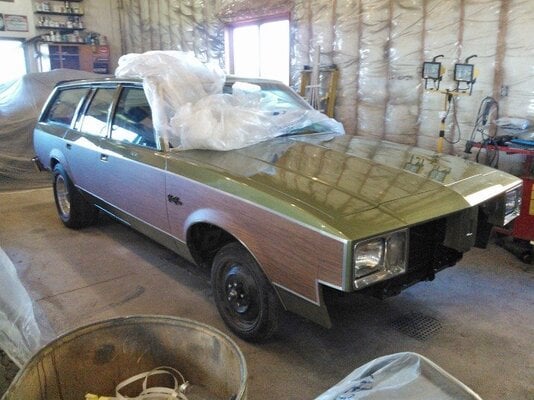
I was now also able to install the rear license plate pocket, door handles and lock cylinders, door mirrors and fender emblems.
The last piece of the puzzle was the 1/2" brushed aluminum pin-stripe tape around the border.
I managed to make it photograph ok, but I'm not happy with how it turned out and I'll be re-doing it in the spring with plan-B...
The material is just too thin and it shows the jagged and poorly cut edge of the woodgrain thru it... when it's not lifting...
It doesn't really like sticking to the woodgrain, but the paint is ok, and it absolutely does not like to do any curves whatsoever...
To top that off, the woodgrain also decided to start lifting around the wheel arches... I smush it back down and a few days later it's back up.
I think that if I had been able to let the car sit in the hot sun for a few hours once it was finished, I wouldn't have the lifting issues, but when I did it in mid October, it was just too late in the year for that kind of warmth... I'm pretty confident it will play nice with the right amount of heat...
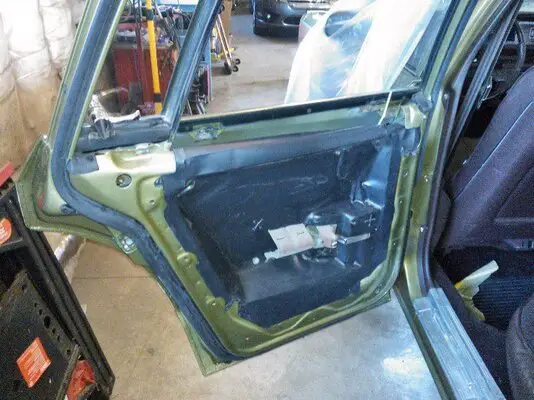
Now with all the exterior wrapped up, I was finally able to put all 5 door panels back on.
Last summer when I impulse bought that Regal sedan, it came with an extra pair of rear doors...
They were about 95% junk, but I was able to score an intact pair of moisture barriers! Perfect since my originals crumbled...
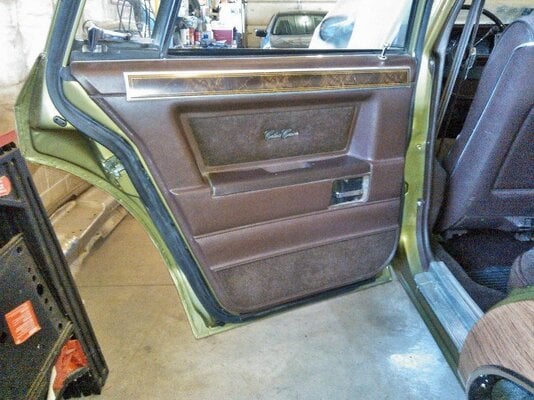
I'll have to take some better pictures of the interior, but it looks pretty much the same as it did before... but now it's 100% complete!
Ok, time for a break, and I'll get the next part up...
Looks like I left off with fixing the header panel and then a couple woodgrain teasers...
In the preview shot I posted earlier you can see the masking tape perimeter that I laid out as a guide.
All in all, the application of the woodgrain went exactly as I had anticipated it would... good and bad...
I started with the doors since they were flat to get the hang of working with the material, and they went pretty smoothly.
As I figured, the vinyl didn't like being wrapped around the edges, and lifted... I ended up trimming them flush.
I trimmed around the door handle opening (poorly) instead of trying to lay the vinyl in the recessed portion.
This would have been painted a similar brown/tan to the woodgrain at the factory, to avoid the glaring green poking thru like mine.
But there was no way I was going to paint the handle (and gas door) openings ****ing tan on my nice green paint!
Besides, this way I can still go back to all-green at any time...

The fenders and 1/4 panels were a little bit more work thanks to the wheel openings...
I did the passenger side 1/4 first, and it actually went pretty smoothly.
The passenger fender I got half-way thru and the vinyl tore, had to peel it off and start over.
The drivers side 1/4 vinyl tore in a small spot as I was peeling off the backing. I was going to give it a try anyways and then one side slipped out of my hand and about half of the 6 foot long piece hit the floor sticky side down... crumple it up and start over...
Finally the drivers fender went on incident-free, though it still didn't want to cooperate.

Over the course of August and September when I didn't update much, I was mostly taking care of all the small bits and tons of hardware.
Among those parts were my wheel well moldings that were in less than good shape.
Not wanting to strip the anodizing, I took the lazy route and just tapped out the dings the best I could. I can always make them nicer later...
With the vinyl in place, I then installed the moldings to help anchor the material around the wheel openings.

I was now also able to install the rear license plate pocket, door handles and lock cylinders, door mirrors and fender emblems.
The last piece of the puzzle was the 1/2" brushed aluminum pin-stripe tape around the border.
I managed to make it photograph ok, but I'm not happy with how it turned out and I'll be re-doing it in the spring with plan-B...
The material is just too thin and it shows the jagged and poorly cut edge of the woodgrain thru it... when it's not lifting...
It doesn't really like sticking to the woodgrain, but the paint is ok, and it absolutely does not like to do any curves whatsoever...
To top that off, the woodgrain also decided to start lifting around the wheel arches... I smush it back down and a few days later it's back up.
I think that if I had been able to let the car sit in the hot sun for a few hours once it was finished, I wouldn't have the lifting issues, but when I did it in mid October, it was just too late in the year for that kind of warmth... I'm pretty confident it will play nice with the right amount of heat...
Now with all the exterior wrapped up, I was finally able to put all 5 door panels back on.
Last summer when I impulse bought that Regal sedan, it came with an extra pair of rear doors...
They were about 95% junk, but I was able to score an intact pair of moisture barriers! Perfect since my originals crumbled...


I'll have to take some better pictures of the interior, but it looks pretty much the same as it did before... but now it's 100% complete!
Ok, time for a break, and I'll get the next part up...


