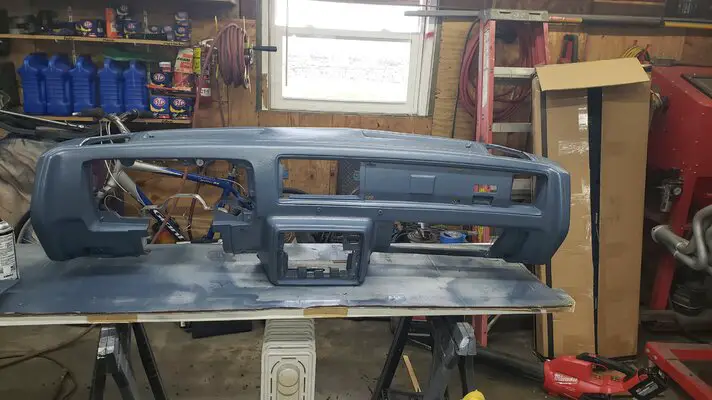
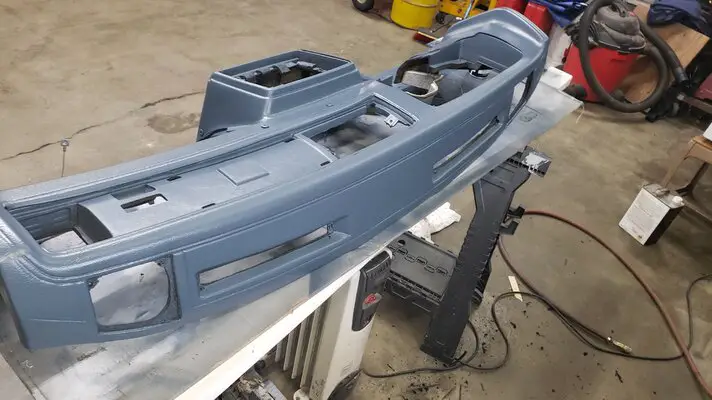
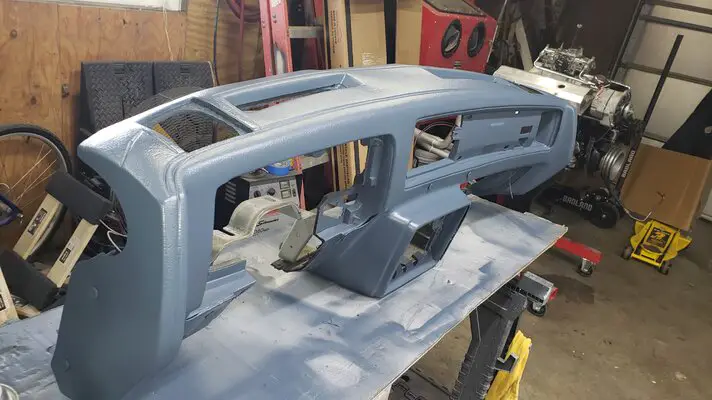
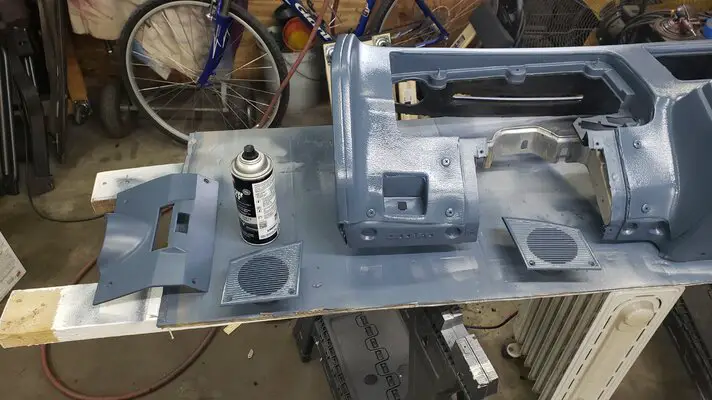
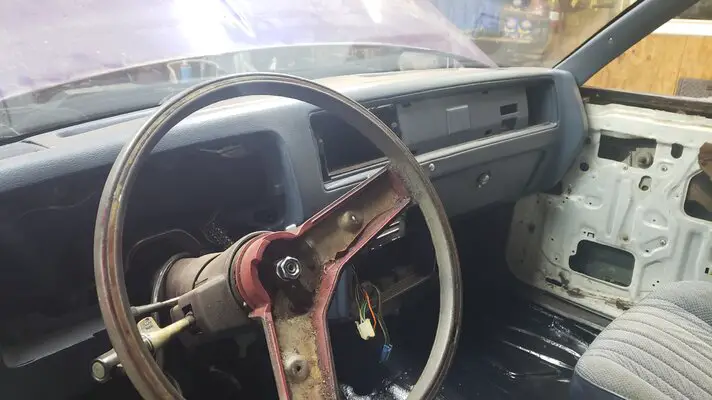
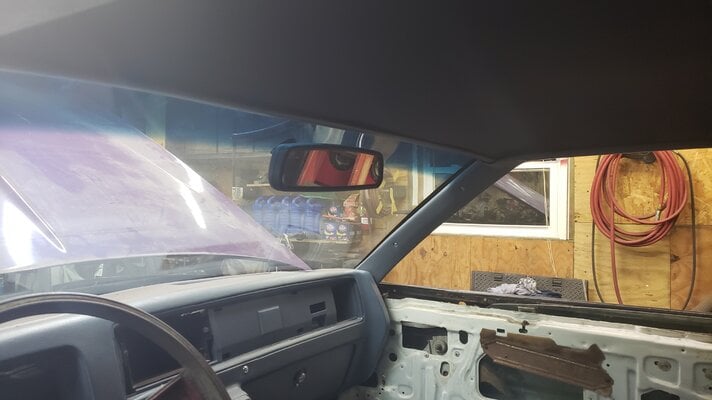
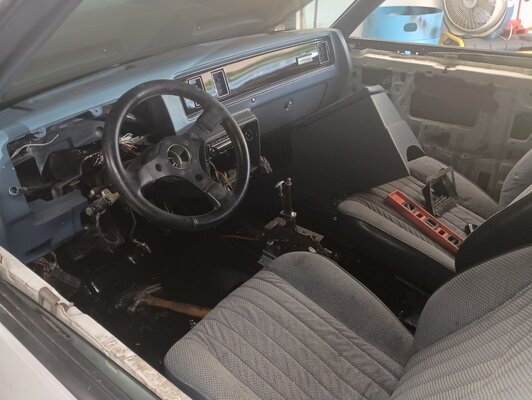
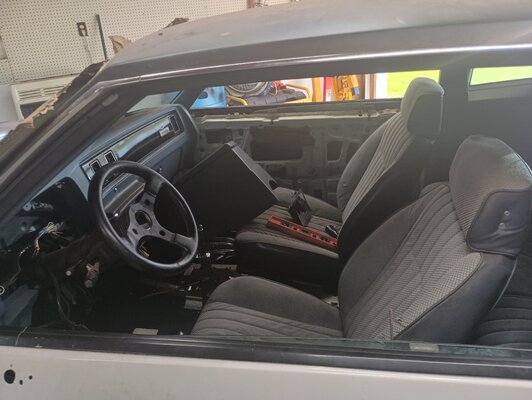
Well the dash is better than what i had , so thats a plus. I had to add some screws in places down low and a couple in the center above the radio. I got a coat of paint on it and hopefully when assembled it wont stand out to bad
BUILD THREAD 86 monte carlo ls basket case
- Thread starter Drkuhar
- Start date
You are using an out of date browser. It may not display this or other websites correctly.
You should upgrade or use an alternative browser.
You should upgrade or use an alternative browser.
Doesn't look too bad, but since you had it out I would have given a shot to just fixing the cracks and see how it would come out since you had the backup of adding that after the factWell the dash is better than what i had , so thats a plus. I had to add some screws in places down low and a couple in the center above the radio. I got a coat of paint on it and hopefully when assembled it wont stand out to bad
I got the transmission cleaned up and painted, new filter and pan gasket. New front and rear seal , dipstick seal, kickdown seals and the speedometer gears changed so the speedometer will be accurate. Got the new u joints in the driveshaft and got it painted also.


Engine and transmission is in. Monte front ends must be longer than cutlass front ends as i had to pull the header panel and bumper to get the cherry picker close enough to set the engine in(never had this issue on my olds). Filled transmission and found a huge puddle the next morning. I think its leaking at the shift shaft seal. The only seal i didn't change of coarse.
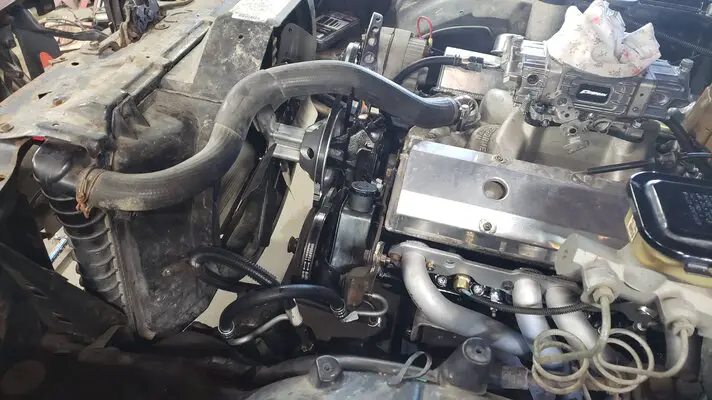
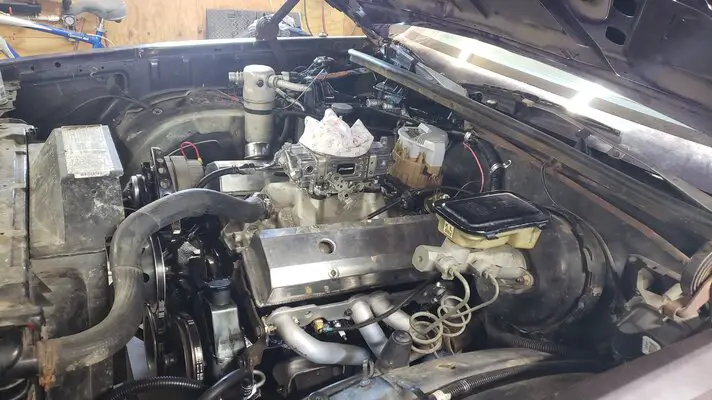
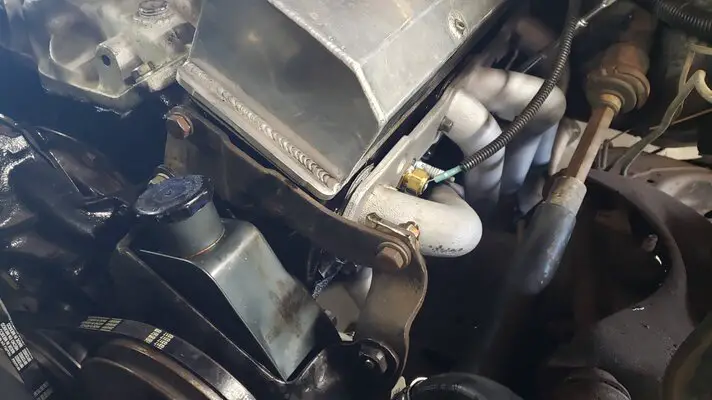
I also got the wiring under the hood fixed and routed. Headers are on, oil and coolant senders are in and wired.. had to get a new distributor and picked up a supercoil. And both got damaged in shipping but usable and the hole in the floor from the stick shift is welded up and the floor is wire wheeled and coated with por15 and painted.


Made good use of the president day weekend
I also got the wiring under the hood fixed and routed. Headers are on, oil and coolant senders are in and wired.. had to get a new distributor and picked up a supercoil. And both got damaged in shipping but usable and the hole in the floor from the stick shift is welded up and the floor is wire wheeled and coated with por15 and painted.


Made good use of the president day weekend
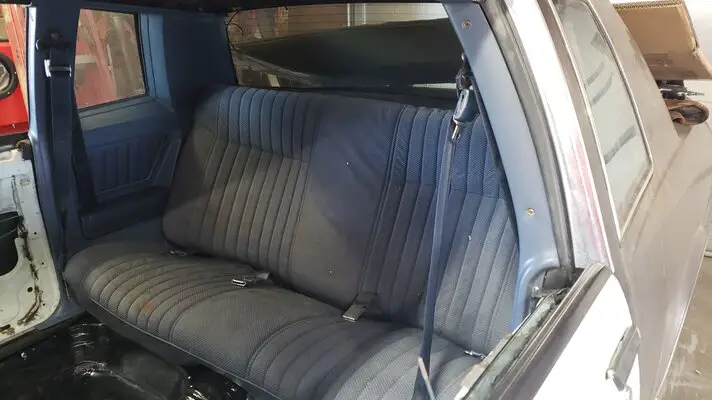
Well i have 2/3 of the interior in. Back seat, sail panels, rear seat, headliner, dash, and domelight. I have to do the wiring terminal rearranging on the dash plug since i am putting a rally cluster in and hook up all the dangling wires under the dash.
Engine bay side has the wiring harness fixed, engine accessories on. This weekend i hope to get transmission lines made and ran.
Engine bay side has the wiring harness fixed, engine accessories on. This weekend i hope to get transmission lines made and ran.
Attachments
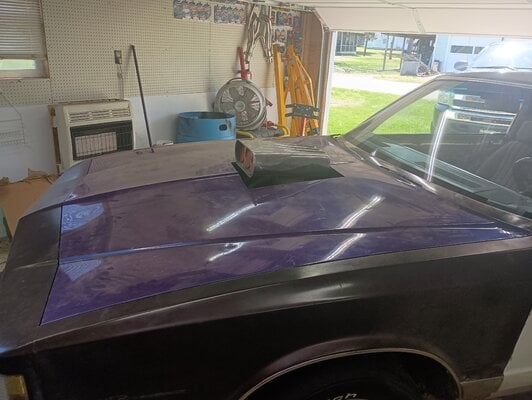
Been a while. I finished up the engine wiring, shifter mounted and adjusted , speedometer cable ran but I need the grommet for the large hole on the firewall. And I got brave and cut the hole in the hood for the scoop . No turning back now lol.
Next thing is fuel sending unit in tank and vacuum lines to modulator


Next thing is fuel sending unit in tank and vacuum lines to modulator


Attachments
Fuel lines and sending unit are done. Went to try and start it and after priming it fired right up. Ran 20 seconds and started pouring fuel out both carb vents . Had to get some fans and air out / dry the garage and fix the stuck floats/ Needle and seats. Car idles finally. Need to play with the choke and then hopefully soon see if the transmission is good
So I ordered one of the eBay g force clones and didn't pay attention to the application. It is for a 700r4. When I compare it to the g force in my Cutlass it looks like the mounting holes on the extended side flanges are moved to make it set back further than a th350 crossmember but the general shape and all are the same.
I plan on bolting it to the transmission and drilling the flanges so the factory frame holes are used but wanted to let everyone know that most of the cheap ones are made this way. Not for a th350 but the flange has enough room to room to drill it out
I plan on bolting it to the transmission and drilling the flanges so the factory frame holes are used but wanted to let everyone know that most of the cheap ones are made this way. Not for a th350 but the flange has enough room to room to drill it out
Crossmember did need drilled and one of the extended side pieces trimmed on The front driver's side . It is in and took the car for a test drive around the neighborhood with open headers . Neighbors loved it.
Since it runs I swapped my cutlass down to the storage garage and brought the monte to the house to be worked on.
First job since home was to remove the white drivers door that look good but are rusted out on inside bottom and strip the good regulator and latch from the junk door.
Included with the car was 2 doors with some surface rust but nothing major but the regulator unwinds itself and rolls the window up as fast as the spring unwinds. Never seen that before and a bad latch. I'm going to switch over the regulator and latch and through new hinge pins and bushings and sand and prime the "new" door before putting it on.


Similar threads
- Replies
- 1
- Views
- 130
- Replies
- 14
- Views
- 366
GBodyForum is a participant in the Amazon Services LLC Associates Program, an affiliate advertising program designed to provide a means for sites to earn advertising fees by advertising and linking to amazon.com. Amazon, the Amazon logo, AmazonSupply, and the AmazonSupply logo are trademarks of Amazon.com, Inc. or its affiliates.


