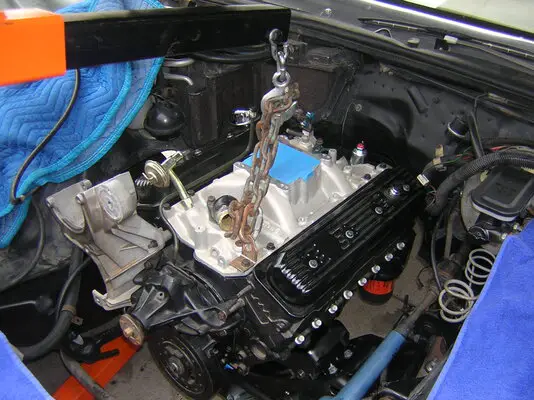
BUILD THREAD GP403's sort-of-build thread

Status
Not open for further replies.
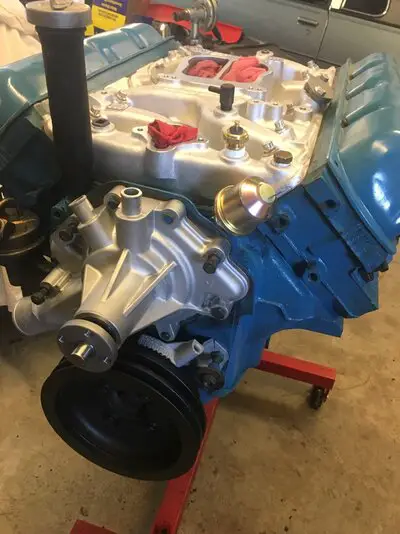
so almost a year later I started organizing all the parts and cleaning up the workspace while I'm almost done (for now) with the Cutlass. The engine's been sort-of back together on the stand for a while now, never updated here. Valve covers and intake on, shot a coat of corp. blue and hope it sticks. If it doesn't eh I'm not going to cry.

I think I found all the parts. heh. I have a few bolts and tiny bits that I'm not entirely sure where they're supposed to go. thought I'd labeled and bagged everything but a year's gone by and I've slept since then.

I put the valve covers on without the little brackets for the spark plug wire holders because I couldn't remember where they went and couldn't find a reference. Going to be studying the parts drawings and service manuals trying to remember how it all goes.

Went to screw a couple things into the shiny new edelbrock manifold, and lo and behold the heater control valve won't go in, and when the thread does catch it feels like its trying to cross-thread. not cool. The EGR block off plate, the larger bolt DOESNT FIT THRU THE HOLE in the plate. It's the right threads, but doesn't fit. I may just polish off the old one and use it. fml. Painted the pulleys, and touched up a little of the blue. Once the Cutlass is finished, its time to crawl in the engine bay and clean that up, change the water pump, and move or get new vacuum ports and block off plugs.

It's actually happening this time. It may run like crap, may run great, may not run at all, but its going back together and its going to at least look good.
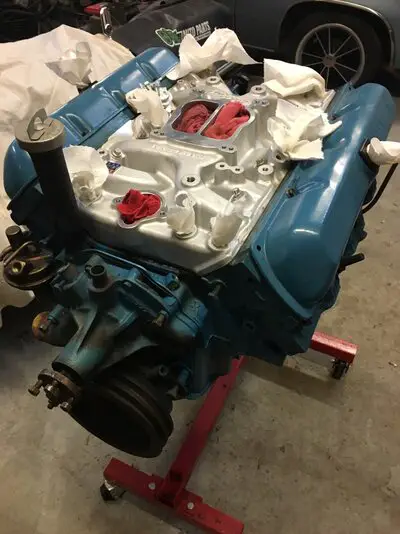
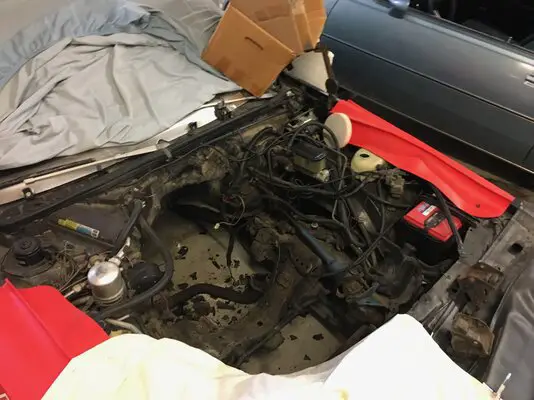
IMG_2636.jpg IMG_2637.jpg
 
The main thing is your getting it done. Nice thing about these simple engines is they almost always run, may be crappy but they run. but I'm sure you'll have that engine running perfectly...
 
Last edited:
  • Like
Reactions: MrSony
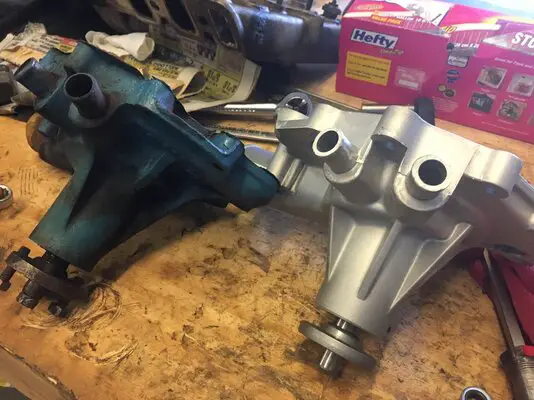
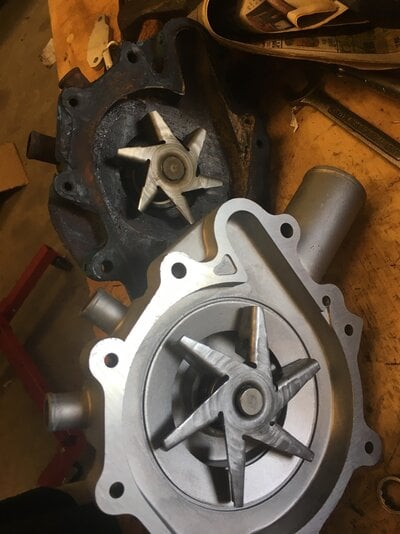
- Put the new water pump on. Think I'm just going to leave it "raw", like the look. The impeller on the new one is a bit larger, higher flow? Need new fan studs.
- Moved a few doodads from the old manifold to the new one. Couple didn't want to come out and the brass rounded out. The new heater control valve must have different threads, I took the old one out, cleaned it up and it went right in, so there it will stay. Need some vac ports and plugs to finish. moved the old egr block plate, that one works fine. Maybe I'll drill the new one out so it works if I get bored.
- painted the timing indicator. It's cracked and a quick search showed they're not just available anywhere. anyone got a hint here?
- put on the oil sender
- put in the spark plugs. Yes I left #1 loose because I still have to put in the dist and have no idea where TDC is at the moment. Gapped to .045 instead of .060.... read that its a better option. may or may not be but we'll find out.
- ordered a new washer bottle lid since I leaned on the old one and it shattered.

anyone know where I can get a new choke heat riser tube/plate? thing is rusted to crap and I'd like to leave that on there.

IMG_2639.jpg IMG_2640.jpg IMG_2642.jpg

oh yeah, forgot this little snafu. went to put on the new water neck, and clank. Its too long. I don't even.

IMG_2646.jpg
 
Last edited:
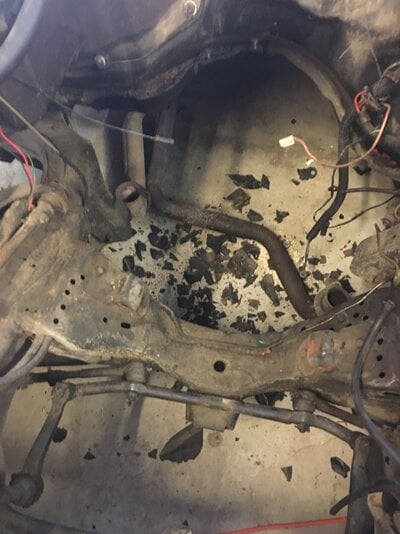
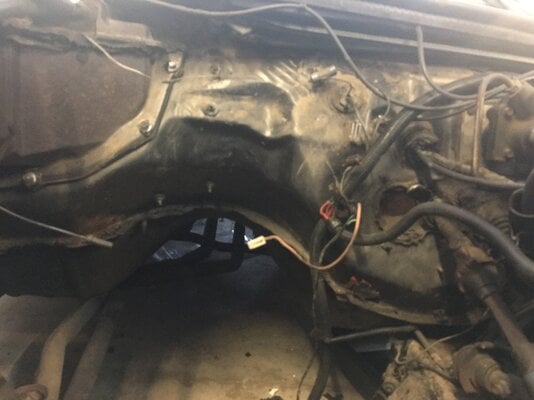
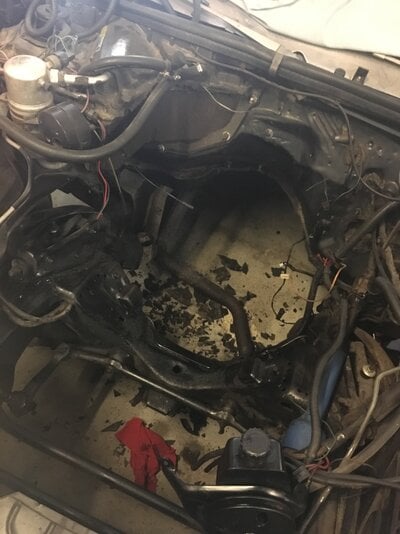
before and after some bay cleanup and paint. still more to do but its an improvement. If I were to do it right I'd back it out and pressure wash it, buuuuuttt, since I don't have a pressure washer and moving this thing by oneself is a royal PITA, some of the gunk got a nice coat of protective paint. I regret nothing. figured out some more with the brackets and motor mounts, its starting to come back to me.

IMG_2663.jpg IMG_2664.jpg IMG_2667.jpg
 
  • Like
Reactions: Injectedcutty
Dad was supposed to come down this month and help get the engine put back in, but that's been bumped til later this month. Fingers crossed. Finally found the correct fittings for the intake manifold. Still haven't found the correct water neck, so I'll probably just use the old one until I find it. Need to #1 TDC the engine and put the dist. in. Then its clean up the area and wait. Oh and try to figure out where the spare parts and extra bolts go lol.
 
  • Like
Reactions: Texas82GP
Ok I’m stumped. Neither of the fuel pump-carb hard lines I have will route around the ac brackets. This is the closest one. The other I’m pretty sure is a firebird one and isn’t even close. Back to the googles.

EE39DC0A-814B-4DA5-B230-128A0984CF69.jpeg


And if anyone knows where this is supposed to go.... I know as soon as you say it I’m going to be like :blam:

6549E29D-38D1-41B0-8CF4-93A37C24B439.jpeg
 
why do I think the fuel line went over the thermostat then in front of the oil fill tube on the 350 & 403 ? Either way a tweak here and there with the cheap line benders from HF should get you there. Oh and the doohickey goes in the bucket under your workbench
 
Well, what was on before was a hammered up cobbled pos, so trying to get it better. May have to recobble I suppose. Yeah that piece doesn’t look critical to anything. Just it came off and he thing and I have no idea from where.


Sent from my iPhone using Tapatalk Pro
 
Ok I’m stumped. Neither of the fuel pump-carb hard lines I have will route around the ac brackets. This is the closest one. The other I’m pretty sure is a firebird one and isn’t even close. Back to the googles.

View attachment 76652

A brass right-angle fitting may make your fuel line routing a lot easier. Put the right-angle fitting in the carb and point it towards the passenger side, then bend the hard line to mate up.

Barring that, I would agree that it looks like it should go in front of the oil fill tube.
 
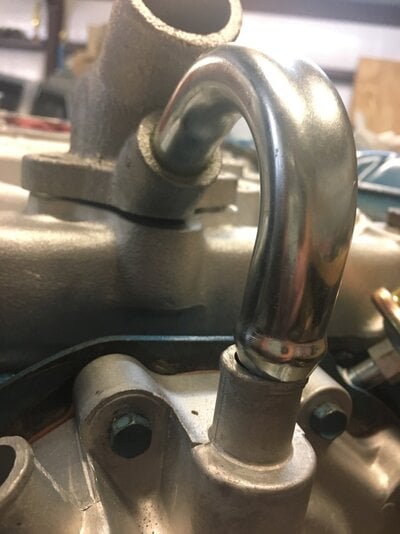
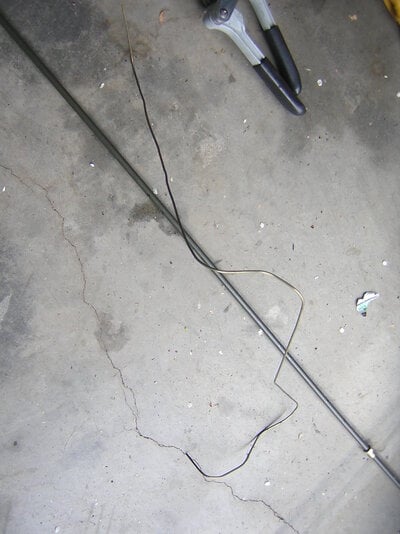
I opened up a coat hanger and bent it to fit from the pump to the carb. Then I got a piece of brake line and matched the bends by hand and with a tube bender for the tight corners. Took about a hour total to make. You can flare the right fitting on the end of your custom-bent line. Since mechanical pump pressure is like 7 psi, I used a compression fitting on the end, cut off the nut, and used the ferrule to retain a clamped piece of rubber line to the Edelbrock banjo line. The second picture shows the line prior to adding the Edelbrock 'J' line with filter.
DSCN5642.JPG DSCN5655.JPG
 
  • Useful
Reactions: 307 Regal
Status
Not open for further replies.

GBodyForum is a participant in the Amazon Services LLC Associates Program, an affiliate advertising program designed to provide a means for sites to earn advertising fees by advertising and linking to amazon.com. Amazon, the Amazon logo, AmazonSupply, and the AmazonSupply logo are trademarks of Amazon.com, Inc. or its affiliates.

Please support GBodyForum Sponsors

Classic Truck Consoles Dixie Restoration Depot UMI Performance

Contact [email protected] for info on becoming a sponsor