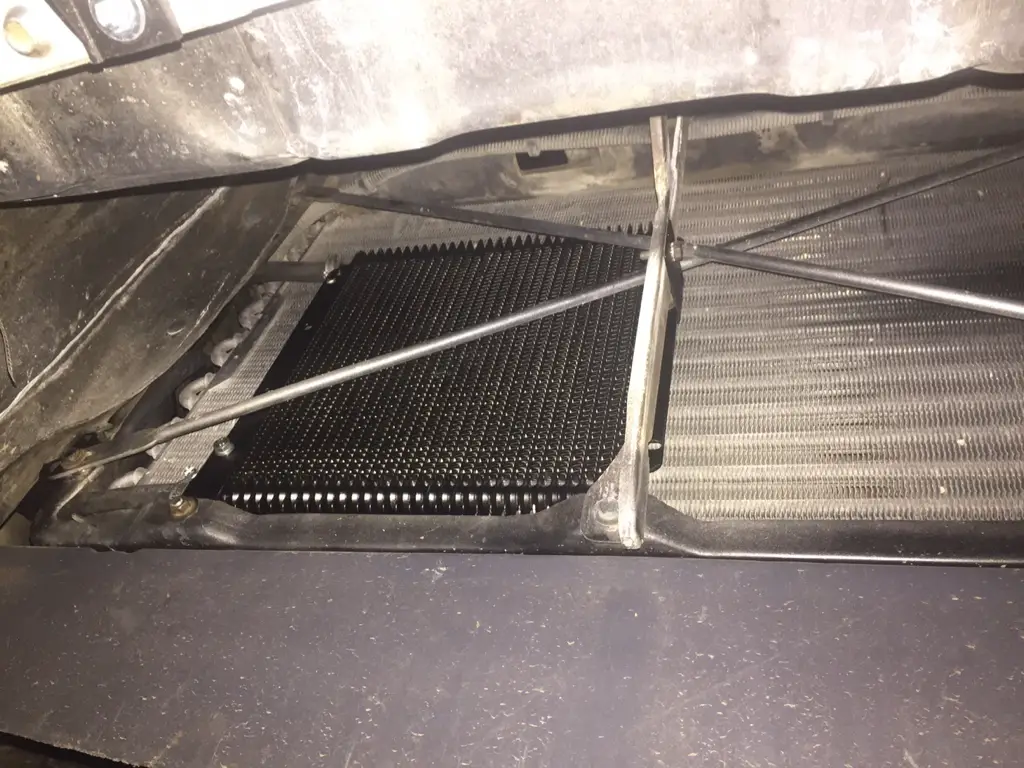
The whole point of this build was to build a muscle car. When I first started planning this out in my head well over 2 years ago and probably closer to 3, I wanted something that was going to have that muscle car sound, low gear and a mountain of torque that would practically snap your neck when putting it to the wood. The 307 was never going to cut it.
About 2.5 years ago I started seeing asking prices really creep up on all G bodies so I decided it was now or never that I'd have to start the project. Initially I thought I'd pick up a Supreme for cheap money, but after looking I decided it was going to cost me more money to build one of those into exactly what I wanted, so why not just start with a decent car? Little did I know the "good car" I bought wasn't that great (hence the thread title). Initially I was a little ignorant and thought it'd be a good idea to stuff an LS and turbo into the car; but I quickly regained my sanity and decided to keep the car all Oldsmobile. I picked up some books and read a ton on ROP about these 2nd Generation Olds V8s. Part of that education was learning that the Bandit Trans Ams of the late 1970s were Olds powered! The Bandit T/A was another dream car of mine as a kid, and this would be a perfect opportunity to combine those 2. So after some weeks of pursuing the classifieds I found a 403 take out from a 1979 T/A!
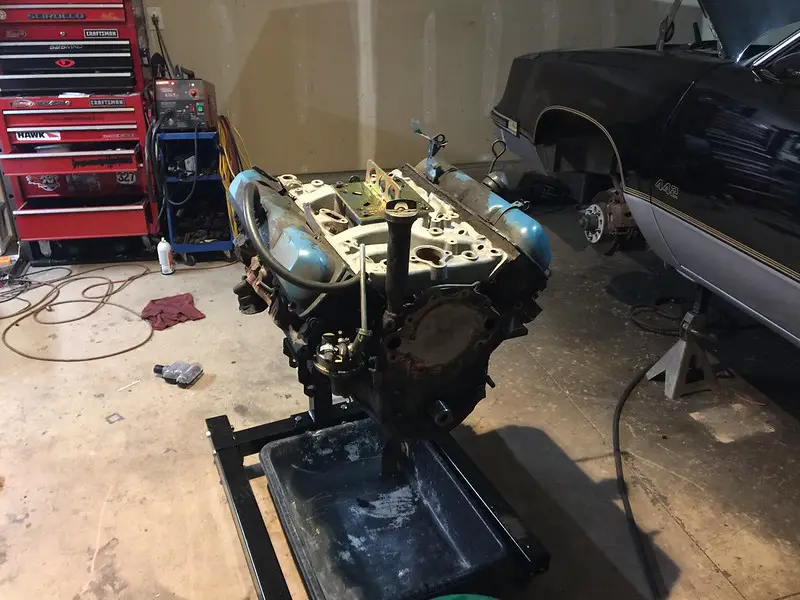
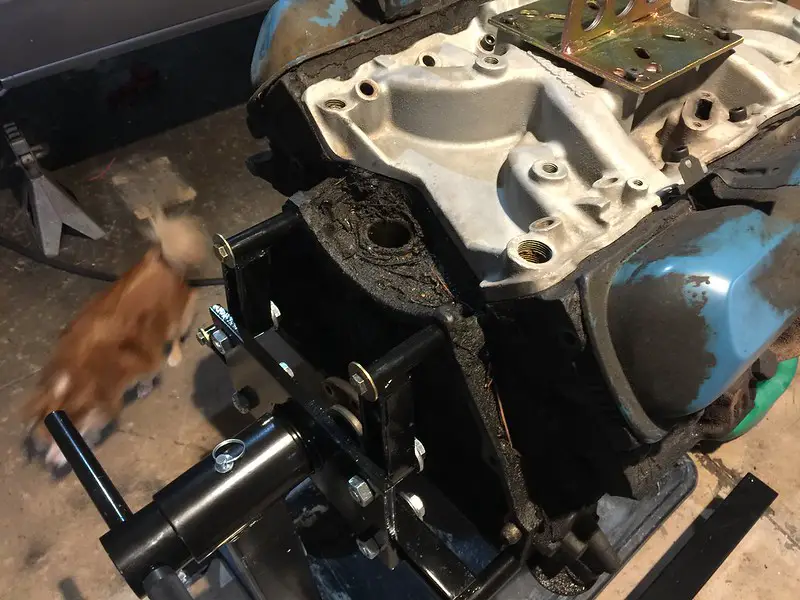
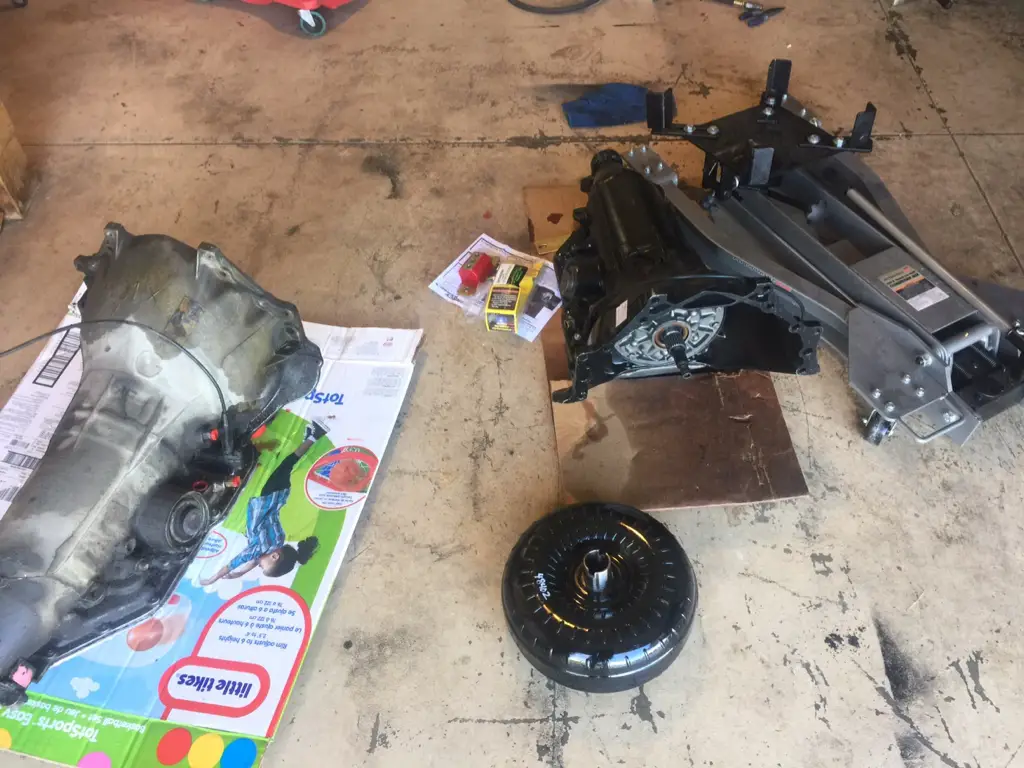
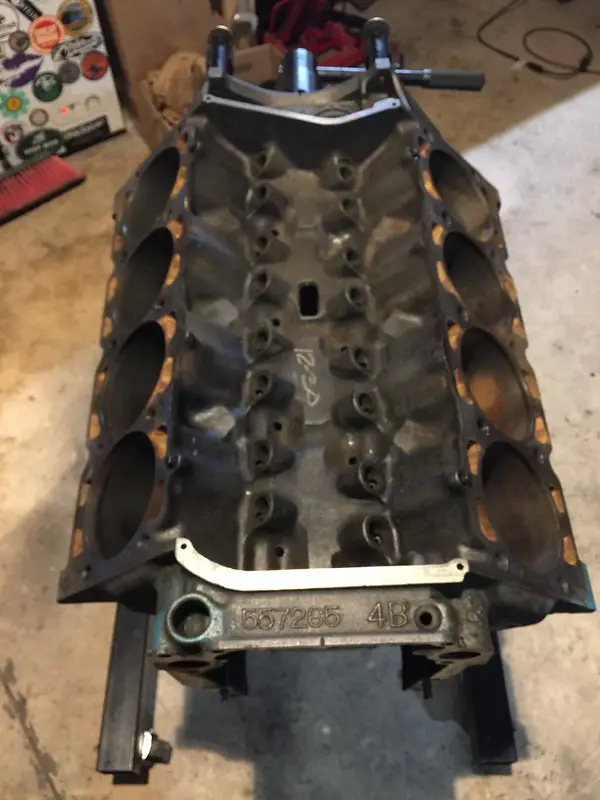
It had 30 years of grime on it and looked like junk but it was a runner. The Performer in the pic was just put on so I could hoist it from the tuck and put it on the stand. That intake actually went on my 307 and won't be used on the 403.
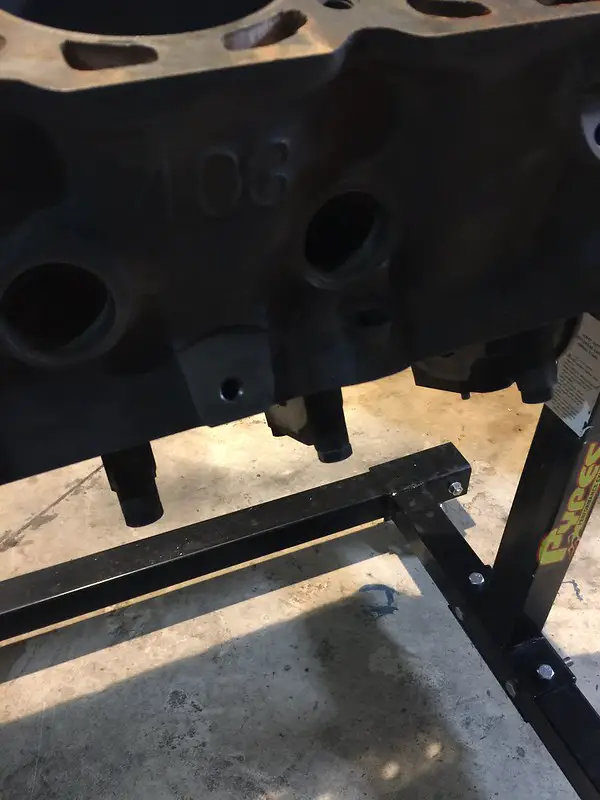
There was also no way I was putting that questionable pile into my car. So the tear down began:
Good thing I tore it down too because cylinder #8 had some rust. It was going to need an overbore at minimum, or a sleeve, ugh and worst case it could be junk.
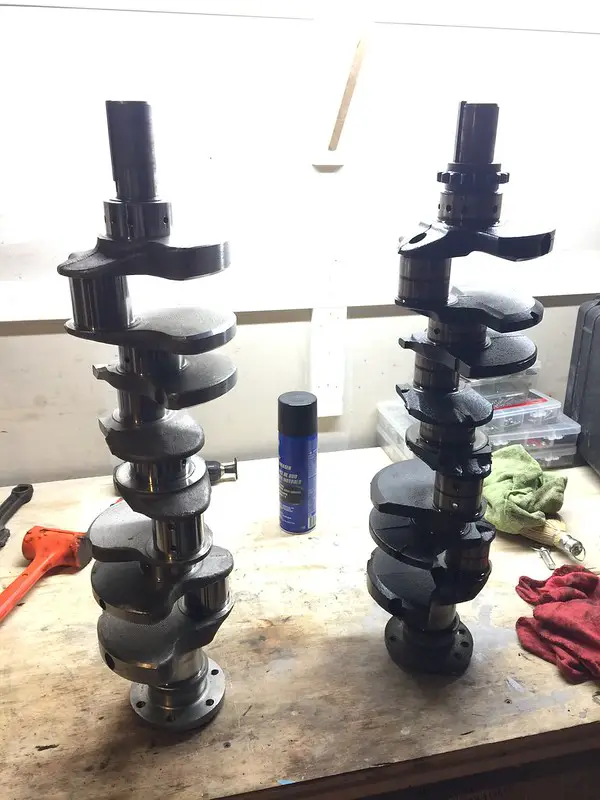
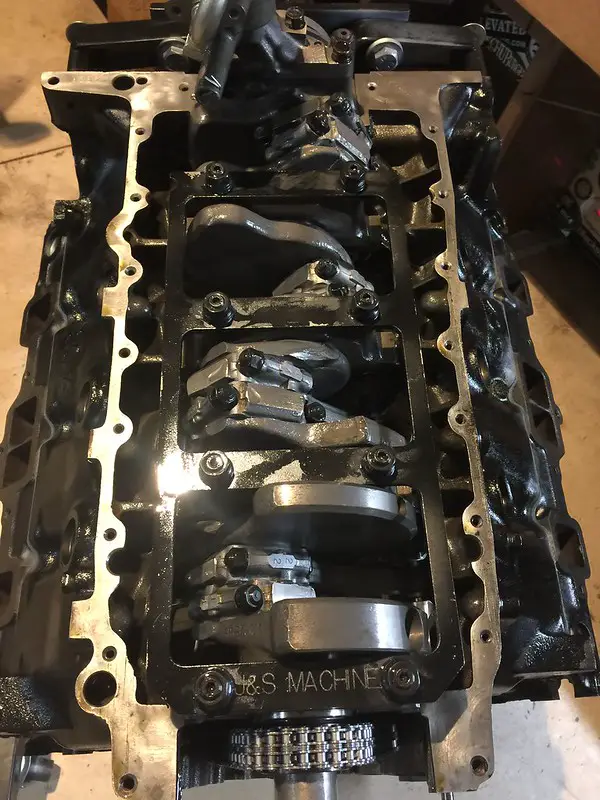
The plans for the motor were 100% Hot Rod, it needs to stout; so the cast crank probably wasn't going to cut it, so I found a relatively rare 330 Forged Steel Crank:
I paid $275 for the crank and ended up paying another $175 for nitriding. I don't know if I really needed it or not, but I figured with this being a performance build it was better to have it done than not.
That Forged Crank had been machined prior to me purchasing it; and before installing it I dropped it off at Mile High Cranks in Denver to have it nitrided and polished again. Since it had been turned .020 on the mains and .030 on the rods it definitely needed to be hardened again. You'll notice that the counter weights in the pics below look much darker than they do in this picture.
This build would only reuse the Block and Rods. Everything else was going to be scrapped or sold. The 403 is not the best platform for a high performance Olds, but there's just something about having an engine over 400ci that's always been appealing to me. But there's been guys that have had success racing these things and everything except rods can be found. Luckily the 403 Rod is beefier than any of the other SBO rods even though they're all the same length. I could have gone to an aftermarket rod with a custom piston, but that wasn't in the budget. And 6" Chevy rods were out as well because my crank was already ground prior to me buying it. I toyed with the idea of using the KB hypereutectic pistons but instead spent a little more and got some Autotec Forged Pistons that aren't engineered for the Olds.
$650 for the pistons and rings! Price for no doubt, but not terribly more than KB Hypereutectic pistons that I'm pretty sure are just oversize Ford 460 pistons.
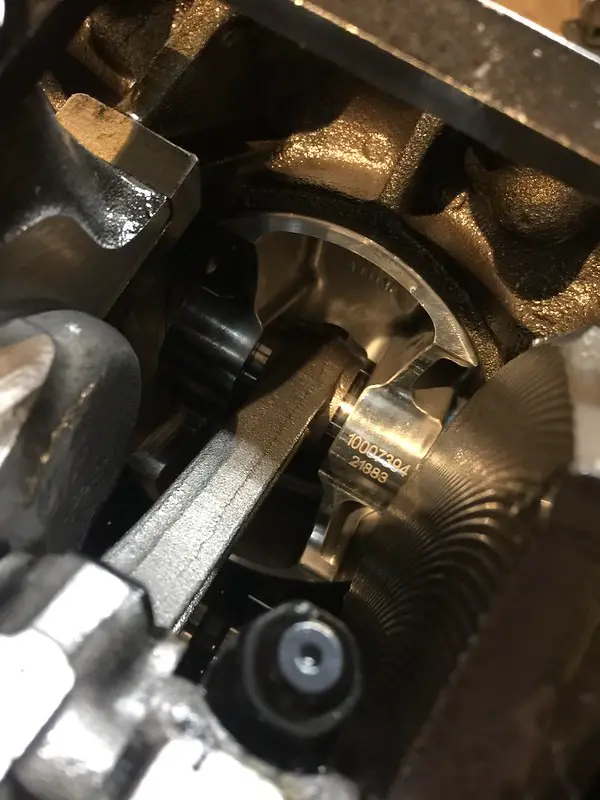
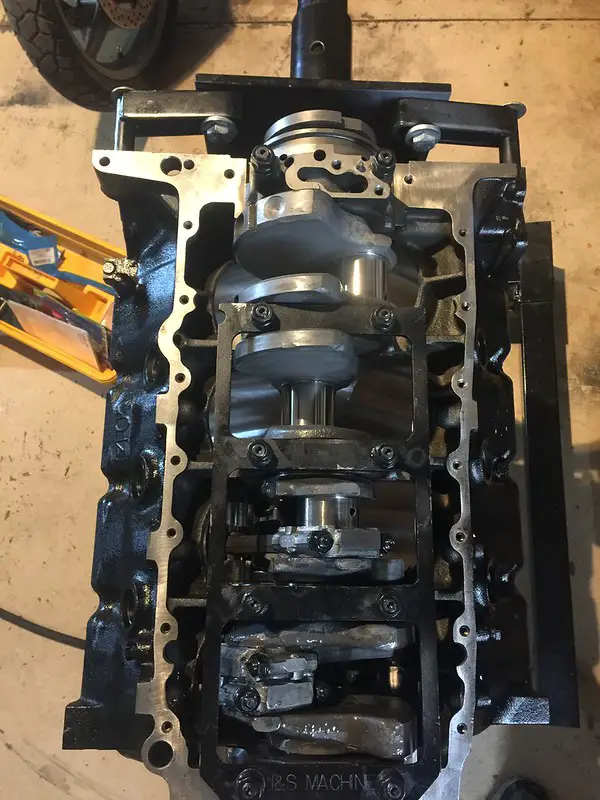
Luckily for me the Machine Shop was able to save the block. They mag flux inspected it and it took a nice .030 over bore. The shop I used in Denver (Area Machine) was awesome, they align honed, bored/honed, cleaned, magged, machined the caps for a girdle, installed cam bearings, resized the rods and installed the rod studs, hung pistons on the rods, decked and balanced everything for under $1200! Than included a special modification to the cylinder head I scored.
I wish I had taken some pics of the block after it came back from the shop. The cleanliness was unreal. I got too caught up in wanting to get the thing assembled.
No Oil Pump in the pics but I did put a Melling HV Oil Pump with a Moroso pickup for the deep pan got it all for $126 on eBay. The pump alone is $114 from Summit.
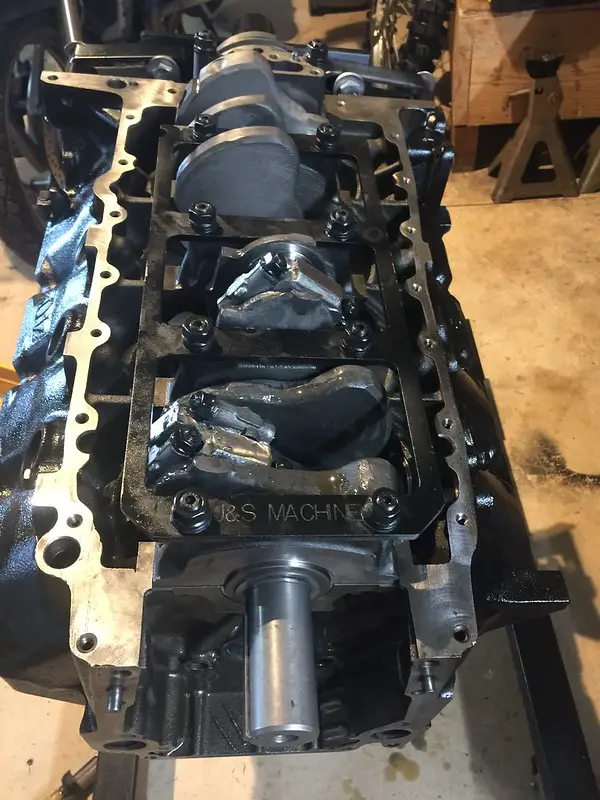
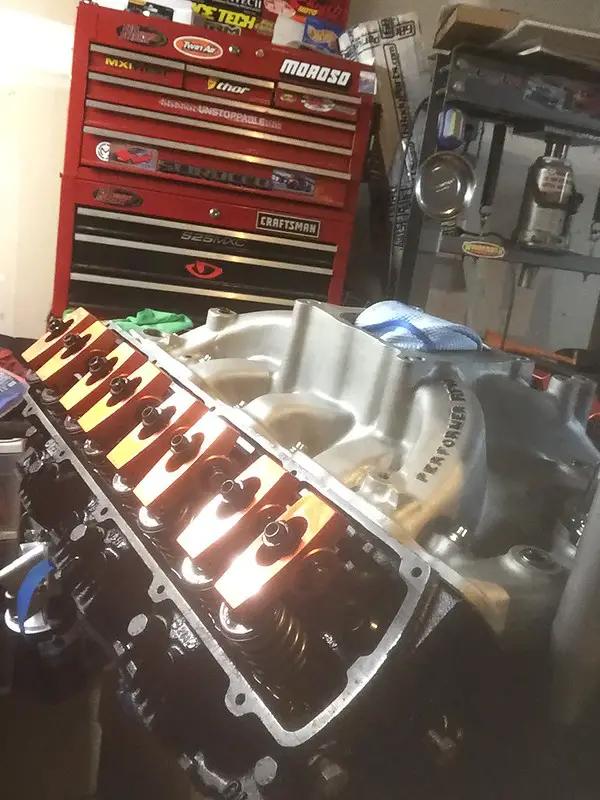
On go the Cylinder heads:
I mentioned those earlier. Those were another score from craigslist. They are C Heads off of a 455. A guy had bought an A body Cutlass (late 60s/early 70s) and the first thing he did was start building the engine. Poor guy got thousands into the build and when he got deep into the car's body and chassis he realized it was rusted beyond repair and had to scrap the whole project. Lucky me he let me have the heads for $400. That had already been rebuilt with Ferrea stainless valves, Comp Cams double springs, and ARP studs (plus had the heat x-over filled)! I only needed to get the roller rockers and again those were another used item that I scored fused for$125 and they're Harlan Sharp! Tons of money saved on the top end. I did have to swap from the 7/16 studs to 3/8, and the head bolt holes needed to be enlarged as well to accommodate the 403 head bolts. The was the extra work I referred to earlier that the machine shop needed to do on the heads.
With the Autotec Pistons, C heads and .038 Headgasket I came out around 10:1 Static Compression. Those of you with engine experience know that's pushing it normally for Iron heads. I live at 7,000' and drive this car only in the Summer (even higher Density Altitude) so it's effectively probably more like 9:1 and after I put my Cam Specs in the Dynamic CR tool it's Dynamic CR is under 8:1 so pump gas is no problem and there should be no worries about detonation.
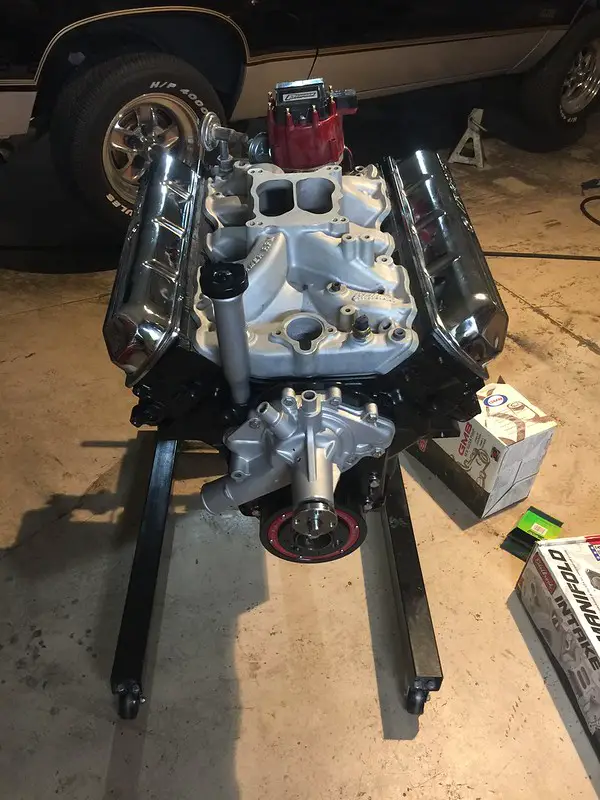
To top it off I found a brand new Edelbrock Performer RPM for $75. The Performer RPM intake is the only choice if you put BBO head on a SBO if you want to port match. I spent an afternoon with my die grinder opening up the ports so I wouldn't have any restriction from the intake to the heads. It was originally bought by another Bandit T/A owner who installed it on his car only to discover he couldn't close the hood! The Mr,Gasket Taiwanese Valve Covers and the Proform HEI Distributor have been abandon since this pic was taken.
The cam selection wasn't an easy task. I have to give CutlassEFI from ROP all the credit as most of my build was copied from a recipe he posted over there. In his 450hp C head 403 he used different pistons and custom Lunati Roller. I was able to get a slightly lower than advertised price on a Lunati VooDoo that was only 1* different on intake duration and was able to get the first run on some Hylift Johnson Hyd Rolller lifters from a ROP vendor. The cam specs are Advertised Duration 272/280 ; Duration @ .050 (Int/Exh): 221/229 ; Gross Valve Lift (Int/Exh): .549/.565 ; LSA/ICL: 112/106 .
The first run price on those lifters saved me some decent money but it was still close to $800 for the Roller Cam and Lifter set up which was pretty far out of what I originally budgeted for the cam. But you know what they say; "buy once, cry once". I also had to spend another $200 for some Smith Bros 3/8 oil restricted push rods. Mondello was big on pounding restrictions into the oil galleys for the cam, and I think Trovato's book says he doesn't use 'em; but you don't run em you have the danger of pushing too much oil out of the pan and wiping out your bottom end. The Restricted push rods control the volume of oil to the top end to prevent that from happening. I also put on an 8 quart oil pan. So hopefully I won't burn up bearings in the bottom end if I'm winding this thing up to 5500 or 6000 RPM. The Girdle and steel crank should also help prevent the block from cracking in half at those high RPMs (well high for an Oldsmobile V8). The stock balancer was junk and you can see the trick Performance Products SFI Rated balancer on the front of the engine. Another ouch $180 expense. I guess it balances it out the cheap $38 Flexplate I got from Proform.
So I've spent significantly more $ building the Small Block Olds than swapping in an LS; but I have rebuilt engine not a 100,000 mile junk yard engine. The 403 is also something that we would've done back in the 90s to get more power in one of these things, while not being some played out cookie cutter LS swap that 1000s of other guys have done.
Hopefully soon, I'll have some more pics and updates to the project.