

You don't think it will stand up to 400 ft. lbs.? But I already painted it yellow!It's looking great but if you are open to suggestion I think you might want to upgrade your driveshaft...🙂
You don't think it will stand up to 400 ft. lbs.? But I already painted it yellow!It's looking great but if you are open to suggestion I think you might want to upgrade your driveshaft...🙂
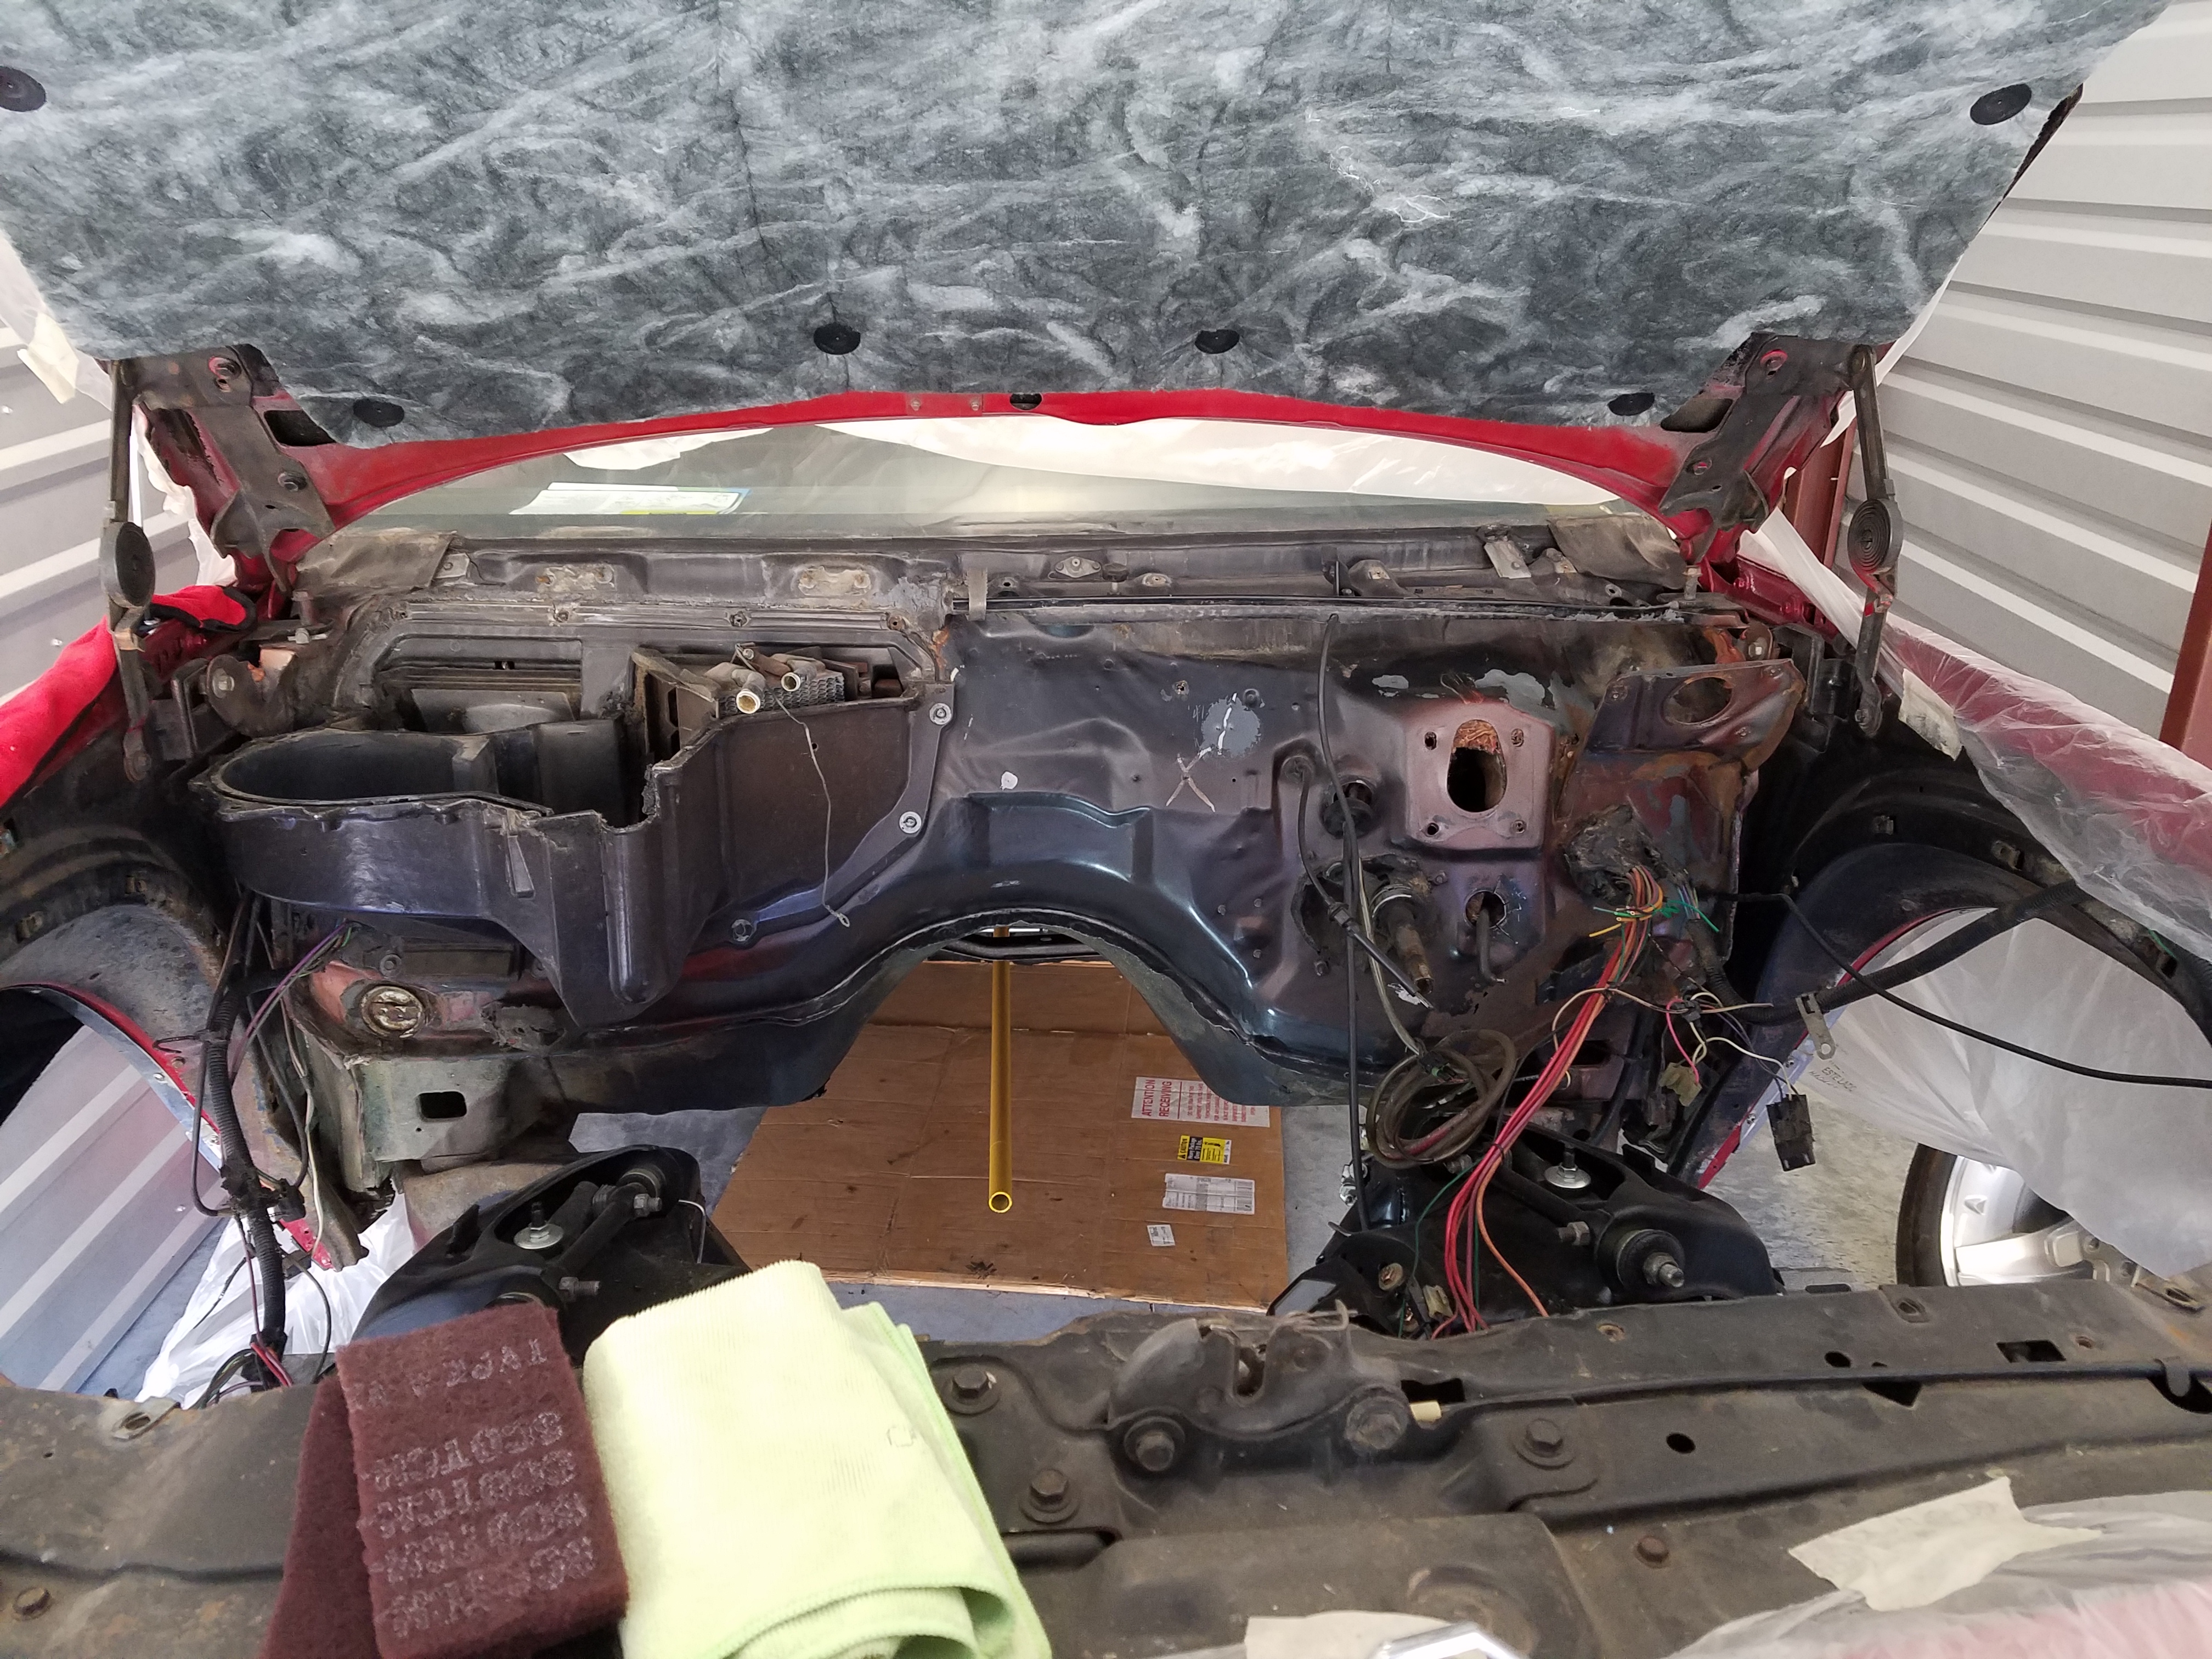
You don't think it will stand up to 400 ft. lbs.? But I already painted it yellow!
Glad to see you back at it!
I guees
Depending on the quality of paint and if it's lead based it may be strong enough. I'm glad to hear the weather is good enough to paint, I guess your weather is probably getting to be a nice temperature to work on the GP. ...🙂
Glad to see you hard at work on the GP! This one build I have been waiting for
Jared, it was great seeing the Camaro and your dad's Ford build and I know working with your family and friends on those cars are awesome times but it's great that you're getting back to your project. With the quality work that you do I'm anxious to see your GP finished.
Nice to see you getting back on the car Jared. Will be watching for updates...
Yea man! I've said it before I'm not a GP guy but I like that car. Can't wait to see some progress
Great photos, and a good update. Will be keeping an eye on this.


GBodyForum is a participant in the Amazon Services LLC Associates Program, an affiliate advertising program designed to provide a means for sites to earn advertising fees by advertising and linking to amazon.com. Amazon, the Amazon logo, AmazonSupply, and the AmazonSupply logo are trademarks of Amazon.com, Inc. or its affiliates.
